


Painted Piano

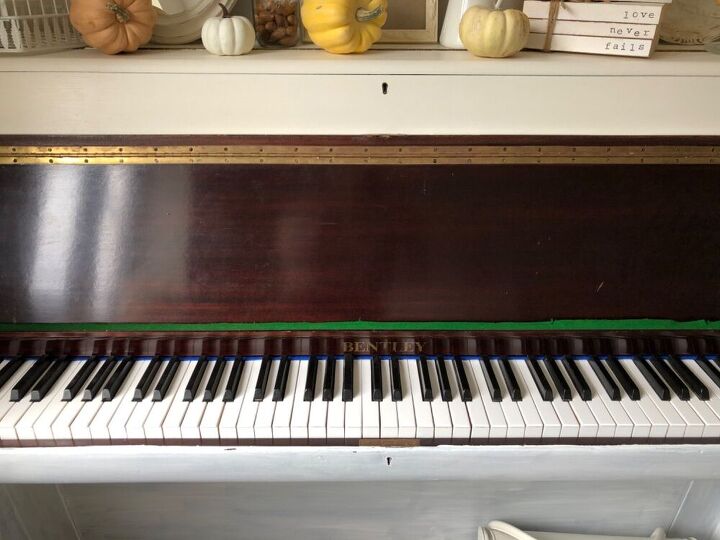
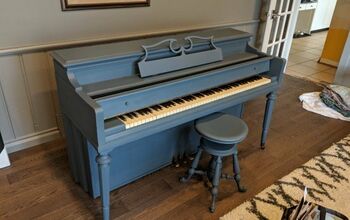
I always wanted to have a real piano in our home and of course, I knew that it had to be painted. So I searched selling sites for a small one to fit in our dining room and found this one for £60. It fitted perfectly in the space we had for it and I was so pleased to find one at a good price.
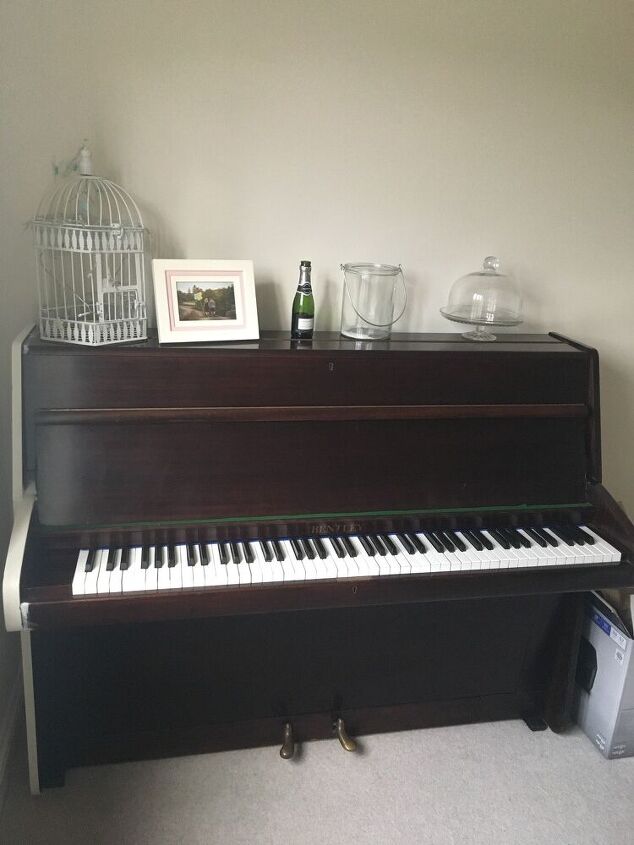
This is the before. I worked on the side panel by the wall first so that I could put it into place in the room to continue the rest as time allowed.
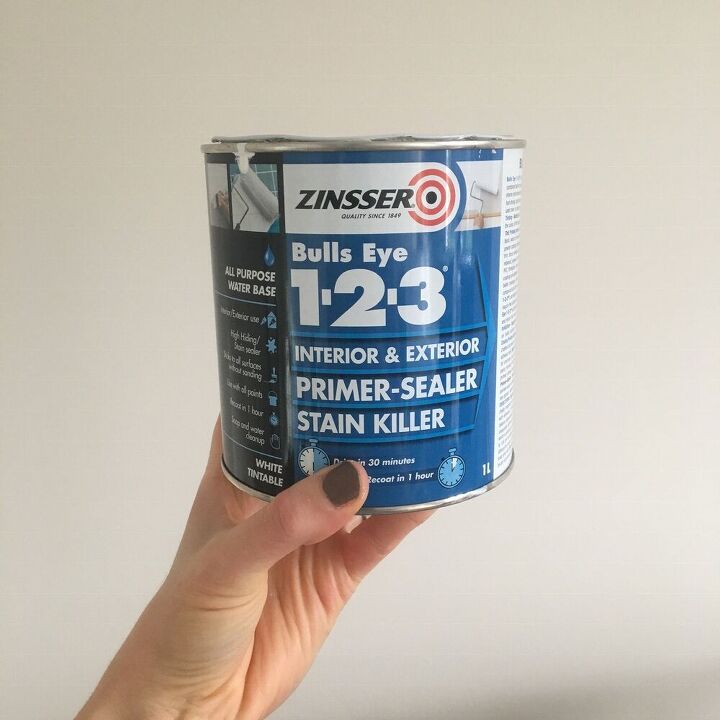
Prep and prime
To prep I applied two coats of primer on the surface. I did use sandpaper in some areas to prepare the surface properly. Ideally this would have been done all over but due to the details on the piece and the fact that I had to work on this indoors the logistics meant it was not realistic to sand the whole piece down.
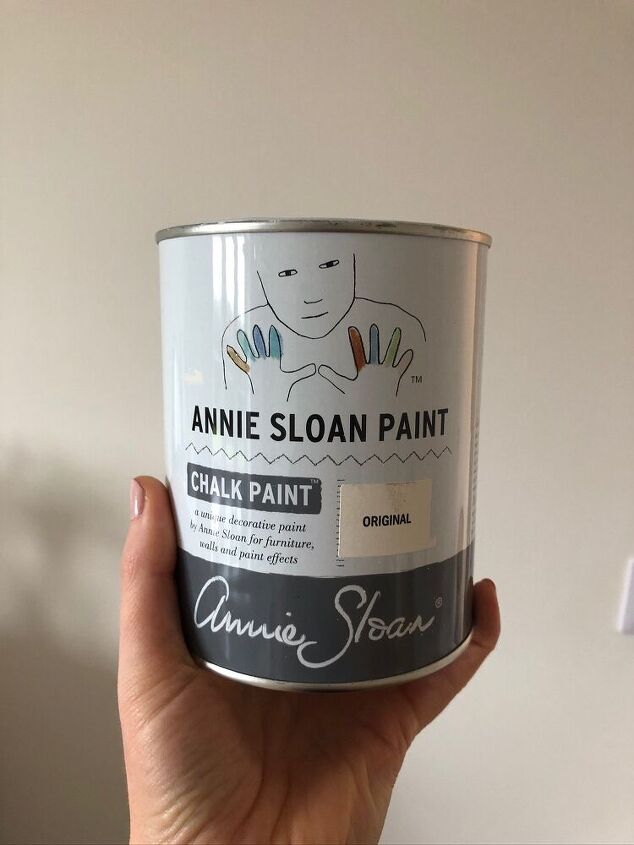
Paint
I then applied two coats of chalk paint in original over the primer which provided good coverage.
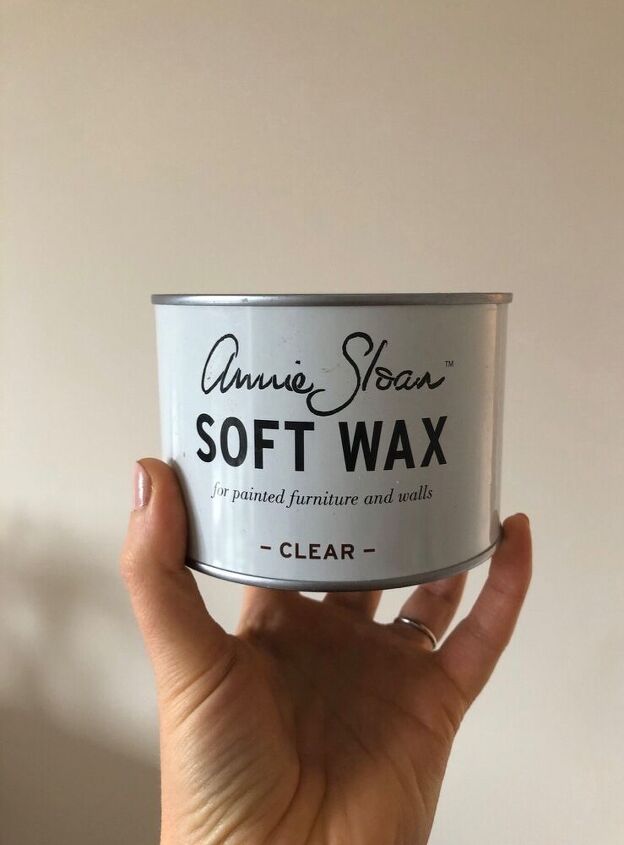
Seal
I applied two coats of wax, buffing in between coats to seal the paint. And then buffing well to finish.
Finish details
This is the point I had reached in the transformation and then abandoned the project due to time constraints. It has sat like this half painted, with the lower half primed for about two years. I finally found some time to come back to it so I then continued where I left off with the painting process. Although I wish I could have sanded the piece down more thoroughly, I have had no issues with paint flaking off in the time it has been in use so far.
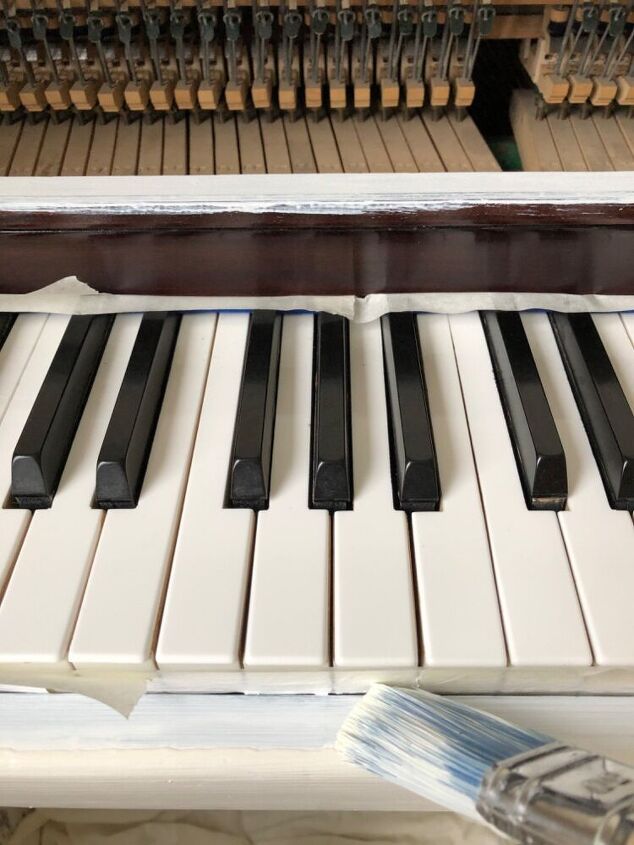
I took some masking tape and applied to the edges of the keys to protect them. I didn’t actually remove the hinges as there were too many screws and I think it would have taken a while. Instead I chose to clean up any metal parts afterwards and was careful around the lock and keyholes.
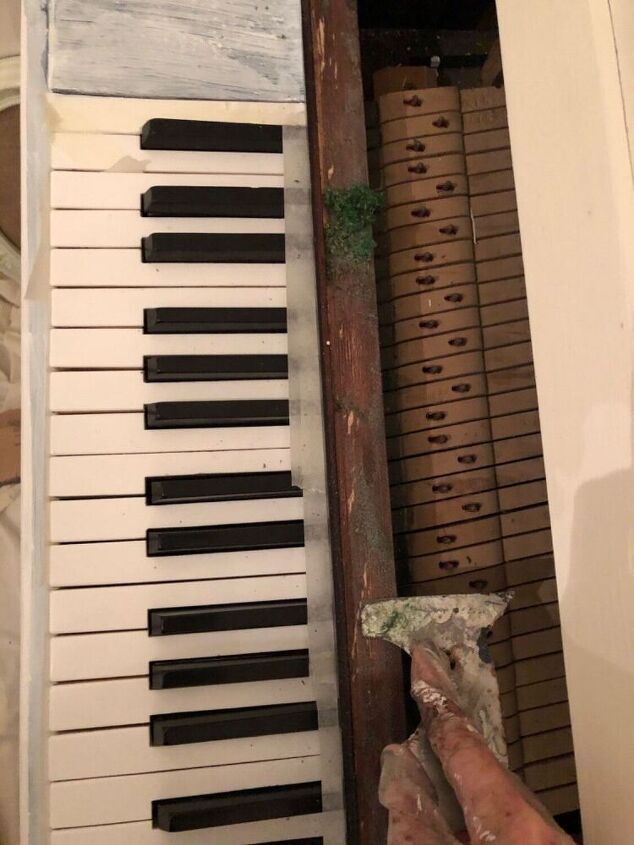
I removed the felt from this part and used a paint scraper and sand paper to remove all the residue.
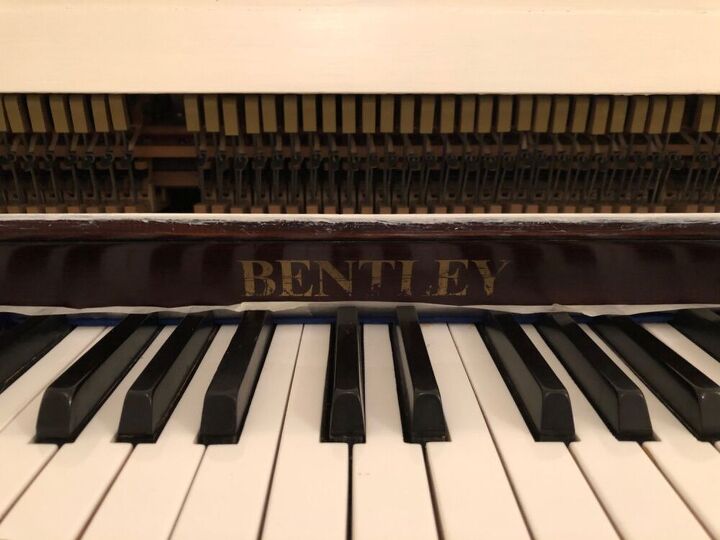
I wanted to preserve the original branding of the piece and I did have the idea of tracing over the font and creating a stencil to repaint the lettering. However, this was going to be awkward to do due to its position and I decided against it. I have now found pre made transfer stickers on eBay and so I plan to add this detailing later. I’ll update this post once I’ve done this.
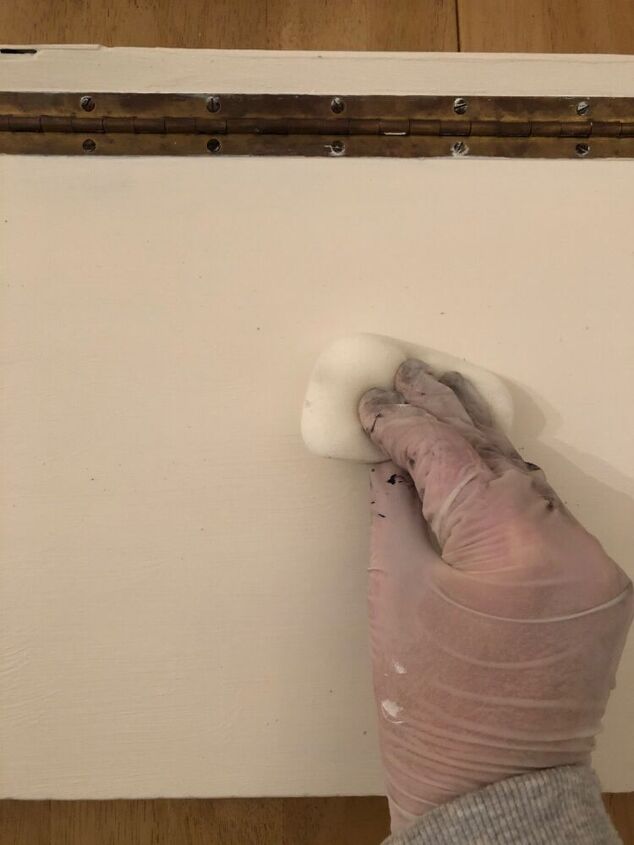
I applied a coat of wax to the painted surface, buffed and followed with another coat. I then buffed well to finish. On the part of the piano that surrounds the keys I decided to seal with polycrylic instead. Purely because it is more hardwearing than wax and this will be the part that will be subject to the most wear.
Display!
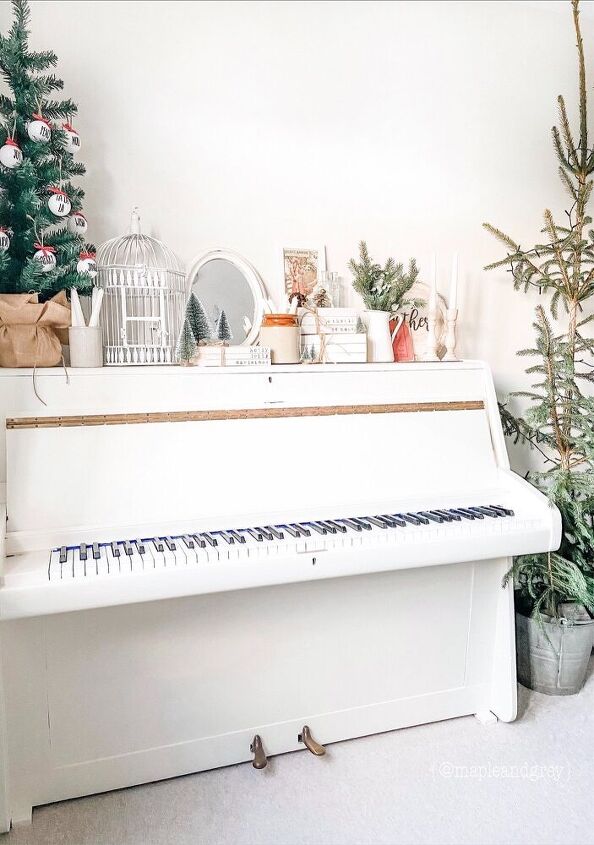
I am so happy with the finished look! I love how it fits in with my style and it is such a contrasting look from the before image.
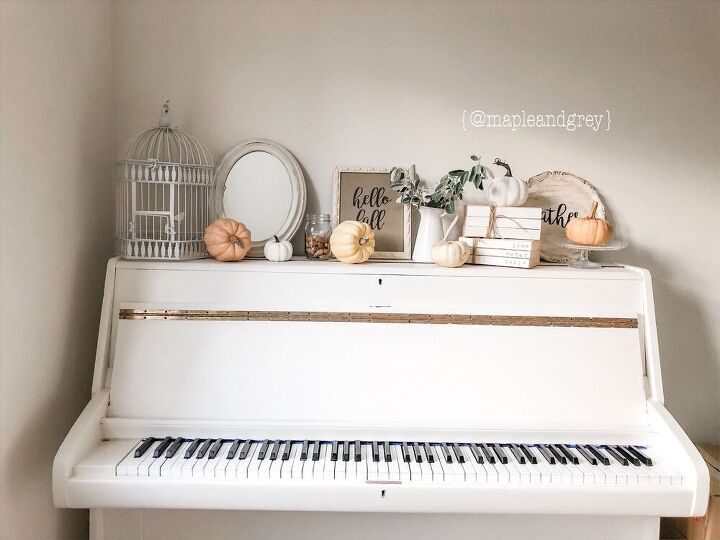
I currently have it decorated for Christmas and these shown here are a fall look but will add a non seasonal after picture soon!
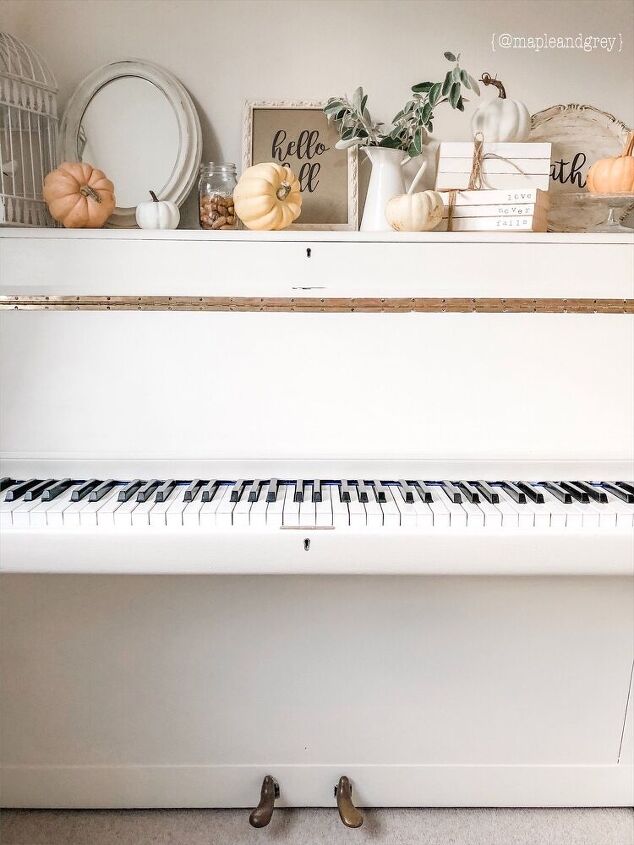
I’m excited to add the finishing touch of the brand name and will add an updated picture to this post and the process of that once that final part is done.
To see more of this and other projects follow along on Instagram!
~ Rachel ♡
Resources for this project:
See all materials


Comments
Join the conversation
-
Stencils would be great on front - top and bottom They would make it pop.
-
I am inspired by the fact that you came back to finish(!) a project after all that time. I've got one of those in my house and I might just be motivated enough to complete it after reading this.
Thank you for sharing!


Frequently asked questions
Have a question about this project?
A wonderful look!! Fresh, happy, and clean! How about a bright shiny color like orange, too? You could have fun with this! Thx for a great tutorial!!
Is it still playable?