


Wood Christmas Tree
Disclosure: This is a sponsored post with Worx, but all opinions are my own.
One thing I have always wanted to do, is use the scrap wood we have around the house and make a fun project. This was the perfect opportunity to make some Christmas Trees that were unique and perfect for shelf decor.
I used 1x1 pieces of wood - cut to different lengths for each step of the Christmas Tree. I also used supplies that I already had on hand, so this project cost me $0.

Cut the wood pieces to length - starting with the bottom.
6 inches
5 inches
4 inches
3 inches
2 inches
1 inch
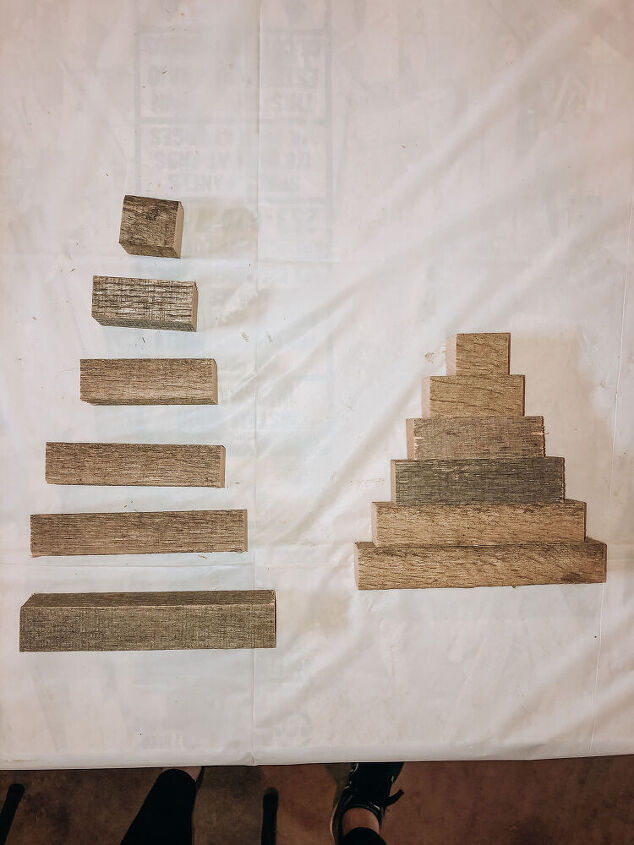
Using the wood glue, apply to the wood on one side and attach to the one below it. Continue this process until all six pieces are glued together, with the 6 inch piece on the bottom and 1 inch piece on the top to form a pyramid.
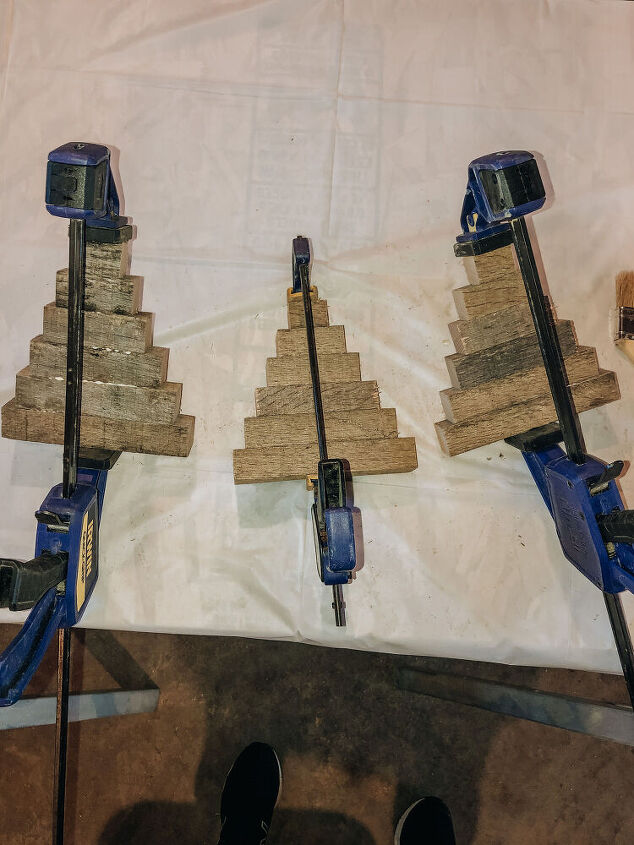
Use wood clamps to hold the trees together while the glue dries. It is best to wait a couple of hours.
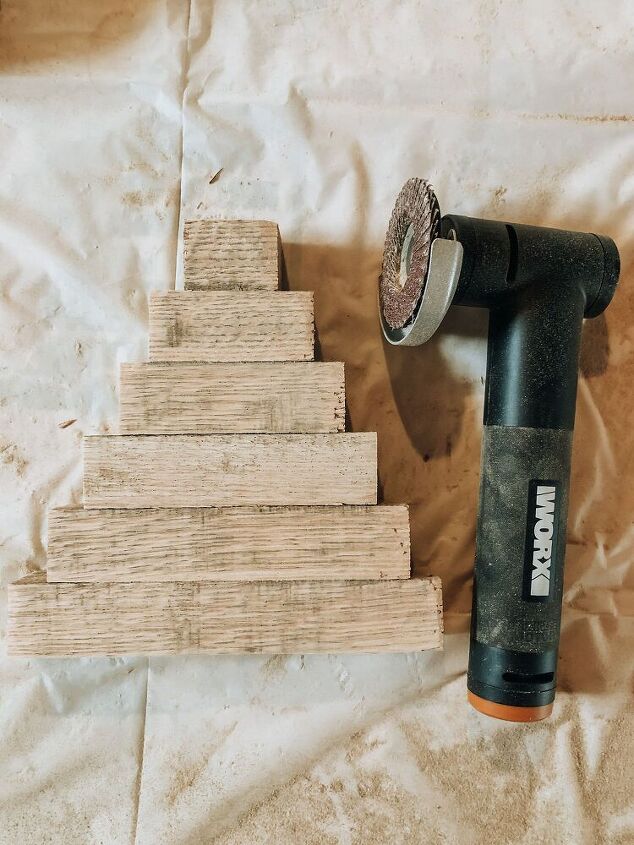
After removing the wood clamps, use the sanding pad on the MakerX Angle Grinder to sand the front and back of the tree.
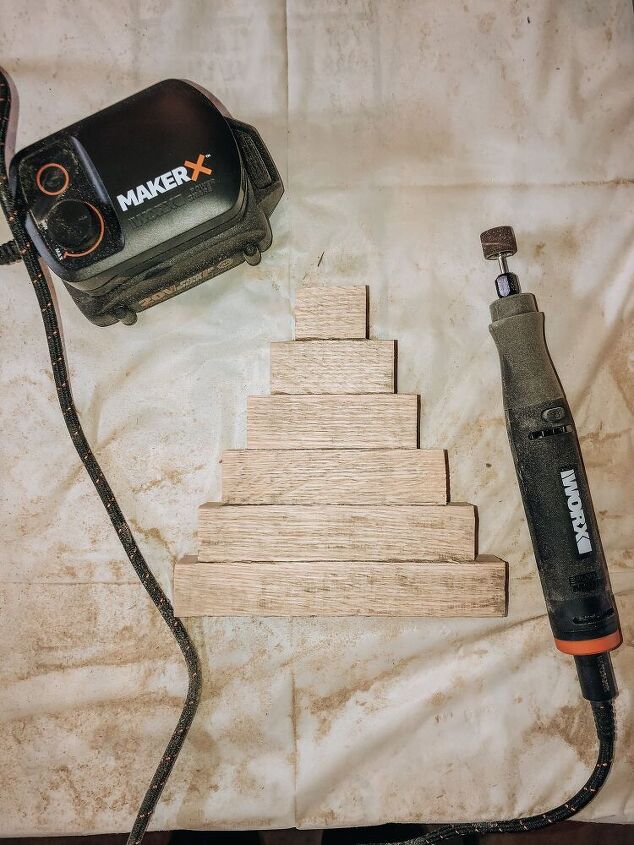
Use the Rotary Tool to sand the short edges of the tree.
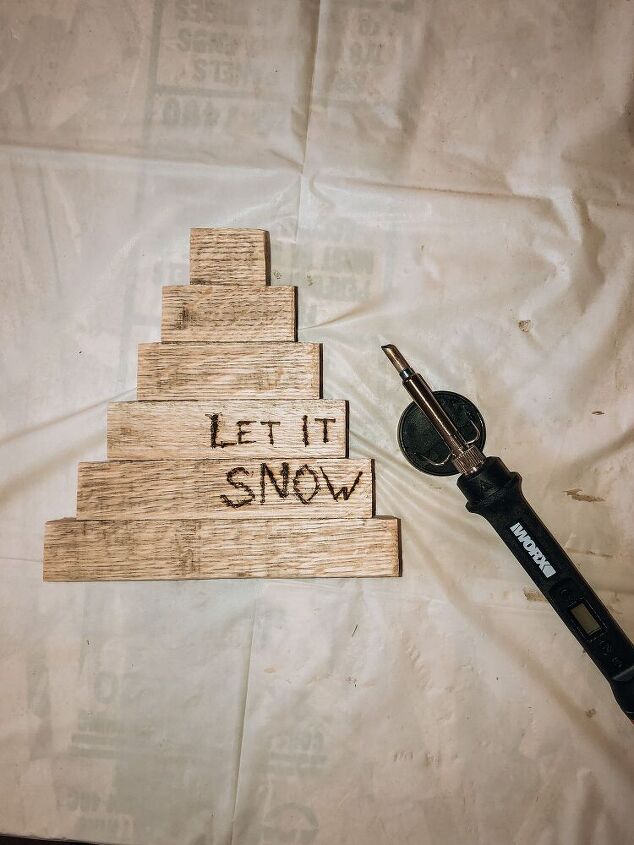
Use the MakerX - Wood Burning Too l to add a phrase or design to the tree.


Resources for this project:
See all materials


Comments
Join the conversation
-
Very cute! Simple, easy, inexpensive and totally doable.
-
A great way to use up pieces of scrap wood. They are adorable and so easy to make. Great job.


Frequently asked questions
Have a question about this project?
Wouldn't it be easier to sand the wood pieces before glueing them together?