


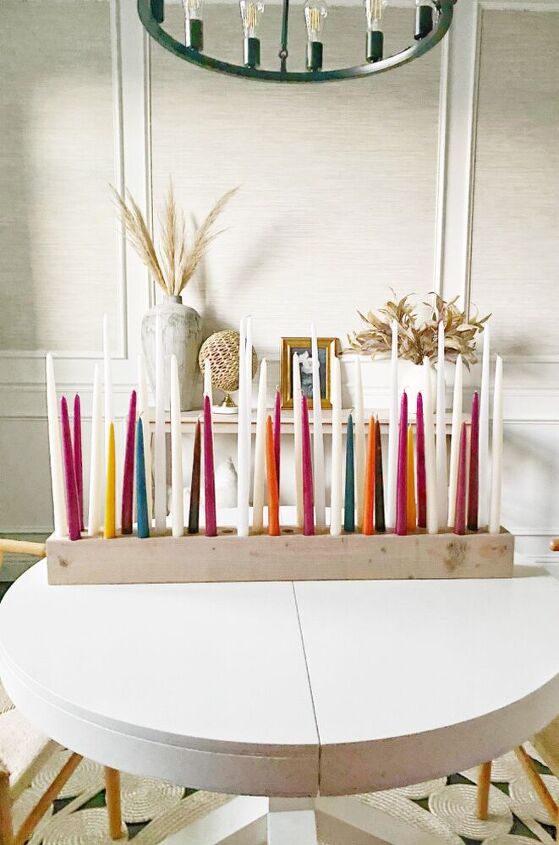
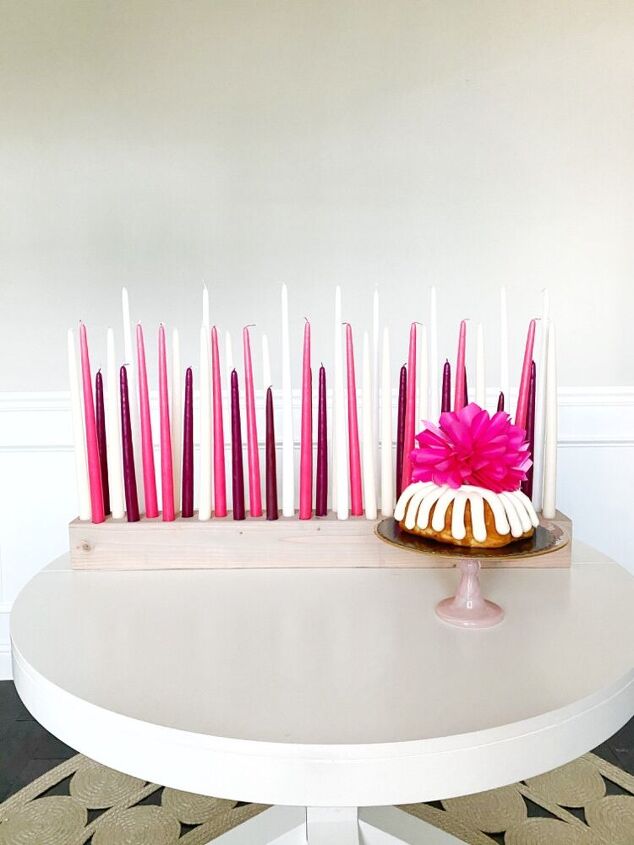
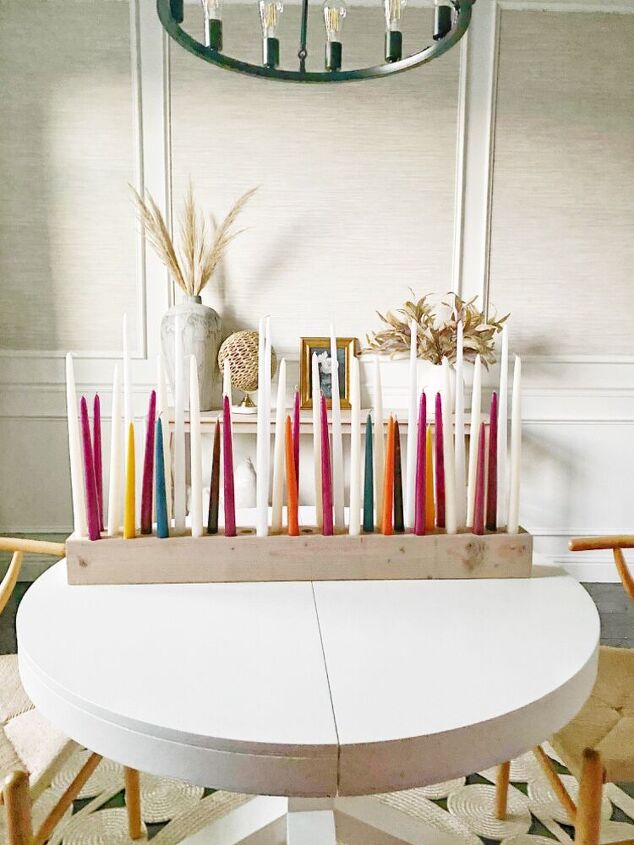
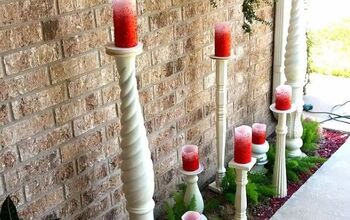
Candle Centerpiece
Make this gorgeous centerpiece. Perfect for the holidays and birthday celebrations. With the holidays around the corner and several
birthday celebrations, I wanted to make something special and unique that we could use over the years. I stumbled across this on a sale website and decided I could make mine for a fraction of the $100 cost.
Supplies:
- 4x4 lumber. I used Douglas Fir
- Stain (I used sunbleach)
- Staining pad
- Taper candles in different lengths (7/8 diameter)
Tools
- Mitre Saw*
- Sander with 220 grit paper
- Fostner Bit (I used 7/8)
- Drill
*If you don’t have a saw, your local home improvement store should be able to cut close to your desired length so all you have to do is sand.
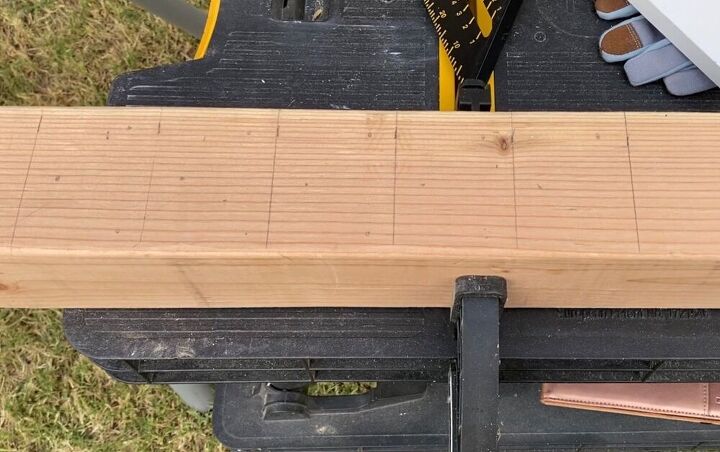
First step is to cut the wood to your desired length. I went with 36 inches.
Next step is to markup your wood to ensure your holes have some symmetry.
If you are going for a uniform pattern, make a pattern on a scrap piece of wood using your fostner bit. I used 7/8 inches bit size.
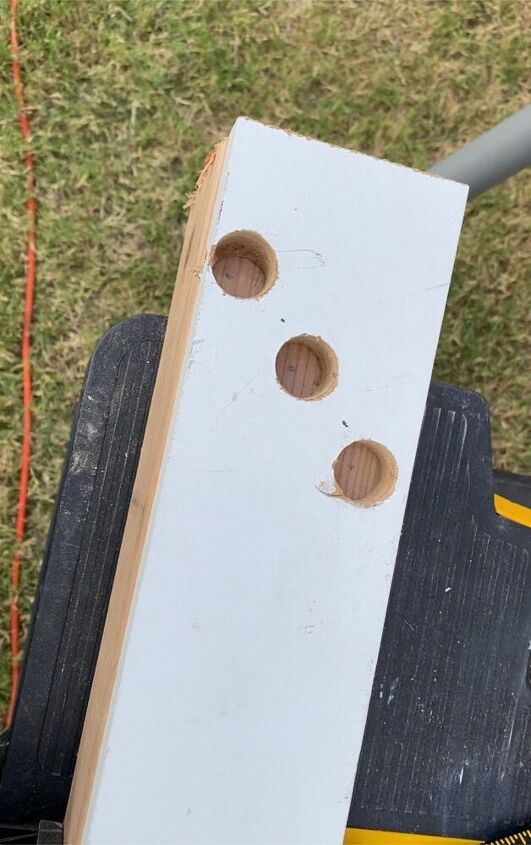
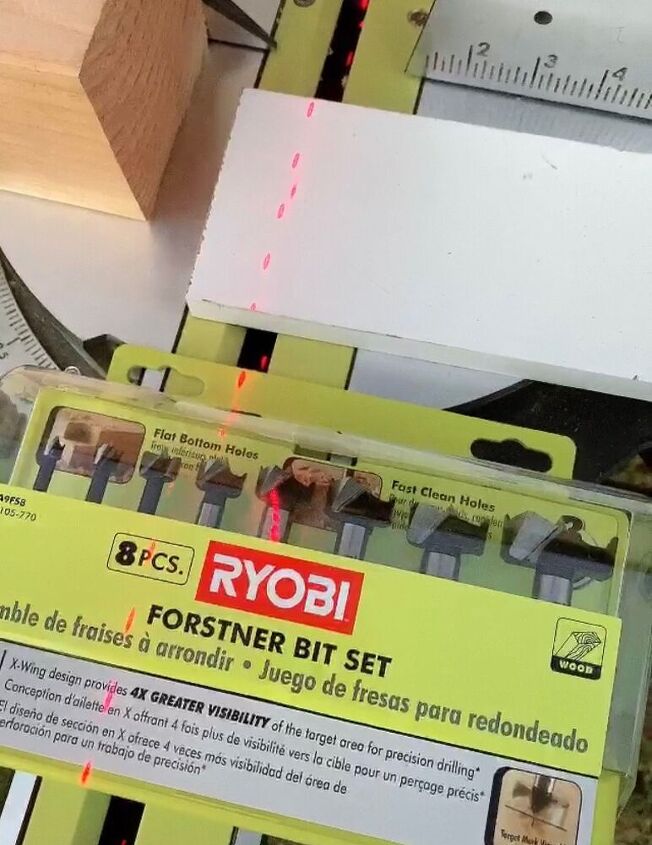
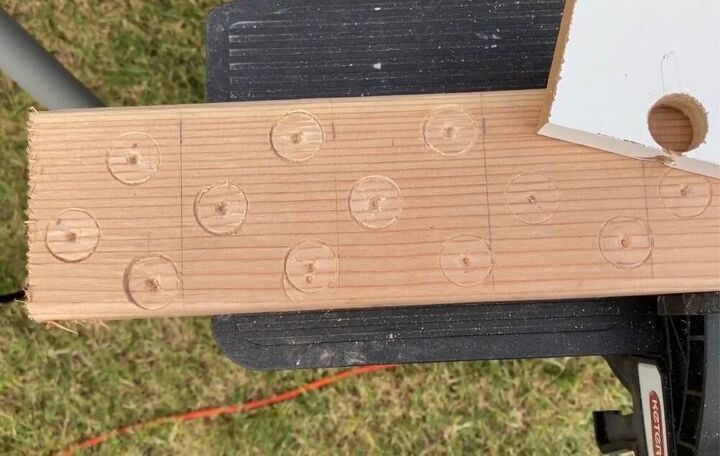
Once you are satisfied with placement. It’s time to drill.
I used the hammer drill setting to make my holes. Hole depth should be an inch to 1.5 inches.
Next step is to sand and stain using your desired stain, apply with stain pads.
I opted not to use a clear coat but you can do so for extra protection.
Let it dry for a couple of hours and its ready for use.
Resources for this project:
See all materials


Comments
Join the conversation
-
Light ‘Em up!!😊 Looks good! However I’d be chicken to light it unless it was out on the driveway, lol!
-
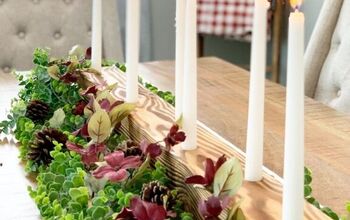
love it! you can change the candles color to match the season.


Frequently asked questions
Have a question about this project?