


DIY Hoop Ornaments
Making handmade Christmas ornaments is a family tradition we enjoy every year.
We choose a new theme every year, so it keeps things fresh.
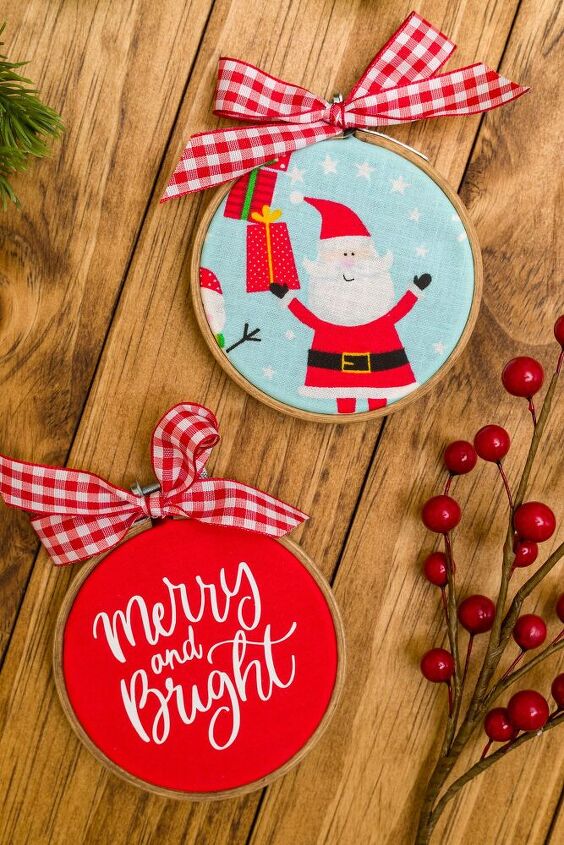
This year we are making embroidery hoop ornaments in the colors of a candy cane.
We decided on a simple and joyful theme ( see the tree here).
You can make various Christmas crafts of different shapes and sizes with so many embroidery hoop choices.
For these ornaments, I mainly used three-inch embroidery hoops.
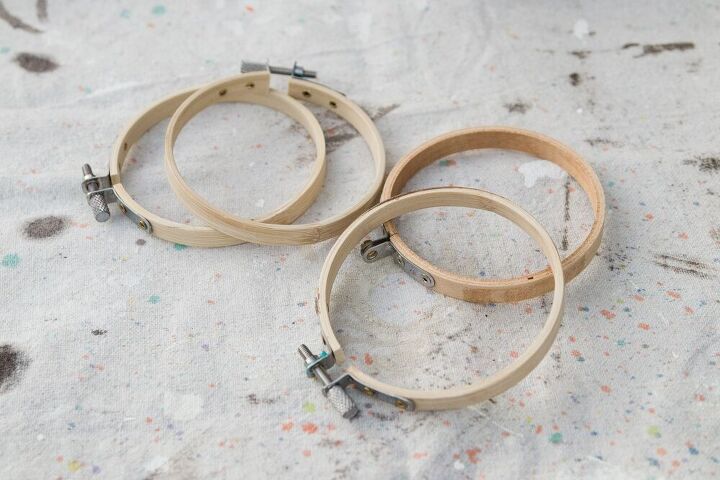
Only the outer hoop will be seen so it can be used naturally, or add a stain or paint them for a custom look ( these are the hoops I used).
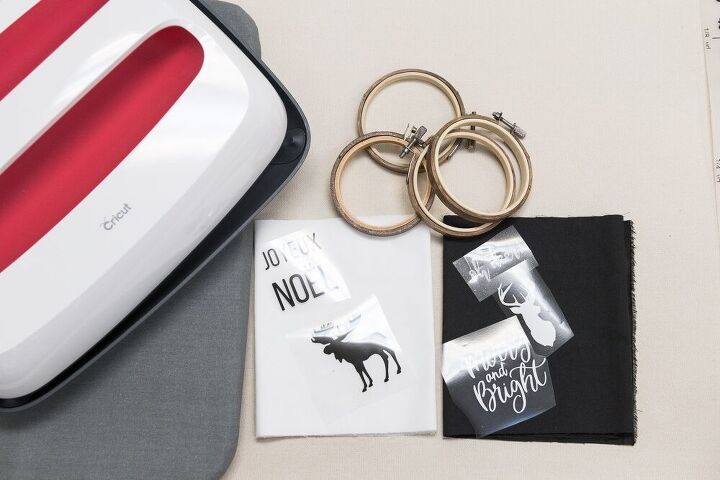
This next step is only necessary if you are adding a vinyl decal. Use your cutting machine (I used a Cricut Maker) to cut out your designs.

After the stain was dry, I used chalk to mark the hoop’s placement so I could press my designs on the fabric exactly where I needed them.
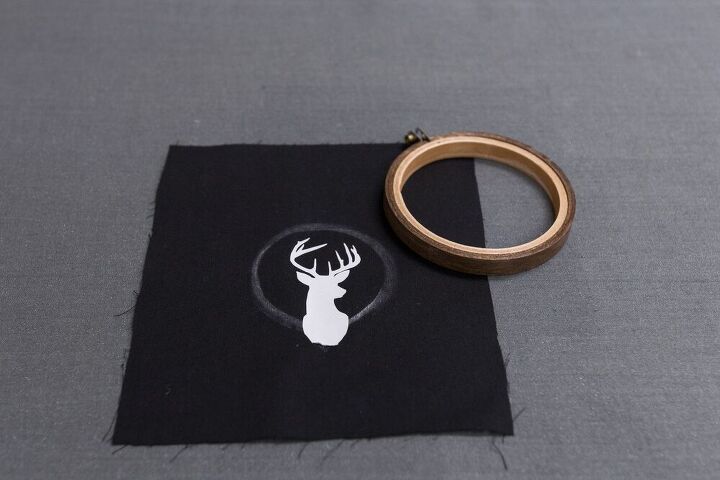
This design does not completely fit inside the three-inch hoop; thus, the chalk line helps me choose the placement.

The complete step by step for hooping the designs you can find in this earlier post.
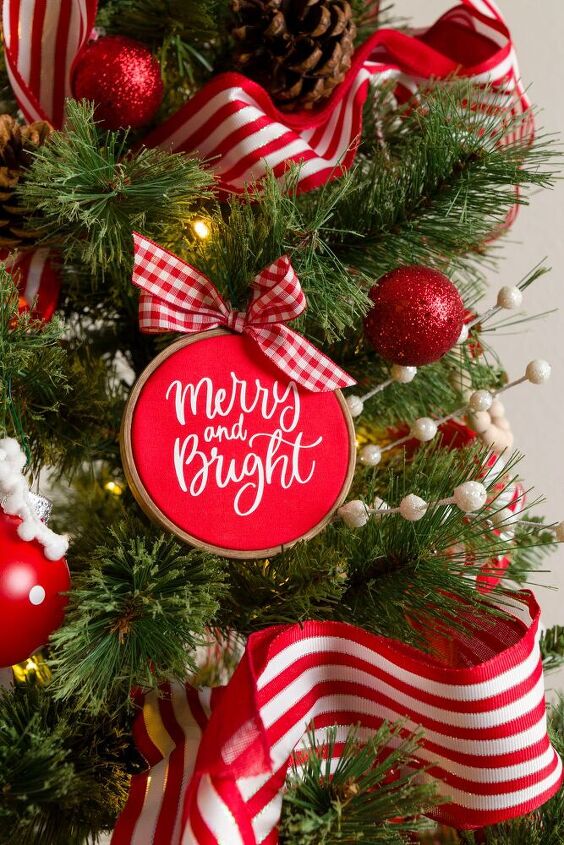
This year I made new ornaments in bright colors since our color scheme is red and white.
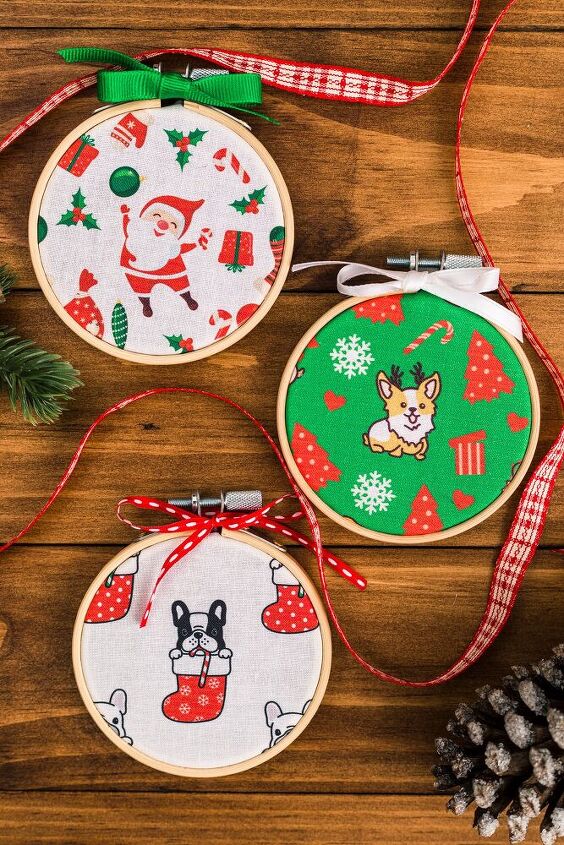
I made these Christmas hoop ornaments with printed fabric and ribbons. They turned out super cute. I added some fun ribbons too.
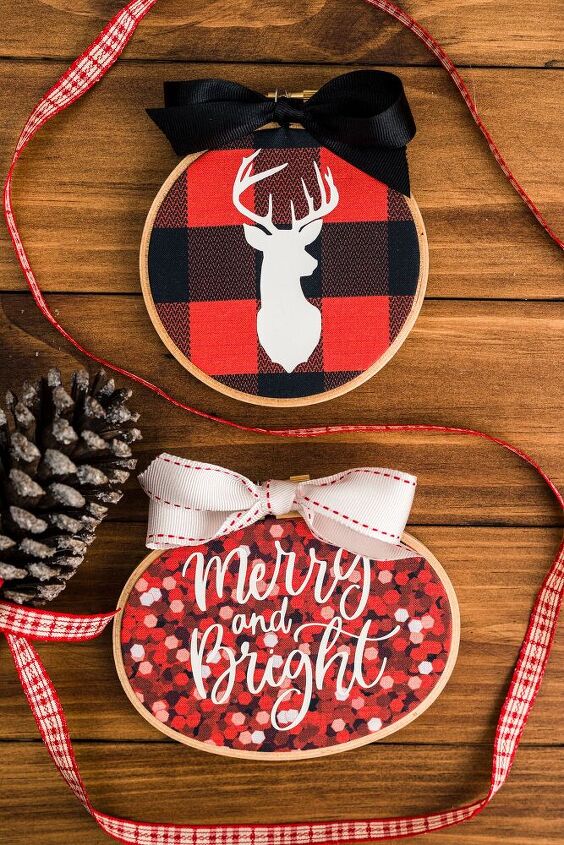
These hoops are a little larger, and one is oval.
Thank you for your visit today,
Kippi


Comments
Join the conversation
-
You never show the process for trimming the fabric on the back of the hoop and what it looks like when it is finished. You don't show that process in your earlier fall post either.


Frequently asked questions
Have a question about this project?