


How to Make DIY Ornament Pillows Without Sewing a Stitch
Let's make some DIY ornament pillows! This is a simple and fun project that doesn't require any sewing. We'll be making soft, comfy pillows that look just like Christmas ornaments.
Get ready to add a festive touch to your holiday decor with these DIY Christmas pillows!
This post was transcribed by a member of the Hometalk editorial team from the original HometalkTV episode.
Tools and materials
- Christmas fabric
- Paper templates
- Marker
- Scissors
- Fabric glue ( Quick Dry Fabric Fusion)
- Poly-Fil
- Clothes pins
- Thick metallic ribbon
- Hot glue gun
- Silver pipe cleaner
Hometalk may receive a small affiliate commission from purchases made via Amazon links in this article but at no cost to you.
How to make ornament pillows
1. Trace the ornament shape
Start with some inexpensive cotton fabric; I picked this up at JOANN. Fold the fabric in half so the right sides are together.
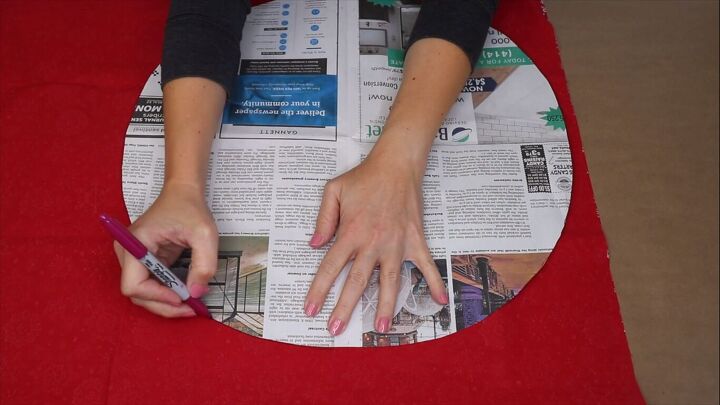
I cut out a circle that's about 18 inches in diameter out of newspaper, then traced around it using a marker. This marker line will not show at the end of the pillow so just use something that you can see.
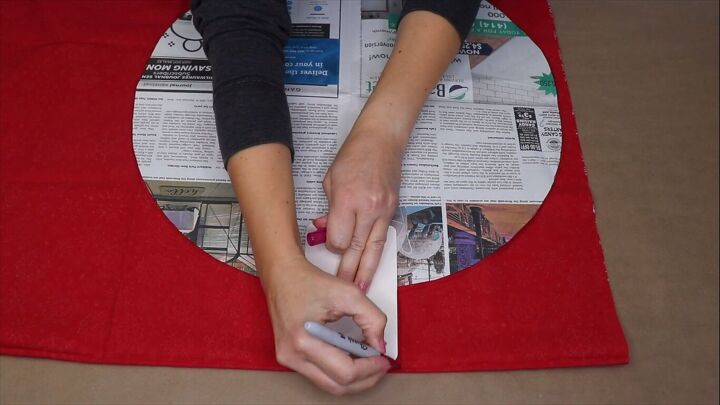
At the very top of the pillow, I'm using a little piece of paper here. This is about three inches wide and I'm marking off a point here that's going to be the top of the ornament.
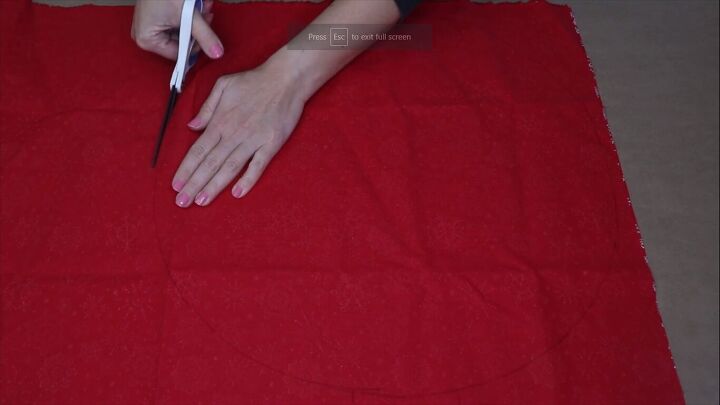
2. Cut out the pattern
Now I'm cutting everything out. You want to cut through both layers of fabric when you're doing this.
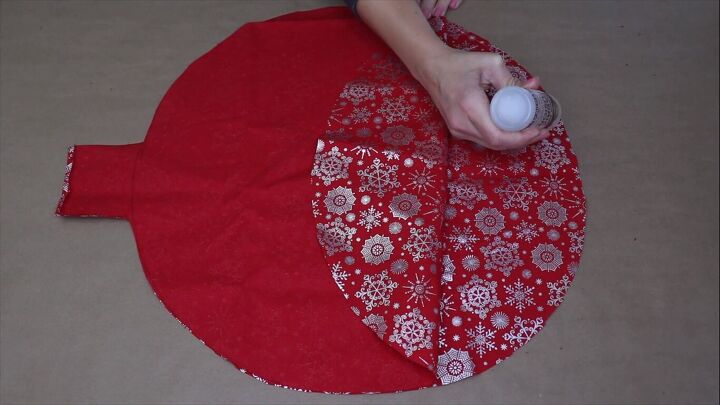
3. Apply fabric glue
Leaving both pieces together like this, I'm using some quick dry fabric glue to attach them together. I'm going to leave the top open so that we can stuff this pillow when it's all dry.
Quick dry fabric glue will be ready to work in about 30 minutes but if you're using regular fabric glue you might need to wait a couple of hours.
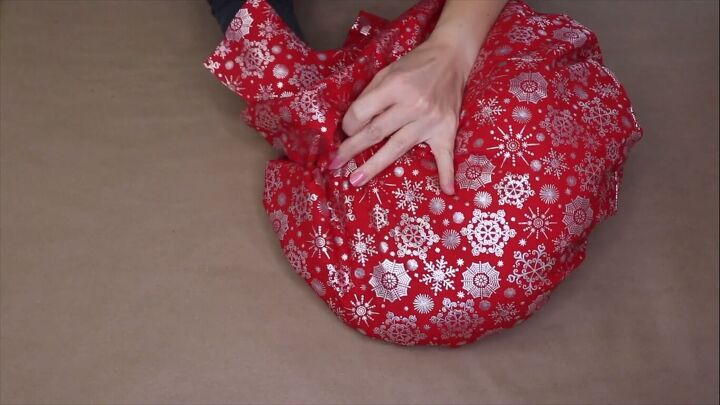
4. Stuff the pillow
Everything is dry so I'm going to turn it right side out and fill this pillow. I just picked up some Poly-Fil from the craft store.
I'm grabbing little pieces at a time and stuffing them into the pillow. I want to make sure I get into all the edges and make this a nice full and comfortable pillow.
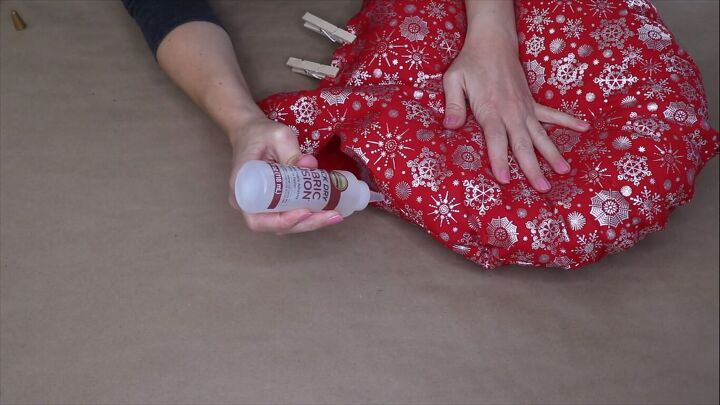
5. Close the seams at the top
Once the pillow is full to the top, I need to glue the edges together. So I'm going to grab a couple of clothes pins and the fabric glue, and I'm just going to fold in the seams and glue these together.
It's helpful to do the round part first and then you're also going to want to glue the top of the ornament together as well. We're going to let this dry again before we add our finishing touches.
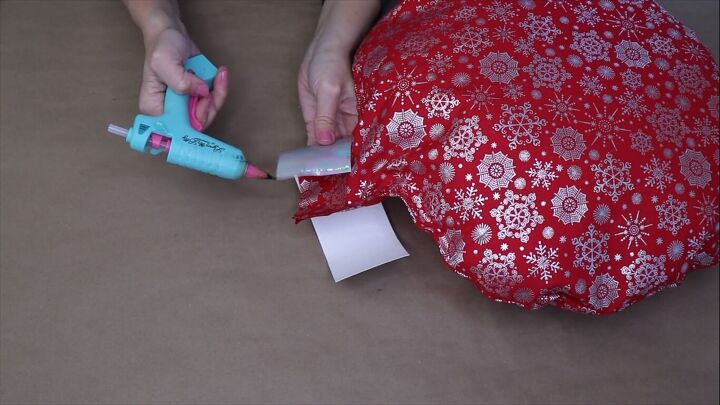
6. Add metallic ribbon at the top
This pillow is coming together and starting to look like an ornament but it needs a top to it.
I picked up some really thick metallic ribbon and cut out a piece to wrap around the top of the ornament. This is going to look like that little silver cap that sits on top.
I'm just going to use some hot glue to attach the ribbon to itself and also attach it to the fabric so it's not moving anywhere.
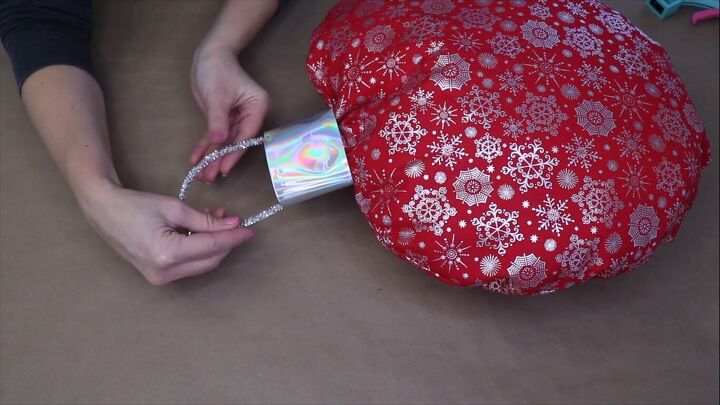
7. Add a pipe cleaner
The final step is to add a hook to our ornament. I am using a silver pipe cleaner to do this. Just use a little glue and attach it to the inside of the ribbon.
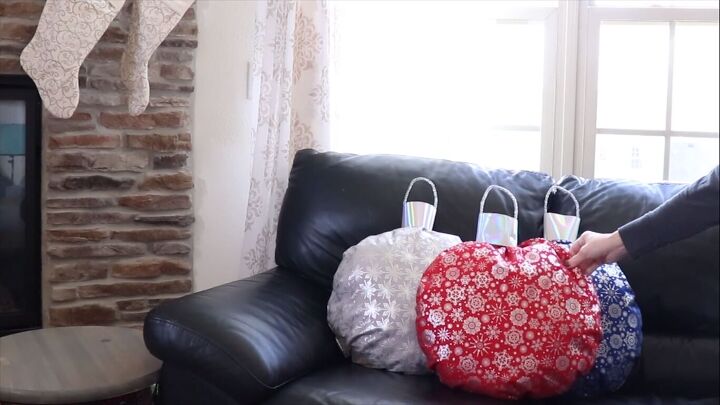
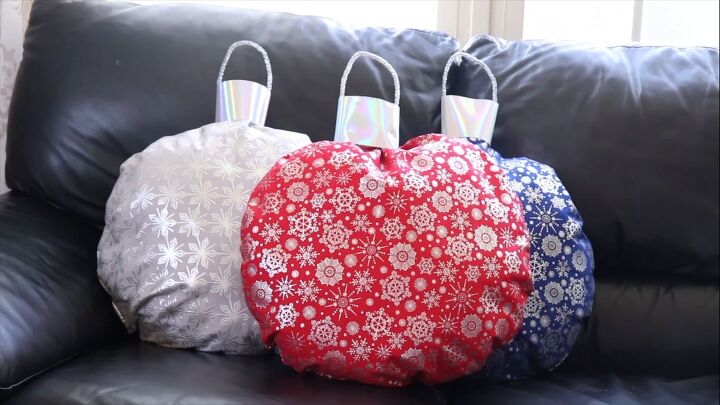
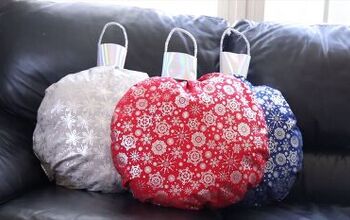
DIY ornament pillows
That's it! We've got an ornament pillow. This no-sew pillow was so easy to make. I made three of them. They're actually really comfortable and they're very durable. You can use these on your couch in your home this Christmas.
I hope this inspired you to go create your own ornament pillows for the holiday season. Let me know your thoughts and feedback on this project in the comments below.

Comments
Join the conversation
-
So Cute and Easy🥰
-
Such a cute idea!


Frequently asked questions
Have a question about this project?