


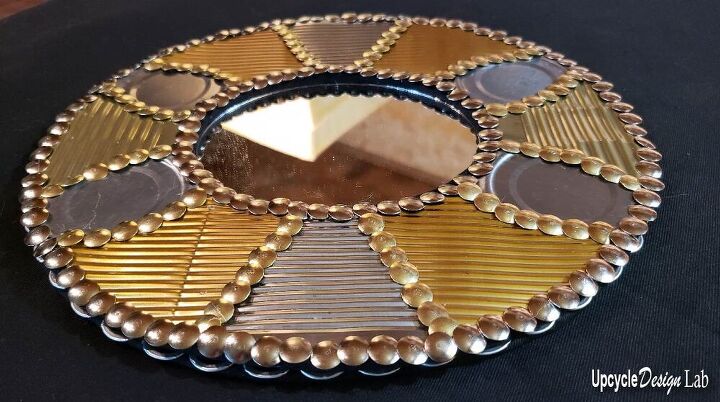
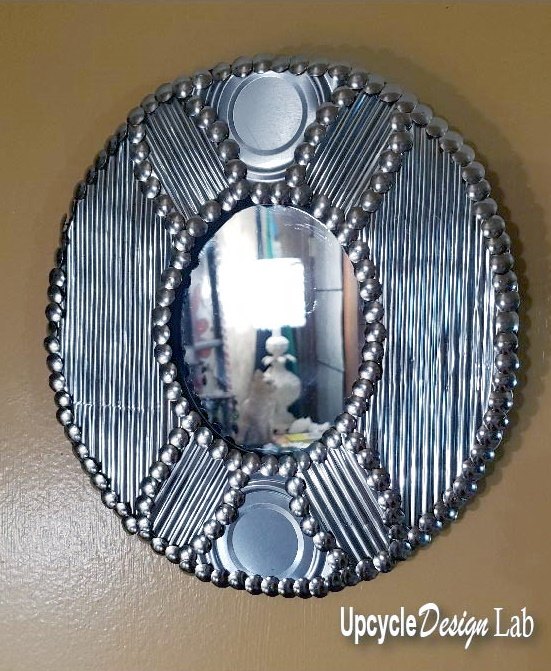
DIY Metal Framed Mirror - Upcycled Tin Cans
Empty tin cans are one of my favorite craft supplies. They are sturdy but flexible and with a little inspiration, they can be made into new and interesting home decor. Here is my latest tin can creation.
For this project, I used a small mirror, some corrugated cardboard, fabric scraps, and thumbtacks.
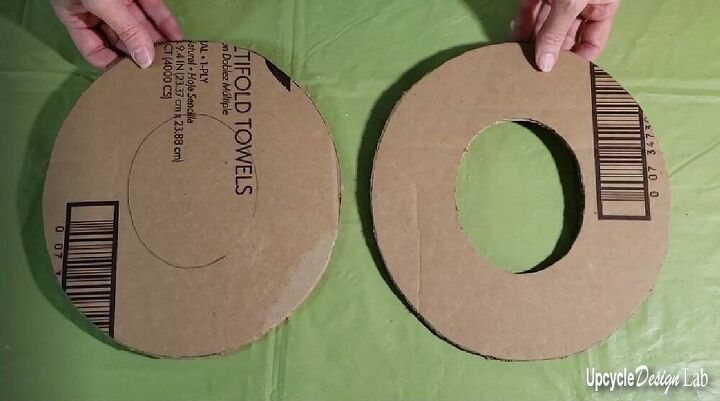
The first step is to make a cardboard frame for the mirror.
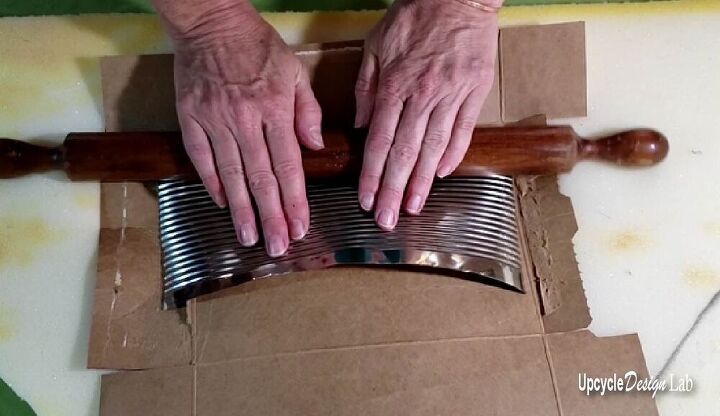
Next, it is time to cut and flatten some tin cans. Note I should have been wearing some gloves here because the edges of the can are sharp. It takes a little time and patience to flatten the cans. Using a rolling pin and a soft surface can help to keep the metal from creasing.

Once I had created my pattern I used the scissor tin snips to cut out the pieces.

The edges and the back of the cardboard pieces were covered with some black scrap fabric using fabri-tac glue.
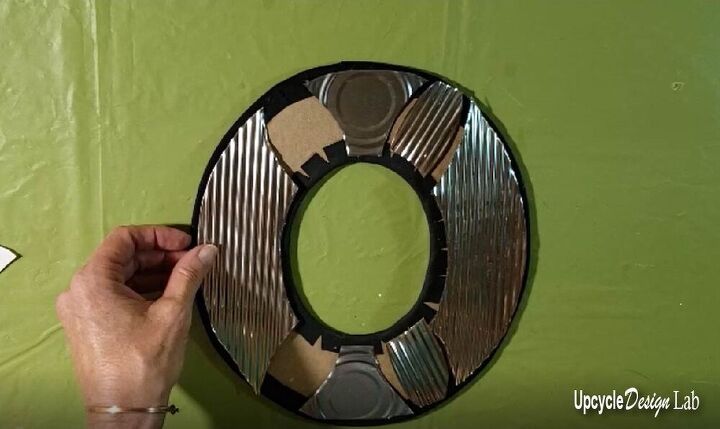
Once all the metal pieces were cut I attached them to the frame piece with some E6000 glue. The mirror was glued to the back piece of the frame also with E6000 glue and then the two pieces of cardboard were glued together.
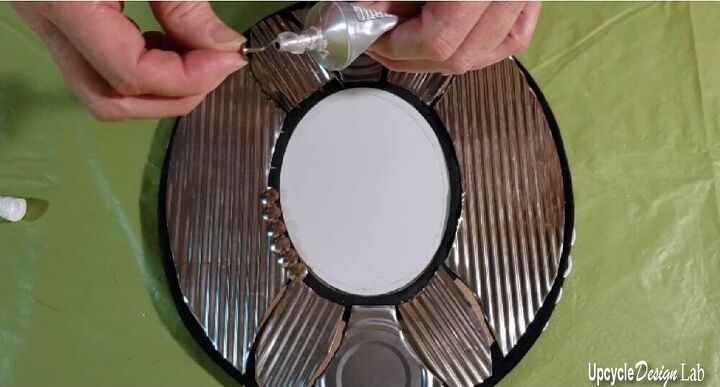
To finish the edges of the tin can pieces thumbtacks were glued along all of the edges. The final step is to add a hanger or hook to the back.
You can view the full video tutorial below. Or visit the full blog post here.
Thanks for checking out my project. If you would like more upcycling inspiration please visit my blog at www.UpcycleDesignLab.com.
Happy Upcycling,
Cindy
Resources for this project:
See all materials


Comments
Join the conversation
-
Very nice and creative idea. Thank you for sharing :)

-
Thank you. I have an old medicine cabinet mirror, I have been wondering what to do with it for years now, I think I know how I should proceed. Thank you for sharing and Happy New Year!


Frequently asked questions
Have a question about this project?
I love this idea! I have a large mirror & I've been wondering how to fix it up
I love your up your upcycle creativity and your patience while assembling your pieces. They look a little Art Deco !
One question , how many boxes of thumb tacks did you use ?
Great project! What’s the size of your finished product?