


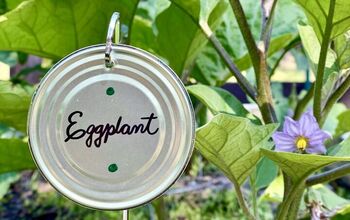
DIY Giant Garden Markers - Upcycled Aluminum Can Project
I am trying my hand at gardening this year, and I must admit that my efforts would probably get me kicked out of even the most lackadaisical garden club.
So far, I have killed four strawberry plants. This task took about three days of concentrated effort. Also on the hit list were four green bean plants that survived approximately two weeks of alternating dehydration and waterboarding, and then there were two romaine lettuce plants that I tortured for almost a month. Ironically the two romaine lettuce plants that survived are now the healthiest things in the garden.
It’s called tough love, people.
Ok, I don’t technically love my plants, but I do wish them a long and healthy life, and apparently, to survive my gardening competency, they have to be tough.
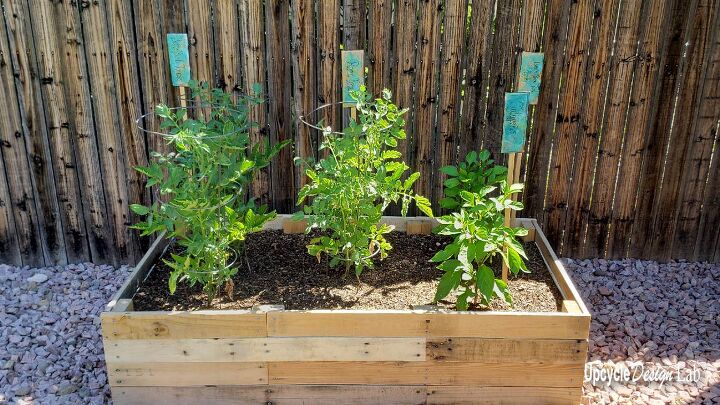
Anyway, in an effort to appease and reward my tenacious little green and leafy friends, I decided to make name tags for the survivors. Because, well, it’s easier than making all those formal introductions. 🙂
Step 1 – Cut and Flatten Cans
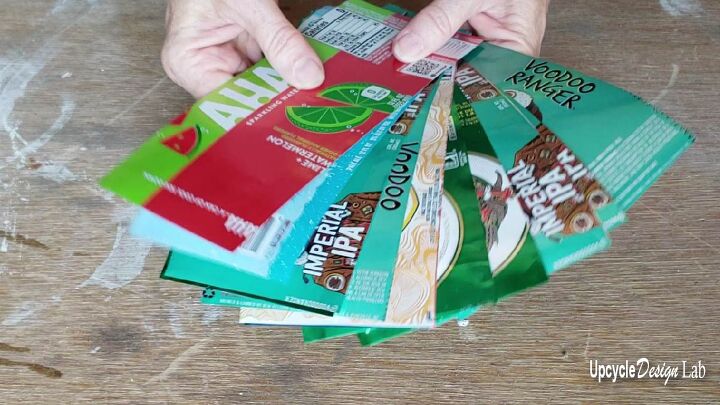
This quick video shows how I cut and flattened all my aluminum cans.
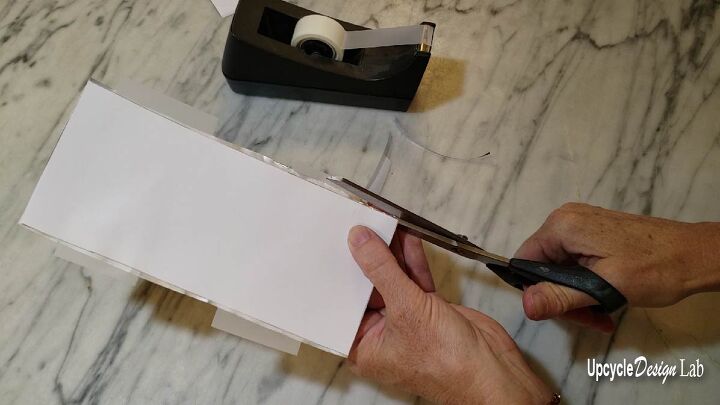
Step 2 – Trim and Fold
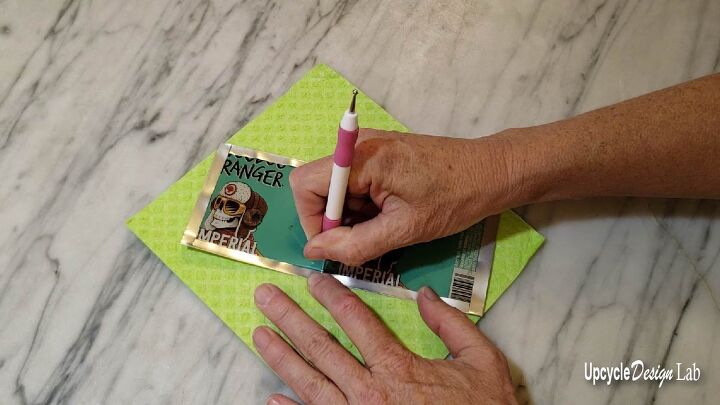
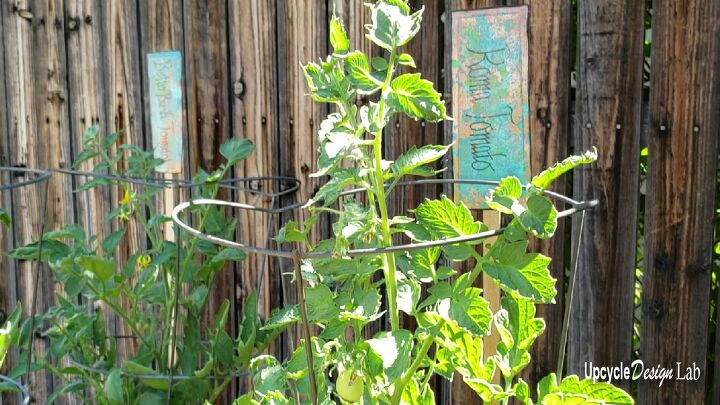
I used a paper template and scissors to trim my aluminum sheets to a standard size. You can make these smaller if you want a more traditional size. I thought a big size was fun, so I used a single sheet for each marker.
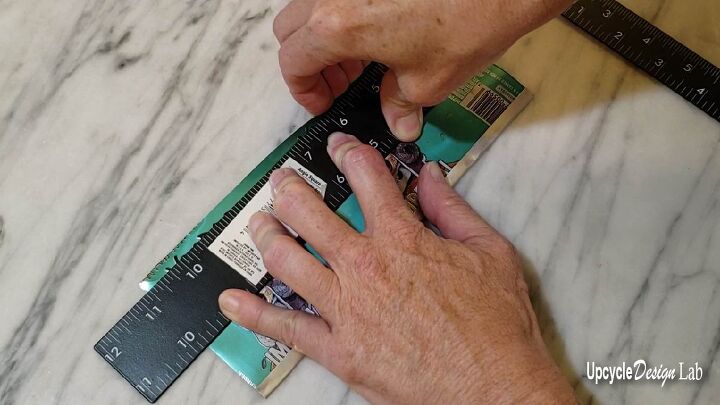
I used a metal ruler to fold the edges, but anything with a firm straight edge will work. You can measure and mark your fold lines, but I prefer to use the eyeball method. Once the folds are made, you need to press them flat. I used the side of a sharpie marker for this job.
Step 3 – Emboss
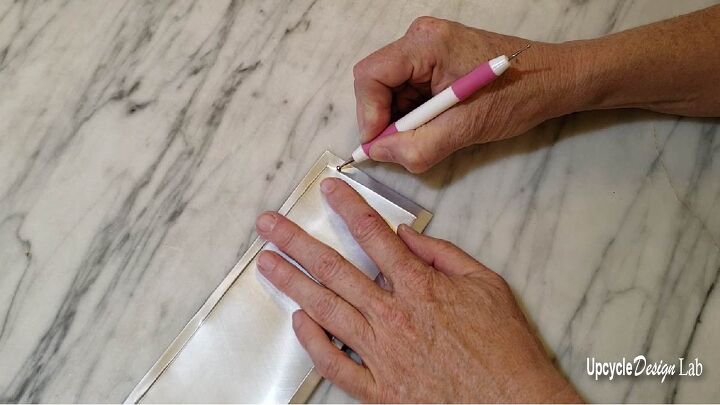
If you have never tried embossing before, this is a straightforward learning step, and the tools are inexpensive. All you need is an embossing tool (I got mine at the Dollar Tree) and a small piece of felt or foam.
I used the small tip of my embossing tool with the aluminum sheet face down on the felt and pressed a line right along the folded edge around the piece. Once that was complete, I flipped the piece over and switched to the large tip of the embossing tool and a hard surface. Then I pressed another line right along the first line to emphasize the embossing.
Step 4 – Add Faux Oxidized Copper Finish
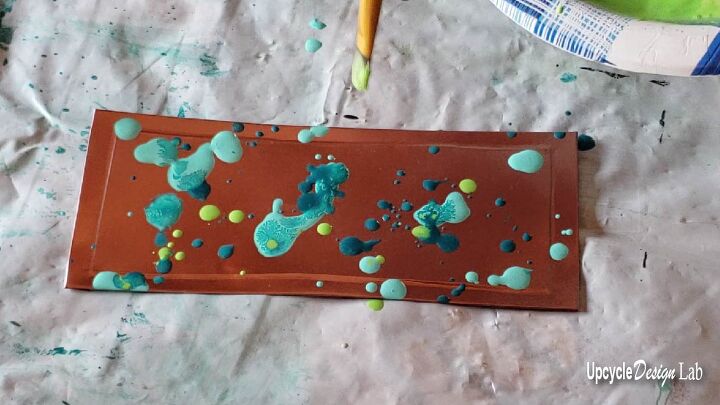
You can choose to finish your garden markers now by adding your plant information with a permanent marker or learn how to add the faux oxidized copper finish in the video below.
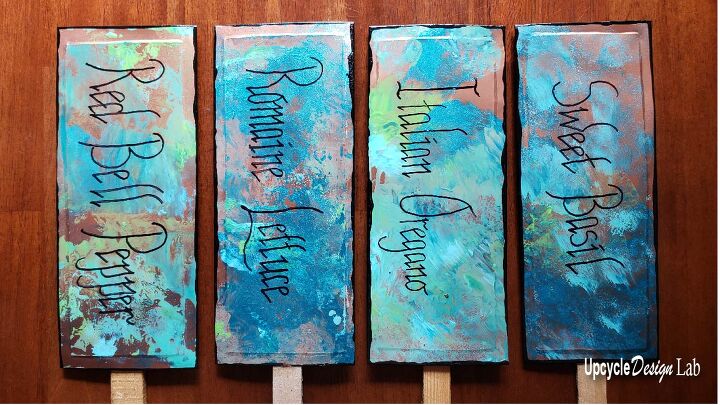
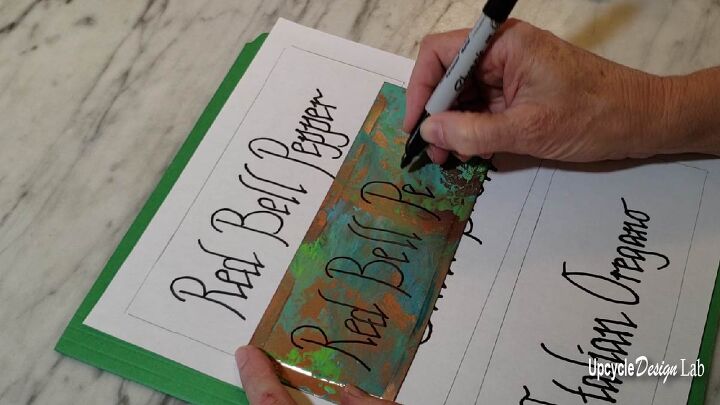
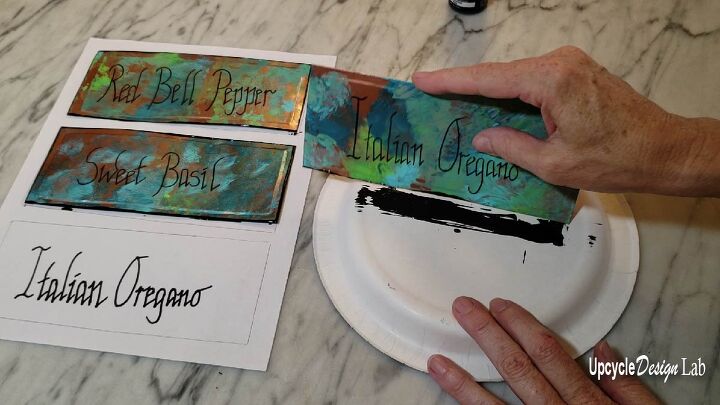
Step 5 – Write Labels
Once the paint is dry, you can add your plant information to the metal sheet with a permanent marker. I recommend practicing a few times on paper before writing on the aluminum.
For a little added emphasis on the edges, I applied some black acrylic paint by dipping the sides of my garden markers in the paint.
To finish and seal the acrylic paint, I used DecoArt’s DuraClear gloss varnish.
Step 6 – Finish
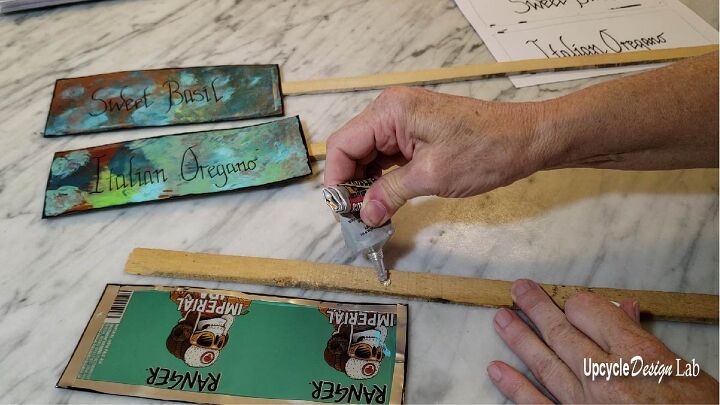
I used some E6000 glue to attach the labels to the wood scraps to finish the garden markers. These long wood strips were leftover from the raised garden beds we made from old pallets, so they were the obvious choice for the garden markers.
Thanks for checking out my project.
Happy Upcycling,
Cindy
Advertising Disclosure: Upcycle Design Lab may be compensated in exchange for featured placement of certain sponsored products and services or your clicking on links posted on this website.
More Gorgeous Garden Projects
Resources for this project:
See all materials


Comments
Join the conversation
-
Love these and I'm going to add something to the bottom to discourage critters from having a dinner at my expense too. Thanks for the idea!
-
Have never thought of ironing them to make them flat,so thanks for that.Nice project.


Frequently asked questions
Have a question about this project?
Do you have a link to the video for how you flattened your cans?
This is the best up cycle and tutorial I’ve ever seen on this page!! Love it, thank you!