


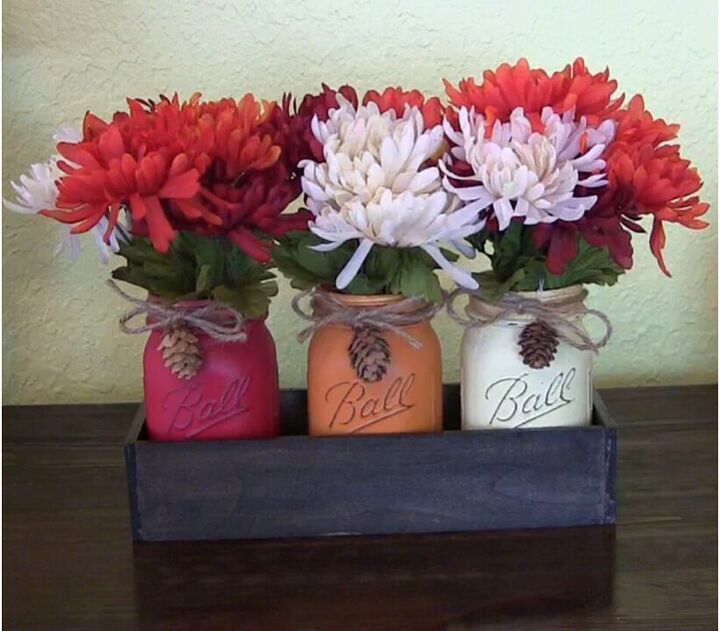
Mason Jar Box Centerpiece

I never get tired of all the different ways there are to decorate with mason jars! They are so affordable and you can change them up for any season.
This is a mason jar box centerpiece I recently made. I really like the way it turned out, and am planning to make another one with a spring theme.
Here is how I did it, and I've also included the YouTube video if you'd rather watch that.
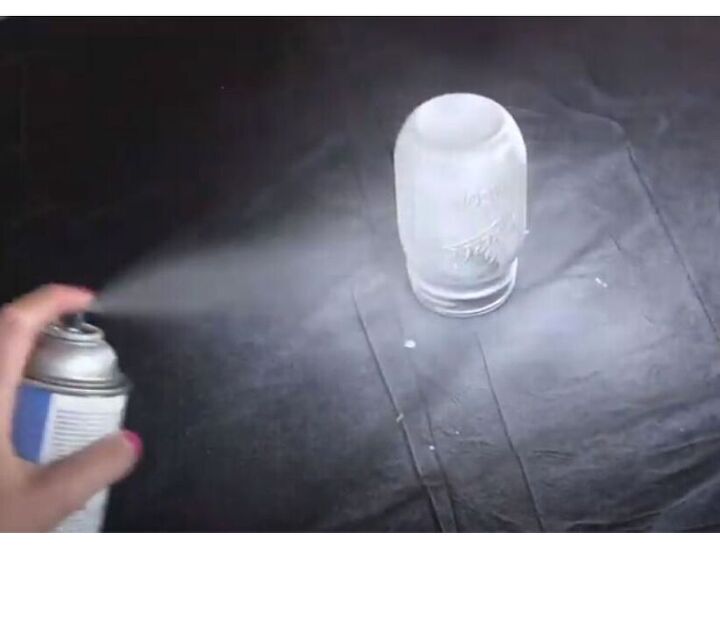
STEP 1:
I start by spraying the jars with 2 coats of primer, letting them dry between coats.
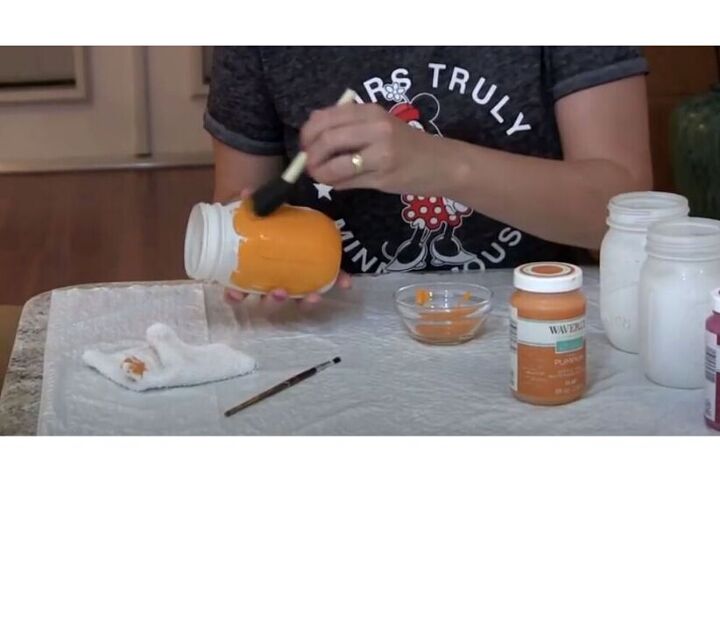
STEP 2:
Once the primer is dry, paint each jar with colors of your choice. I was going for fall colors so I used orange, burgundy and cream. Each jar got 2 coats.
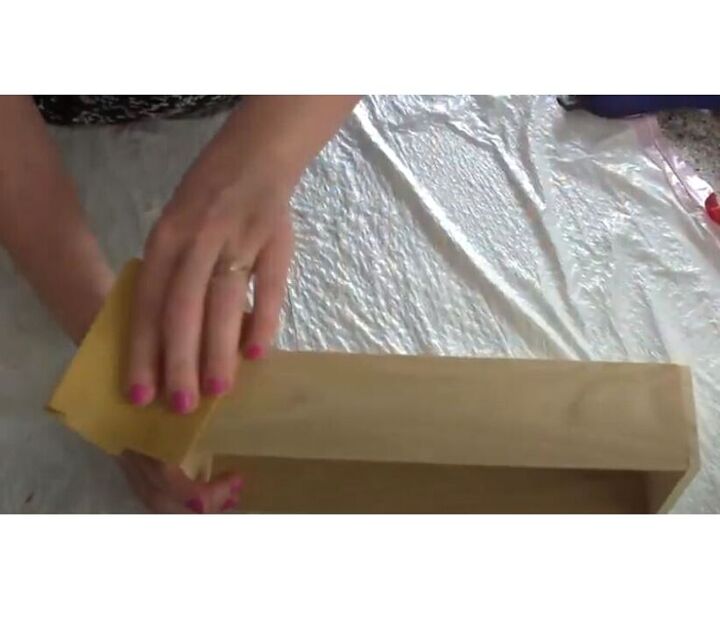
STEP 3:
Now it's time to sand the logo and designs on the jar so that they really stand out.

STEP 4:
After wiping off the sandpaper dust with a clean cloth, I sprayed the jars with a couple of coats of Krylon satin finish clear coat to protect the finish.

STEP 5:
Now it's time to assemble the box. I had some wood pieces in the garage that I used. They measured:
Two pieces of 10-1/2" x 2-1/4" (long sides)
Two pieces of 4-1/8" x 2-1/4" (short sides)
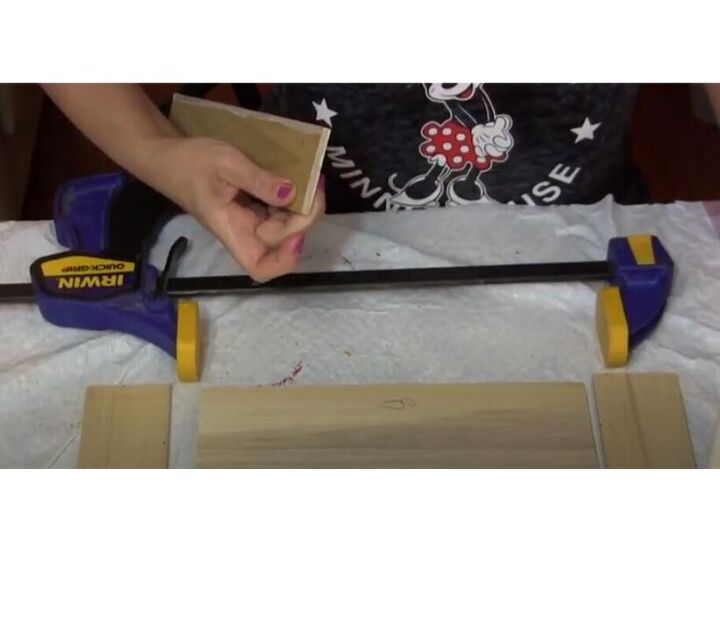
One piece of 3-1/2" x 10-1/2" (bottom)
Before gluing, I laid this large Irwin clamp next to the pieces (this was going to help with the job!) Then I started to apply the Gorilla wood glue in all the areas needed to form the box.
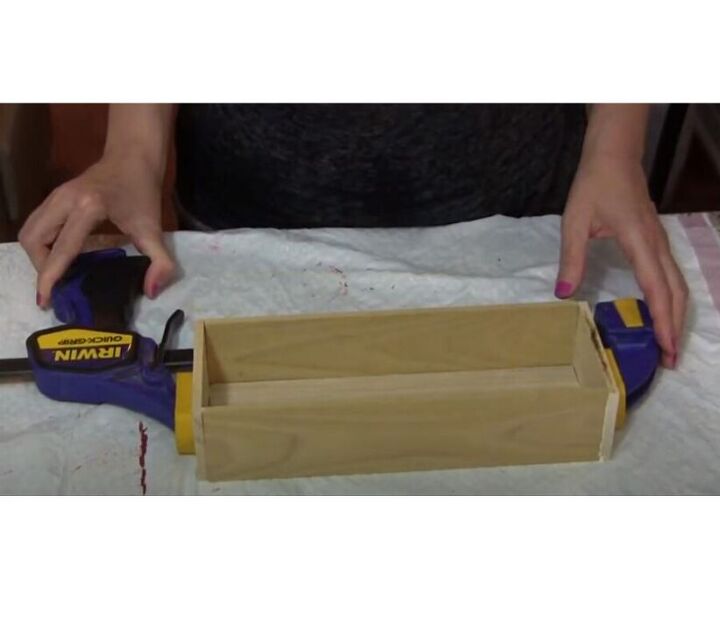
STEP 6:
Once the glue was applied, I lined up the pieces, using the clamp for support so that the pieces won't keep falling down. Tightening up the clamp held the box in place while the glue dried.
STEP 7:
The glue dried overnight, and once I unclamped it, I gave it a quick sand so that it would absorb the wood stain better. Then, I wiped it down with a damp cloth.
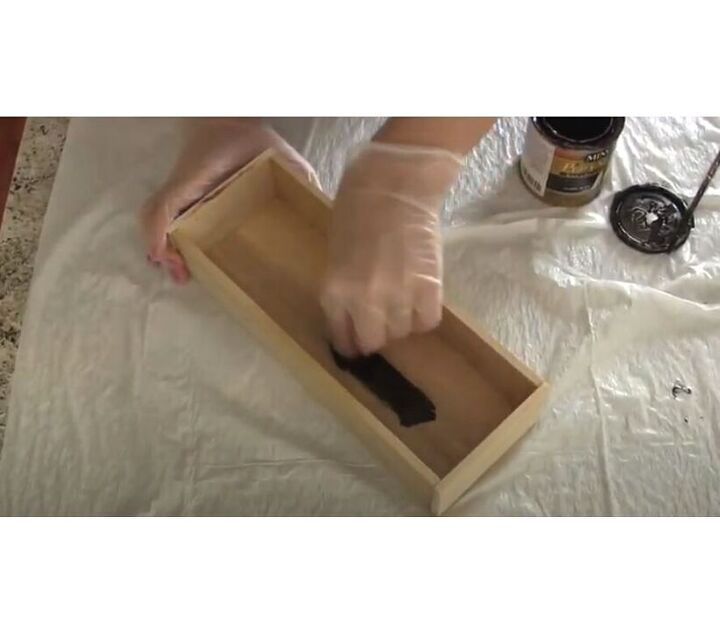
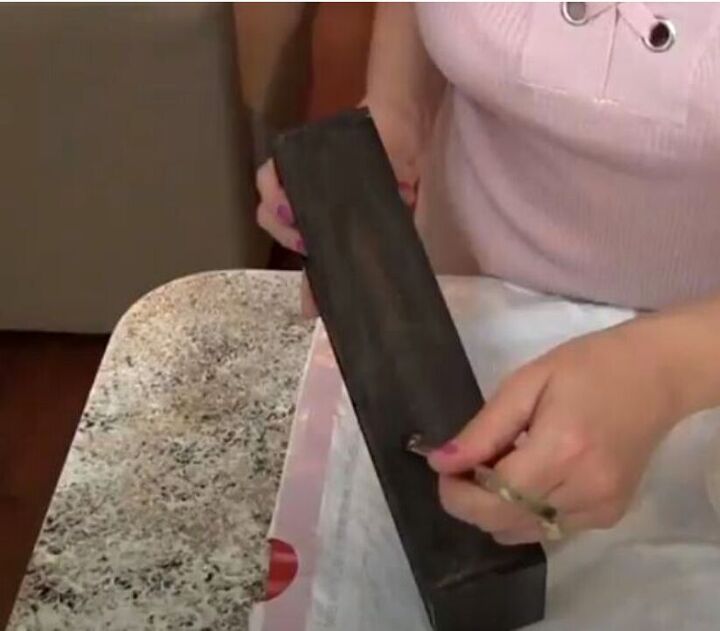
STEP 8:
Now I'm applying wood stain to the box using the sponge applicator.
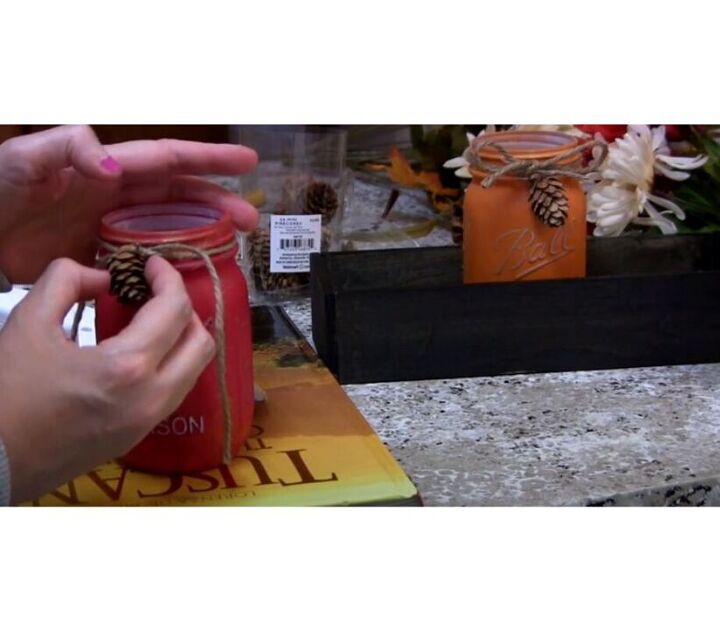
STEP 9:
Adding some jute rope and mini-pine cones!
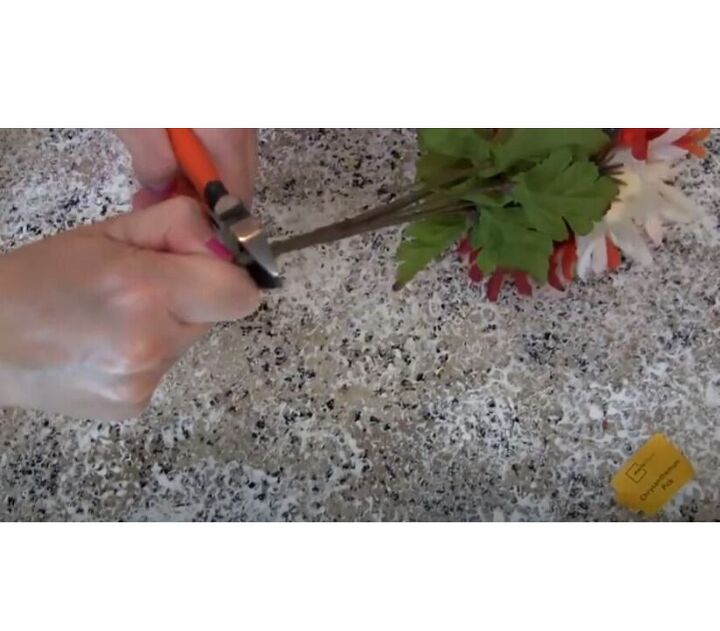
STEP 10:
Next, I snipped about 3 inches off each bunch of the chrysanthemums so they would fit nicely in the jars.
STEP 11:
Dry brushing the box with a tiny bit of Chocolate Brown metallic paint for a little extra sparkle!
STEP 12:
Enjoy the new centerpiece! This was a fun project, and I am already looking forward to making the next one!


Frequently asked questions
Have a question about this project?