


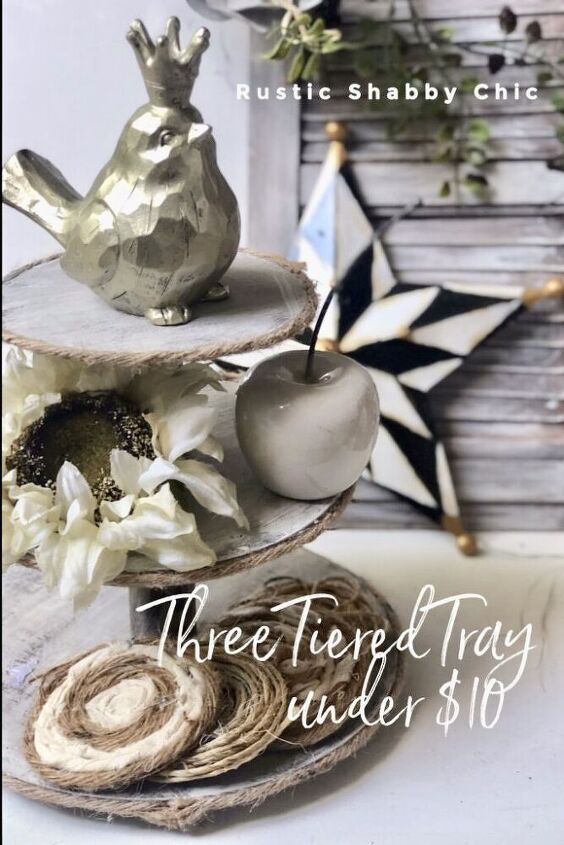
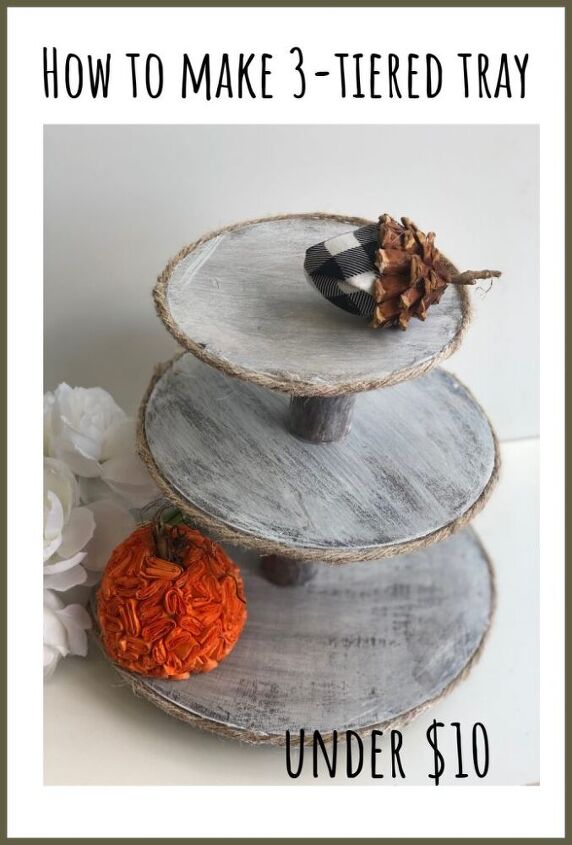
How to Make Three Tiered Tray Under 10$
I love going through Instagram and Pinterest, and see all the beautiful tiered trays that have been posted and because of that, I have wanted to purchase one, however, they are quite expensive. So, I have decided to get thrifty and make my own. Who doesn’t love tiered trays? If you follow me for some time you know that I love to search my craft area for things that I can use in my last minute ideas. Just because I always have random items in my craft box I went on the search and this is what I found. Lots of wooden circles that would be perfect for my tray. They are not all the same thickness but that is ok we make budget friendly display tray diy?
Things you need to make tiered display tray diy
This post may contain affiliate links. This means that if you purchase from one of the these links I will make a small commission, but rest assured you will not pay more for any products.
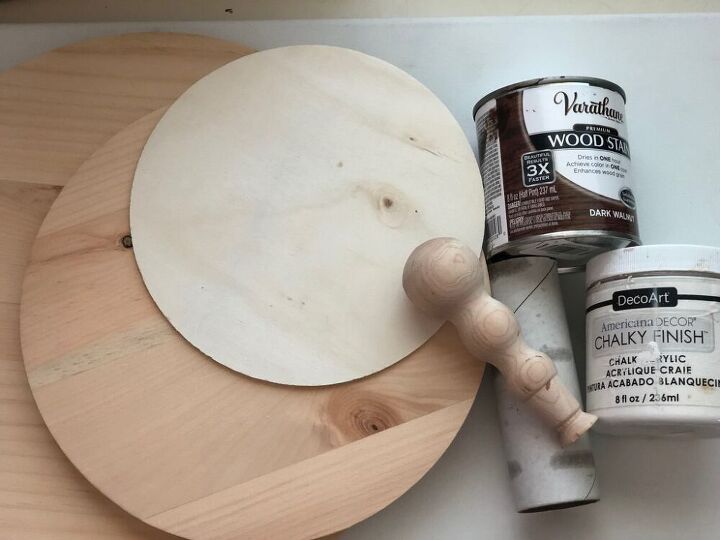
Wooden circle cutouts – thin ones
Hot glue gun and glue sticks
Wood Stain or paint ( its your choice)
Wrapping paper core (inside of the roll that keep paper from bending )
So Let’s begin to make Tiered Wooden display tray
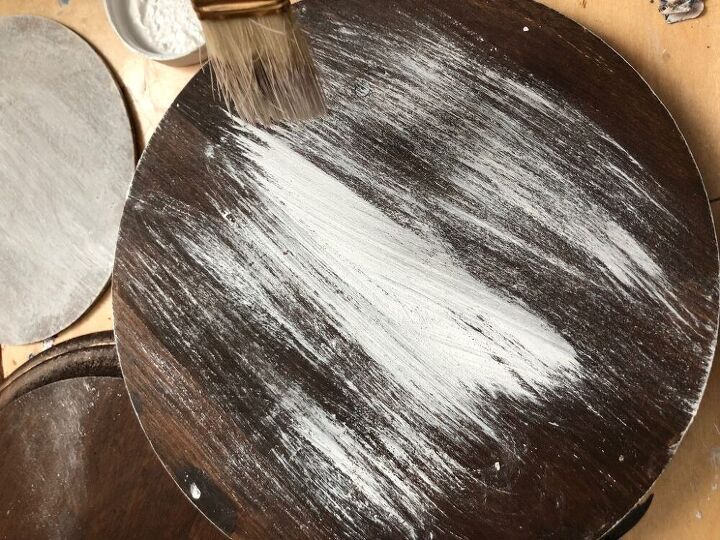
- Apply your stain to wooden circle and wipe it off almost right away with paper towel to get that see-through look. if you like deeper tones of your wood you can leave it for a minute longer but always wipe with rug or paper towel to make sure all is evenly applied.
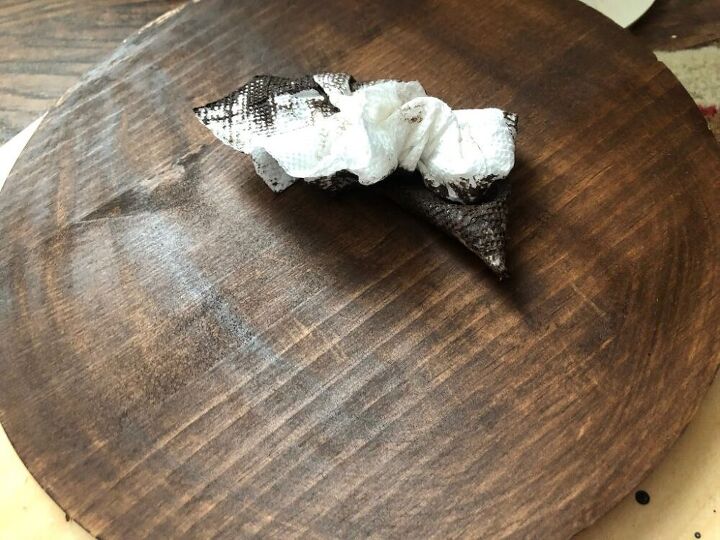
Because it is a tiered tray that all sides will be exposed you will like to finish both sides of your wooden circles.
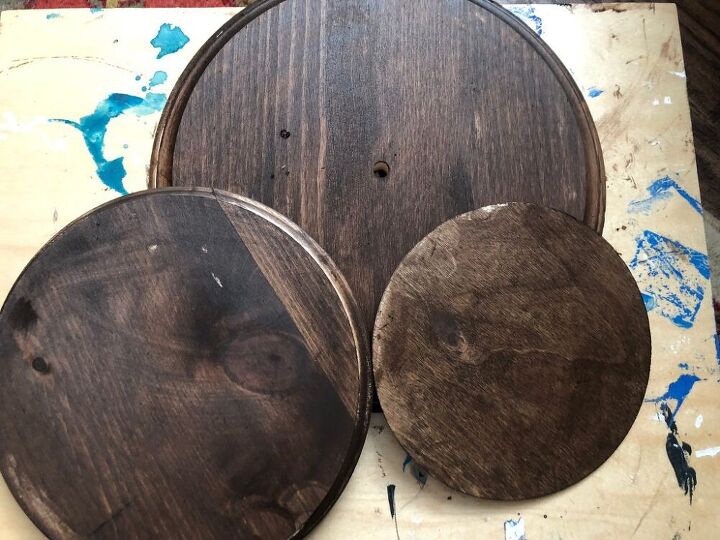
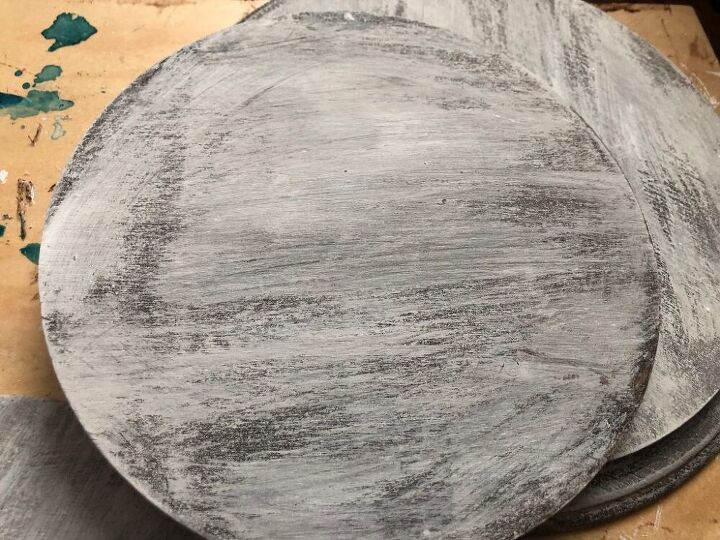
As you can see grains of wood on those wooden circles are going in different direction and I do like what I see. Just because I love distressed look a bit of a chalk paint will add even more interest. My goal is to dry brush my circles.
Dry Brushing
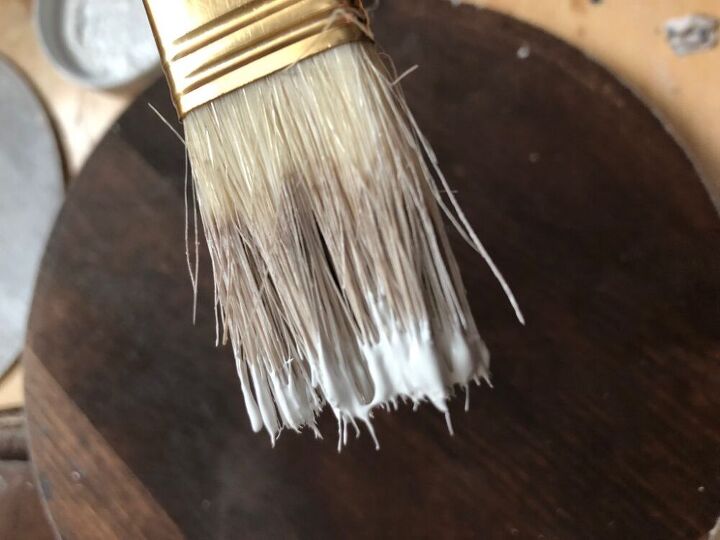
- Dip a paint brush into paint just a bit and literary wipe it on your wooden circles as you can see below.
Love how my tiered tray pieces come to live little by little.
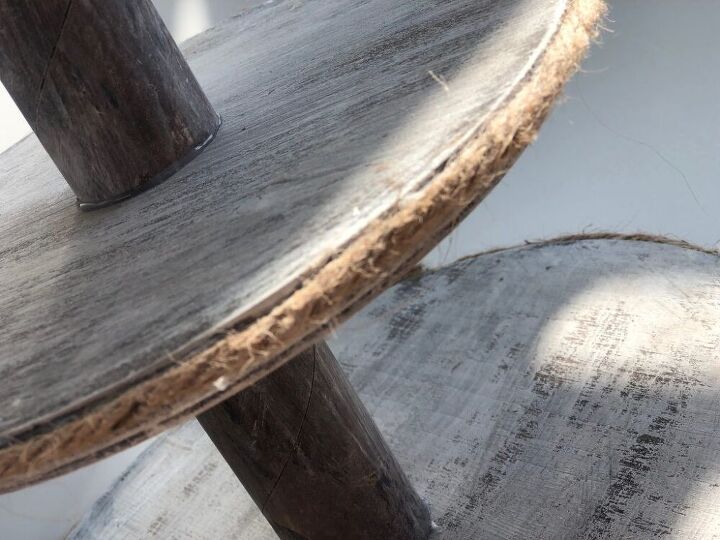
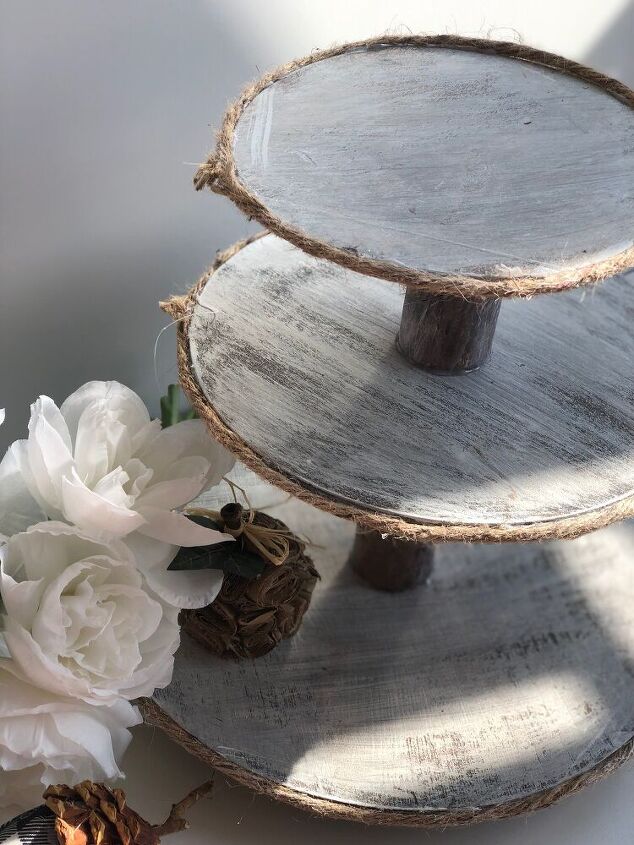
As I mentioned earlier my circles were a different thickness so a bit of twine for sure will help to mask that difference
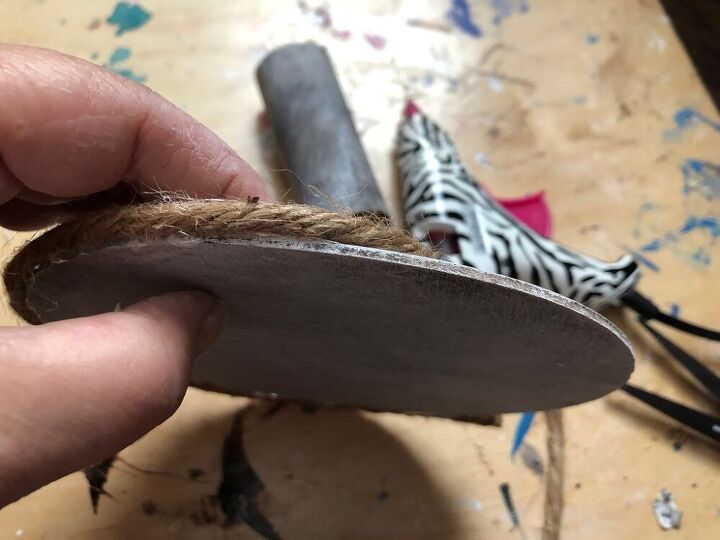
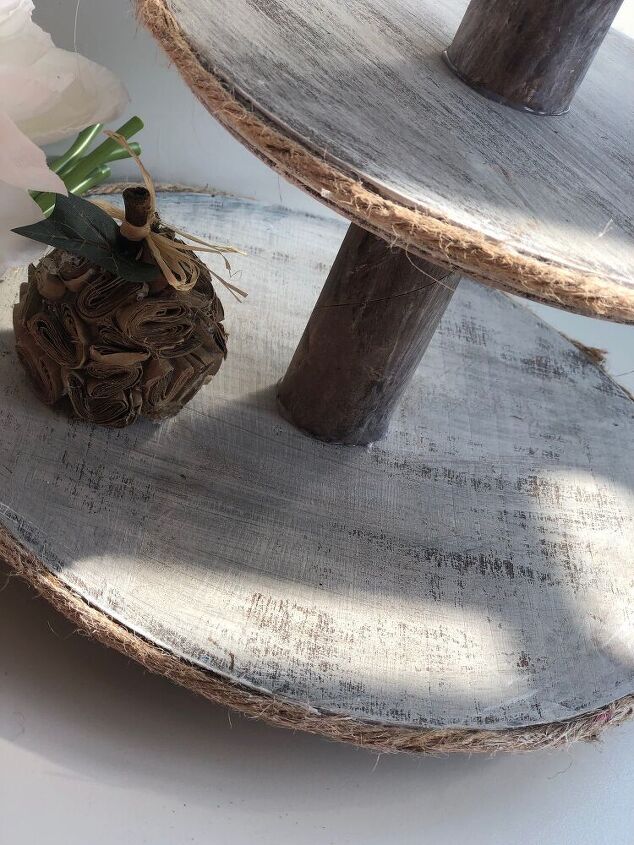
- Just because my wooden circles are thin I decided to finish them off with rope to give them more interest and camouflage its thickness
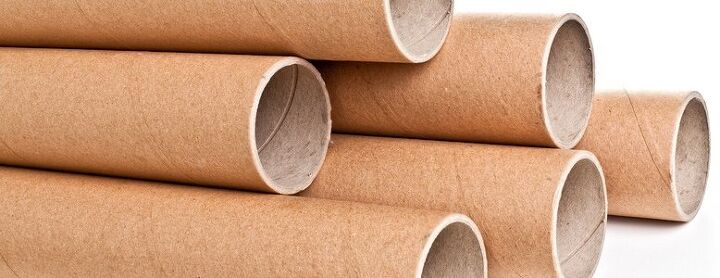
- Time to use our wrapping paper core tubes and paint them same way as wooden boards. Don’t forget to cut them into 2 pieces one around 6inches and second around 4 inch pieces. It is not easy because they are really tough but you can do it.
–
- Paint those tubes same way as you did wooden circles and you are done. Attach them to your wooden circles and with hot glue.
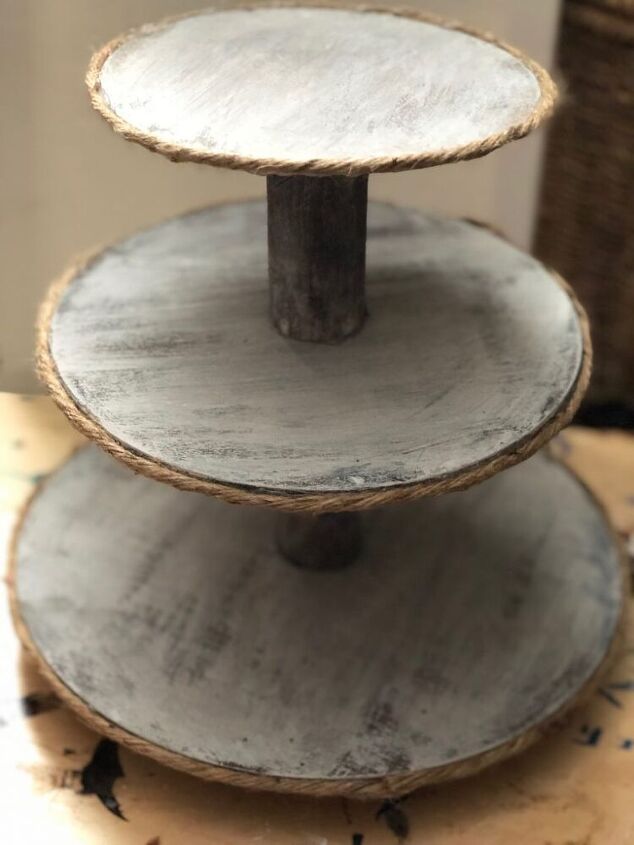
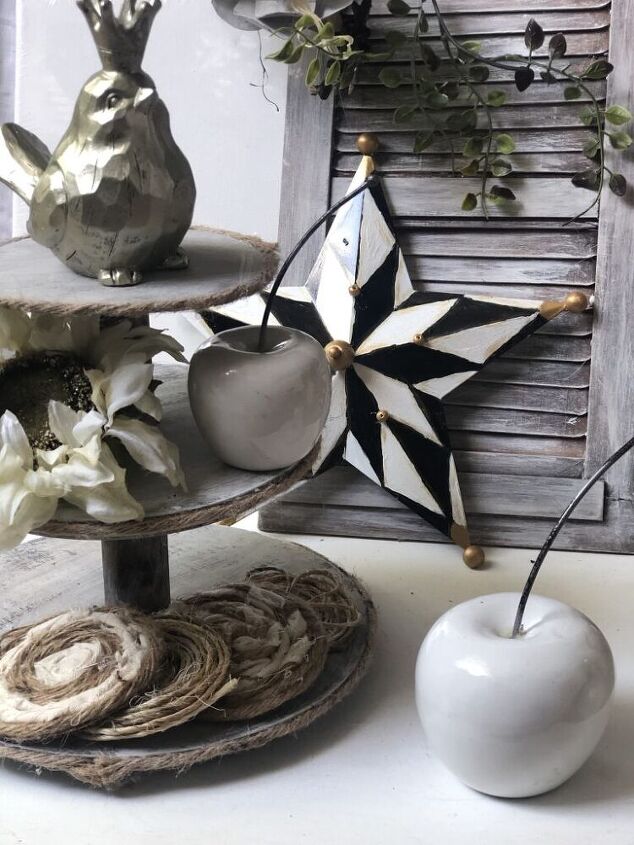
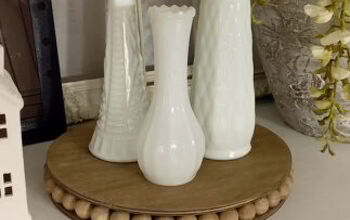
And here we are… Taa-DAA !! What a great looking 3 tiered tray! I love it! Can’t wait to accessorize them!
Wooden Tiered tray diy is completed
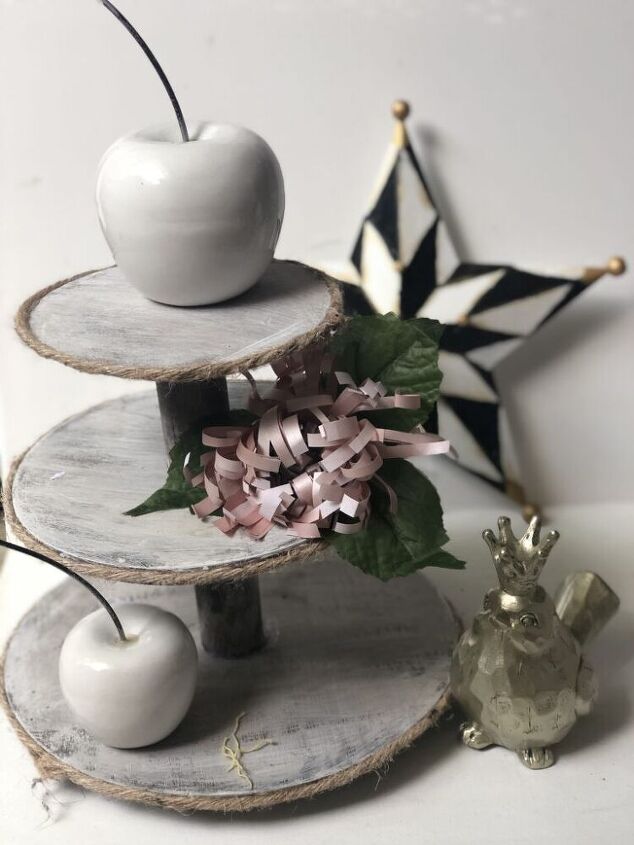
More directions on how to make that flower can be found below on my YouTube channel.
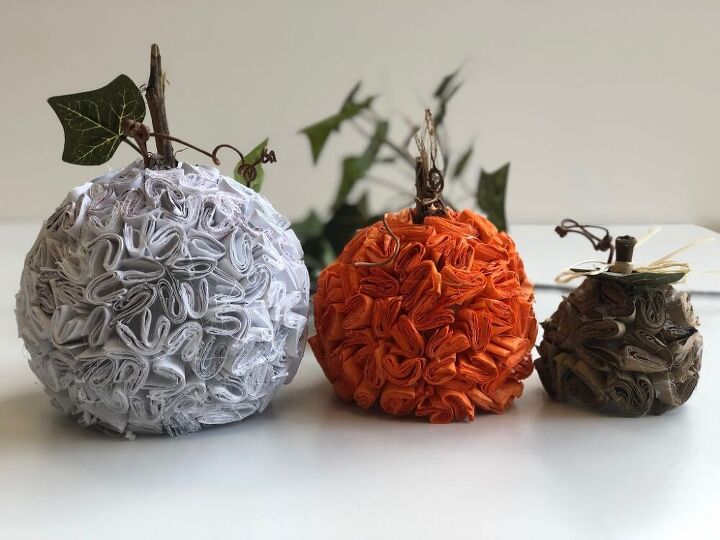
If you are curious on how to make that little pumpkin you can read HERE
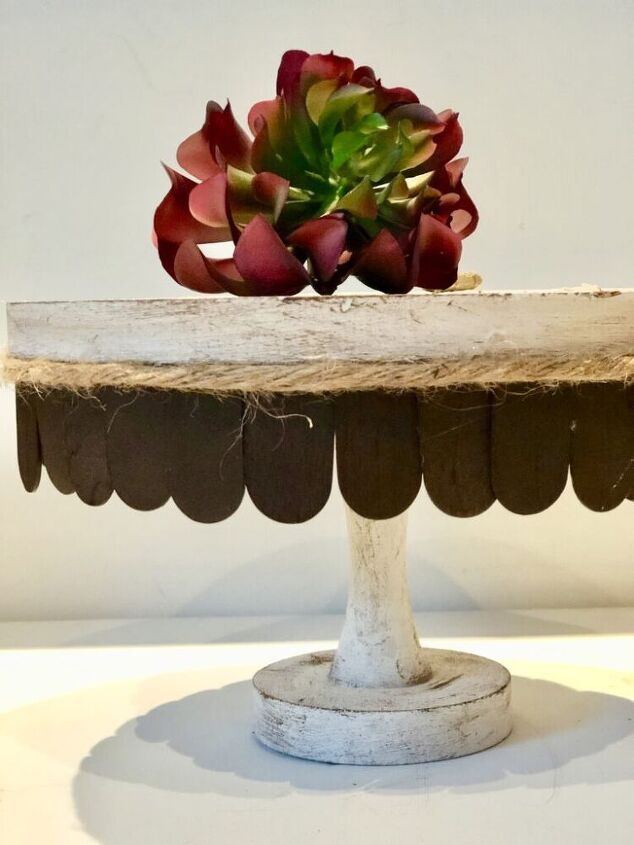
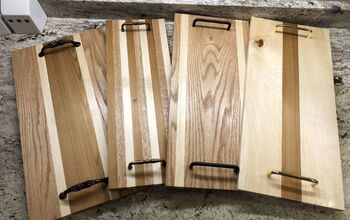
Here is another tray I made from wooden frames . All details can be found HERE

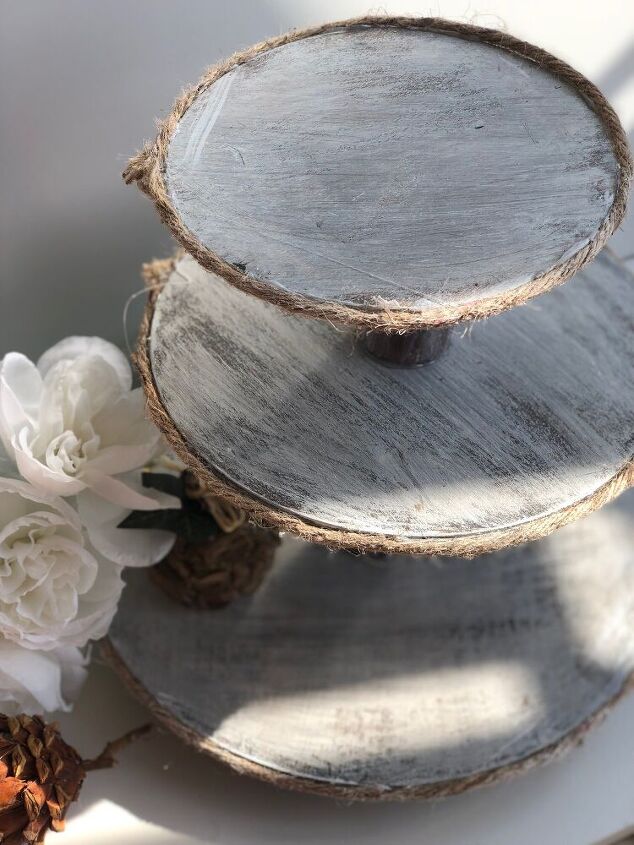
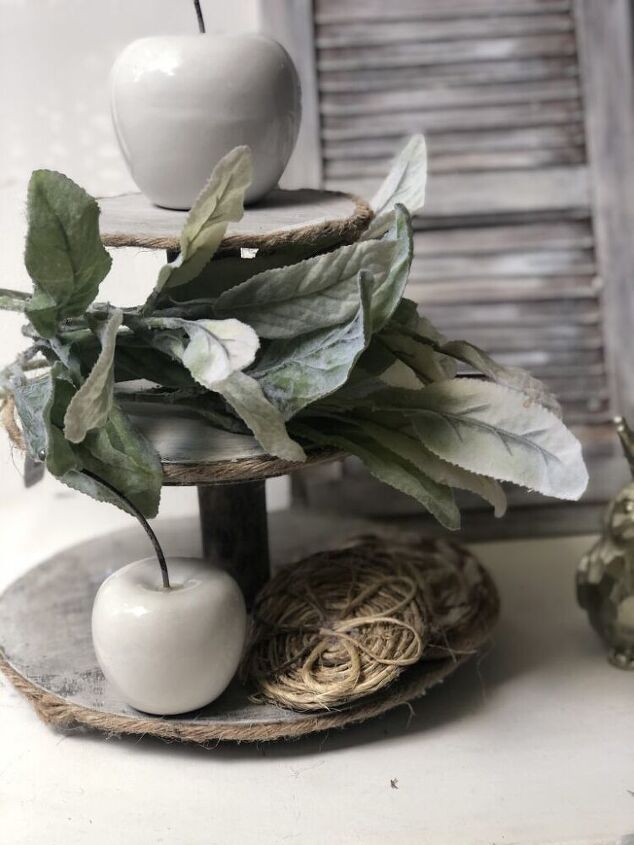
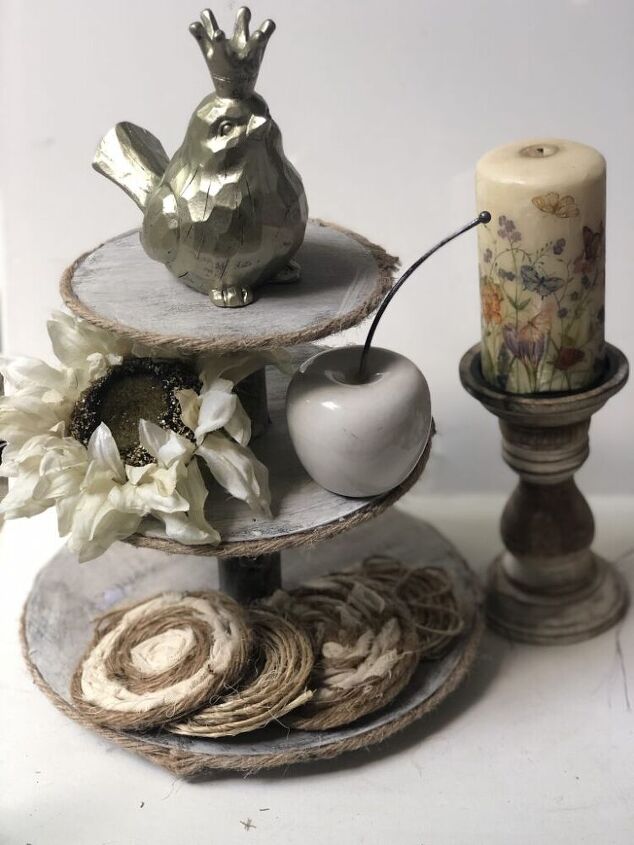
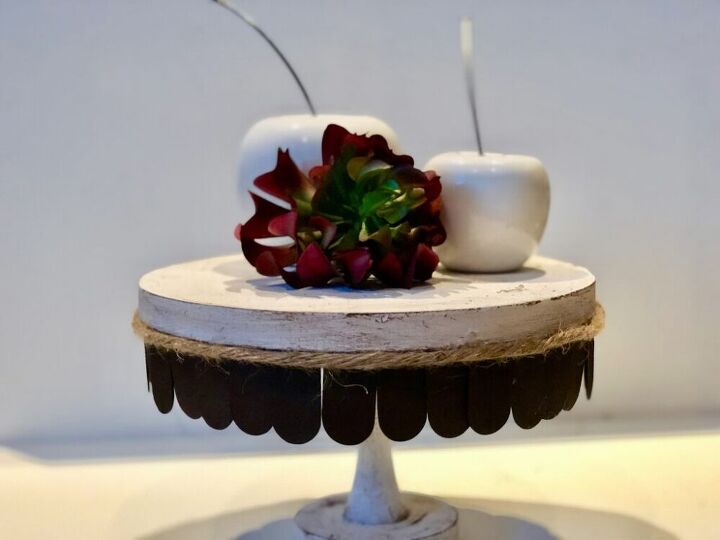
There are soo many ways to style your trays here are just some of my favorites below
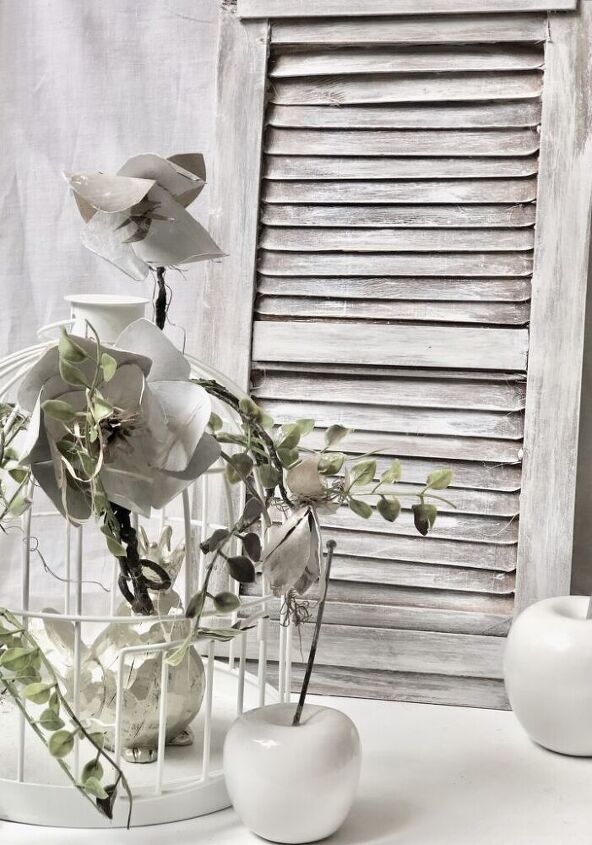
If you are curious on how to make shutters that are on the back of my budget friendly wooden tiered tray check more details HERE .
Hope that you enjoyed our little affordable project! Budget friendly Display Tray Diy
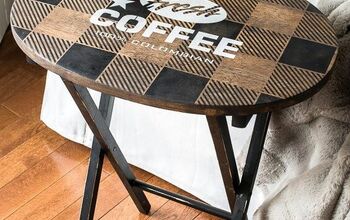
love making different kind of trays out of materials I have around … you must check out this one inspired by Magnolia Market
Wooden Tiered tray diy at its best
Don’t you just love that detail ? Another budget friendly makeover.
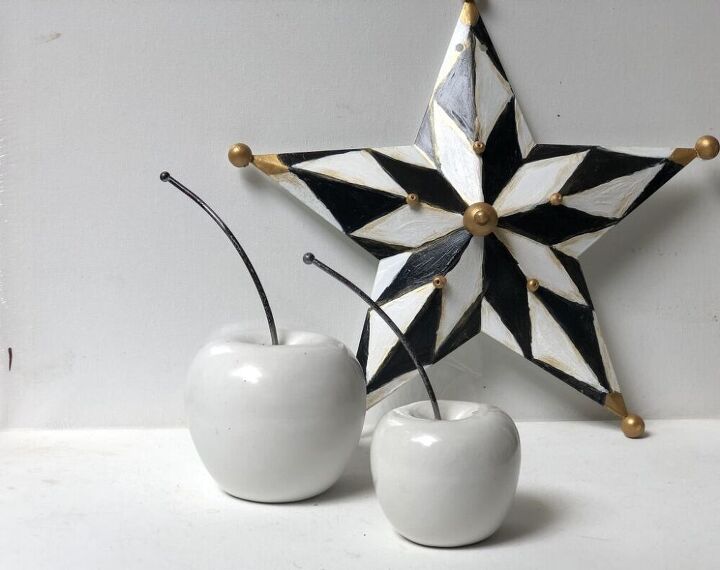
If you are curious on how to make MacKenzie Childs patterns check HERE
Please Save This To Pinterest or Share on Social Media
Friends, your shares are how this site grows and I am sincerely grateful. A quick share to Facebook or save to Pinterest allows me to bring more home decor projects and crafts to more home decor DIY lovers
Don’t forget to SUBSCRIBE and FOLLOW US on SOCIAL MEDIA!
If you love Thirfty Home Decor projects you need to see those too
Layered Fall Rustic Timeless Wreath – DIY
Clothespins to the HOME DECOR rescue!DIY
Other Rustic ideas on our Blog and YouTube Channel
Resources for this project:
See all materials


Comments
Join the conversation
-
Really cute. It’s a keeper!!
-
Love your tiered trays!
Did you make what looks like coasters on the bottom tray?


Frequently asked questions
Have a question about this project?
Love the trays, but love the bird more! Would you share where you got it?
Thank you!