


Vintage Hutch Makeover

We gave this vintage hutch a new look and a chance at a second life after fixing some cosmetic issues and adding trim.
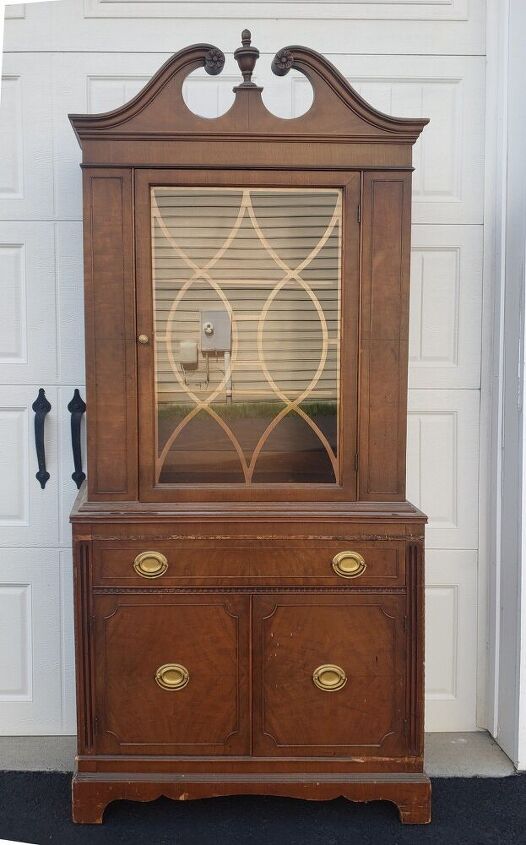
This run down and heavily used hutch was in desperate need of a makeover. There were scratches, chips and missing trim but we were up for the challenge! We started by cleaning with a mix of Dawn soap and water and letting it dry. Next it was time to sand.
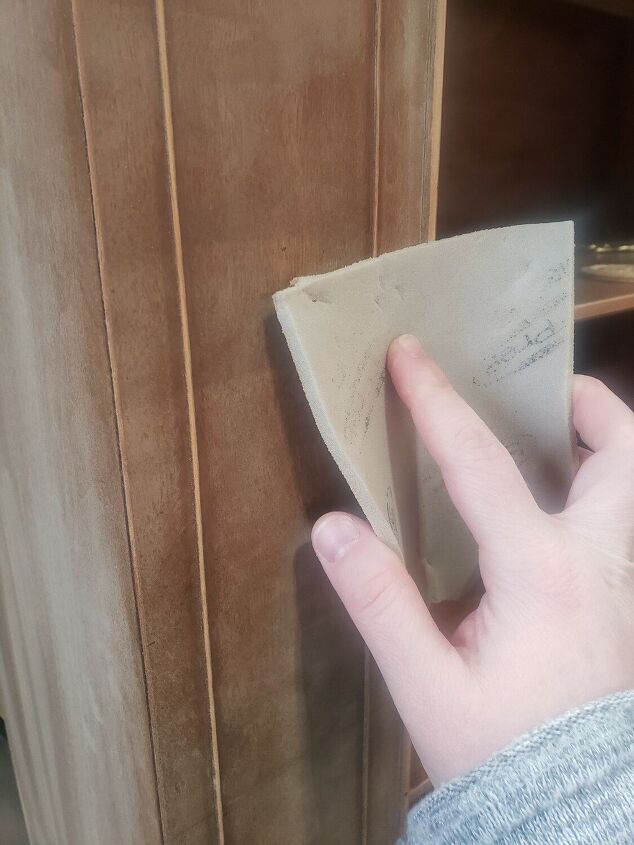
We used our favorite sander, the 3 x 4 electric ray Surfprep - I have a discount code and link in my Instagram profile! After giving it a good sand, we went over it with a fine grit pad to get it ready for primer. We also cut a piece of leftover trim we had from a home project and used it on the front to enhance the design. We then sprayed shellac as a base, let it dry, then gave it a light sand again.
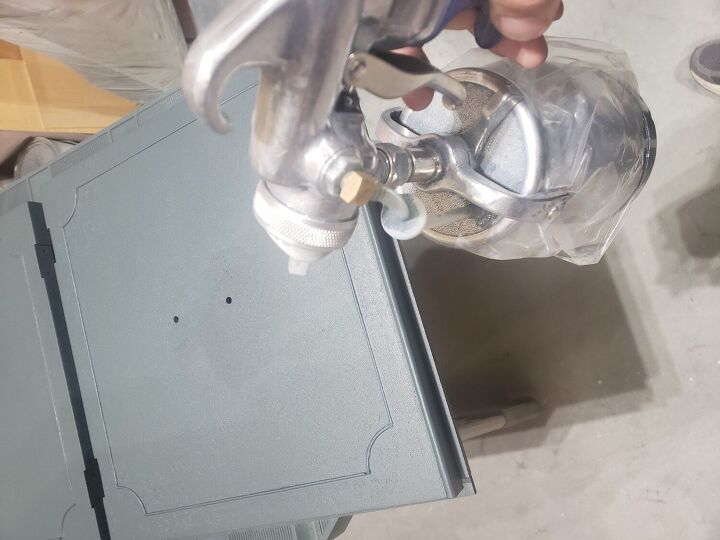
Next, we used our spray gun, the Fuji Semi-Pro 2 to apply our Paint. We used Shale Stone by Paint Couture - link in my Instagram bio and discount code there too for this line. We applied three coats of paint, sanding lightly between each and removing all dust with a tack cloth. Then, we sprayed our top coat - three coats in Satin for a subtle sheen, sanding between each one.
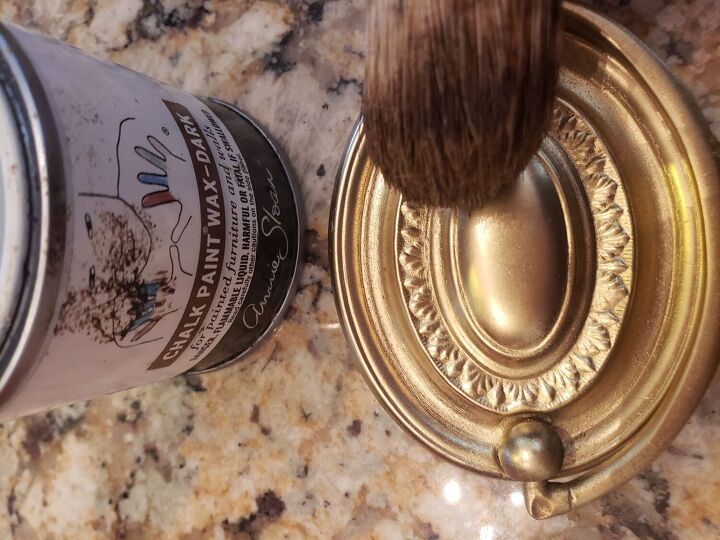
Then, after cleaning the pulls with Bar Keepers friend they were too bright! So I pulled out some dark wax and applied it to tone down the color and sheen so it better matches the paint color.
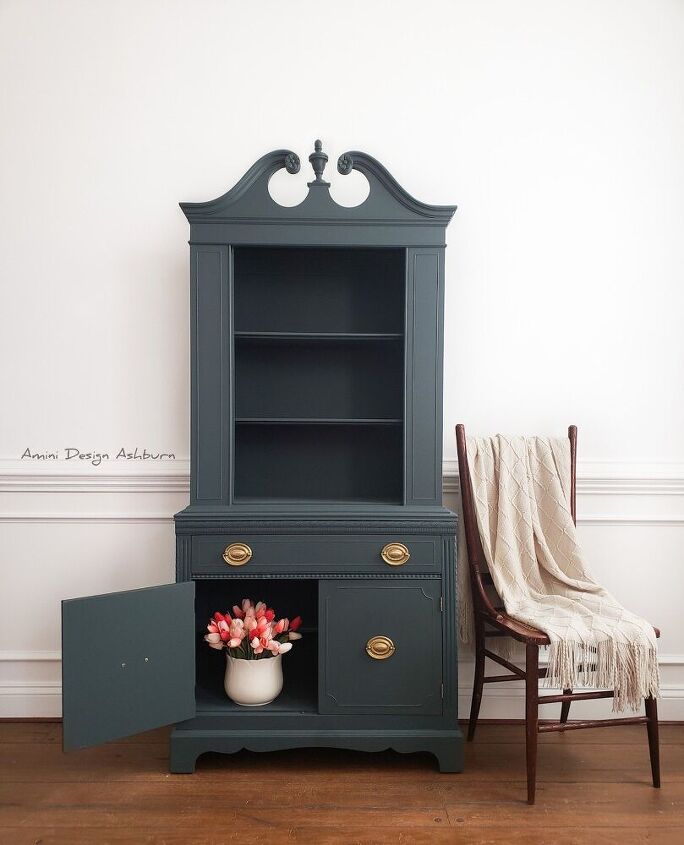
Here it is freshly madeover and ready for a new home!
Resources for this project:
See all materials


Comments
Join the conversation
-
Just beautiful!
-
Beautiful!


Frequently asked questions
Have a question about this project?
What's the reason for the shellac base?
I can't believe nobody else asked this, but what did you do with the door?
What type of shop vac and hose were you using? I can't find where I was reading about it. Thank you.
Where can I find the video about soaking feet to remove deeply chafed heels