


Easy DIY Picture Frame Snowman
The best question ever asked? Do you want to build a snowman? The answer is always YES! And these simple picture frames and paper doilies from Dollar Tree transform into a cute as can be DIY picture frame snowman to decorate your door all winter long!
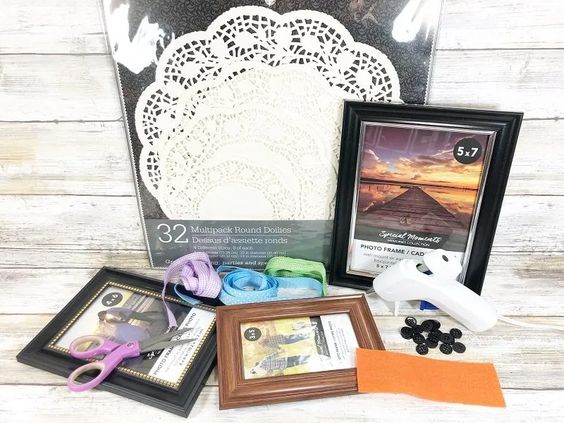
Here's what you will need to create a Dollar Tree Frame Snowman:
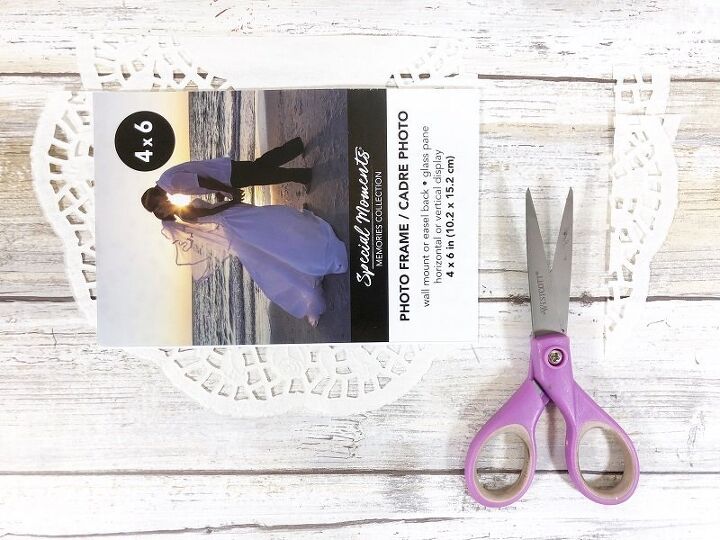
- Plastic Picture Frames, 3” x 5”, 4” x 6”, 5” x 7” – Dollar Tree
- Paper Doilies, White, Assorted Sizes – Dollar Tree
- Snowflake Felt Cutouts – Dollar Tree
- Glitter Glue, Clear – Dollar Tree
- Orange Felt – Scrap
- Buttons – Black, Large
- Ribbons, Assorted
- Spray Paint, White – Make sure it bonds to plastic
- Americana Acrylics by DecoArt – Winter Blue
- Glue Gun and Glue Sticks
- Adhesive Runner
- Strong Adhesive – I used E6000
- Scissors – I love my Fiskars
- Ruler
- Paintbrush
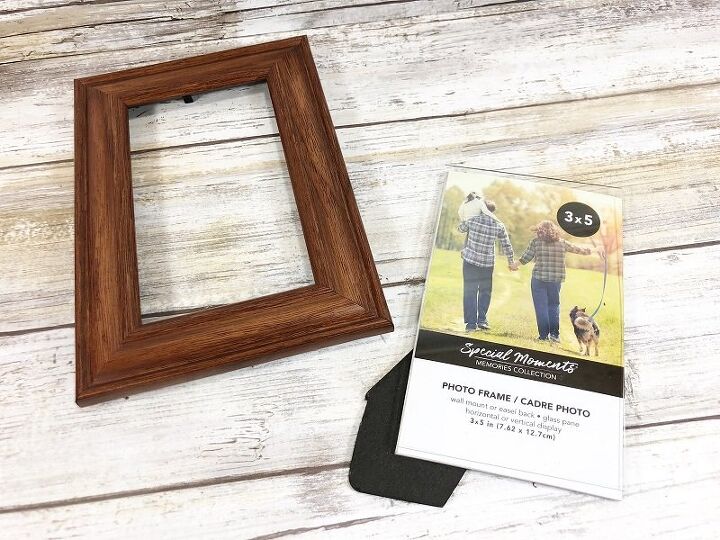
Remove cardboard backing, paper liner, and glass from picture frames. Set these items aside.
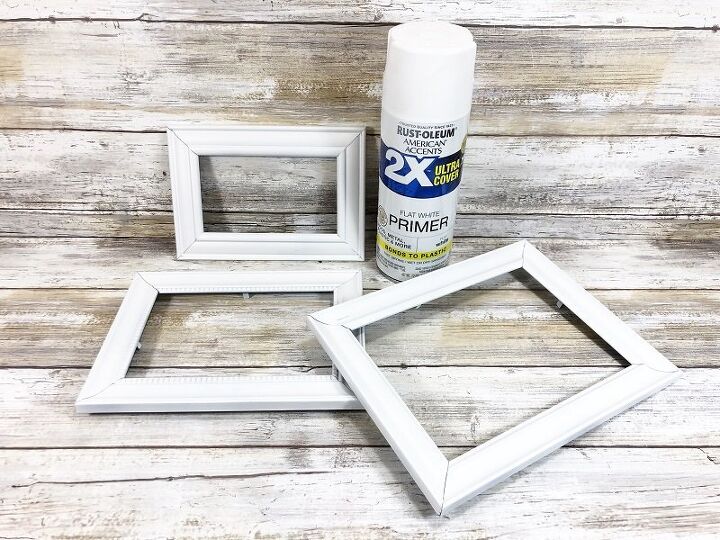
In a well-ventilated area (or outside) spray paint plastic picture frames white. Apply several light coats to achieve a solid coating.
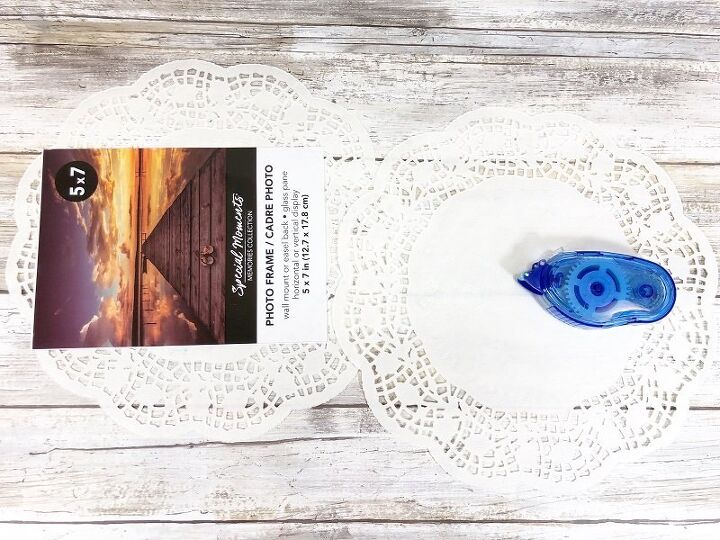
Using the paper picture frame liner as a base, apply layers of doilies onto the plain white side with an adhesive runner.
Flip over and trim all edges with scissors.
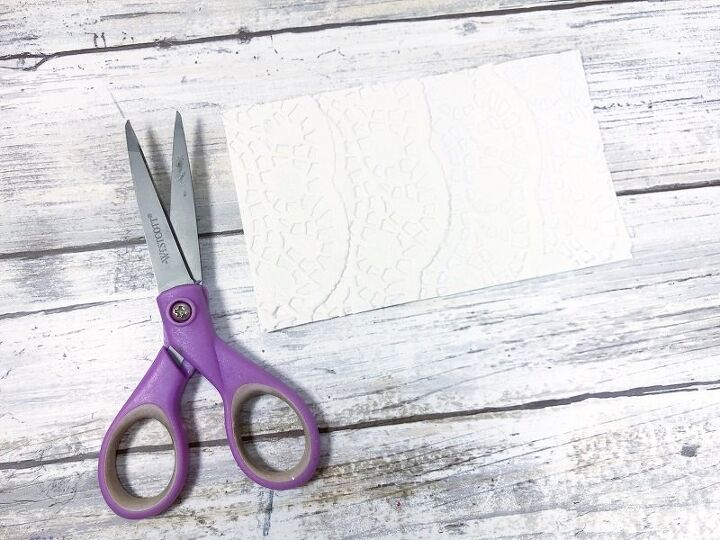
Repeat with all three picture frame inserts.
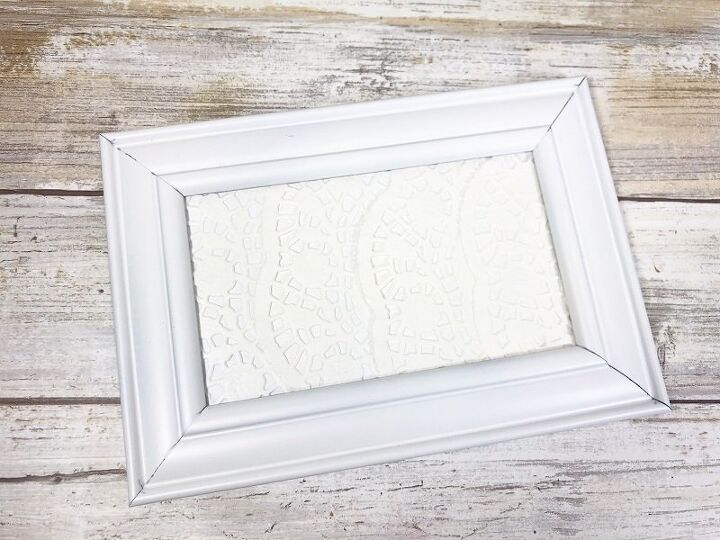
Insert doily covered papers and cardboard backing into all three picture frames.
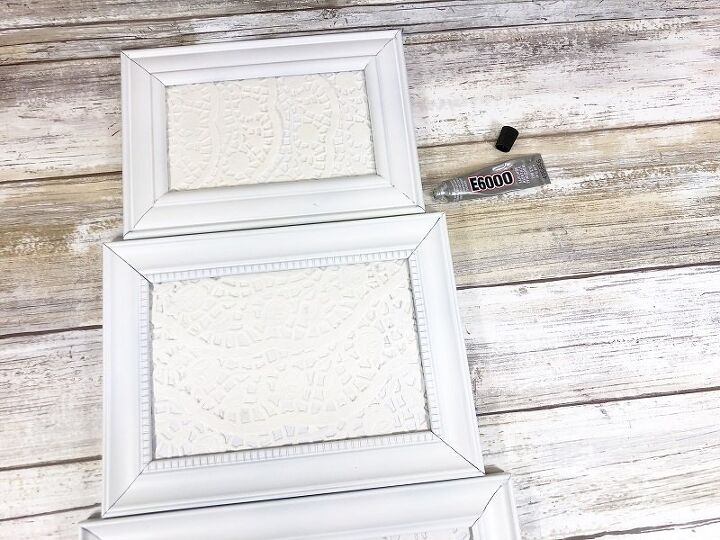
Stack picture frames and secure matching edges with a strong adhesive like E6000. Set aside to dry overnight.
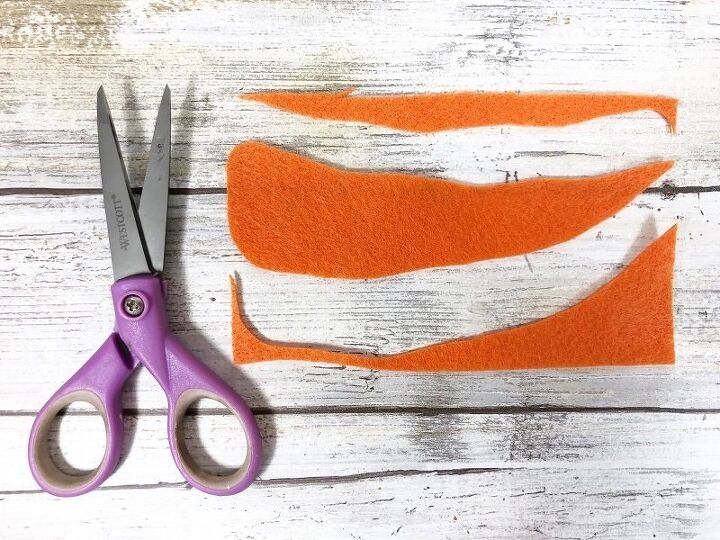
Cut a carrot nose from orange felt. Orange cardstock would work as well.

Attach carrot nose, two large black button eyes and three buttons to the snowman with the glue gun and glue sticks.
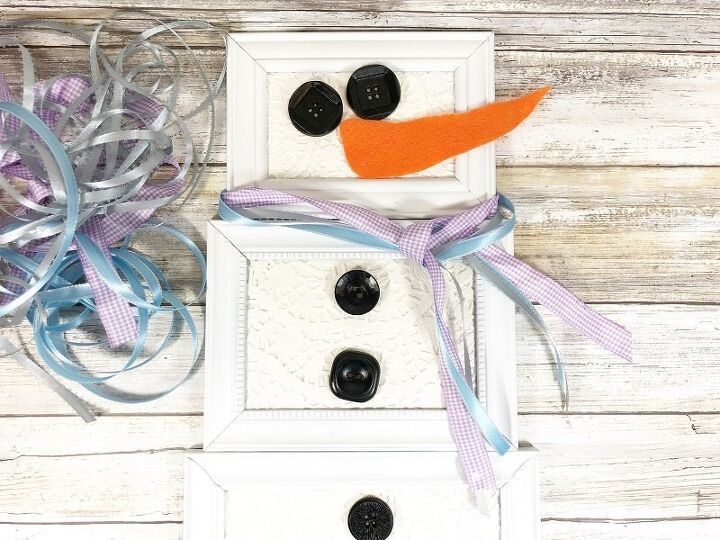
Measure and cut 24” lengths of at least three types of ribbon. Tie around snowman’s neck and secure with the glue gun.
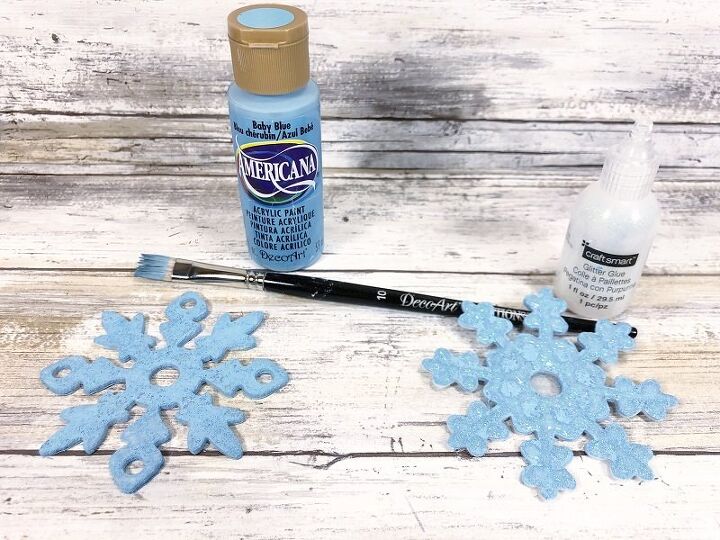
Paint snowflake cutout with light blue craft paint. Set aside to dry. Outline with clear glitter glue, let dry. Then glue to the snowman to finish.
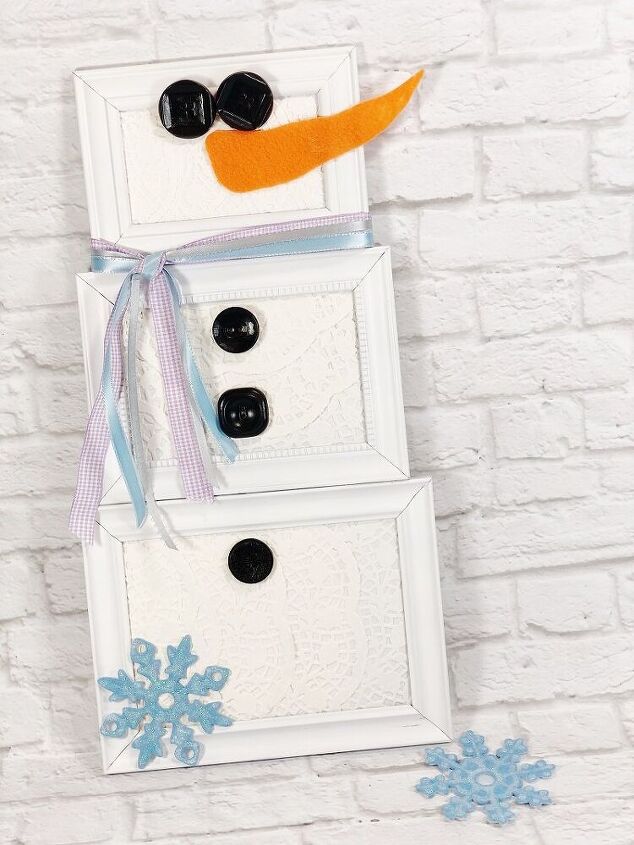
This is a fun activity to create with your tweens and teens. Make a DIY Picture Frame Snowman in just about 30 minutes.
Visit my website Creatively Beth for a TON of Craft Tutorials, Home Decor DIYs, and FREE Printables.
Thanks for stopping by!
Creatively, Beth
Resources for this project:
See all materials


Comments
Join the conversation
-
I believe you failed to say that the frames need to be different sizes!
-
Love this idea for making a snowman. I have seen them done with grape vine wreaths, but not with frames. Sooooooo cute.


Frequently asked questions
Have a question about this project?
What is an adhesive runner?
This is so cute! Is there any idea what you could use for a hat? I would put this in one of those picture stands to set out!
A clever idea. Do you know that your local Habitat for Humanity Restore or Goodwill stores generally have a great selection of frames?
Better for the planet!