


How to Dress Up Plastic, Utility Storage Stands

I'm guessing we all bought them, we all have a love-hate relationship with them but we could never see beyond life without them! No, I'm not talking about potato chips but they're similar because you just can't have one! Storage stands... those sometimes plastic, unattractive but oh so useful and often cheap racks that save the day with organizing and storing our stuff!
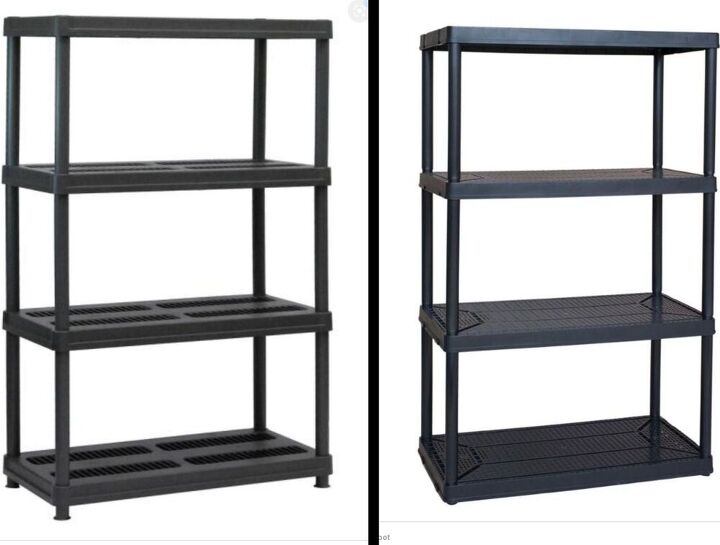
Here's two examples that I found online that show what I'm referring to. They are carried in many stores and online, cheap to buy, lightweight, easy to put together but they're not perfect.
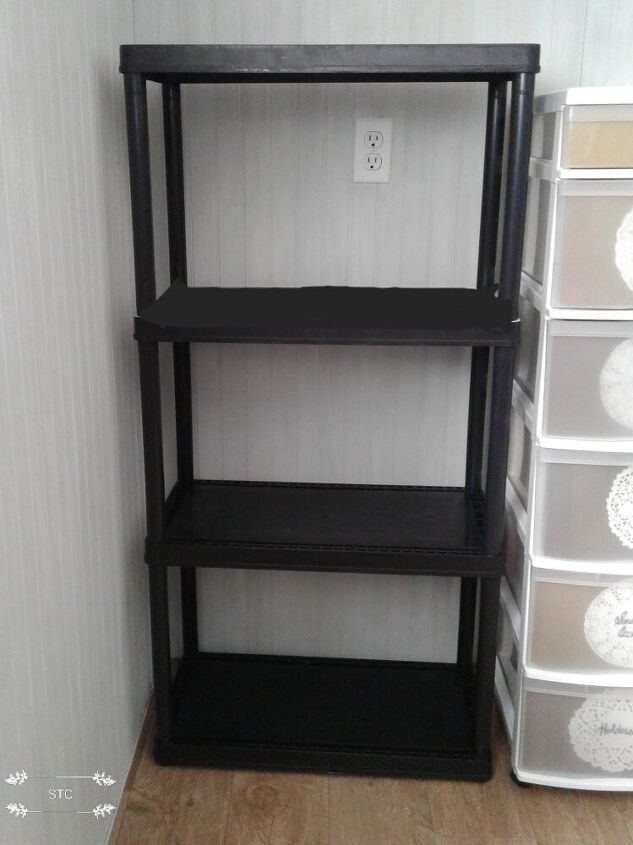
Dont get me wrong... I love my rack but it just was a little too plain and dark to pair beside my other plastic storage...oh yes they got a makeover too but that's for another post.
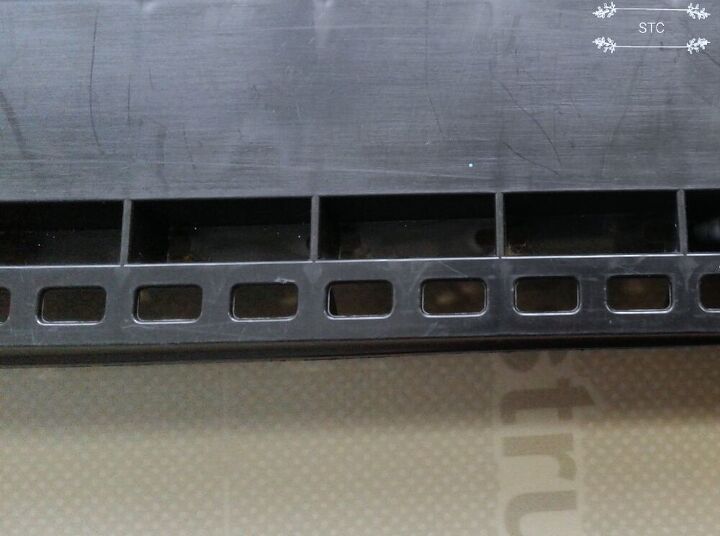
My biggest issue with these stands? It's a small matter but it still mattered, these tiny holes that collected all sorts of lint and dust. In order to clean those out the vacuum had to come out and maybe a toothbrush if it was a liquid spill in there....frustration! No, not the board game but the cleaning routine!
A possible solution was to cut out liners from my removable wallpaper, it certainly would cover those holes and be more attractive.
But for me, the solution was right under my nose...literally! This post is a continuation of several posts that I'm sharing about my "craft room renovation". You see I had brown paper floors (previously posted) that held up for 7 years and now I wanted new flooring which you see above. Once the flooring was laid out, there were leftovers and of course they would have a use sooner or later and the shelves were it! Budda- budda- bing!
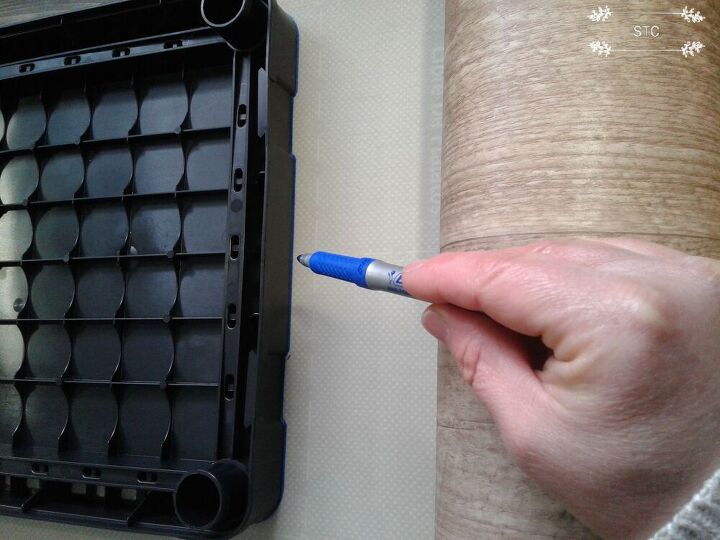
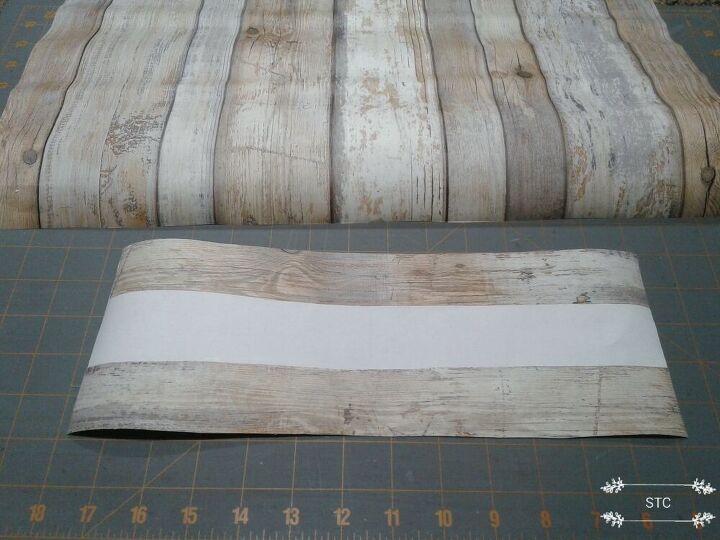
I took the top shelf off and flipped it over to trace the outline onto the back of my vinyl flooring scrap. There were grid lines on the back allowing me to easily line up my self to keep the pattern aligned once it's flipped over.
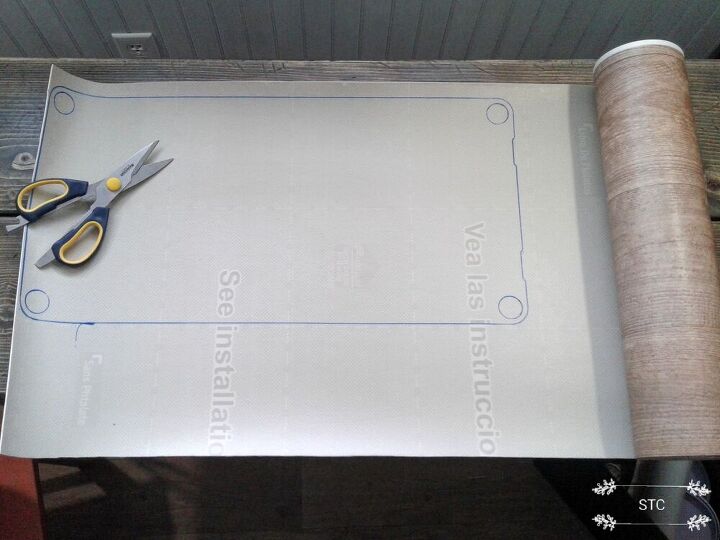
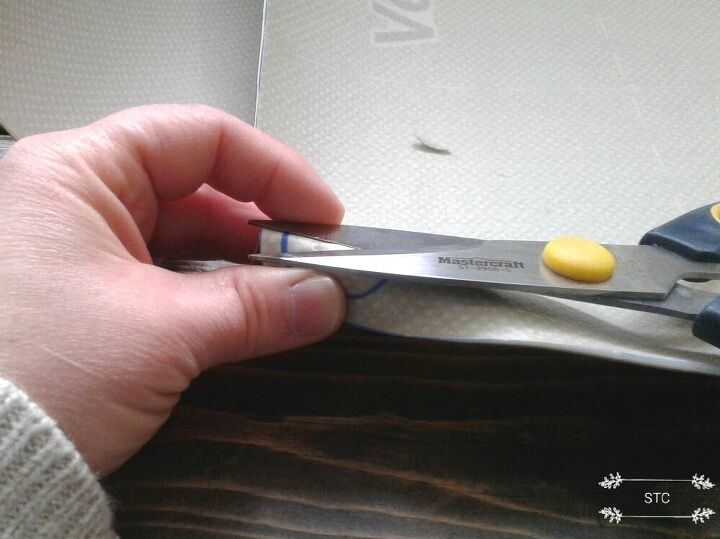
Here's the outline all traced onto the back including the leg holes, they'll need to get cut out as well. The flooring was very soft and easy to cut with just the utility scissors seen here.
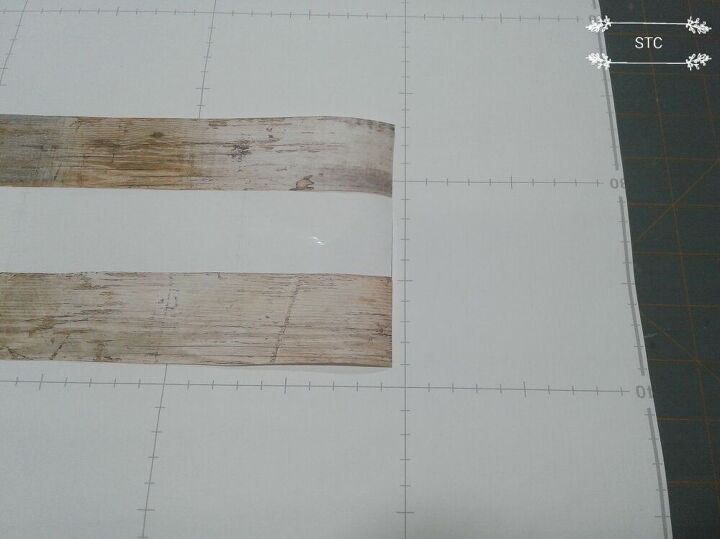
So that part was easy enough. I'd need 3 more so before I started cutting any outlines, I measured and cut the lengths I'd need for all of the shelves to ensure I had enough product to complete the job.
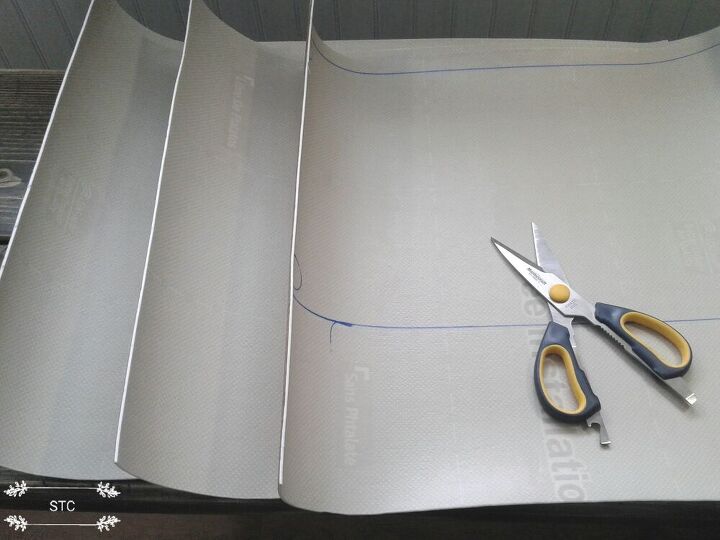
This is very simple, I cut along all off the traced lines along the border. Next for the leg holes I pinched together to cut a hole out to enable my scissors to fit in through and cut the remaining material out.
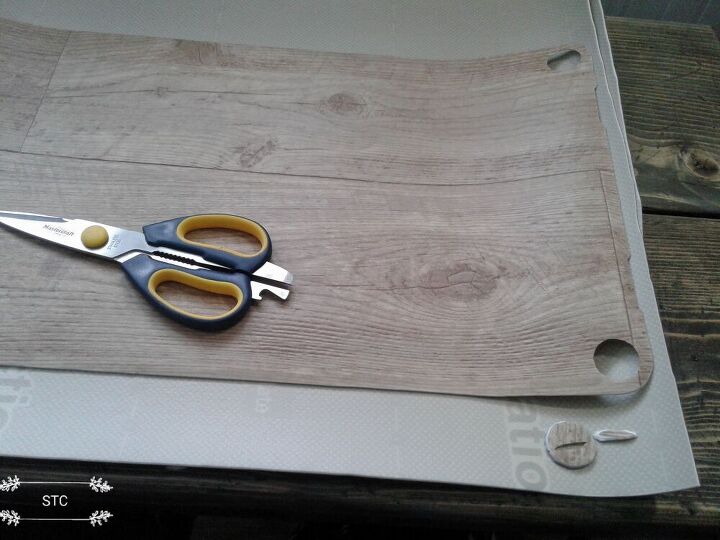
So once its completed I had a center wedge and a circle cut from the flooring to create the leg holes.
*Note if you do not have any flooring remnants you'd only need about 14" width cut from a giant 12 foot roll at the flooring store. I calculated that would cost about $30 for the type that I bought here in Canada. Another option is that the store may also sell off remnants at a discounted price.

So as I mentioned at the start I was going to go with the removable wallpaper to cover those irritating, little holes BUT it's pretty thin. I could see where I might puncture right through the wallpaper and expose those holes right back up again! The flooring is heavy enough to prevent that from happening, it's attractive with the wood grain and best of all it's wipeable for easy cleaning....yay!
Where there's a will, there's a way! I came, I saw and I conquered the cleaning nightmares I used to have, only sweet dreams from now on.
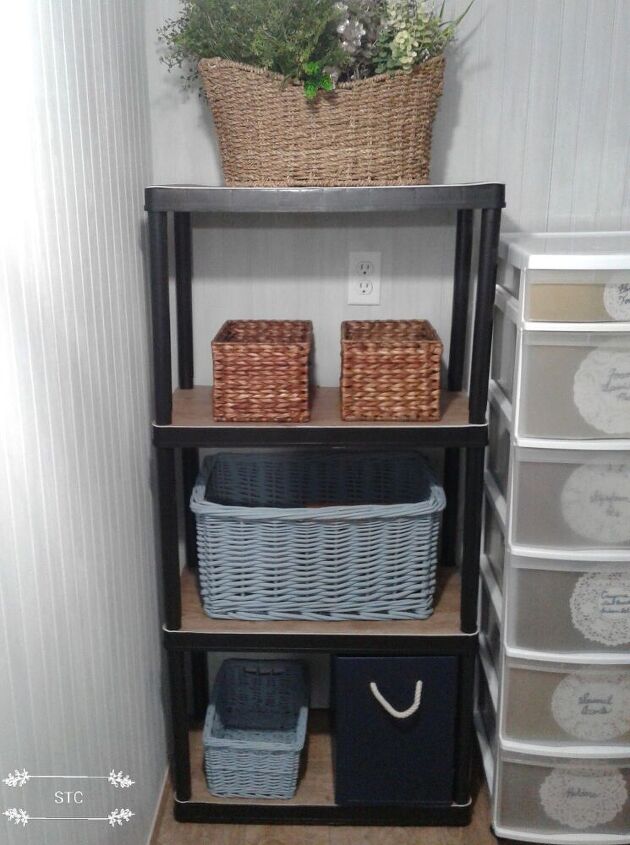
That's a big improvement I think and it gives me a good base to work with now to pretty it up with baskets and such but I'm not liking that black edge! You'll notice it butts up against the other storage which is is white plastic and I want the them all together.
That removable wallpaper did come in handy afterall, I measured and cut out strips to stick on those edges. The back of the paper like the back of the flooring has grid lines making it easy to mark and cut straight, even strips.
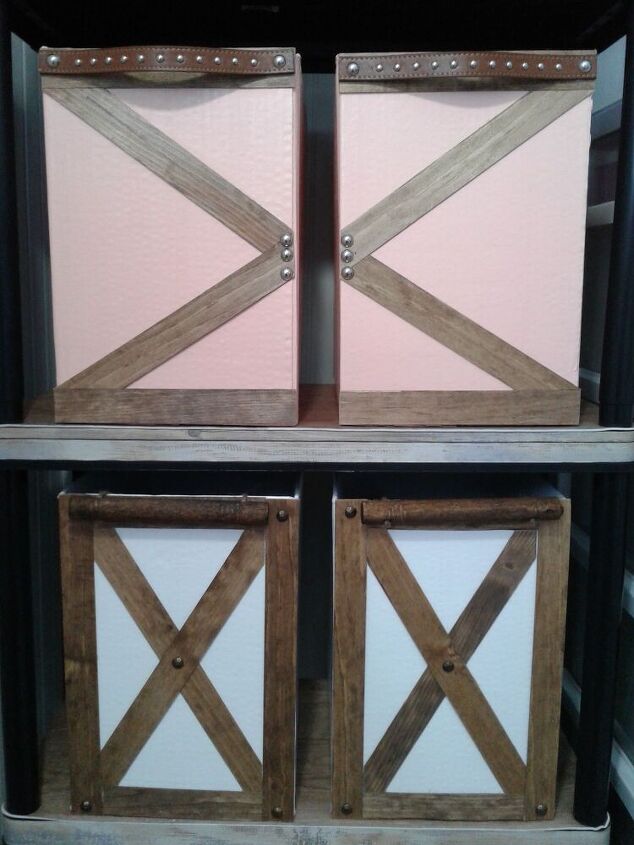
It was as easy as adding a sticker, just simply peel off the backing, align the strip and press onto the edge. ( Those are cardboard boxes y'all shown on my previous posts if you'd like to see more)
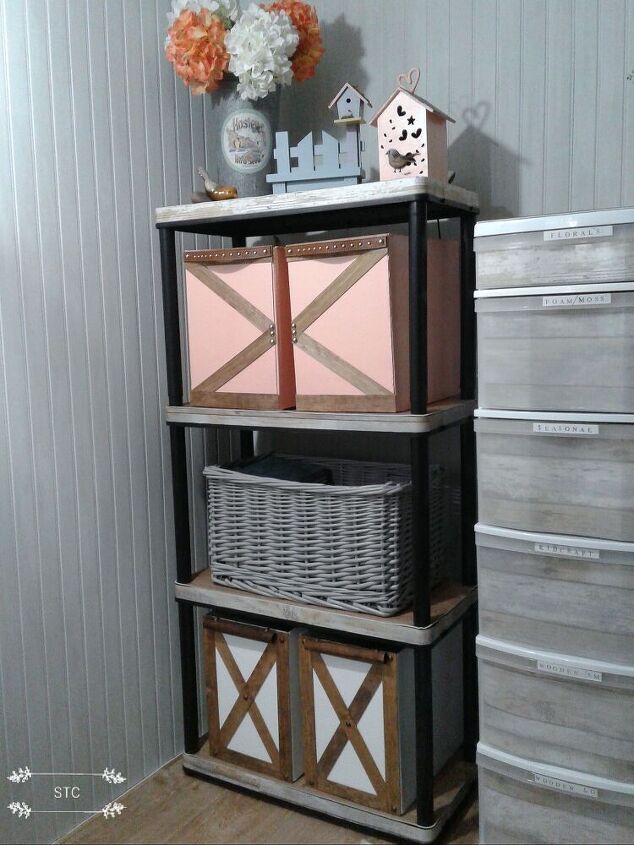
I know, I know you hardly recognized it huh? It's now brighter, rustic looking and super easy to slide my baskets and boxes in and out of the shelves. I also did a dress up of my other plastic storage units, if you'd like to see how I did it check out my upcoming Hometalk post. Thank you so much for stopping by and be sure to sneak back for more projects from my craft room reno!
*Cost reflects purchase of the vinyl flooring strip only as all other materials I already had.
Resources for this project:
See all materials


Comments
Join the conversation
-
I have these shelves, the storage bins also. Now I can have them look prettier instead of industrial shelves. Also liven and hide the stuff in my roller bins.
-
I did the same as shelf liners with a basketweave design and loved the look afterward. The thing is, it got easily scratched. Q


Frequently asked questions
Have a question about this project?
Any ideas on how to solve ugliness problem with a green & black rack? Had to use it for my plants, but unfortunately had to be set next to my gorgeous pale gold jacquard(?)/brown wood chaise. Window near it is very pale gold curtains with off white sheers.
Obviously, I want something more elegant, but dont want the "doily" look like a grandma. Any ideas?
How did you make the pull strip and pull handle on the top of those boxes?
I love this DIY project making the storage racks nicer looking!!!
This is awesome! Any idea how I can make a "back" for each shelf? I have one of these shelving units, and I want to turn it into a bookshelf, if I can. The back doesn't need to be super sturdy, it will be basically flush to a wall. Perhaps usethe same coverings that I will use on each shelf? Any advice would be greatly appreciated!