


DIY Copper and Wood Slice Dessert Stand

by
Zest it Up
12 Materials
$20
1 Hour
Easy
Just call me a puzzle solver. I love looking in a cupboard and fridge and figuring out what can be pulled together and whipped into a delicious meal. The same is true for my crafting. One of my absolute favorite things to do is to look up in our Zest attic space, pull a couple of elements together and see what I can make! It is the ultimate creative thrill….at least in my book  .
.
.This project is a perfect case in point. We had some wood slices lying around, and I kinda wanted to do something with them. Hahahaha and I couldn’t help myself with involving copper! If you have been keeping up to speed with the blog, you will know that copper has become a relative obsession over here at Zest. Yep, my brain went: wood slices + copper pipe = a dessert stand! Duhhhhh…..LOL
Photo Cred: Anya McInroy
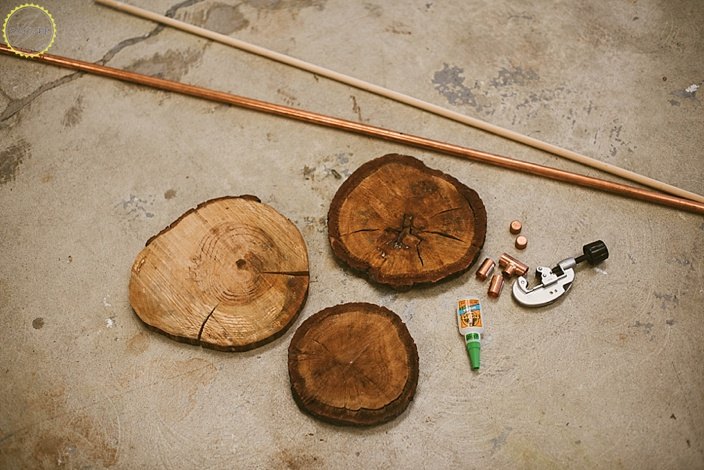
Supplies:
- 3 wood slices
- 1/2″ copper pipe (type M) 5′ long
- pipe cutter
- Gorilla Glue Super Glue Gel
- 1/2″ copper coupling connector with stop
- 1/2″ copper T connector
- sander
- drill with 1/2″ bit
- butcher block oil (like linseed oil)
- 1/2″ wood dowel (only need about 5″ length)
- small piece of sheet metal
- 1 screw
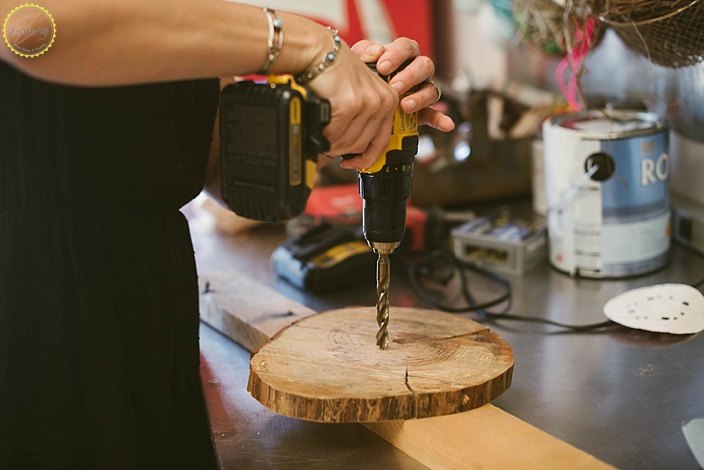
Start with a 1/2″ drill bit and drilling a hole straight in the center of each wood slice.
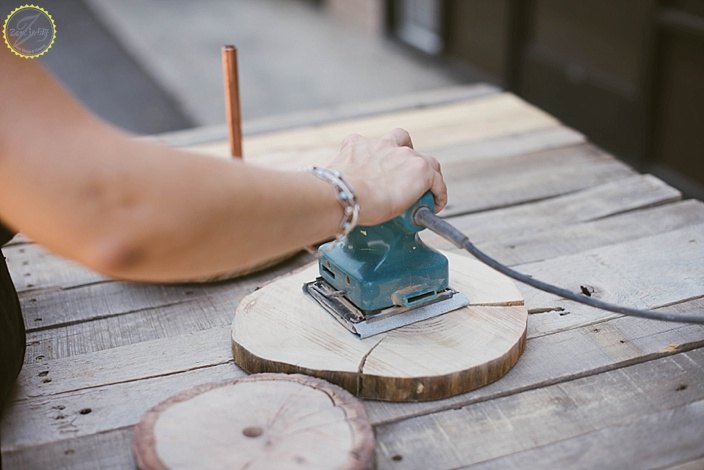
Follow up with sanding then smooth and “sealing” them with a quick wipe of butcher block oil.
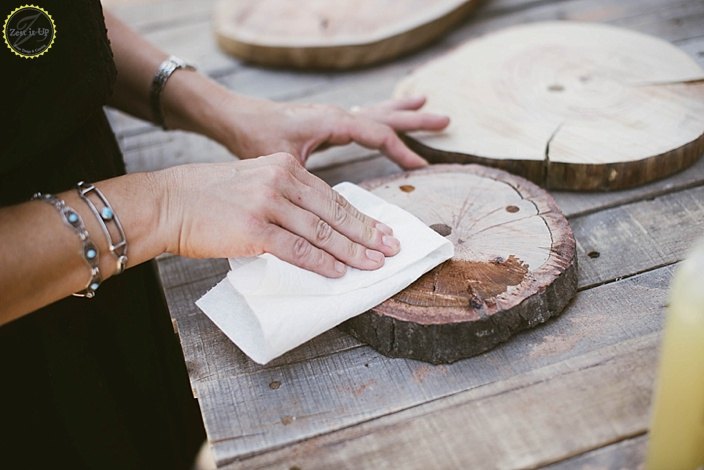
The butcher block oil will nourish the wood while maintaining the surface to be food safe.
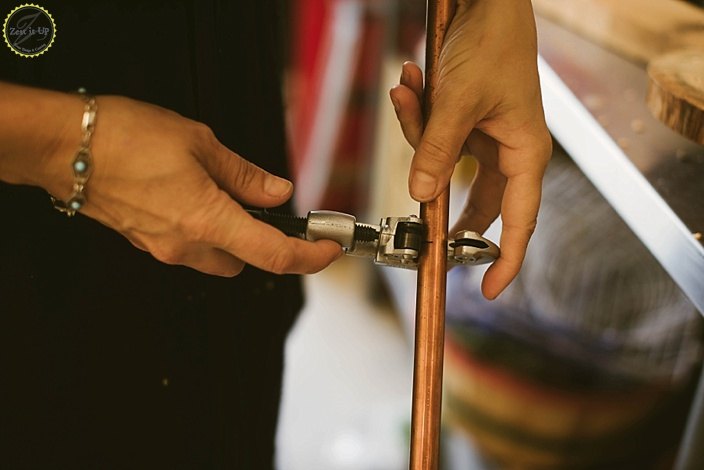
Grabbing your pipe cutter, mark your measurements along the pipe at 4.5″, 7.5″, 8″ and twice at 2″. Follow the instructions for your pipe cutter by lining up your mark, tightening it down, and turning it while you continue to tighten it down until it falls off.
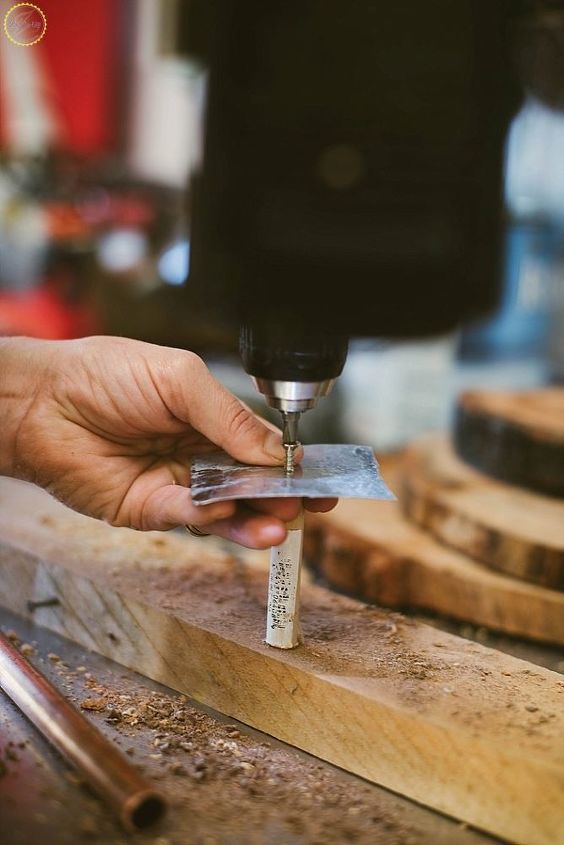
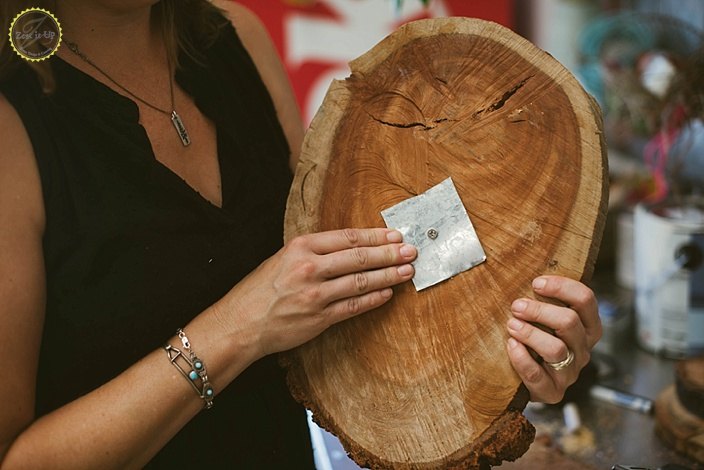
Using your screw, attach the small piece of wood dowel to the small piece of sheet metal.
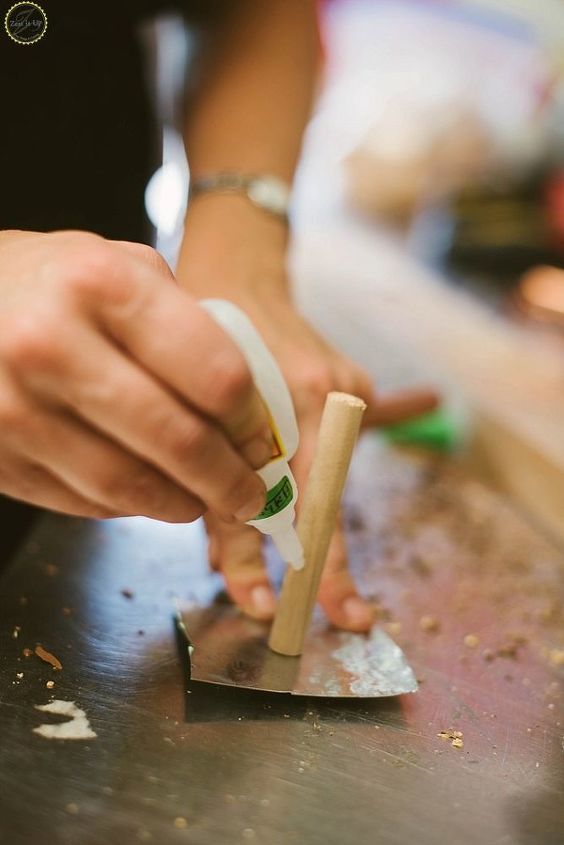
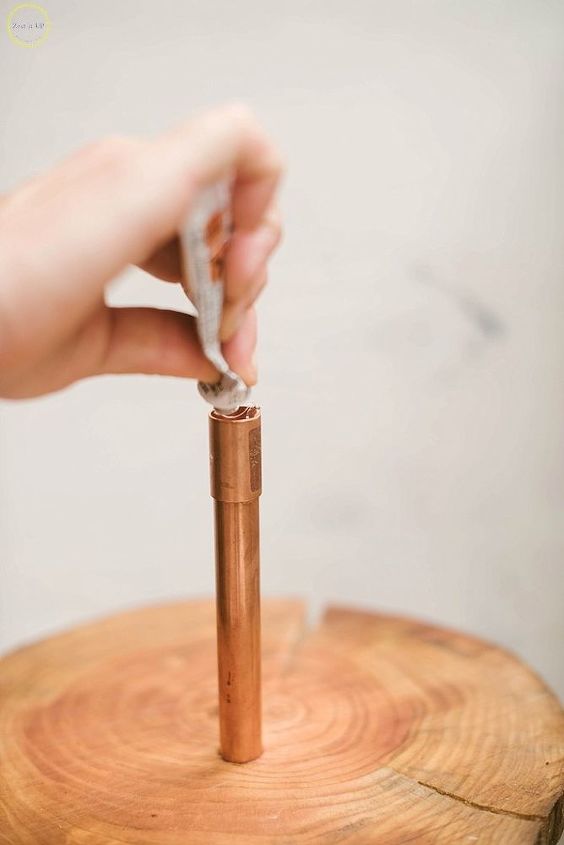
Then prep the dowel with Gorilla Glue Super Glue Gel for slipping the 8″ piece of copper pipe over it.
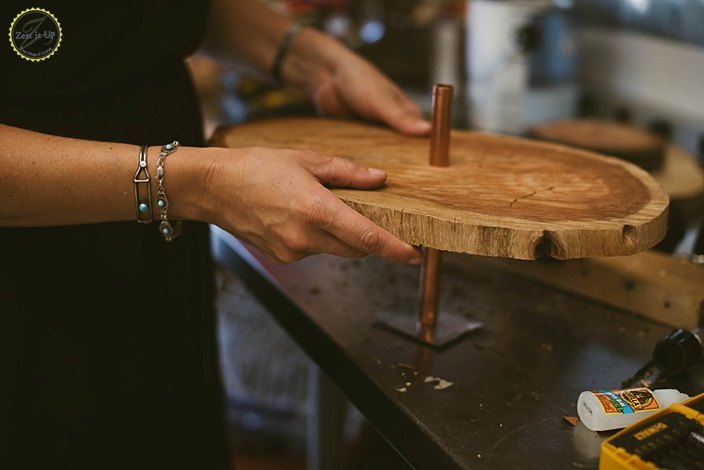
Once the copper pipe is in place, slip over the bottom wood slice through the center hole drilled earlier. You can see that the sheet metal provides a nice anchor on the bottom of the stand.
Now, glue a coupling connector in place.
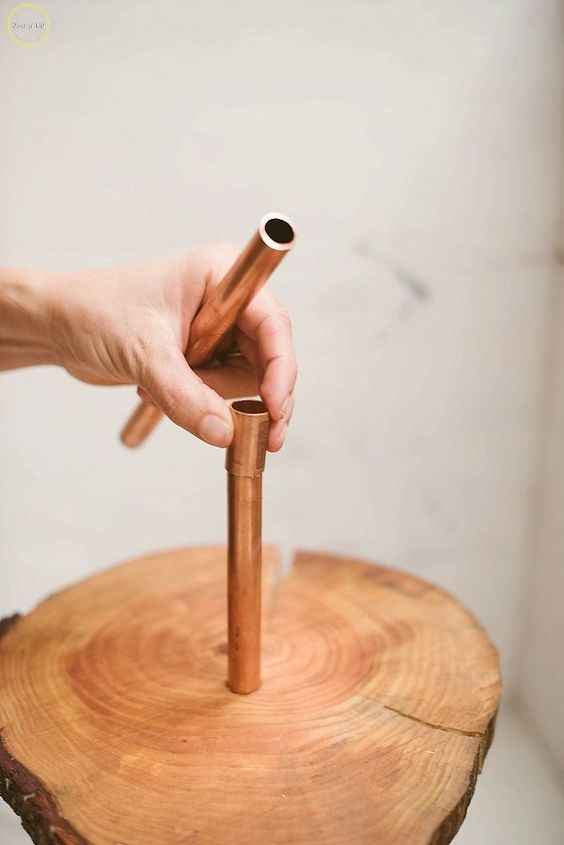
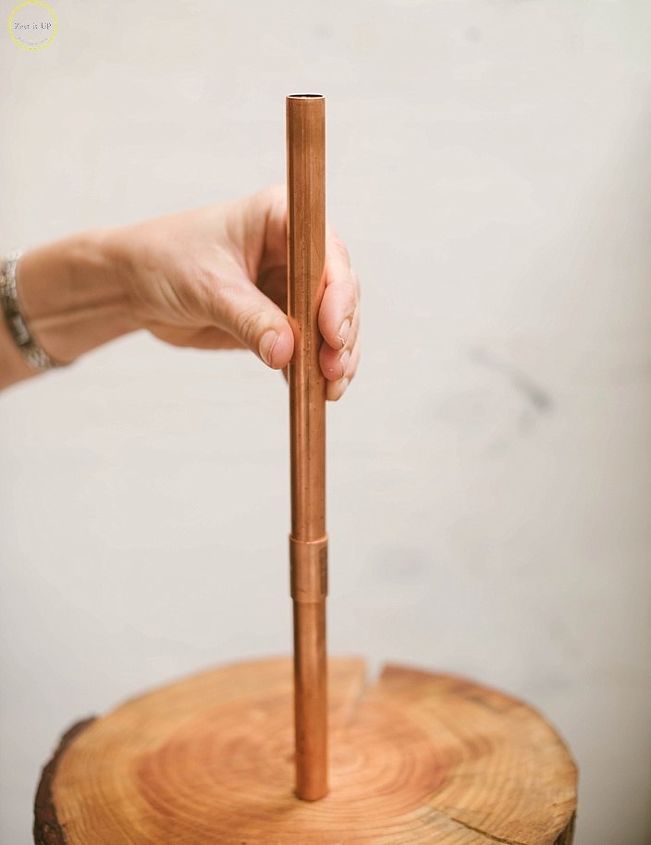
Filling the inside of the coupling connector with more glue, you can now attach the 7.5″ piece of copper pipe.
The second wood slice will slip over this section of pipe, but will be stopped by the coupler from slipping all the way down.
I used more glue on the pipe itself, so that the wood slice would not only be stopped by the coupler, but be glued in place.
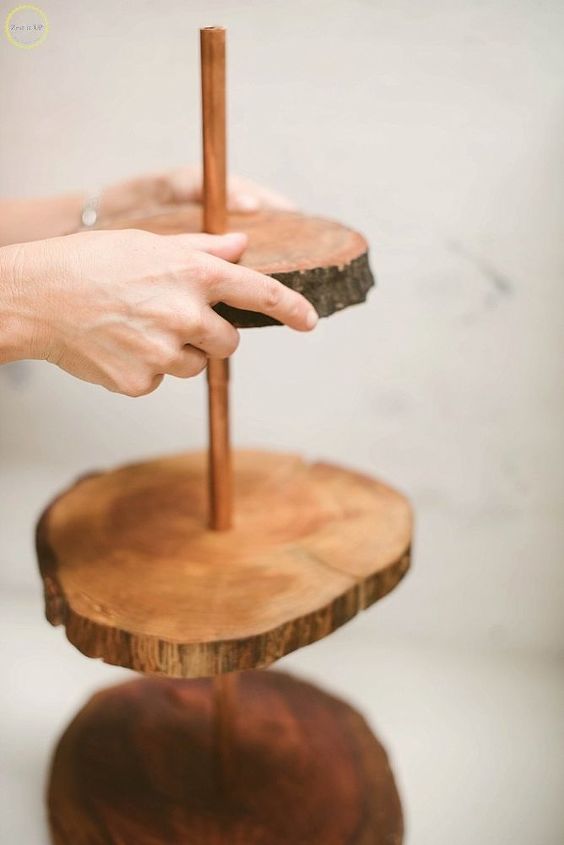
Repeat the same steps for attaching the third wood slice. Add a coupler, then the 7.5″ piece of pipe, and glue everything secure before sliding the third slice into place.
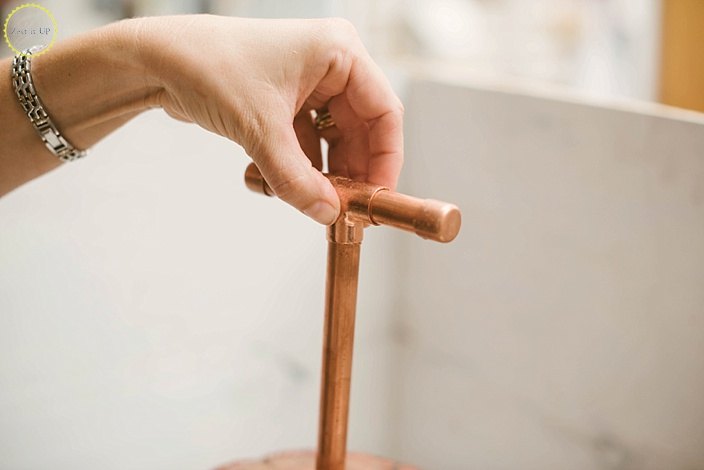
Top with a T shaped handle by assembling the T connector with the two 2″ pieces of pipe and the end caps. Make sure to glue everything secure.
Allow enough time for the glue to fully cure before using your new copper and wood slice dessert stand to serve.
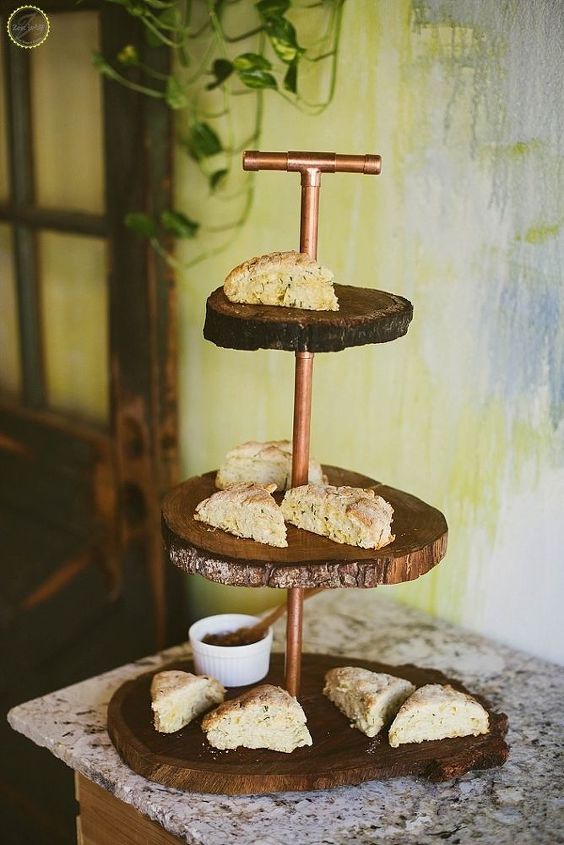
I love the stature of this piece and that we repurposed the wood slices. It is airy by design, but tall enough to house some serious cupcakes with towering frosted tops! The mixture of rustic with modern clean lines is delightful, but the simplicity of skill in whipping this DIY project up makes it a complete winner!
xoxo
Chanda
Want more details about this and other DIY projects? Check out my blog post!
Comments
Join the conversation
2 of 22 comments
-
Really cool!
-
This is awesome, gorgeous, fascinating, unique. I love it. Great job.


Frequently asked questions
Have a question about this project?
Beautiful job, and so creative! Did you treat the wood with five-star polyurethane or anything before use?
any other ideas for wood slices?
I just ADORE this, and plan on making it from wood slices on the family farm before it's sold :( My question, though, is about your granite countertops. They appear to have a rough edge. I have a huge chunk of granite from where my double-sink was cut out of the slab, but have never known how to rough-finish it for a side table, baking table, etc. Do you know how yours was done?