Chifferobe With Peter Rabbit Theme

by
Patricia
(IC: blogger)
4 Materials
$45
4 Hours
Easy
Today's project is about creating a custom finish on a piece of furniture with little to no artistic ability required. Yes it's that easy!
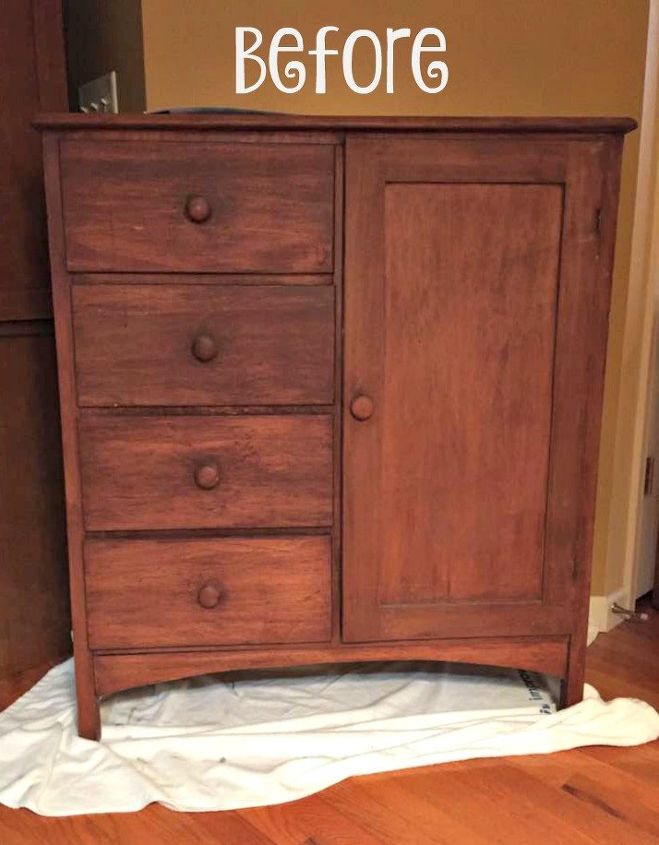
I picked up this chifferobe at a local antiques mall. A chifferobe is part dresser and part wardrobe. Unfortunately, this piece required a few repairs, so if you want to keep a project easy, be sure to select a piece in good condition.
The main repair that was needed was a repair to on of the back legs. To fix the leg, I cleaned out all the loose pieces of wood and then filled it in with wood filler. I let the wood filler dry and then repeated the process and continued building it up until it was a little higher than the other legs. Once I was satisfied with the shape, I sanded the leg down so it was level with the other legs.
I wanted a color scheme that would work in a nursery for either a boy or a girl. So I mixed up a custom color using Antibes green, Antoinette pink, and Old White (Annie Sloan Chalk Paint).
I was happy with the result of the color, so I applied a couple of coats of shellac to the chifferobe before I got started painting. The shellac will seal the wood and prevent the tannins from bleeding through.
I purchased a package of high quality decals for my design. It included two large sheets containing various Peter Rabbit characters.
After I finished painting I sealed the paint with clear wax. Then I began applying the decals. The decals stick extremely well, but on the other hand they are also easy enough to remove and re-position as necessary.
My favorite part of this project is finding Peter Rabbit in the garden when the door is opened. I think children will be delightfully surprised!
There are additional surprises inside each of the drawers.
I think the decals add a lot of interest and will spark a child's imagination. They are so easy to apply and can be removed later when the child is older.
I hope you enjoyed today's project. If you're inspired to try a similar project I have more details, photos, and a full supply list on my blog. New friends and visitors are always welcome, so hop on over!
I added an estimated cost to the project of $45. This excludes the cost of the furniture itself. The break down is approximately $20 for the decals and $25 in painting supplies (shellac, paint, wax, etc.). I used leftover chalk paint that I had on hand and it took a little over 1 cup for me to complete the project. My time estimate of 4 hours excludes the time I spent on repairs beforehand.
Enjoyed the project?
Suggested materials:
- Shellac (prep work to stop bleed through)
- Annie Sloan Chalk paint and wax
- Wall decals
- Winter White Glaze

Want more details about this and other DIY projects? Check out my blog post!
Published April 5th, 2017 1:39 PM
Comments
Join the conversation
4 of 54 comments
-
 Fou9432618
on Feb 21, 2019
Love it...makes me want to go get supplies and start .
-
-
 Kay M Johnson
on Feb 25, 2019
Yes, definitely ! I am doing my chest of drawers from when I was born. It's for my nursery. I collect and paint reborn Reborn babies. Everything in my nursery came from resell shops and flea markets. It's so much fun. I'm so excited to do this.
-











Frequently asked questions
Have a question about this project?
Where did you purchase the decals?
Where do find the shellac?
My daughter found a child’s chifferobe that was “redone” but didn’t like how. It was painted with silver foil pulls.
HOW CAN THESE BE CHANGED for a temporary fix until she has more room to re-do entire chifferobe like you did which is the most clever idea I’ve ever seen!