


Making a Lampshade Out of an Antique Sieve / Strainer

We are in our 3rd Lockdown and Stay at Home orders here in Ontario Canada and that doesn't bother me, but it has made me have to become more creative in my diyng especially this time around as my go to Dollarstore is only allowed to sell essentials and hardware stores etc are all curbside. So it is abit more challenging to design anything but I love a challenge! It has also given me the opportunity to go through my " junk" I have collected and put it to use. And that's exactly what I did when I came across this antique sieve/ strainer, whatever you want to call it.
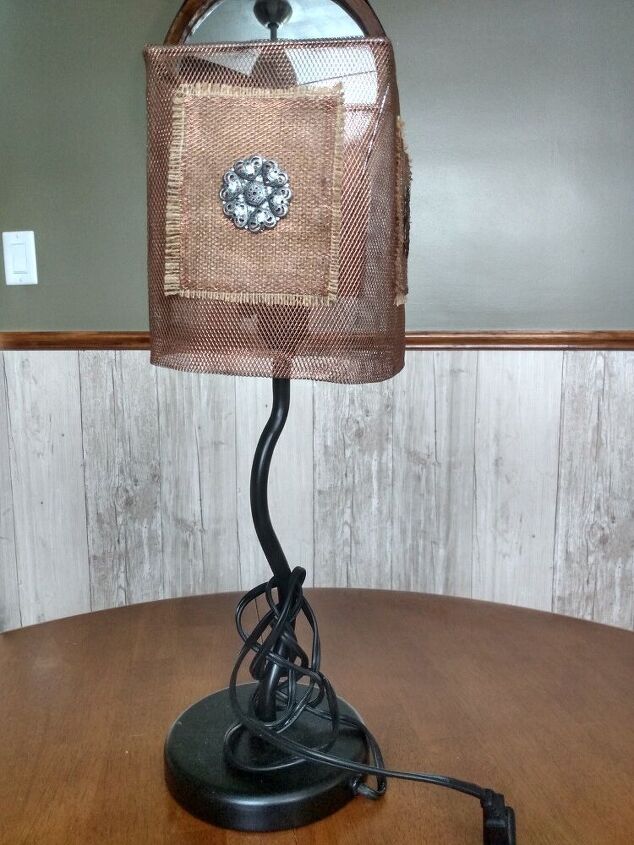
So this is a lamp shade I made in my teen years...yes that was a very long time ago. I recently updated a bedroom at my mom's and this lamp doesn't work with the decor anymore so it was time for an update.
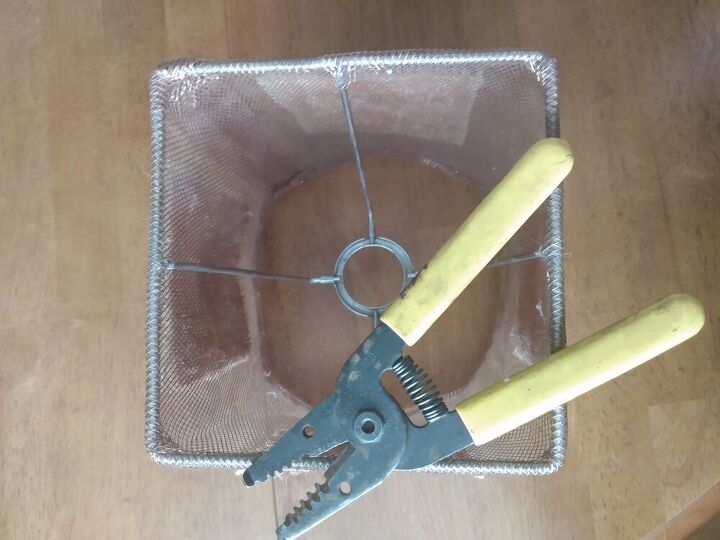
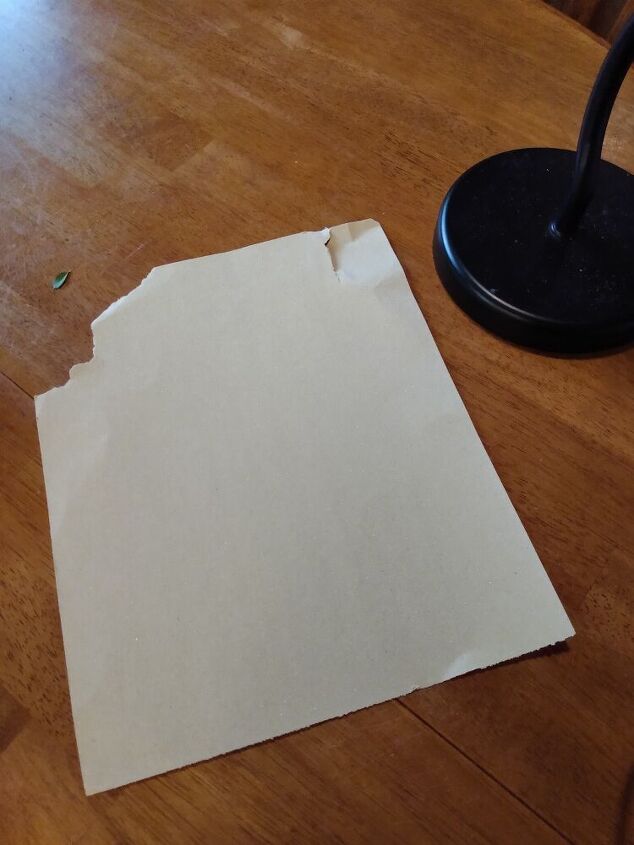
First step was to remove the copper screen that I used to make the shade. I removed it using wire cutters. Once that was removed I cut the frame. It was square I just wanted the middle out of it.

So here is the middle of what's left of the frame.
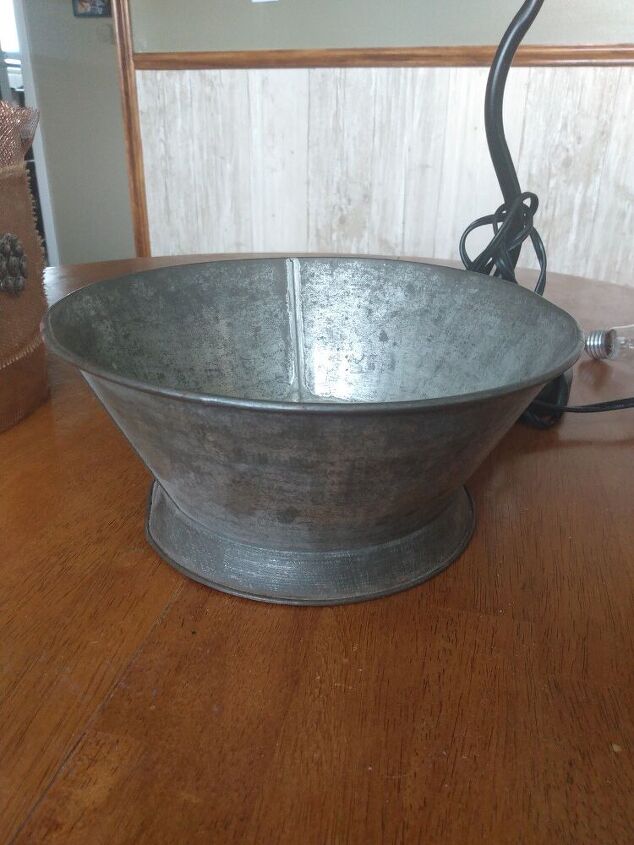
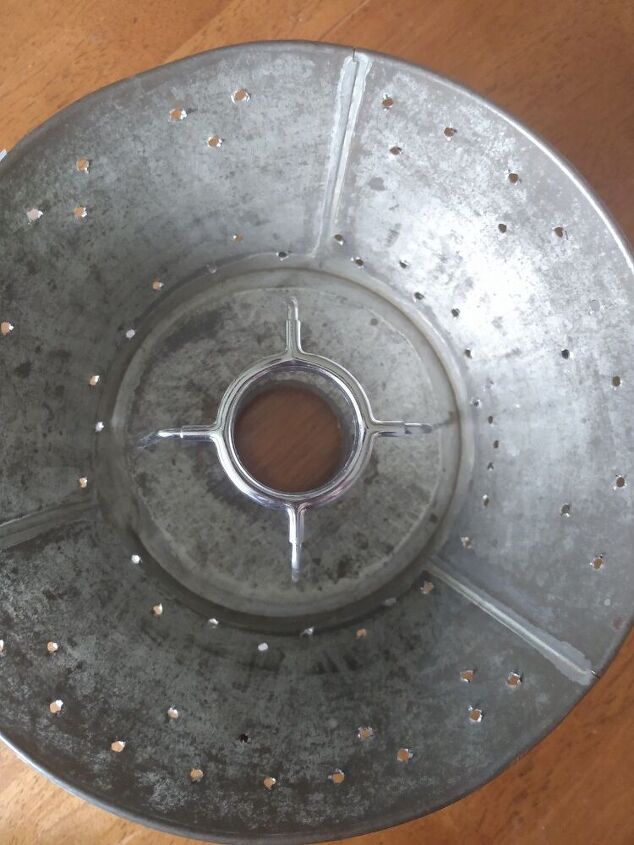
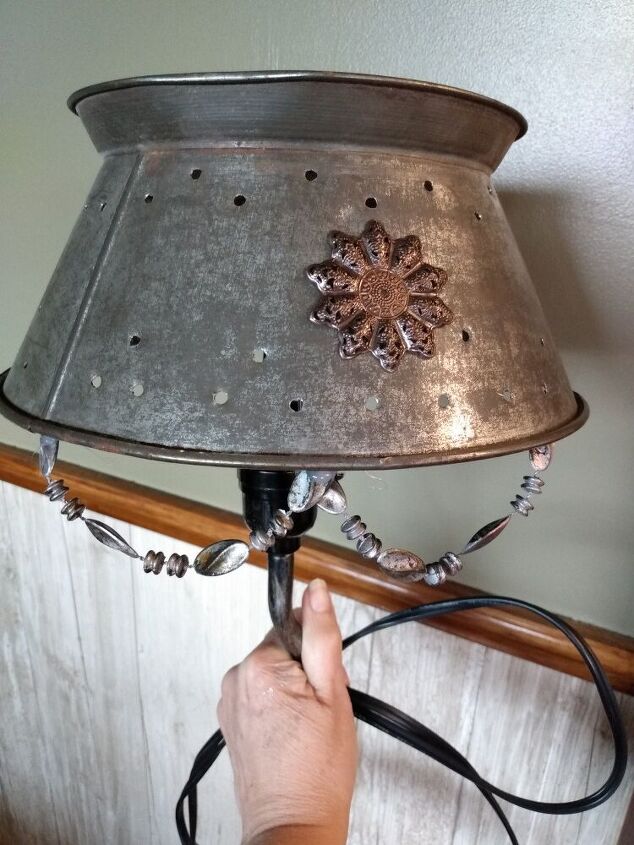
Here is my antique sieve/ stainer I will be using to make my shade.
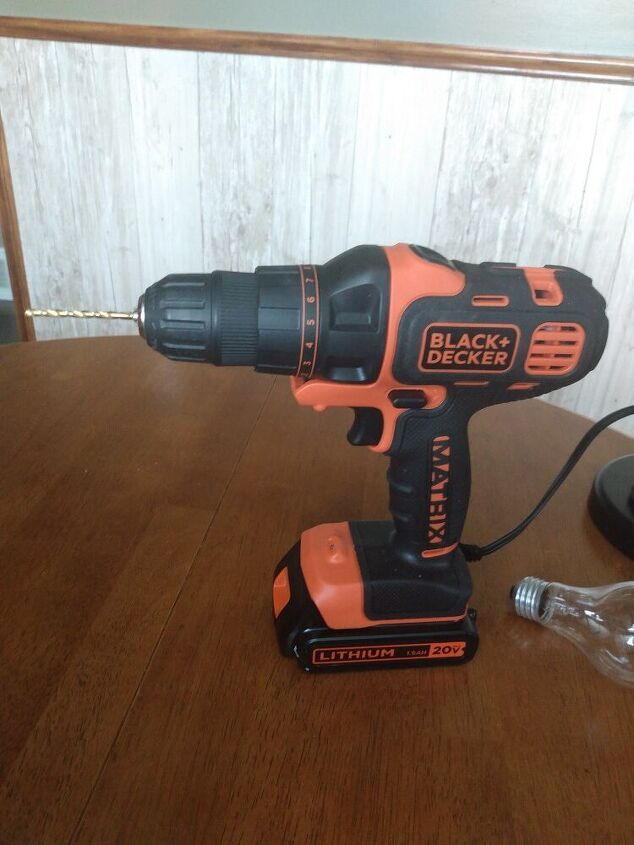
Using my cordless drill I wanted to add some detail to the sieve/strainer.
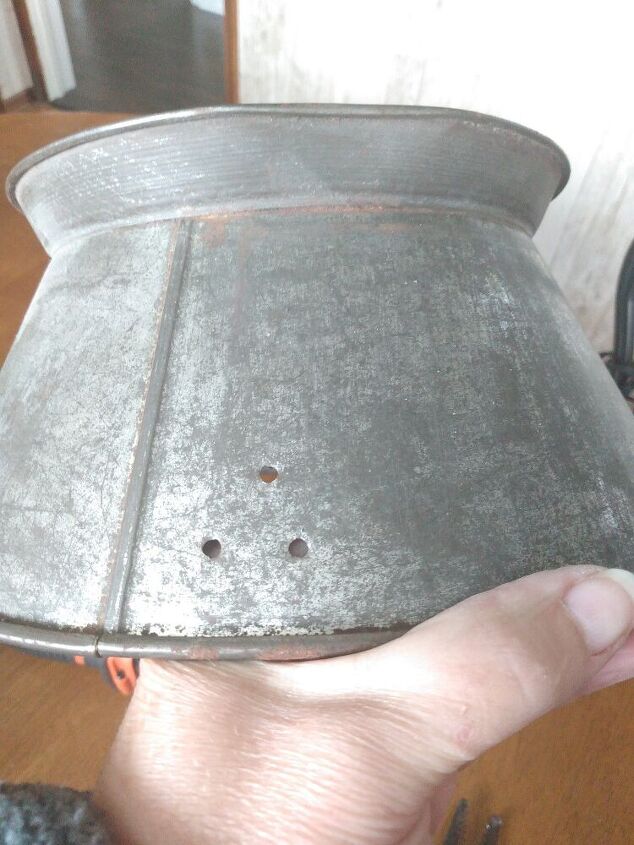
I randomly started drilling a pattern around the sieve / strainer.
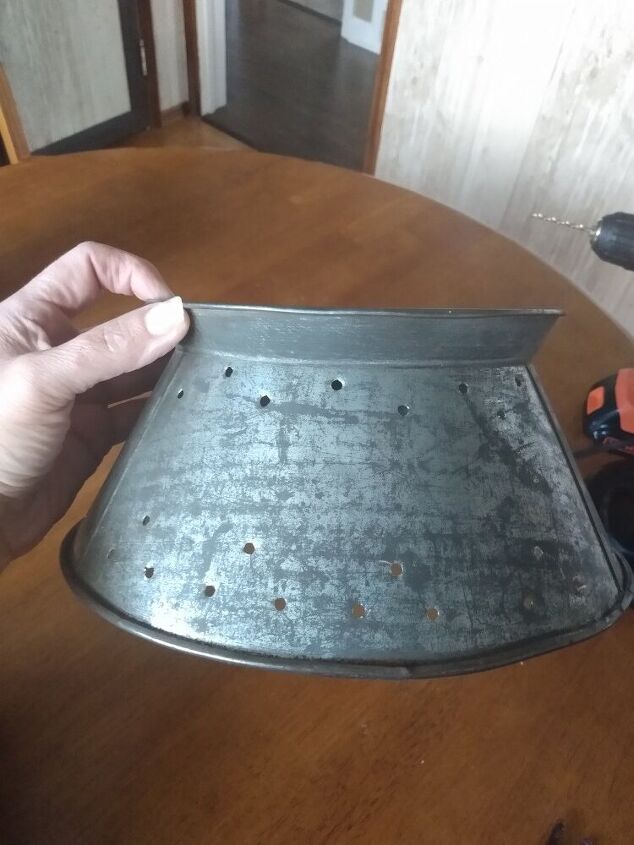
Here it is finished, I did the top and bottom.
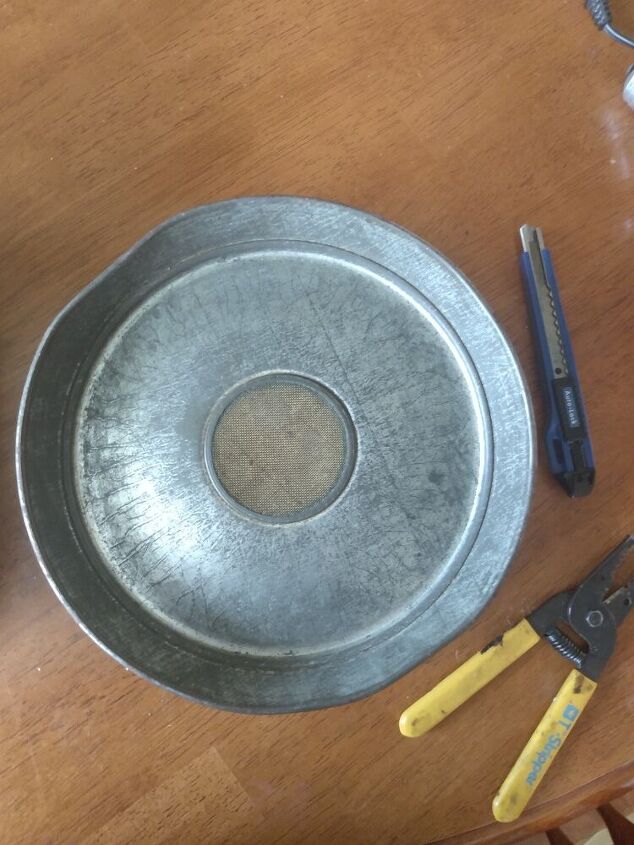
This is the bottom. You can see the screen. Using an exacto blade I removed the screen.
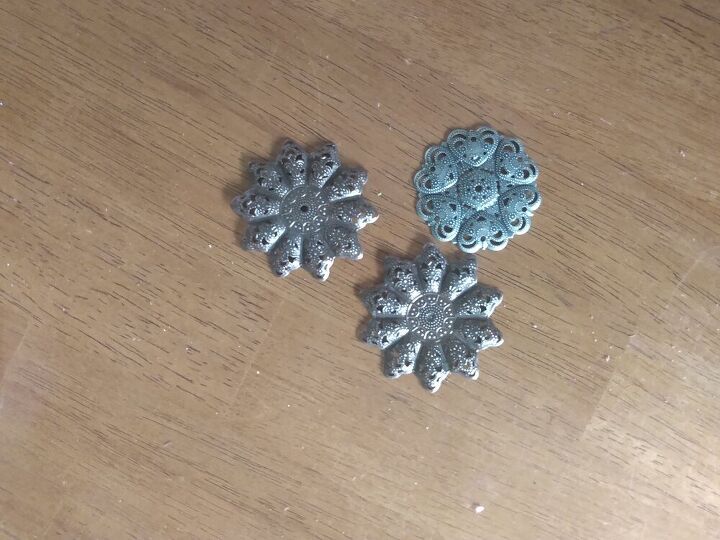
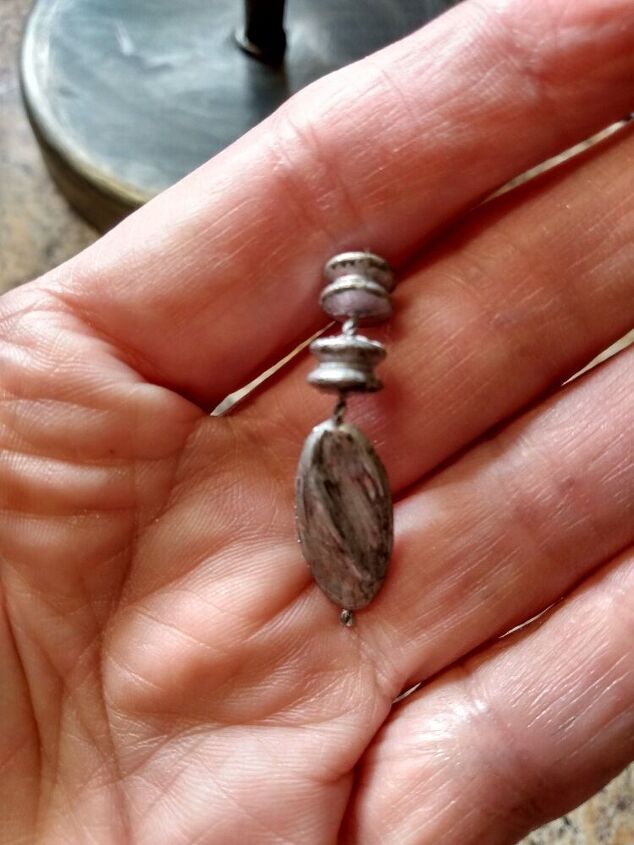
I salvaged these off my other shade and I am going to use them on this shade.
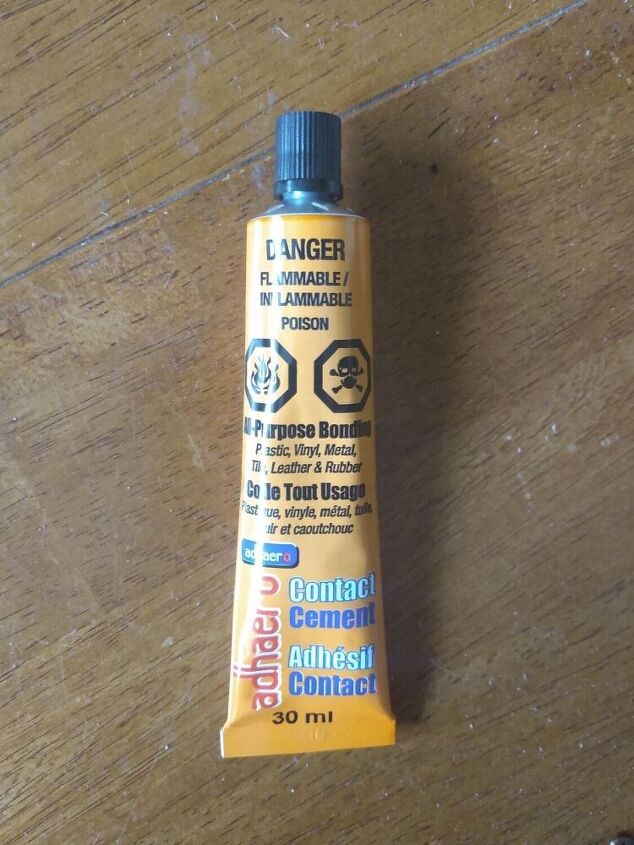
Normally I would use E 6000 epoxy but as I said I am limited to what I can purchase at my Dollar store. They were out of the E6000 so I had to buy contact cement.
So I put the middle out of the frame and centered it in the inside of my sieve. Using my contact cement I applied it to the frame.
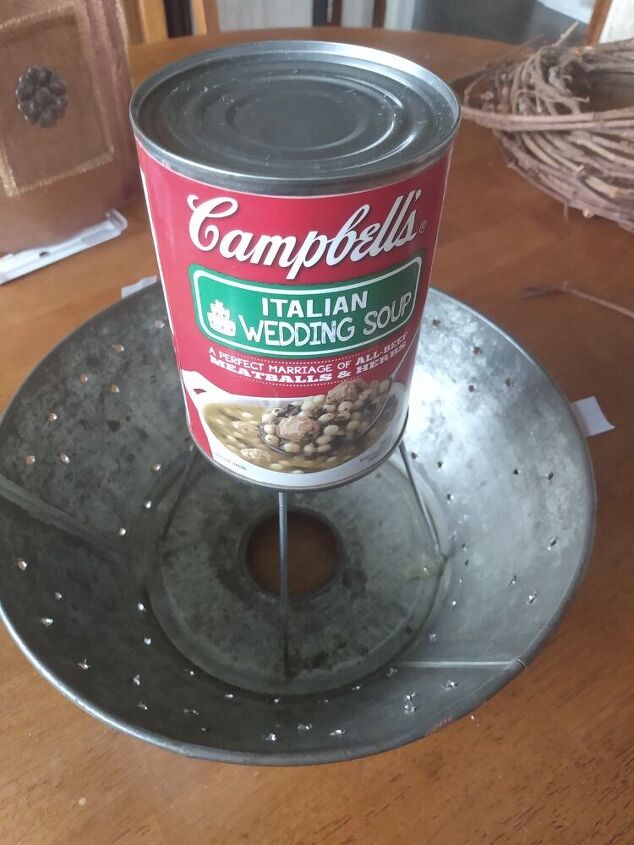
In order to keep it in place until it dried I used a can of soup to sit on top of the frame.
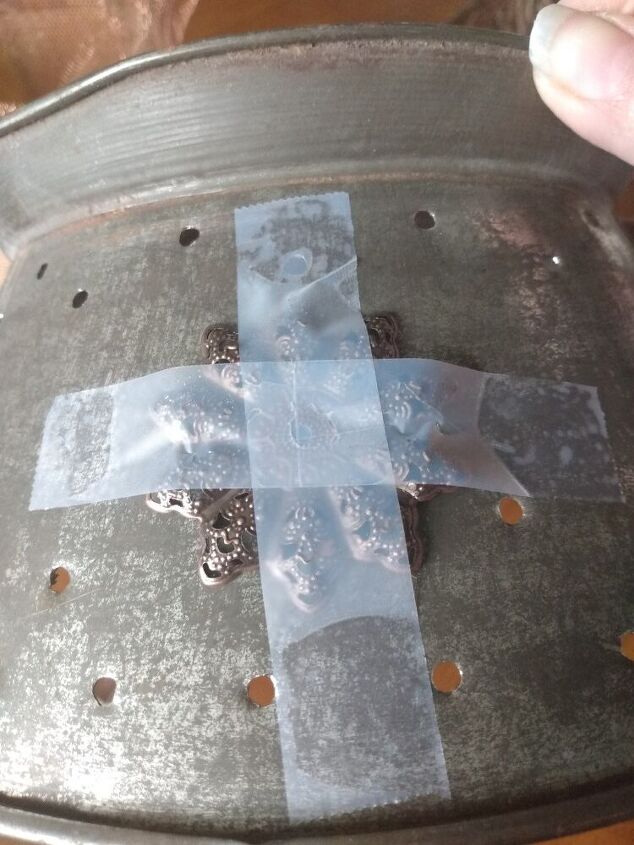
Once dry I applied my metal decorations with the contact cement and used tape to secure in place until dry.
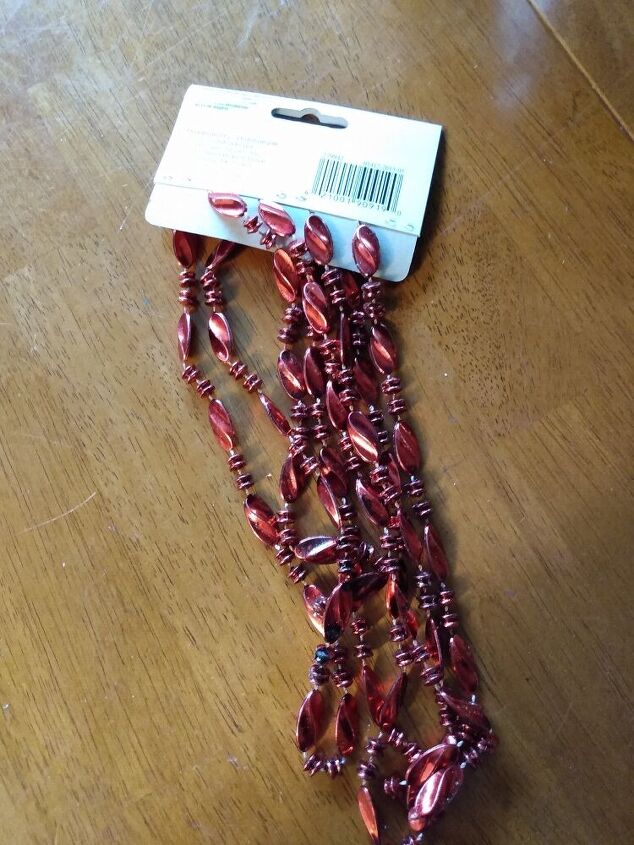
I wanted to add some sort of trim detail to my shade. Normally again I would head to the Dollar store. Instead I headed to my basement and started rummaging through the numerous totes I have. I settled on some Christmas bead garland.
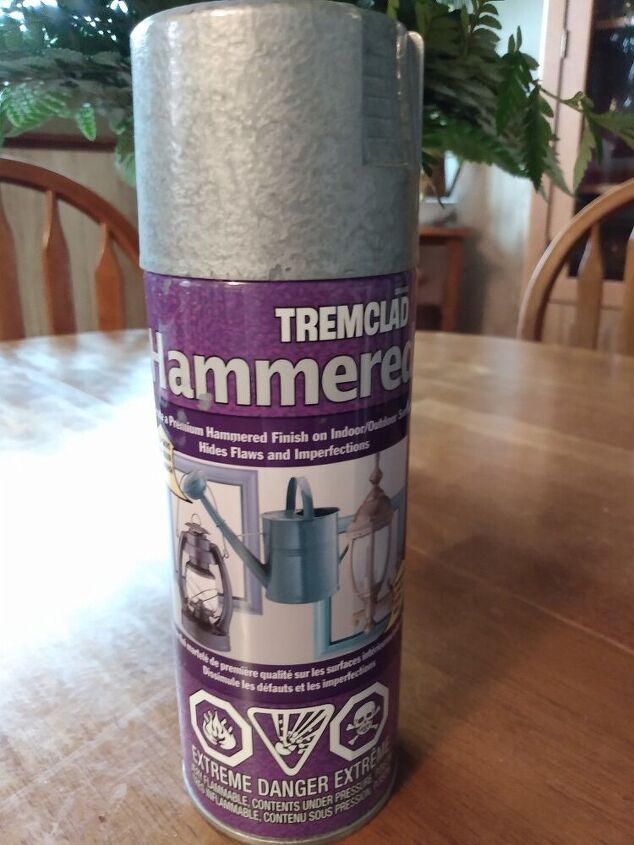
So the color red had to go. Luckily I had this hammered silver spray paint on hand.
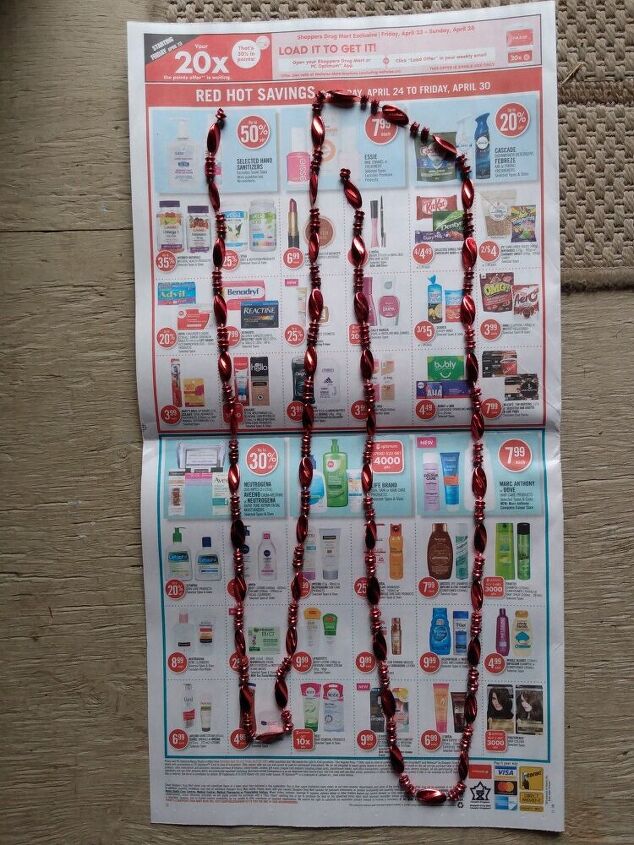
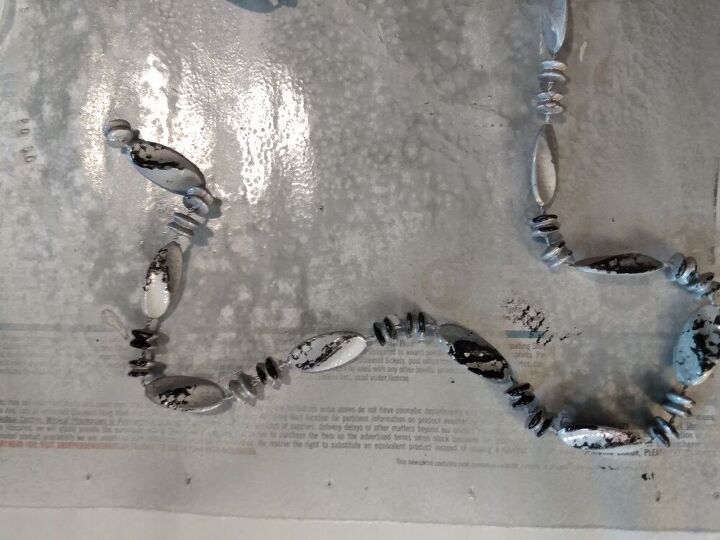
Laying the garland on a newspaper I began spraying my beads.
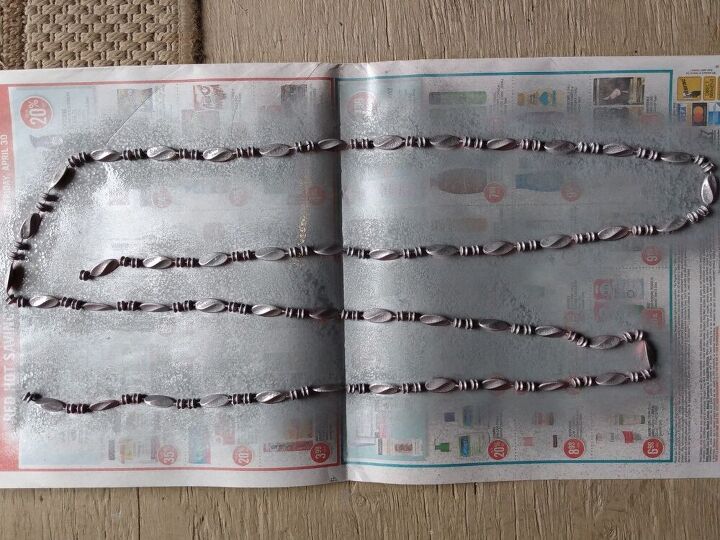
Here they are sprayed. I had to turn over and do the other side.
While waiting for the paint to dry I took a piece of sandpaper and rough sanded the lamp base.
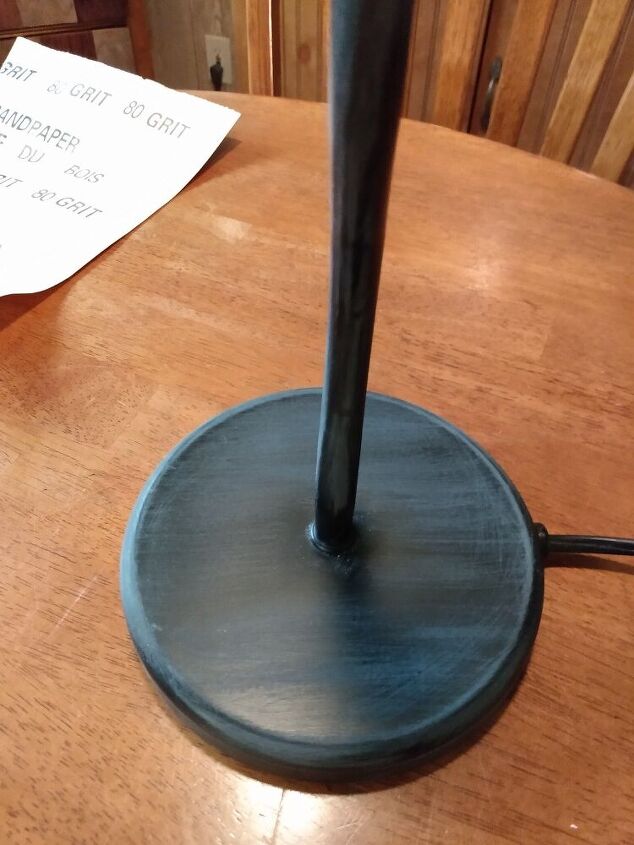
Here it is sanded.

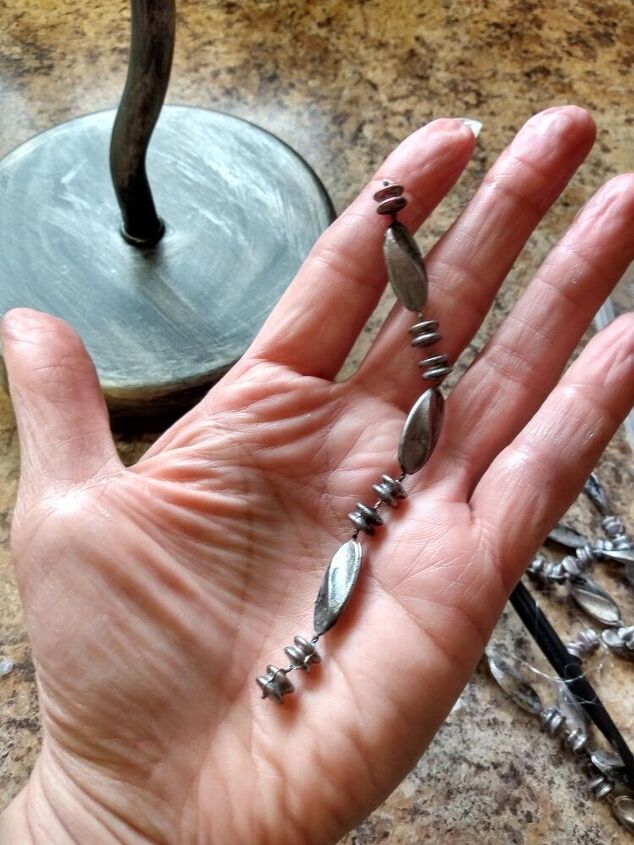
The paint is finally dry, now it's time to age my beads. Using some black acrylic paint and a paper towel I began dabbing the beads randomly with the paint.
So here is what they look like. I added two shades of gold acrylic paint to the beads using same technique.
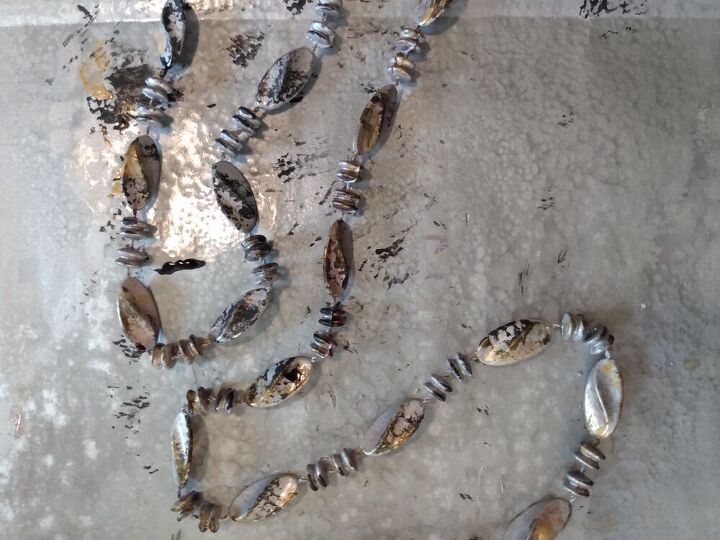
They are looking more aged now.
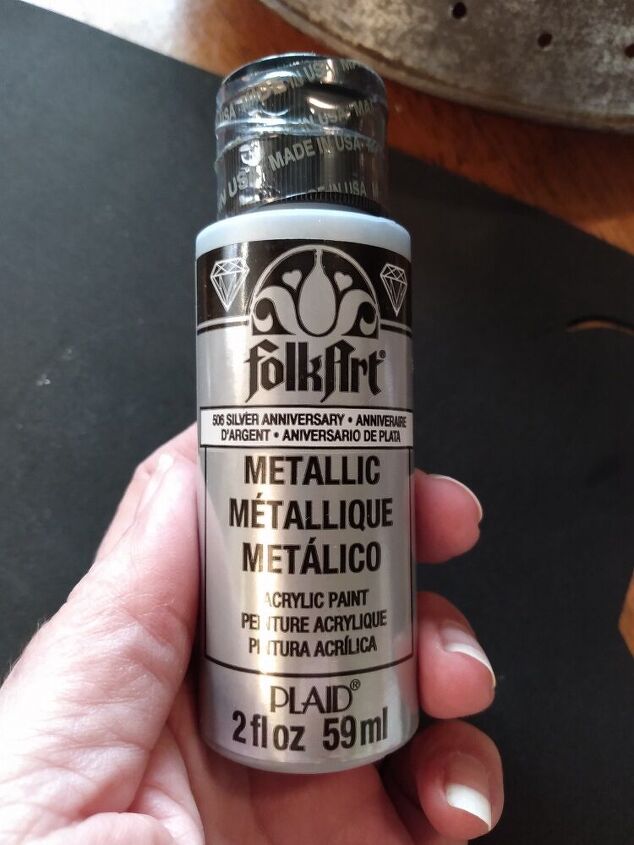
Next it was time to paint the lamp base. I am using this metallic silver and will add some of the gold.
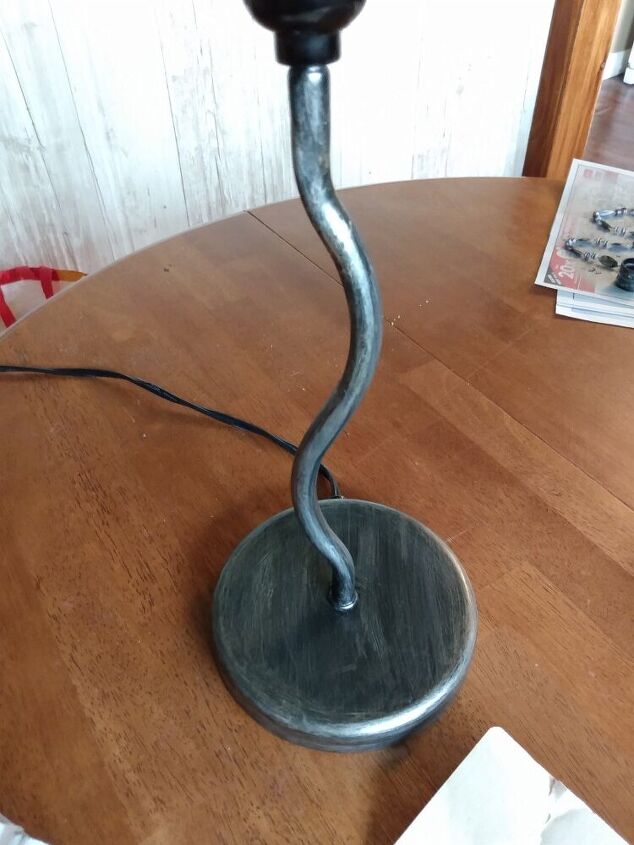
Here is my base painted.
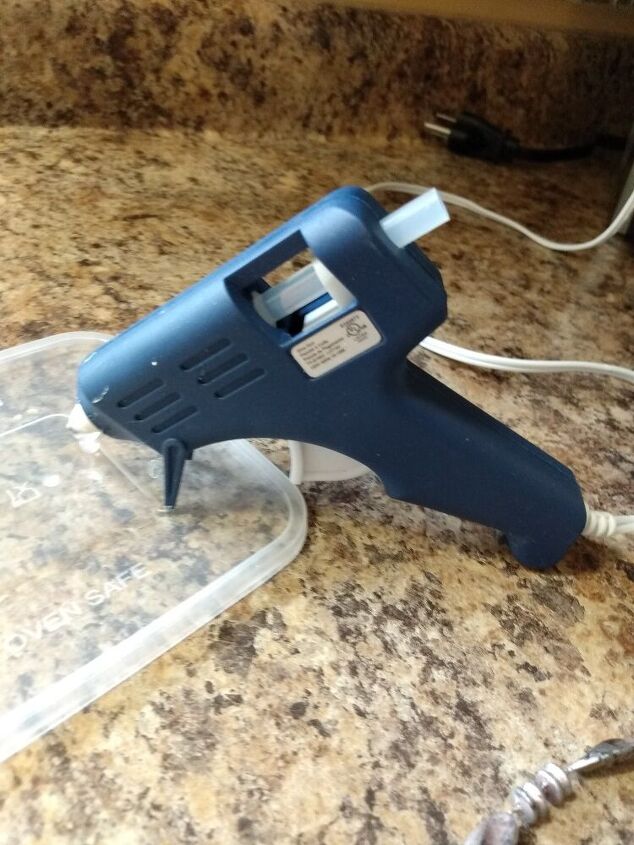
Time to heat up the glue gun to apply the bead garland.
Using scissors I cut strips of the beads and attached using my glue gun.
Here is it started. I continued around the rim.
Next I cut some smaller pieces and attached these between the loops.
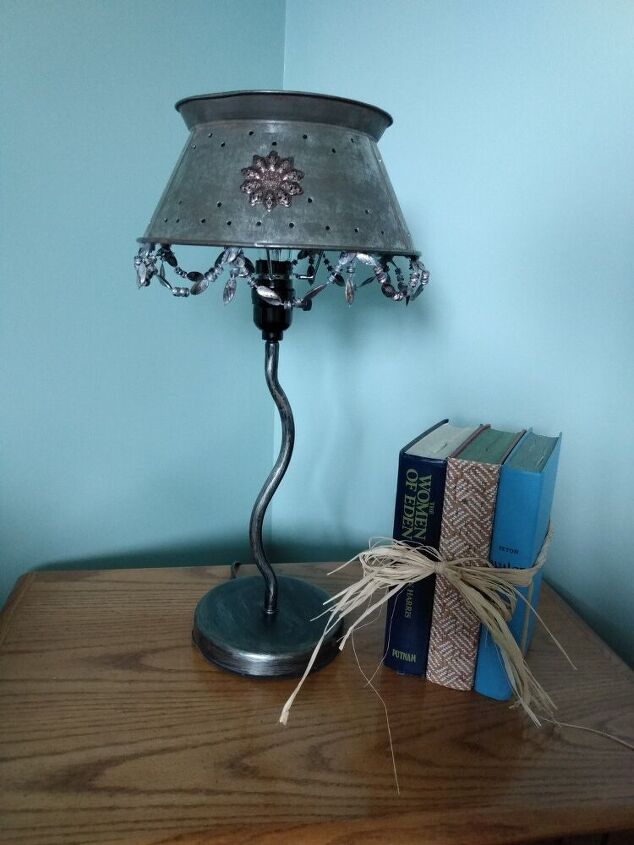
Here is my lamp complete.
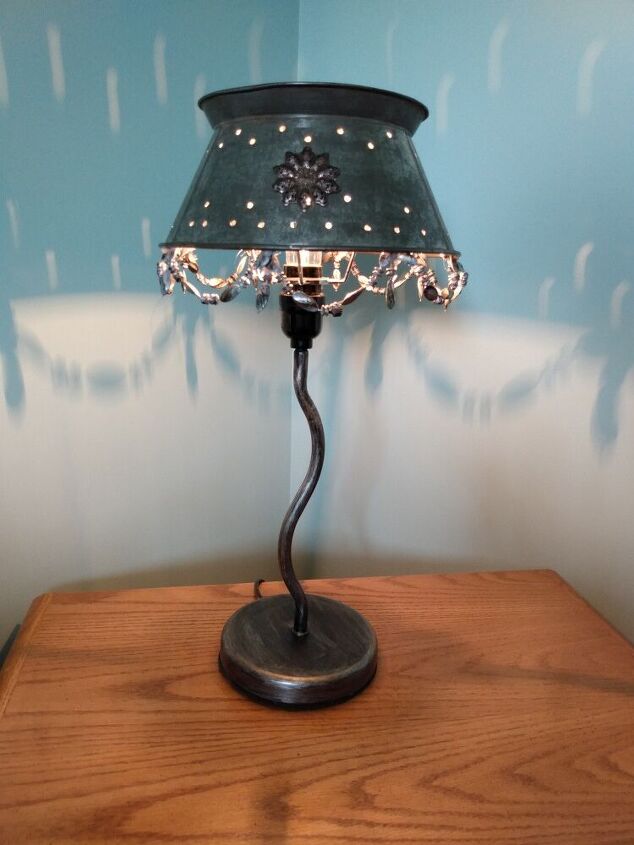
Here it is lit up. I love how this looks. This project cost me nothing to make. Can't wait to take it to my mom's and put it in the bedroom.
Resources for this project:
See all materials


Comments
Join the conversation
-
Your lamp creates wonderful shadows, I hope there is a similar corner in your mom's room so she can enjoy those shadows.
-
This is the cutest idea I've seen on these sites!! Not only did you use "junk" but the finished product doesn't look like "junk"!! Great creativity and great job!!


Frequently asked questions
Have a question about this project?