


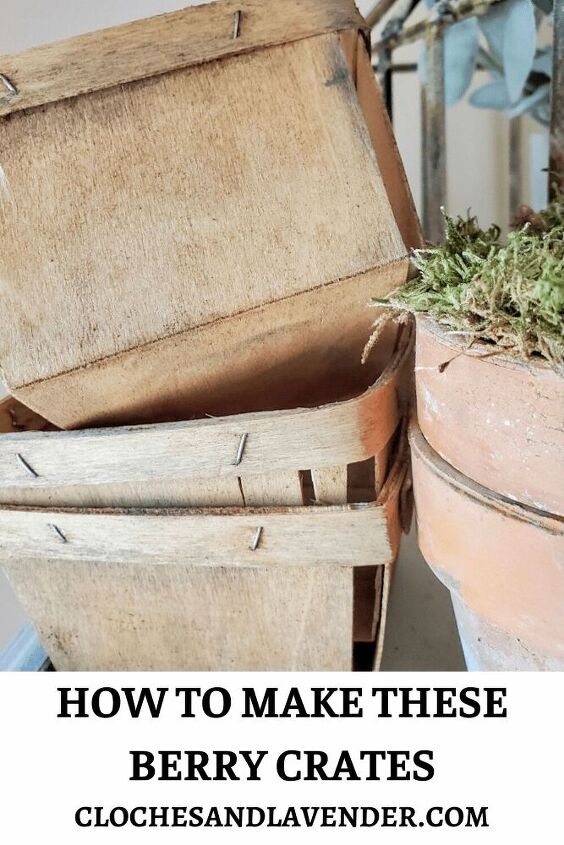
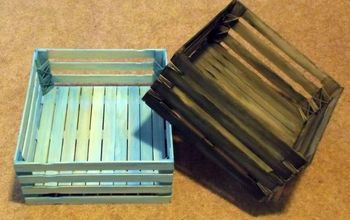
Make Vintage Berry Crates
Today, we are going to speak about how to make these berry crates. Summer is also around the corner and so are warmer months. Because warmer months are coming, raspberries, blackberries and blueberries will also be available soon in NJ.
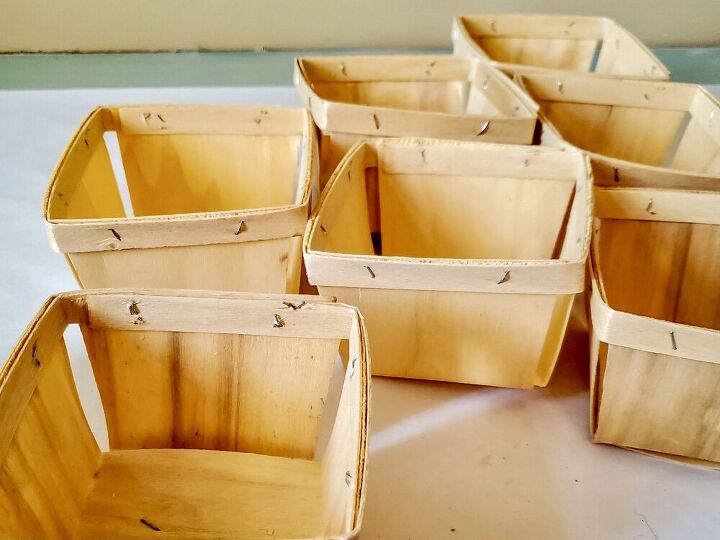
As a result of berry season, now is a great time how to make these berry crates. First off, I found these HERE on Amazon.

Before I get into how to makes these berry crates, I think I will share a few ideas of how to use these. Besides berries, how about lining these with a pretty napkin and filling it with your favorite snack poolside? Also, line with a napkin and fill with with a slider and fries. How about adding a small container and filling with your favorite dipping sauce for the fries.
Another example, it filling these crates with an assortment of cheeses, fruit and crackers on a wooden tray or woven basket.
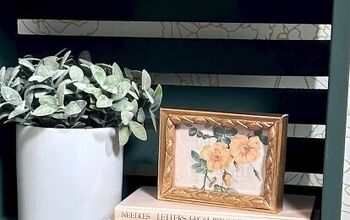
Also, of you like creating easy pieces, you may want to take a look this flower pot craft for another idea to make for your home décor.
How To Make These Berry Crates
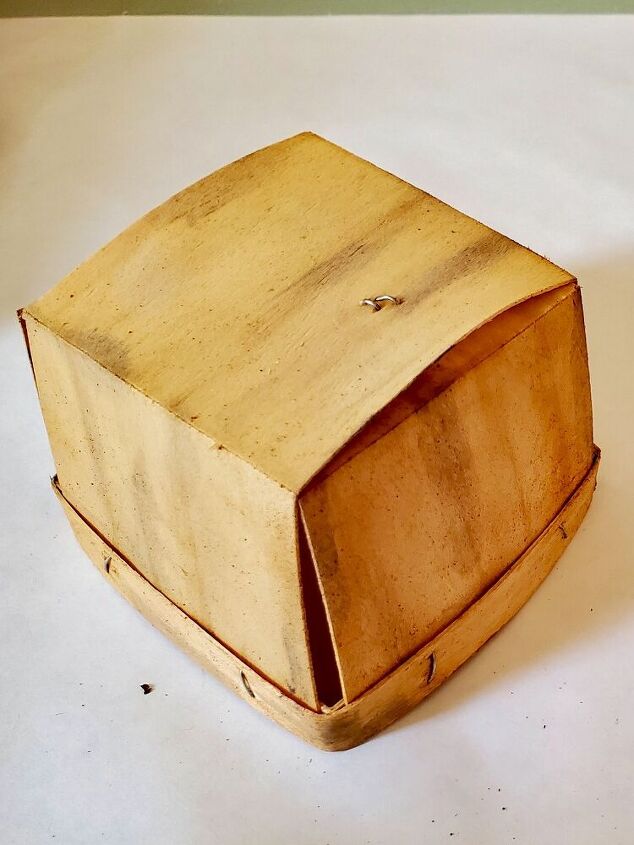
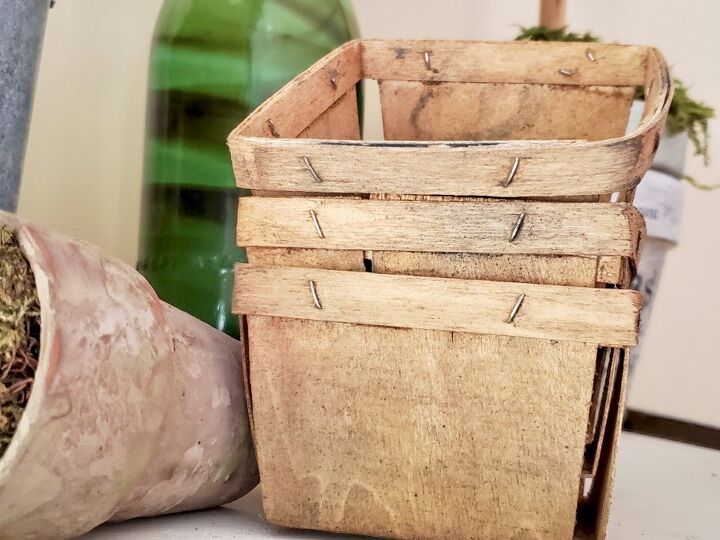
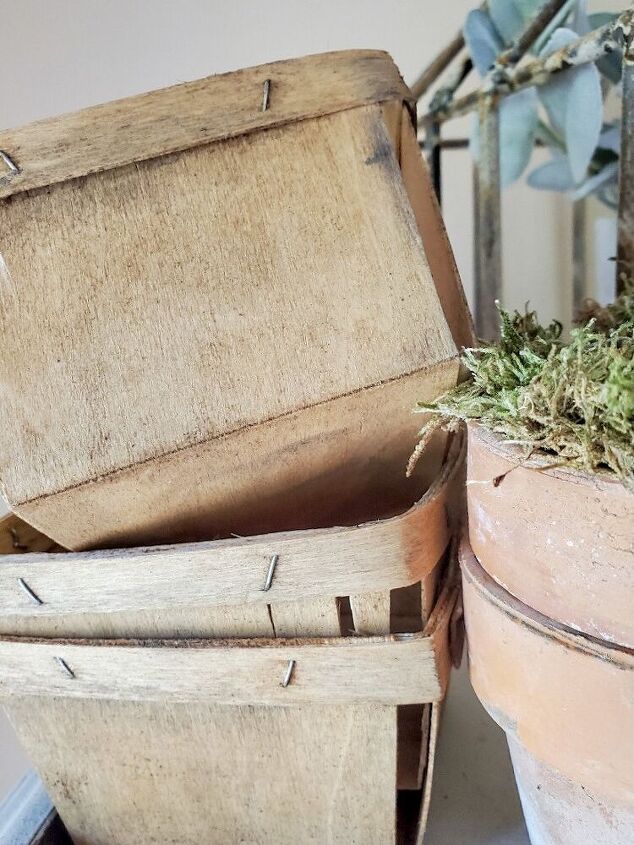
After receiving these crates, I began coming up with an idea of how I was going to age these. How to make these berry crates look old and loved became the plan. Now came planning to age these. I didn’t want to deal with stain. Besides these are balsa wood and I think stain would have been too heavy.
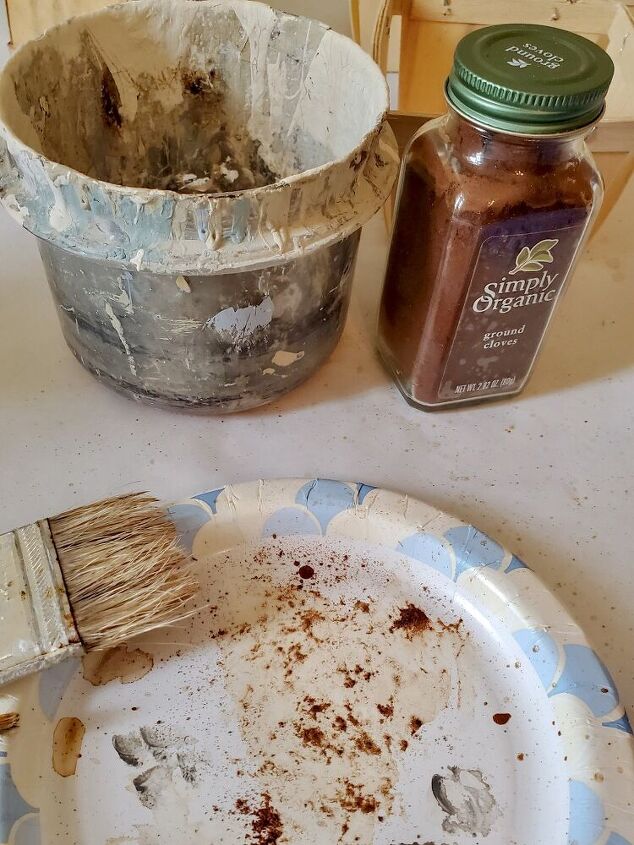
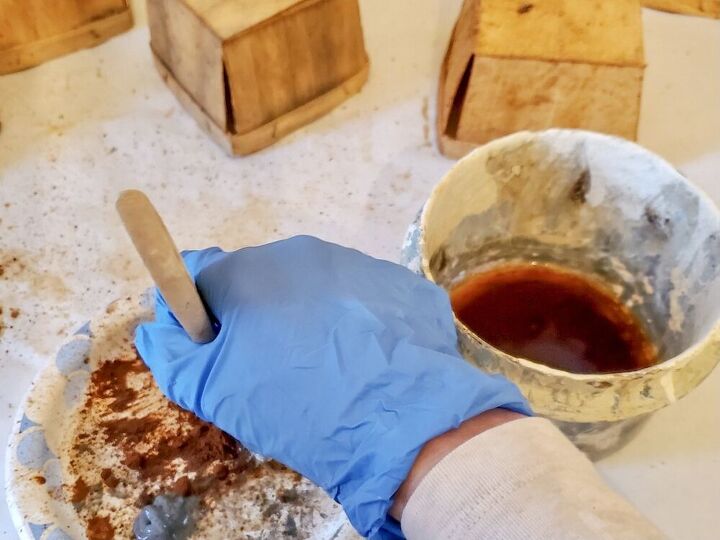
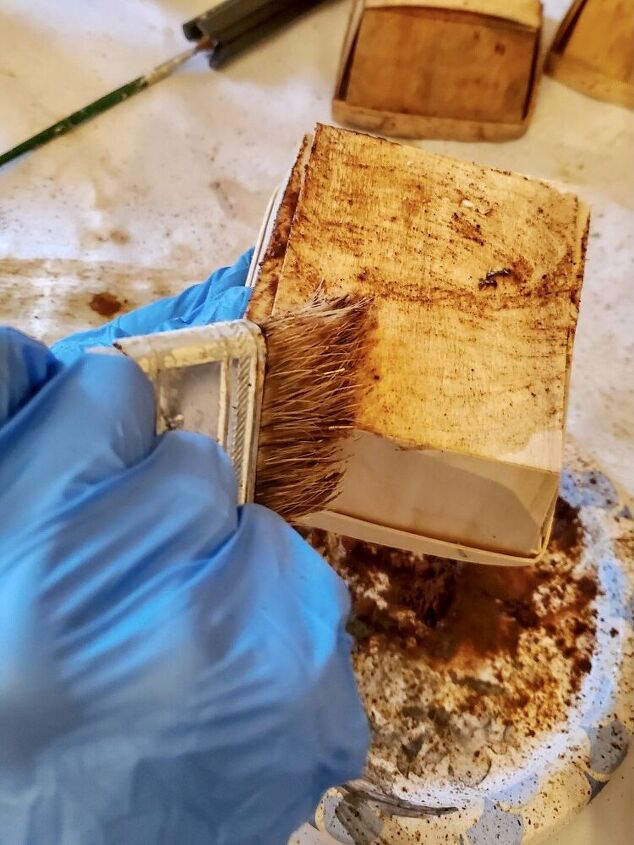
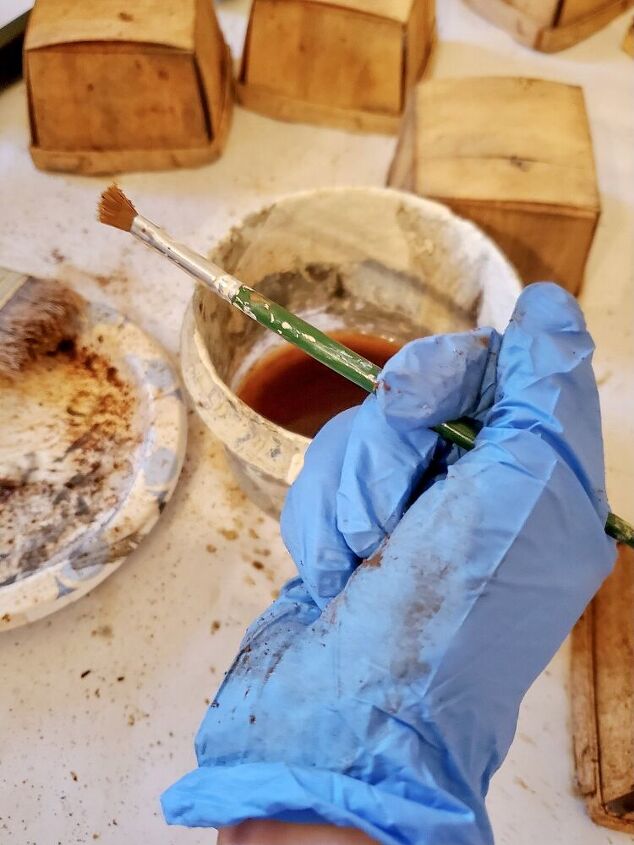
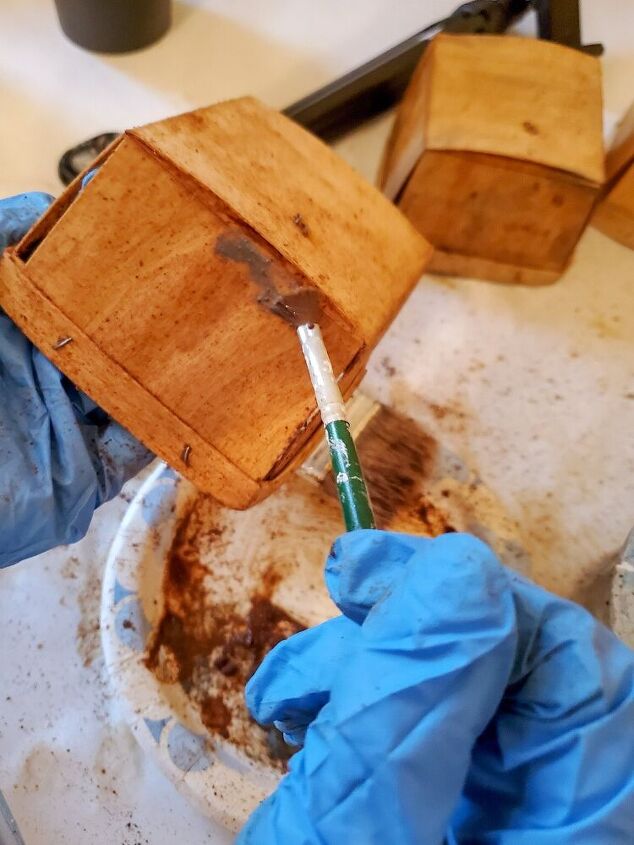
So, how to make these berry crates look old? I brewed some hot tea using our Keurig machine. After it cooled, using a chip brush I began adding the tea to stain the natural way.

Next, I began adding dried clove. Here, I took the plastic top off and poured a decent amount of the clove. Because I wanted a bit of texture, adding clove to how to make these crates is a great option. Also, it made this project smell amazing while making these. Cinnamon will also work for this step.
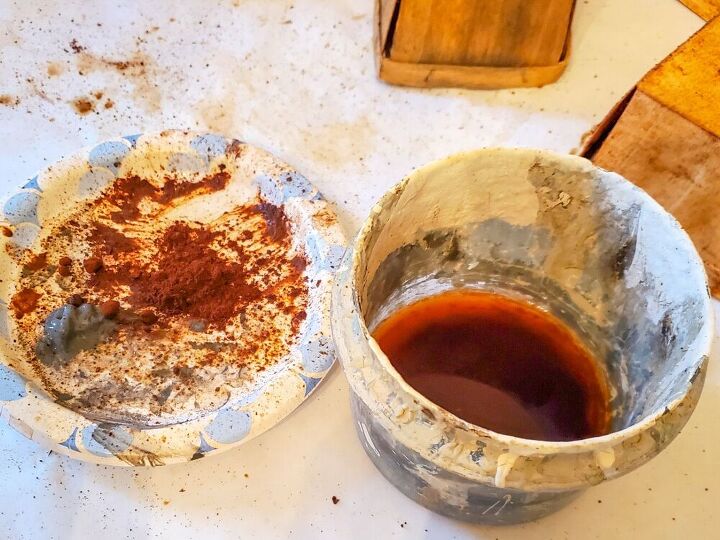
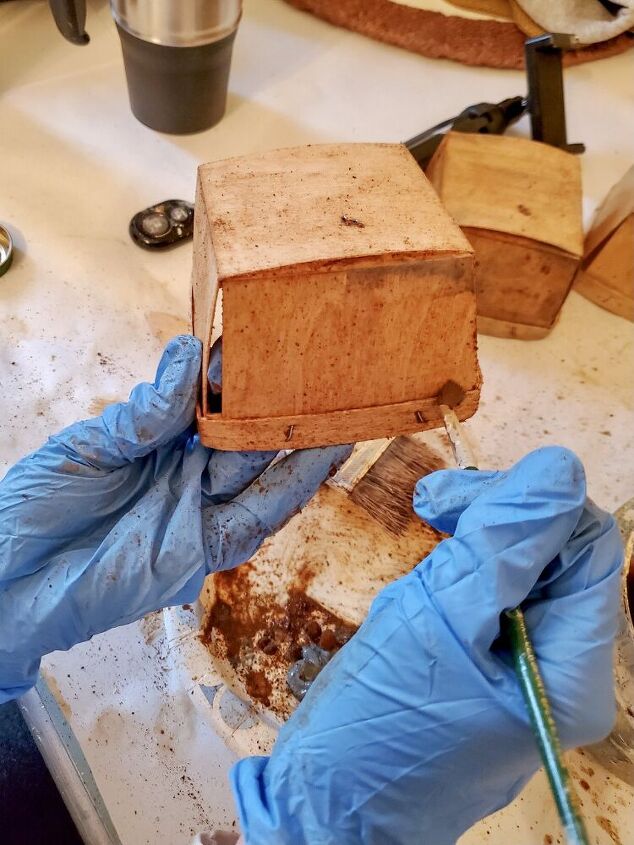
During this step the crates were drying so I kept the tea nearby so I was able to keep my brush a bit damp to move the clove around. I began to blend using a rag and let them dry. These dried overnight.

Above, you will notice the different texture beginning to take shape.
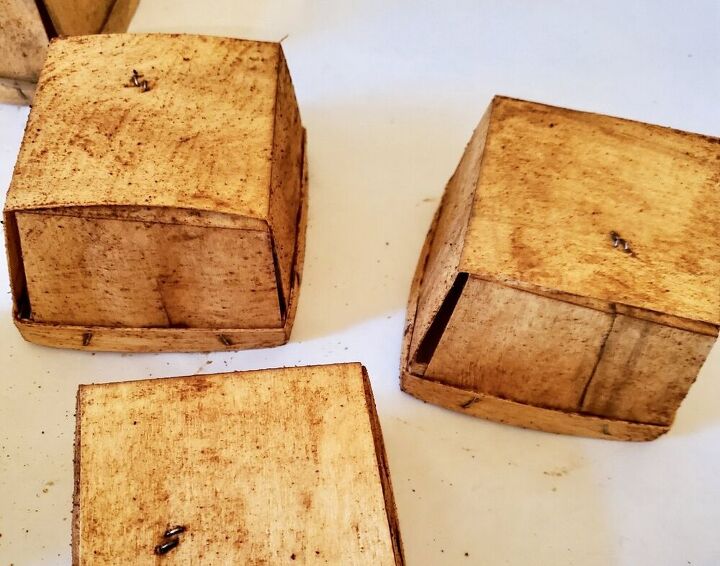
Adding More Texture and Age Using Paint
Next, how to make these berry crates, using a small brush and medium grey craft paint. I begin adding a bit of paint and rug it smooth into the crates. Fruit crates tend to get that blackish/charcoal color on seams and corners. Doing this step didn’t take long and added extra age.
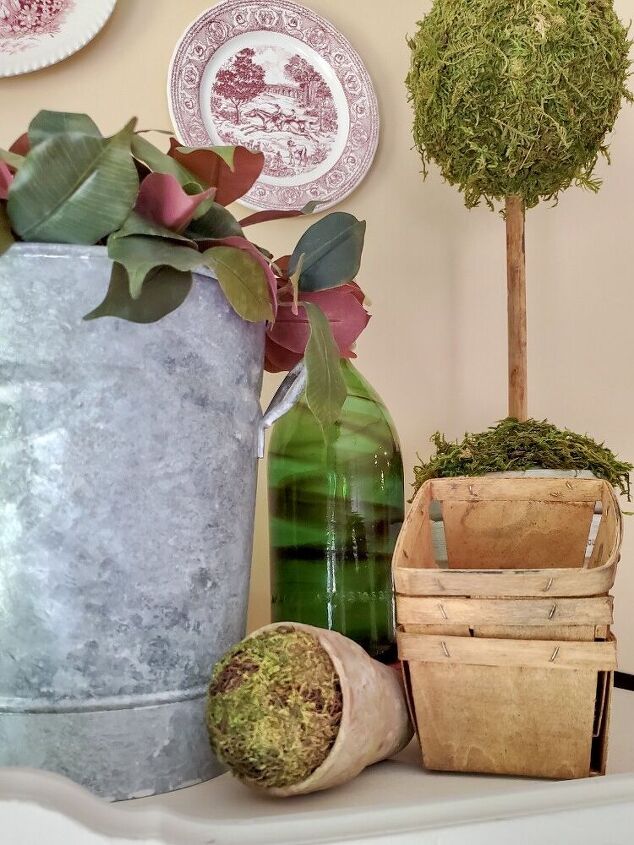
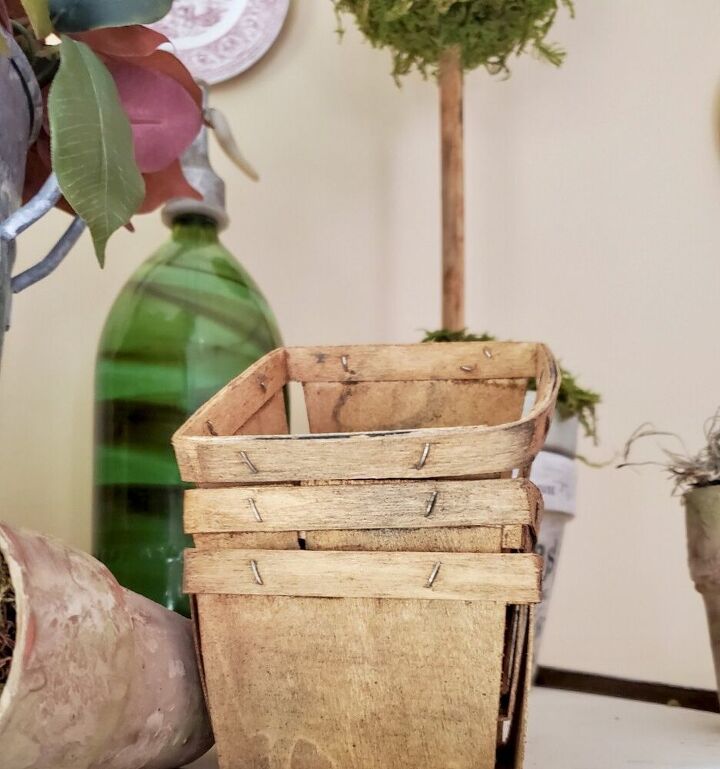
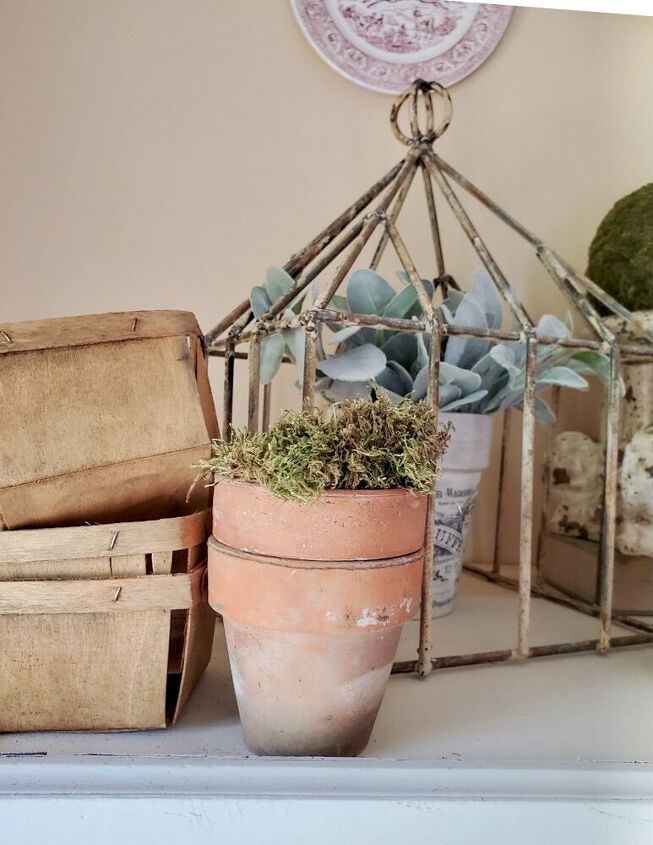
Lastly, adding these to my summer hutch brings a touch of whimsy for summer. They also add a rustic natural look that I love mixed with elegant pieces.

I hope you enjoyed how to make these berry crates. I’d love to hear what you think in the comments. Also, please be sure to sign up for my newsletter at the top of my blog.
Resources for this project:
See all materials


Comments
Join the conversation
-
I like what you did for your decor - it is definitely inspiring me to think about how I could do something similar. And thank you for the other ideas. And poor Benjamin...he must have woken up on the wrong side of the bed this morning. I hope he feels better and becomes delightful as the day goes on.
-
You could use jute rope around the top or ribbon to dress them up. Great idea for the staining


Frequently asked questions
Have a question about this project?