


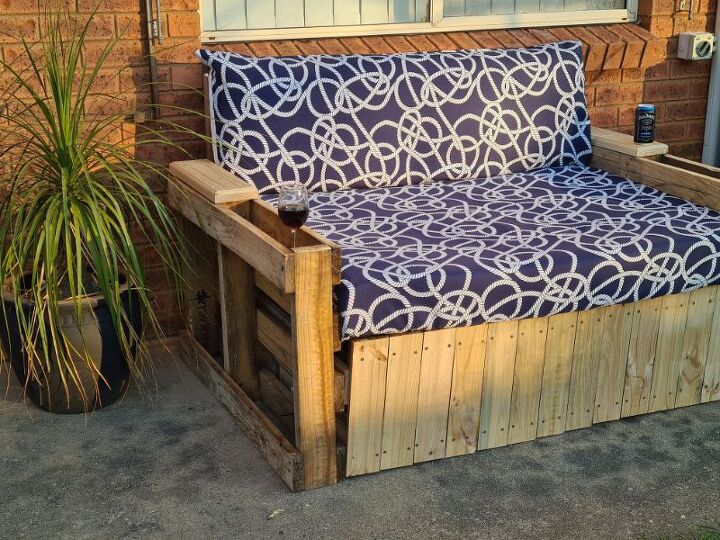
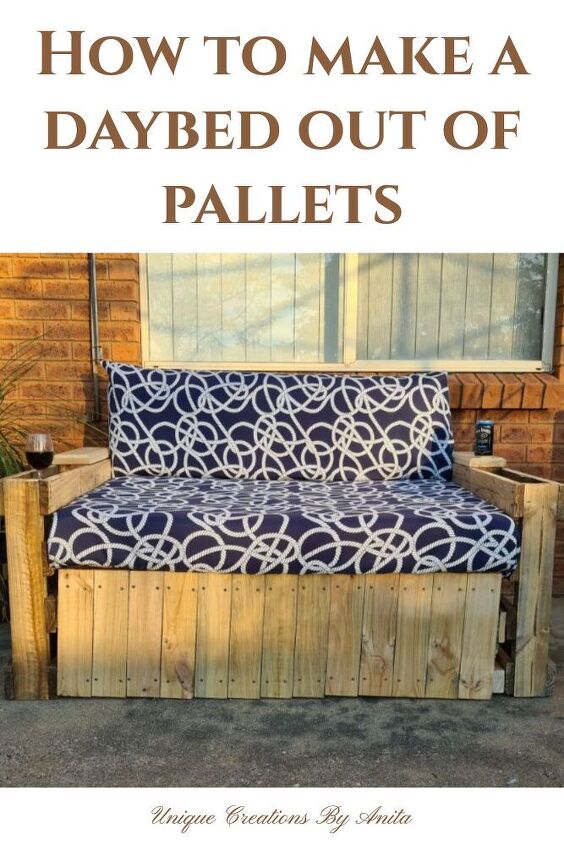
How to Make a Pallet Daybed
My sister asked if I would be able to make her a pallet daybed for her entertainment area. She wanted the daybed to be big enough for 2 people to sit comfortably on and wanted it to be sturdy. Her entertainment area is sheltered but when we get heavy rain it does get wet. That is why she chose to have the daybed made from pallets.

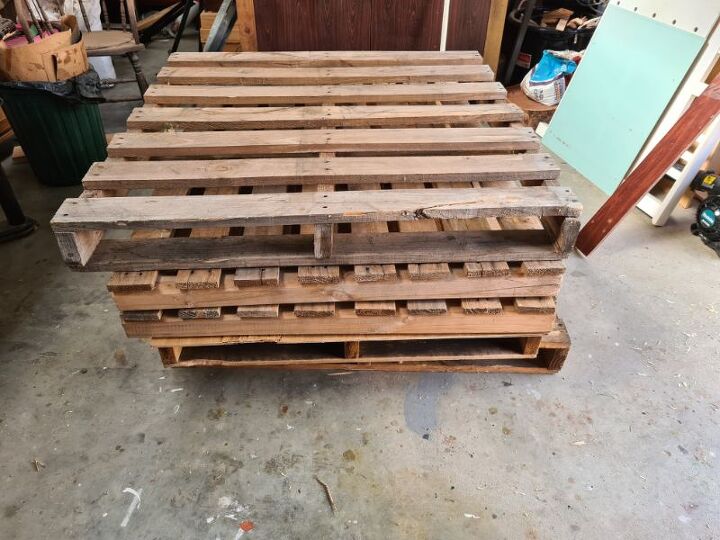
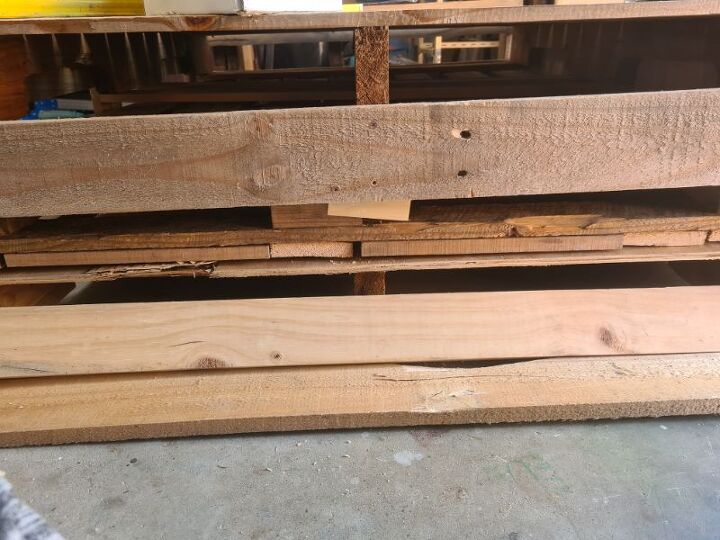
If you chose to make pallet furniture be aware that it will not be the same quality as regular furniture. Pallets do not seem to be a standard size or shape. I found this out from the 7 pallets I intended to use for this daybed project. I waited a few months trying to get free pallets all the same size but gave up and decided to try and make them out of what I had.
Find suitable pallets
If you want the process to be easy, I would advise you to try and find pallets that are all the same size so you can stack them. You will need at least 7 pallets, 3 to be stacked, one on either side and one for the back. The last one is to harvest wood to put the daybed together. In hindsight, I would have washed the pallets before I started using a pressure washer. I washed mine once built which proved to be hard work. You can also give the pallets a sand using 100 grit sandpaper to remove the really rough surfaces after washing.
All of mine were different, so I had to cut them down to the size. This step is a pain in the butt, but I was fed up with seeing these pallets in my garden, so I had no choice. To make the base you will need at least 3 pallets that can stack on top of each other. This will make the daybed high enough to get on and off comfortably. When the daybeds are too low they can be very hard to get up from when you are not a spring chicken anymore.
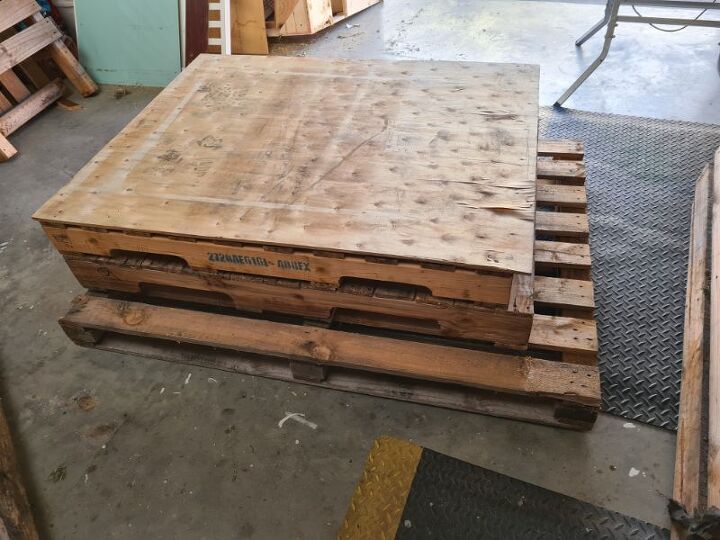
Shortening the pallets
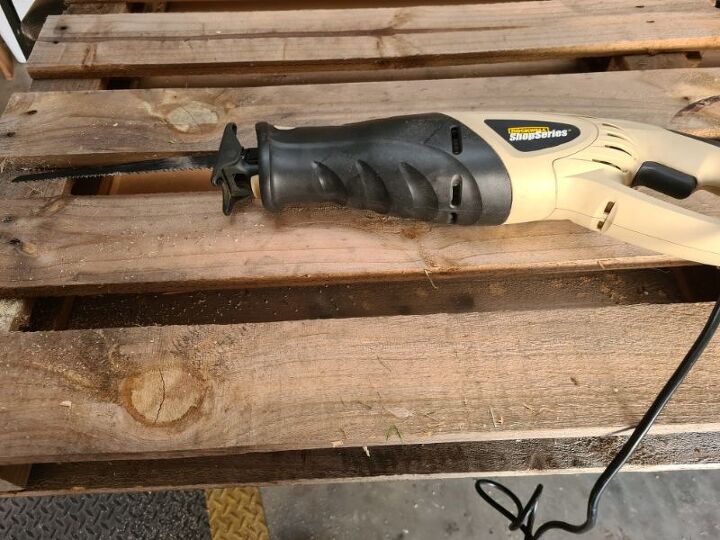
Two of the pallets I had for the base were similar in size but the third was too big and needed to be shortened. I used a reciprocating saw to cut off the excess, a jigsaw will also work. Because I cut off the main supports for the end of the pallet, I had to replace them.
I had to take apart the piece I cut off and remove the supports so I could reattach them to the pallet.
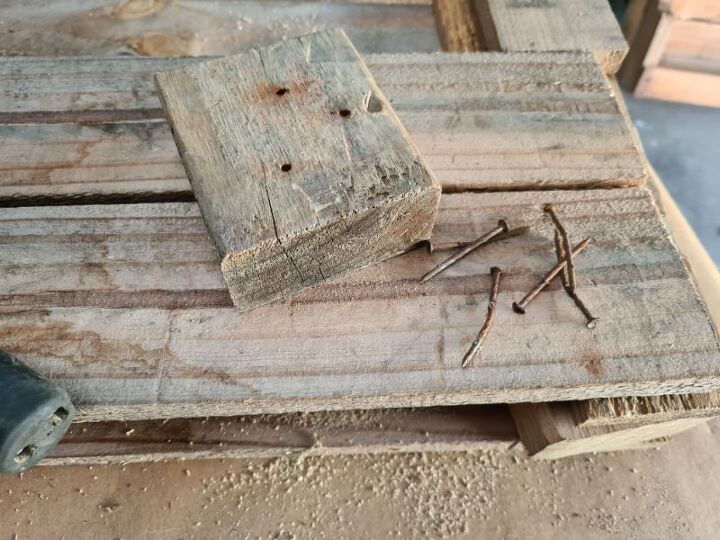
Harvesting wood from other pallets
You will need extra wood to box the pallets together so they don’t move. I used a jigsaw and cut off the wood from the spare pallet. You can take them apart but I found that really hard to do.
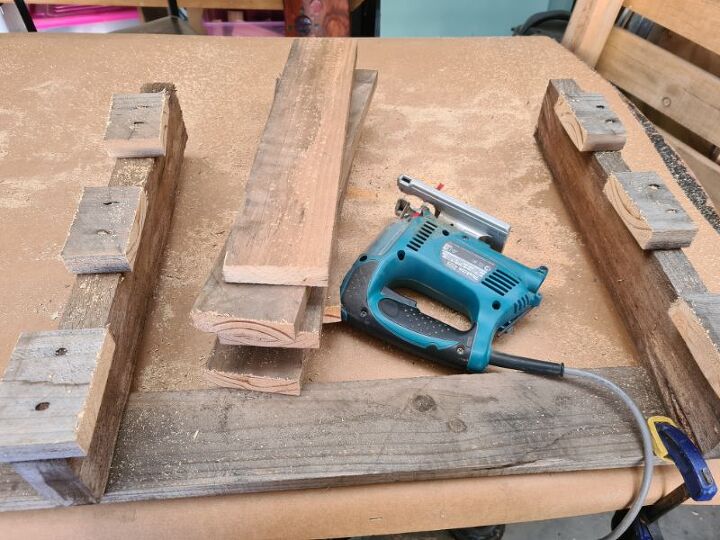
To remove the splinter you will need to sand them or put them through a planer if you have one. These will be used down the front so you don’t want to get splinters in your legs.

The idea was to have a rustic daybed, but you do need the wood smooth enough as not to cause injury.

Box in the pallets
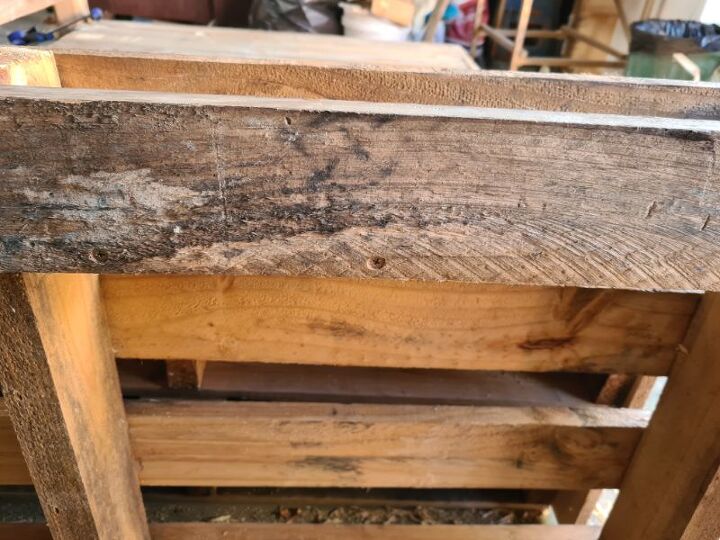
To box the pallets together you need to measure the height of the pallet stack and then cut the wood to size. I found that none of the pallets was straight so it will not look perfect.
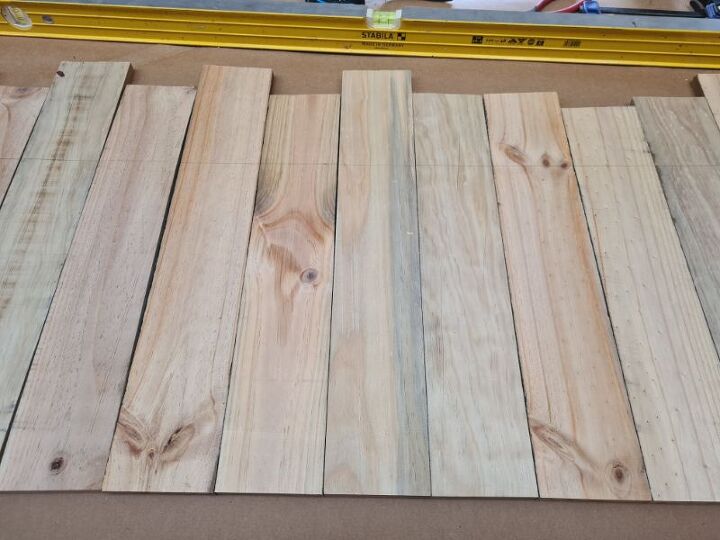
You can now box in the front and back of the pallets. I cut all my wood to the same size and as you can see it is not level. This is due in part to the pallets being warped.
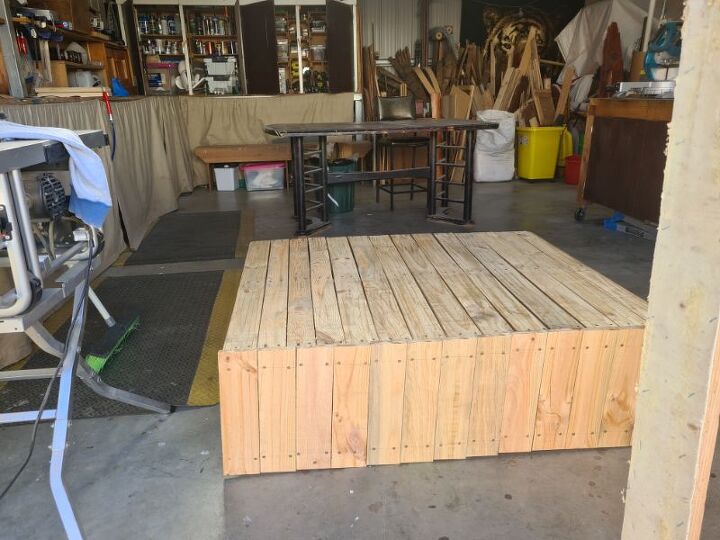
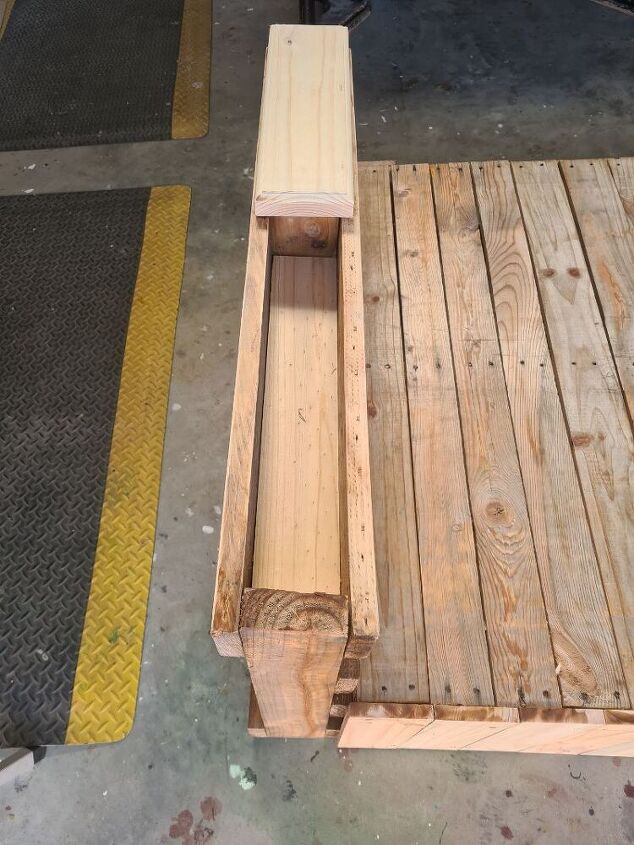
You will also need to box in the sides adding the wood horizontally across the pallets, screwing the wood into the main supports. I made sure the supports on the pallets lined up with the wood on the sides.
Making the sides
The side supports are a pallet cut down to the size you want. You will also need to take into account the size of the mattress you will be adding. I found one pallet cut in half did not work because there is only one centre support in a pallet.

My sisters one request was to have somewhere to put a drink. You can add an extra piece of wood across the top if you have wood the correct size. I used one of the extra pieces of pallet wood and cut it to size to fit inside the side panel.
To hold the wood in place you can screw it from the sides like the image below.
When you are sitting on the daybed your arms will be resting on the side pallets. To prevent any injury from splinters I used a router with a round-over bit to remove any shape edges. You can also add so extra wood to the remaining area so it is more comfortable on your arms.

Attaching the sides
Because this daybed was going to my sister’s house I had to make it in a way that it could be taken apart. I wanted it to come apart into four sections, the sides, base and back. This will make it more manageable to lift and transport. I remove the horizontal supports I added on the sides and fitted some bolts, that will bolt the sides together. You may need to add some extra blocks of wood to the bottom to get the sides level. I repeated this step for both sides.

Fitting the back
One of the pallets that I had was a half pallet, I used this for the back. You can use a full pallet if you have one. I found these screw bolts at the hardware store, but I am not sure of the proper name. I clamped the back pallet to the base and drilled a hole where I wanted the bolts to go.
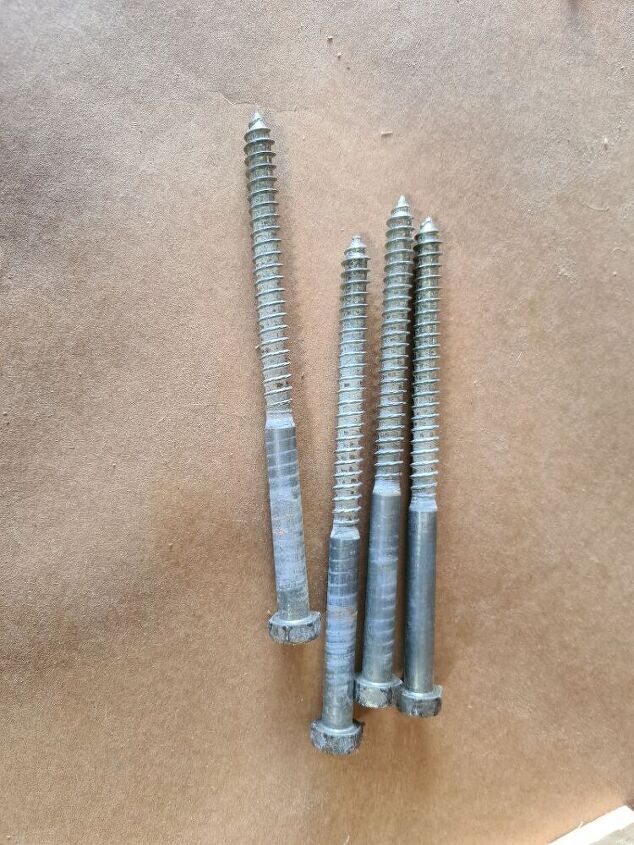
Next, I used a ratchet socket to screw in the bolt, 2 on each leg. I forgot to take a photo but I also added some hinges to hold the sides and the back together.

Add the cushions
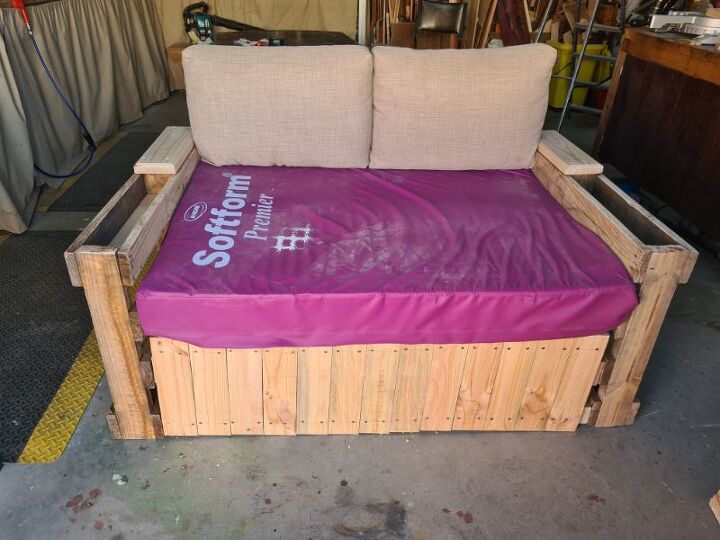
I used recycled cushions from an old couch for the back and an old bed mattress for the base.
Covering the cushion
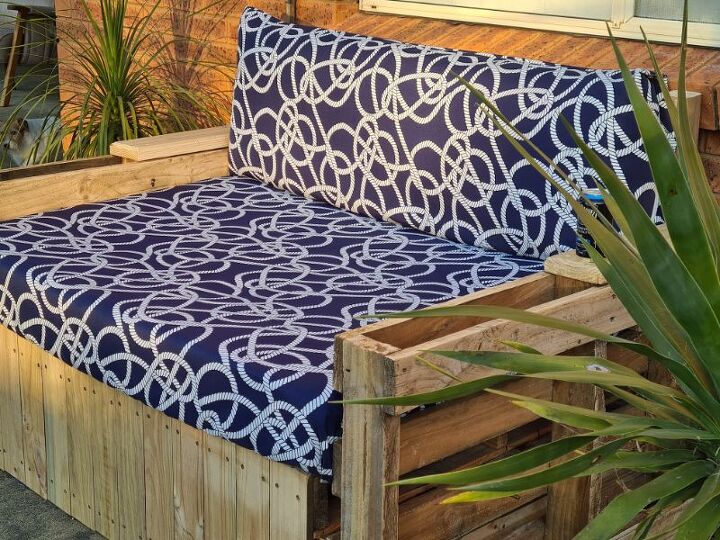
The canvas fabric for the cushions was the only real expense in this project. I sewed a hem around the bottom fabric similar to a fitted sheet and added elastic for easy removal for washing. For the back pillows, I made one large pillowcase. The sides will be boxed in at a later stage once it is put together at my sister house.
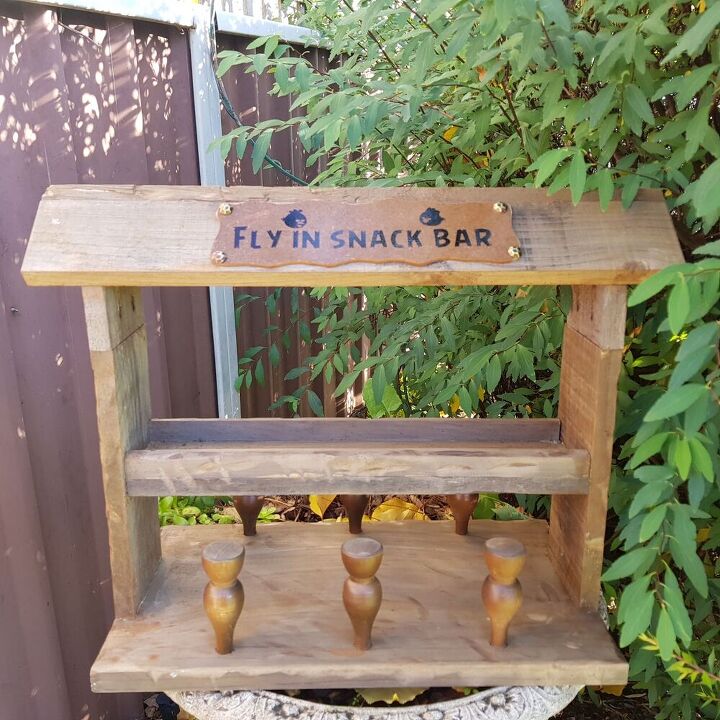
You can also use the offcuts to make a cute bird feeder for your garden.
Resources for this project:
See all materials


Comments
Join the conversation
-
I love every part of this! I would have used flannel backed plastic table clothes for covers though, just because it's going to be outside and those are waterproof and easily wiped off.
-
I got an old baby crib. I made a daybed out of it. got a baby crib mattress. worked out well and is sturdy. Painted it black and mint green. your idea is great


Frequently asked questions
Have a question about this project?
I enjoyed your project. I'm going to make an outdoor stable with my pallets. I bought a pallet buster that makes taking pallets apart easy.