


Retro End Table Makeover
My husband brought me home this fun curb side find. The style of it looks retro to me, which is why I am calling this my Retro End Table Makeover. You can check out all my trash to treasure projects here.
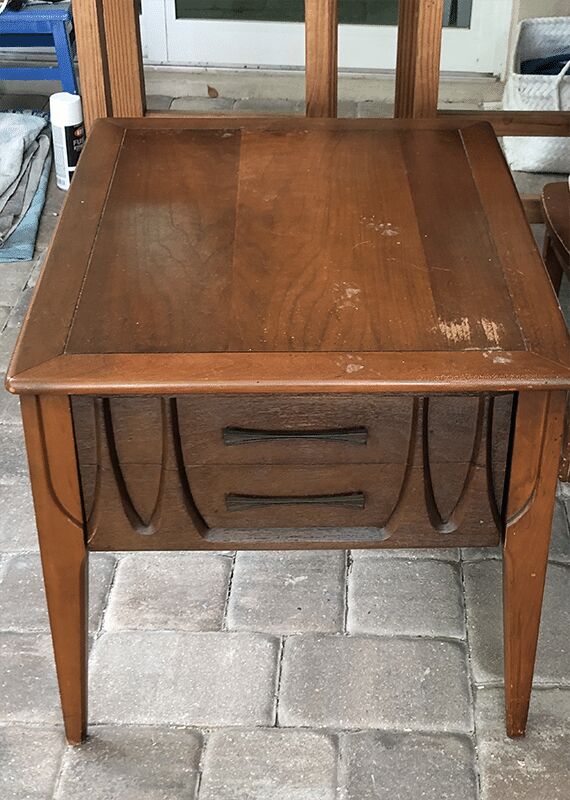
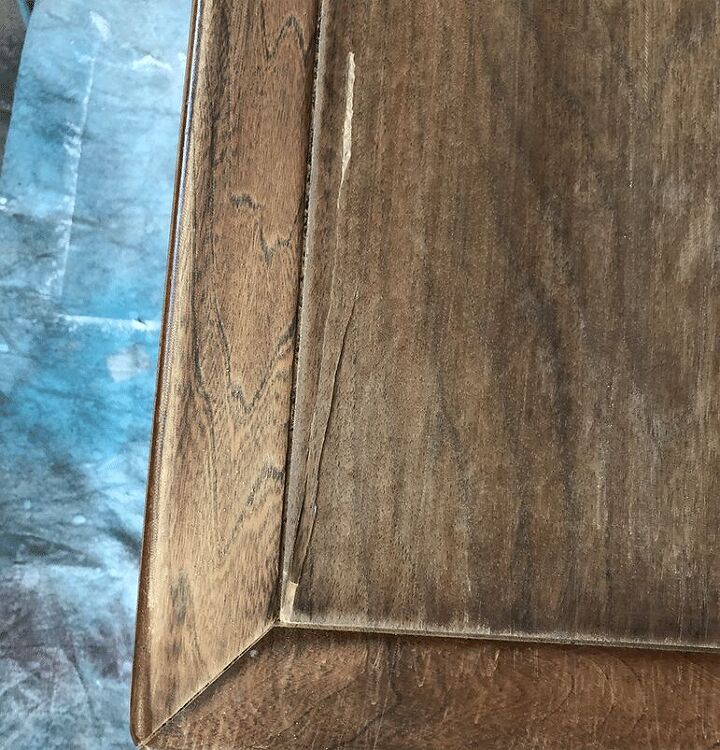
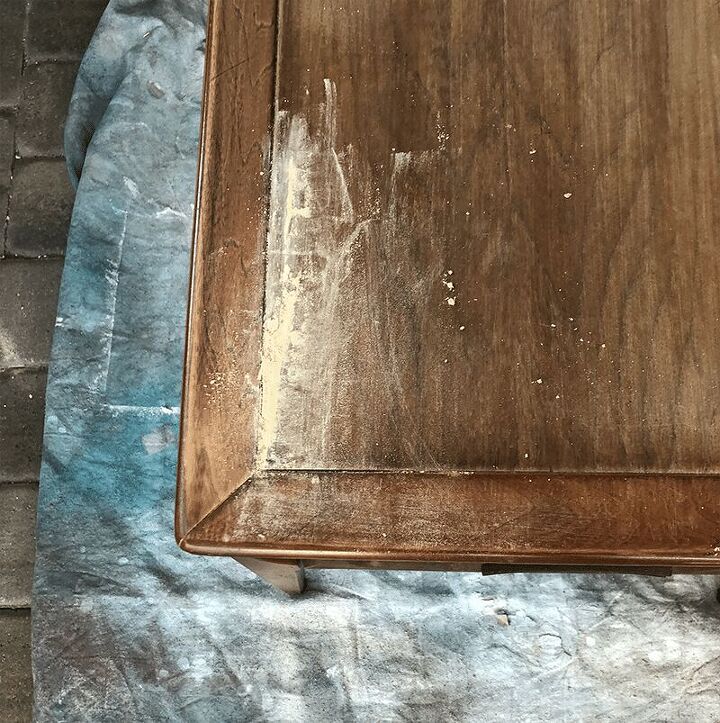
Step 1, Retro End Table Makeover – Fill in any chips, dings, etc…
Originally I was going to sand this piece and re-stain it another color. However, once I started sanding it, it wasn’t looking very good and I ended up chipping a piece of the wood on the top. Oops! I stopped sanding and decided I would just paint this piece instead. But, first I had to repair my damage.
To do this I simply used some wood filler.
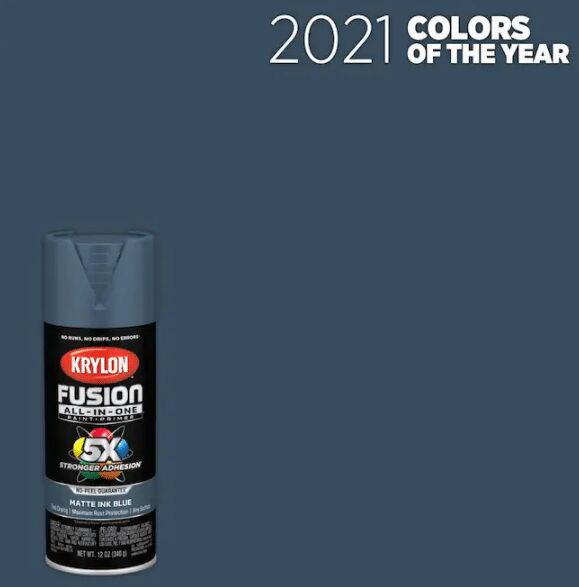
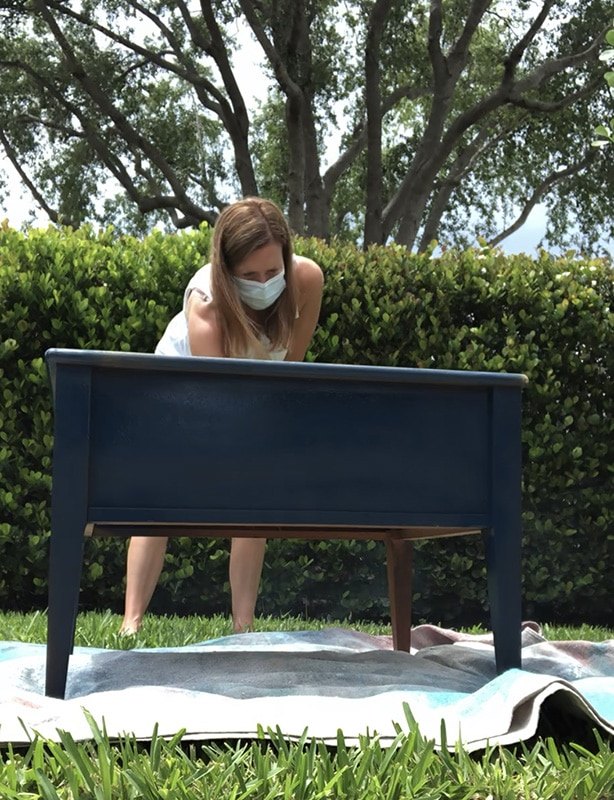
Step 2 – Spray Paint…
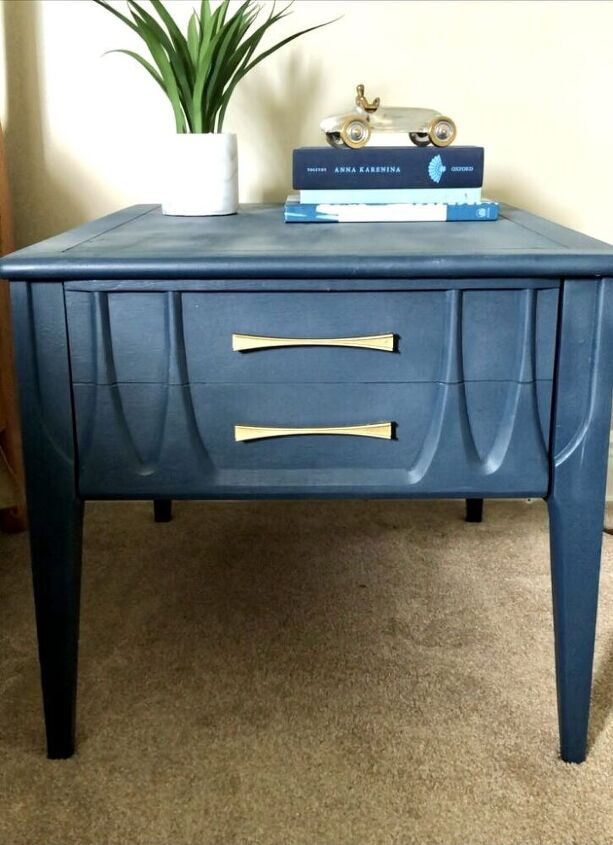
I like to use spray paint for all my furniture flips. It is so easy to use, comes in a ton of colors, goes on smooth, and is pretty inexpensive. Originally, I was going to paint this piece a matte black. However, once I got to Lowes I ended up buying ‘Ink Blue’ in Matte instead. Apparently, Ink Blue is a 2021 Color of the Year. HA! Who knew?
This paint is so great! It has a built in primer, so a little goes a long way. I bought 2 cans and ended up using 1 full can and just a little of the second can (which means I have enough to use for another project).
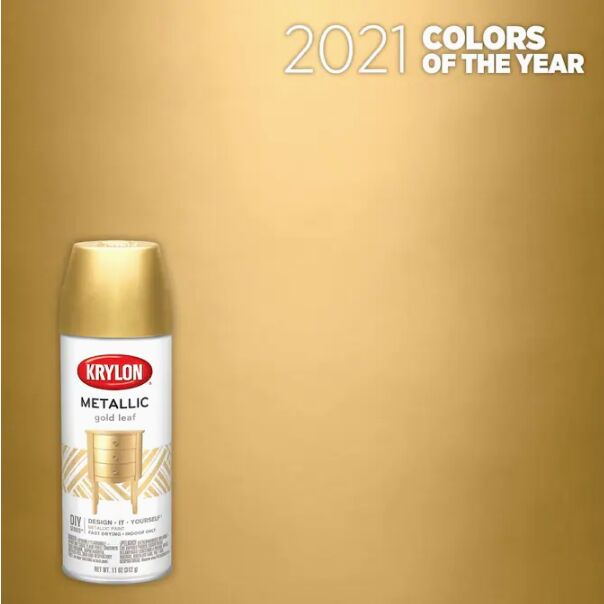
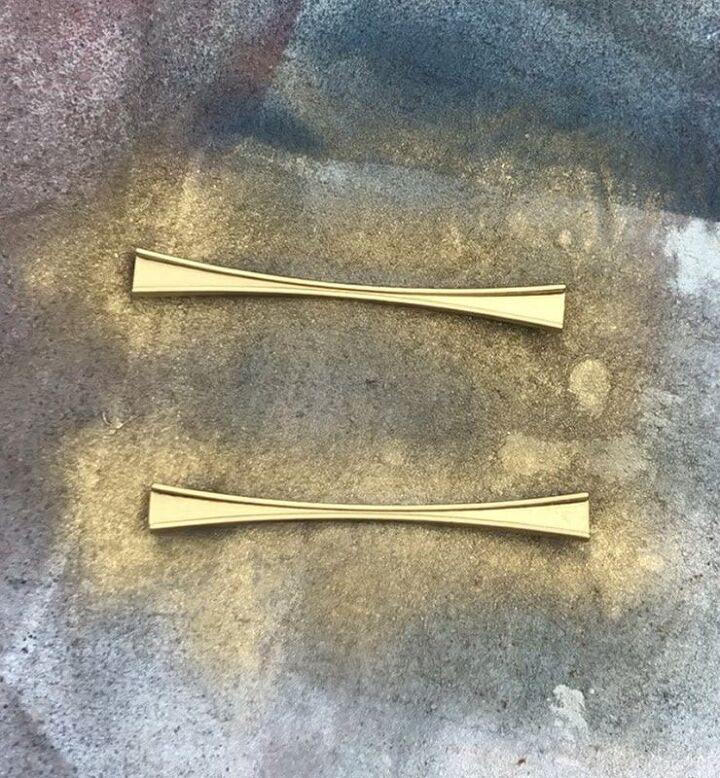
Step 3, Spray Paint the Handles…
The handles were looking rough so I ended up spray painting those too. I used Gold Leaf which is also a 2021 Color of the Year. Look at me picking out all the popular colors! LOL I love the look of these 2 colors together.
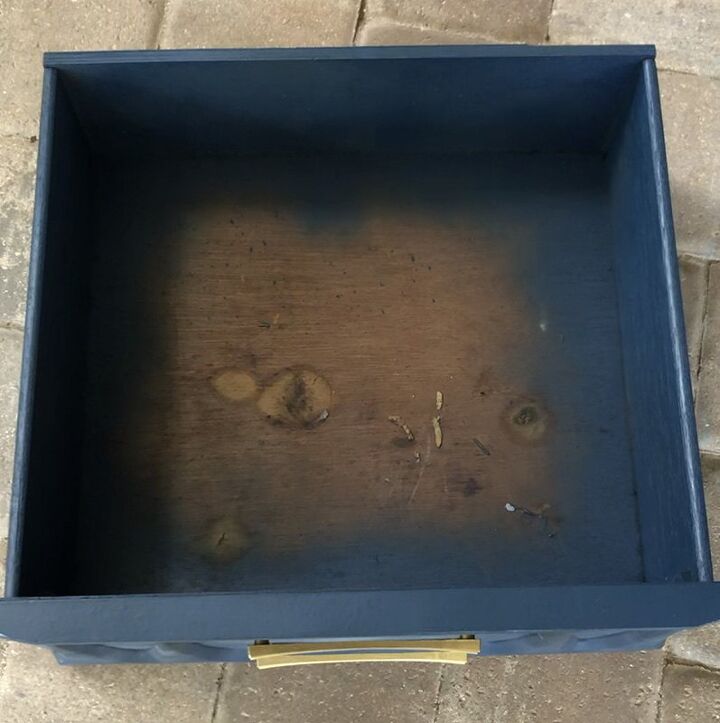
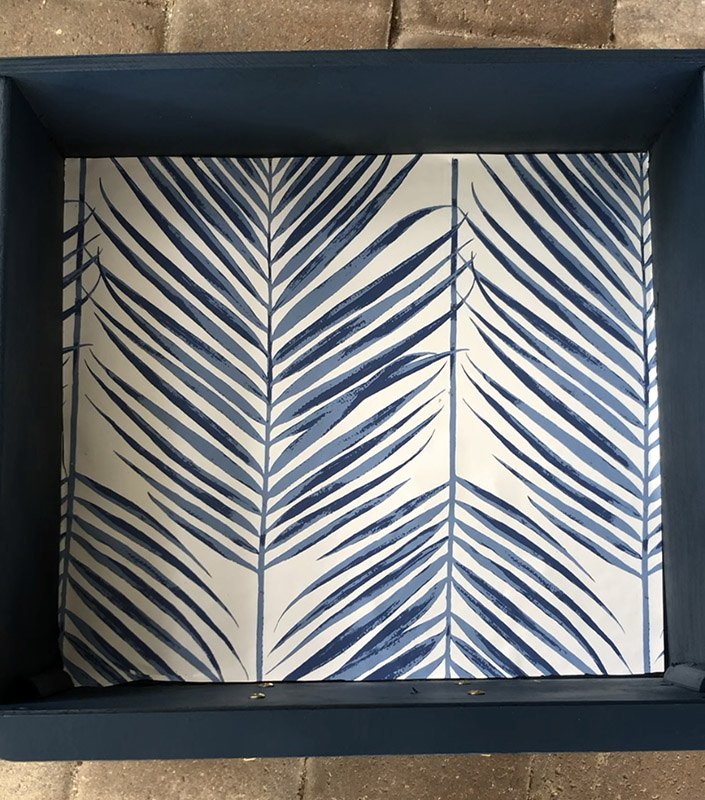
Step 4, Drawers…
I had some left over wallpaper from my guest bathroom project, so I decided to use a piece to line the drawer. I think it looks cool and gives it a little something extra.
Step 5, Polycrylic...
Make sure you add several layers of polycrylic to seal the paint and keep it from chipping. I like to use MinWax Water Based Polycrylic.
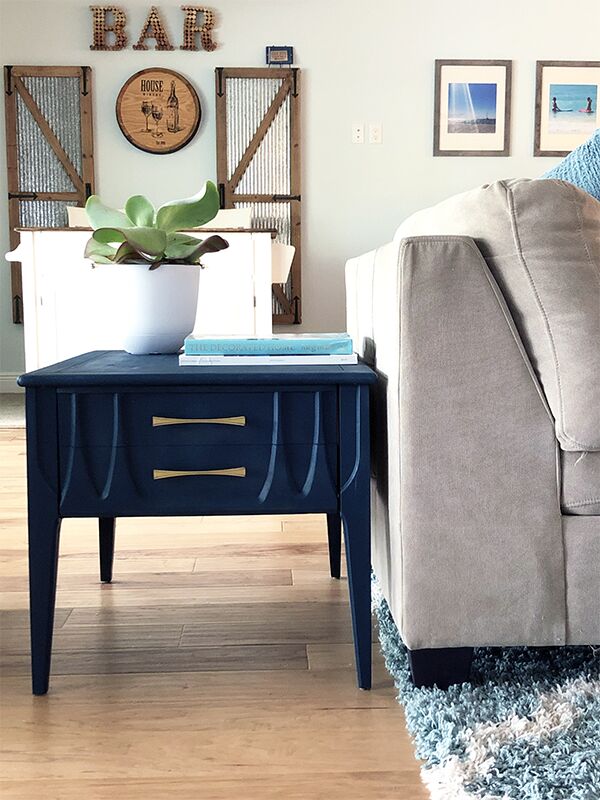
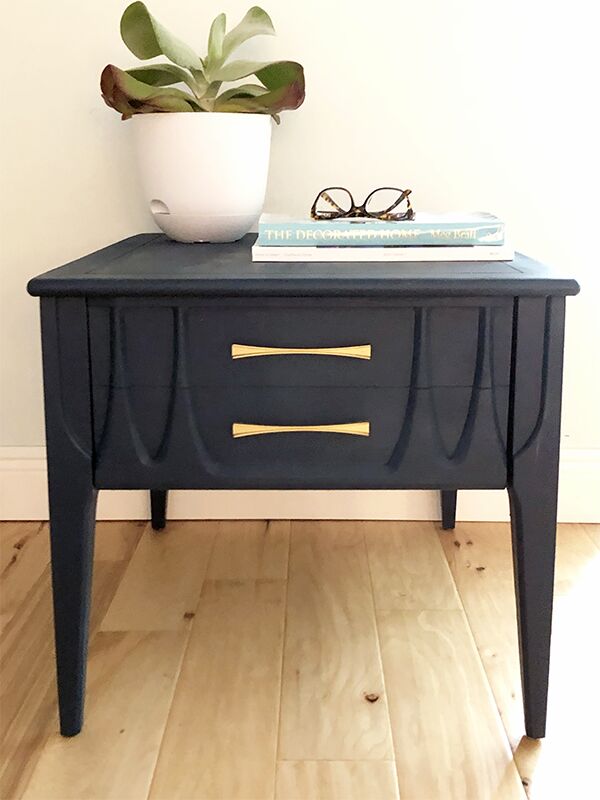
And here is how it looks....
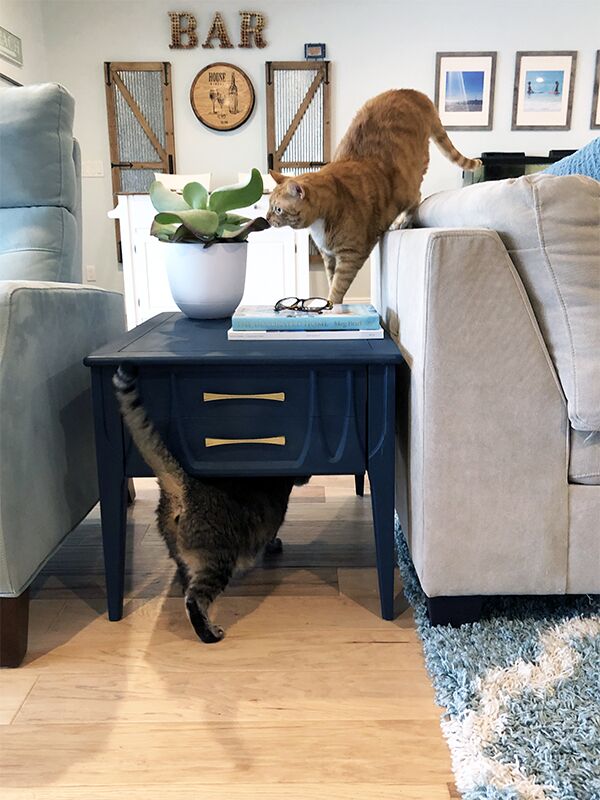
I had to include this picture too. My curious cats immediately wanted in on the new table.
PIN FOR LATER…


Comments
Join the conversation
-
Yup it's retro. From the 50's,60's. Love the blue...great choice. Gold for handles is perfect. Great job and share.
-
I love the blue. It turned out great. I’ve got a couple of in end tables I want to do in blue also. You make it look so easy. Looks like I need to get started. Thank you. Stay safe.


Frequently asked questions
Have a question about this project?
I just want to check. You have your ‘before’ pic highlighted as the main picture and not your ‘after’. All your other posts show the ‘after’ pic. Was this intentional? Beautiful colour by the way!