


How to Do an Easy Side Table Makeover Using Colorful Paint

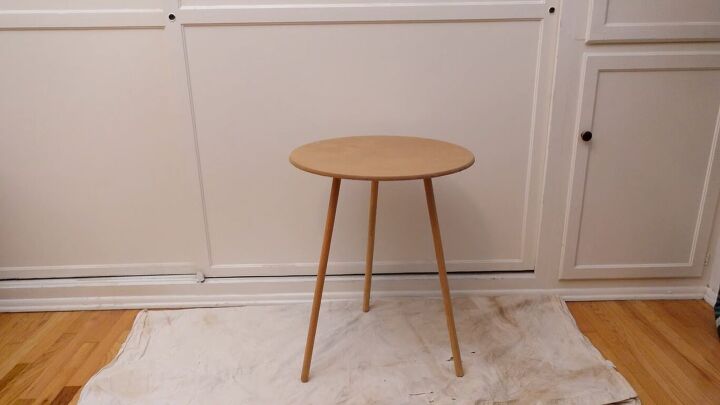
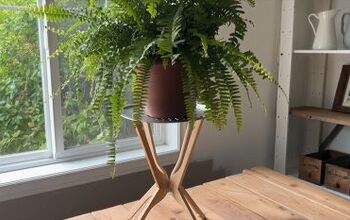
I have this side table, plant stand, end table… whatever you want to call it. She’s got some beautiful mid-century lines, but there’s just one problem: she’s so boring. So, we’re going to do a quick and simple side table makeover by giving her a pop of color and a lick of paint.
Keep reading for some creative painted side table ideas.
Tools and materials
- Cleaning supplies
- Sandpaper
- Pre-stain wood conditioner
- Wood stain
- Water-based polyurethane
- Paint
- Painting tools
- Pencil
- Household items to use as shape templates
- Acrylic sealer spray
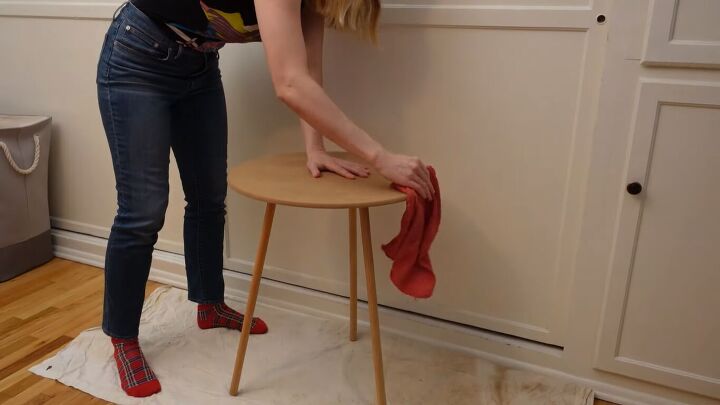
1. Clean the side table
She’s a bit of a mess, so we’re going to clean her up first.
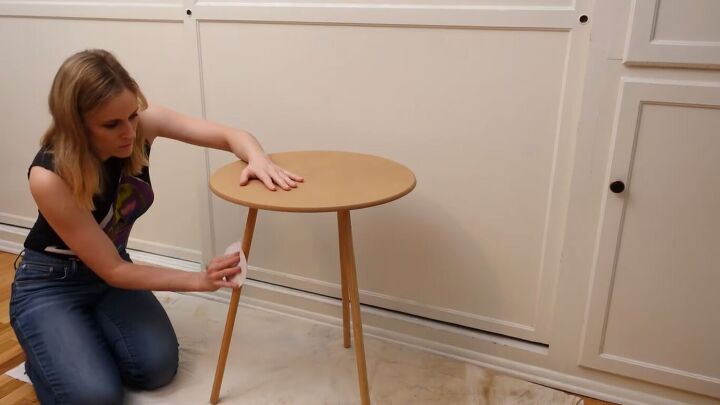
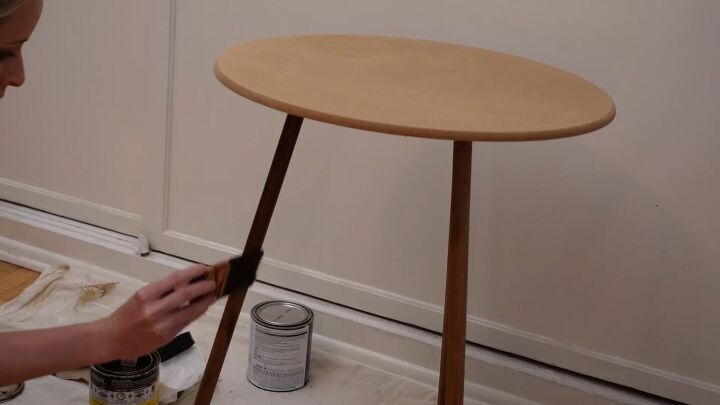
2. Sand
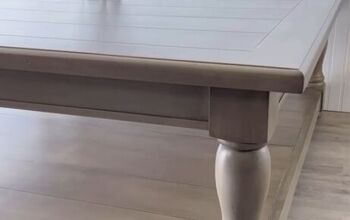
My plan is to stain the side table legs a little darker, so I need to sand them down. I’m starting with a 120, then I’ll go over them again with a 220. Wipe down with a damp rag once you’re done sanding.
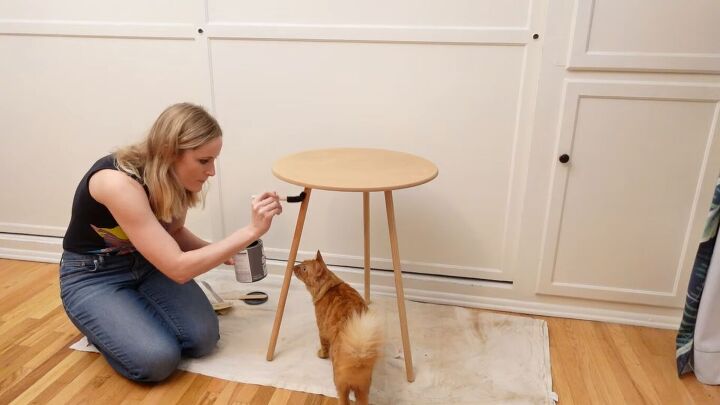
3. Stain
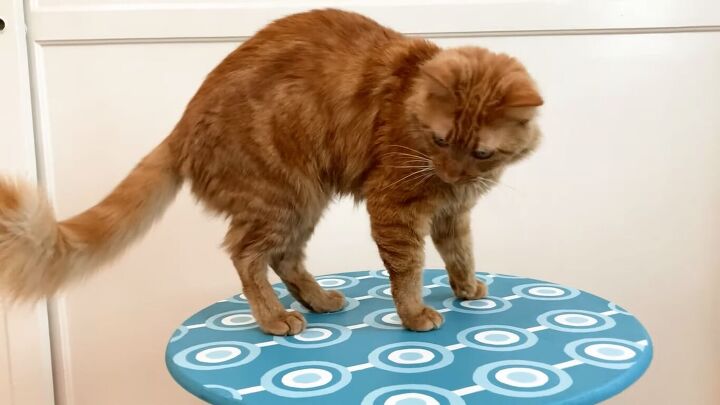
Next, we’re hitting her with a pre-stain wood conditioner. This just helps the stain set into the legs a little bit more. Of course, this is the exact moment Baguette decides to check out what I’m doing. Remove cat as needed.
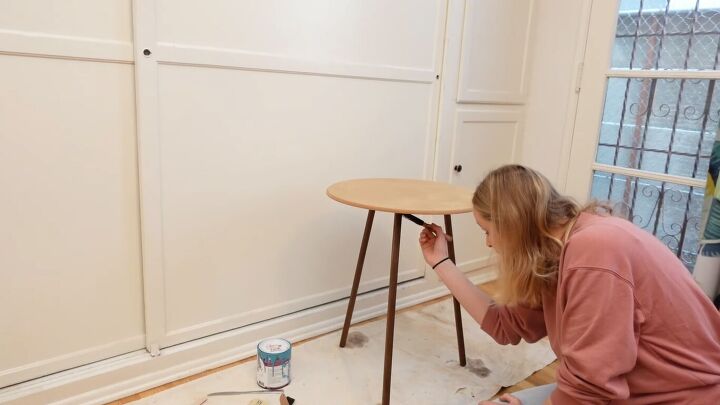
Now it’s time to hit the wood with my favorite bronzer, Minwax Special Walnut. Wipe down before leaving it to dry. It dries a little light, so I did two coats.
After letting the stain dry overnight, I went in with a clear top coat of water-based polyurethane.
4. Paint the side table
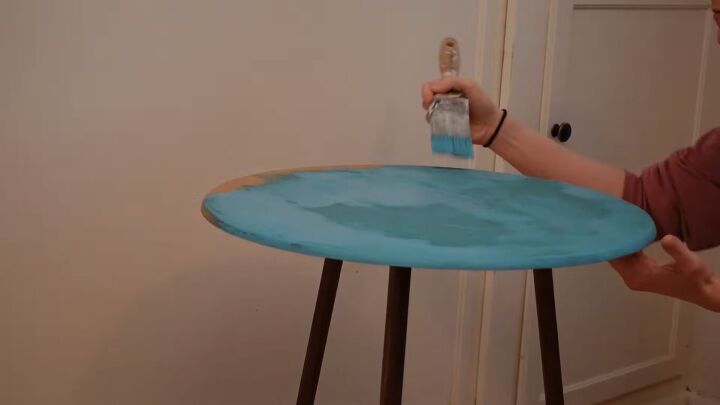
I've been feeling drawn to bold colors lately, so I wanted to create something colorful and vibrant. To kickstart the project, I chose a favorite power color of mine, a stunning teal shade called Acapulco Cliffs by PPG Paints.
The side table surface is technically cardboard and it has some water damage. To restore smoothness, I’m applying two thick coats of latex paint, as sanding would cause it to disintegrate.
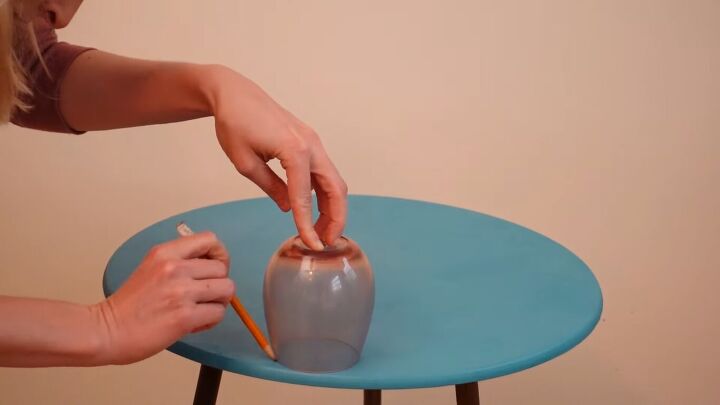
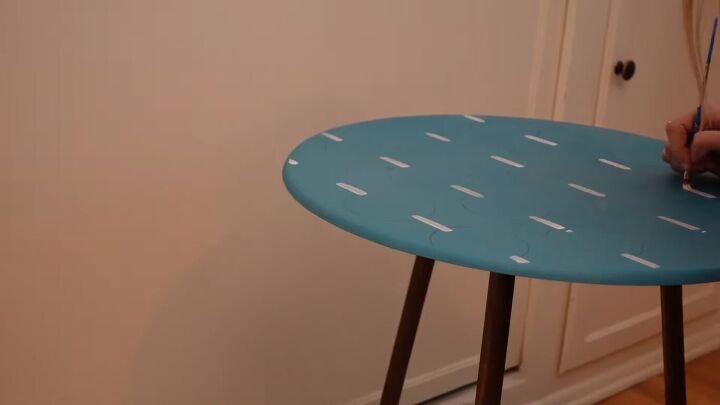
5. Draw & paint the design
After days of contemplation, I finally came up with a concept for the painted side table: an atomic pop art-inspired circular molecular design. Does that qualify as science? The busy pattern will cleverly hide any texturized inconsistencies.
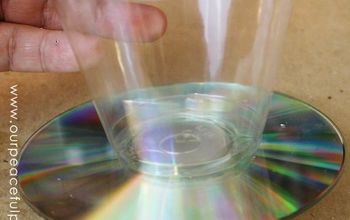
To create this, I drew a cross-section on the tabletop, then drew around a glass to get the circle shapes.
To connect the circles, I freehanded some lines between the shapes.
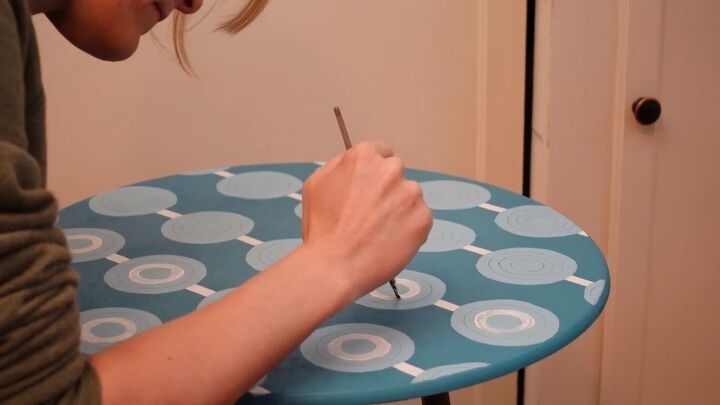
Then, it’s time to fill in the circles. I mixed my teal and white together to get a lighter shade of blue. I painted the circles with two coats.
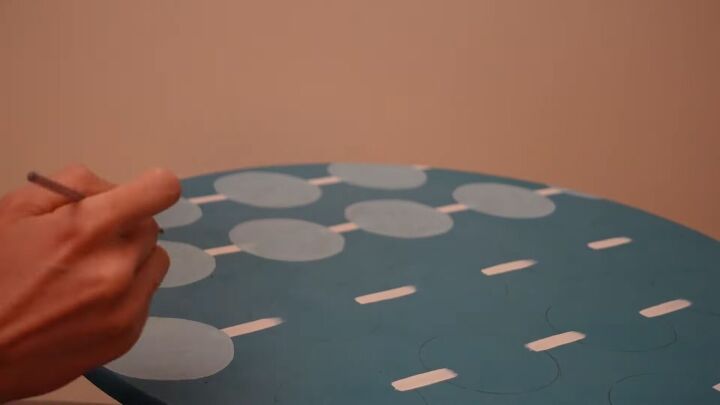
For the inner circles, I’m drawing around items I have in my house: a face powder, a mini cocktail shaker, and a stick of blush.
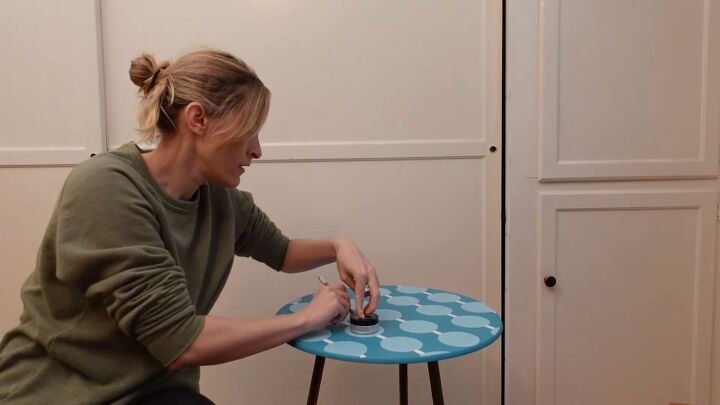
This created a perfect Target-like pattern, and then I painted the inner concentric circles white and the original teal. I could have chosen a less complicated pattern and I could have kept it as it was with opaque circles, but I wanted to make my life harder and do a lot of things by hand.
Tip
Always paint from light to dark because it’s easier to tidy up light paint with dark paint than the other way around.
6. Spray with acrylic sealer
Once all the paint has dried, apply a coat of acrylic sealer.

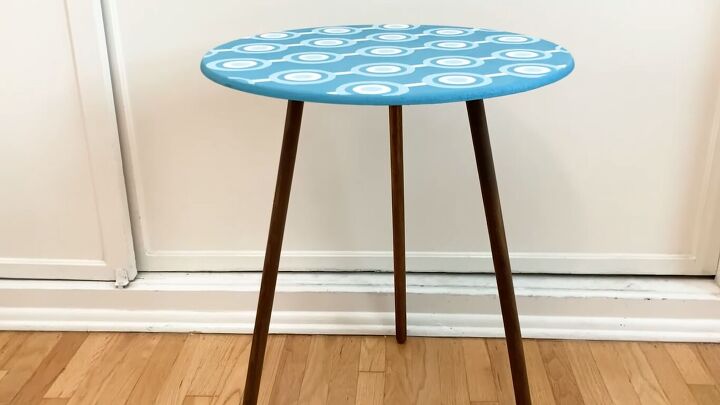
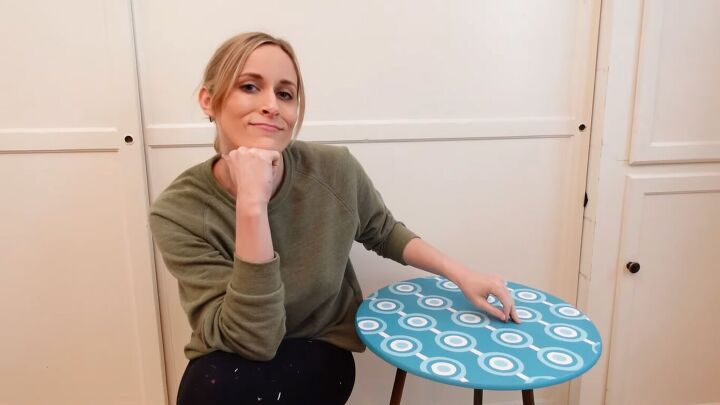
Side table makeover
This side table makeover is complete! This is probably one of my favorite furniture flips I've ever done because it's fun, it's colorful, and I love the challenge of only using things that I already had on hand.
For more side table ideas, check out this DIY round end table made out of Dollar Tree trash cans or this side table made out of IKEA baskets. For more table painting ideas, take a look at this coffee table with a painted boho stencil design.
Let me know in the comments what you think of this painted side table and whether this project has inspired some side table makeover ideas of your own. Until next time, just promise me that you will ruin something in your life with color.
Comments
Join the conversation
-
I would like to try something like this


Frequently asked questions
Have a question about this project?