


How to Make a Chic DIY Round End Table Out of Cheap Trash Cans

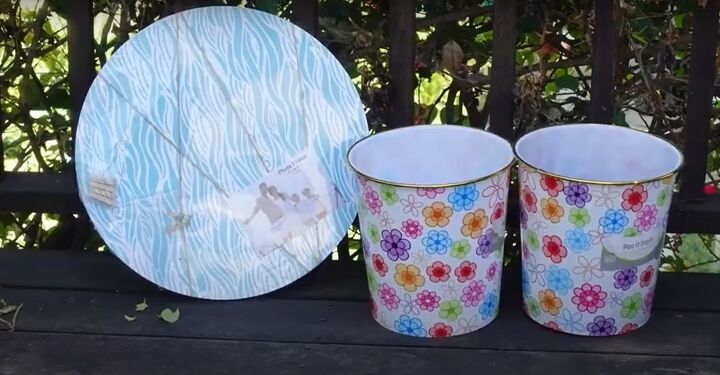
Can you turn $2 Dollar Tree trash cans, a round photo board, and fabric into a cute DIY round end table? You sure can! Find out how I created this DIY side table/plant stand to upgrade a new outdoor space.
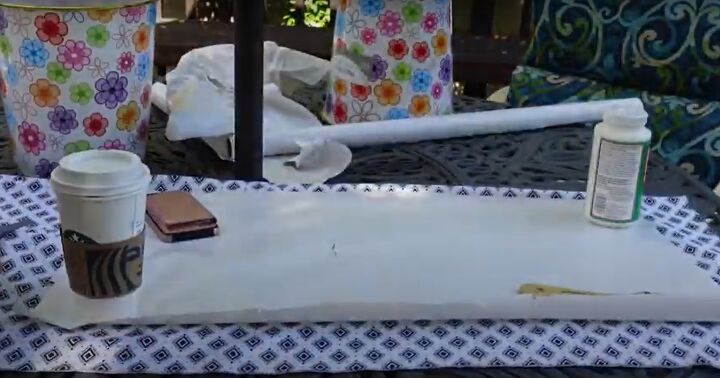
Tools and materials:
- 2 trash cans (matching sizes)
- Round photo board
- Fabric (a few yards for excess)
- ModPodge (large bottle, for exterior use)
- Paintbrush for ModPodge
- E6000 adhesive glue
- Plywood
- Clamps
- Safety glasses
- Jigsaw
- Paper (for template)
- Tape
- Sponge brush
- Playground sand
- Plastic bags
- Craft tape
- Painter’s tape
- Spackle
- Gold leaf kit and brush
- Sandpaper (400 grit)
- Acrylic sealer
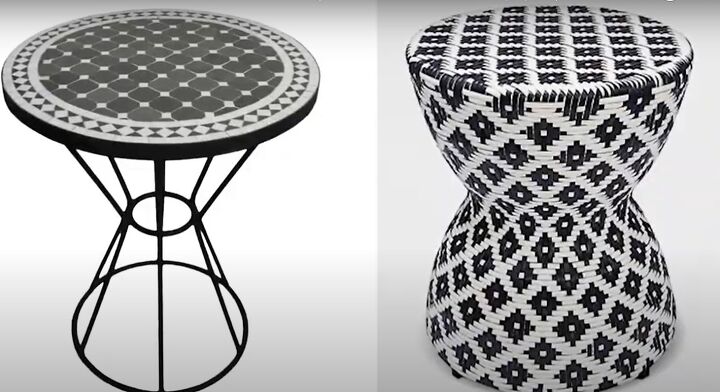
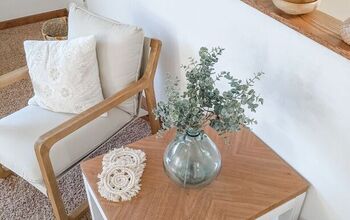
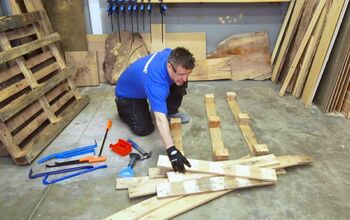
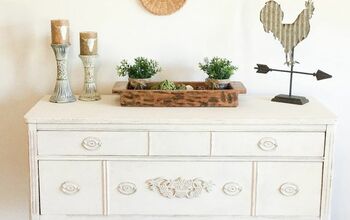
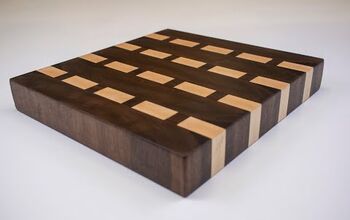
Tables that inspired this project
To make this table structurally sound, I used a base made from the two trash cans, one on top of the other, and held together using a small piece of plywood between them for stability.
I covered my trash cans and top with modern, graphic fabric so I could mimic the tables that inspired me.
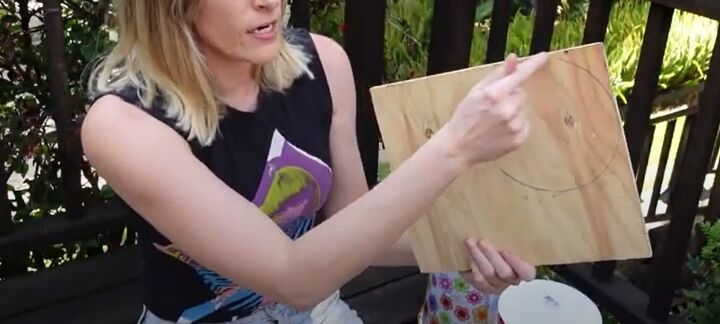
1. Cut a wood circle
Put one can on plywood and draw around the bottom to arrive at the size circle you’ll need to cut for the base.
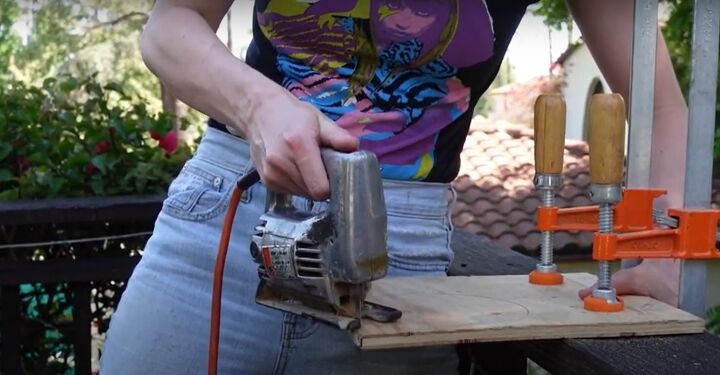
Securely clamp the piece of plywood to the edge of a surface, leaving the part that needs to be cut accessible. (The best case scenario for safety would be to clamp the wood to two sawhorses with the part you need to saw between the sawhorses.)
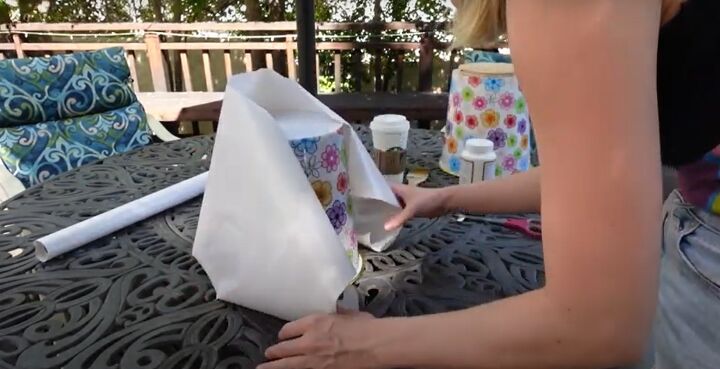
2. Cut the fabric template for the trash cans
Use paper (takes some manipulating) and wrap it around one trash can. Tape the paper together to make the template so you can cut the fabric to the right size for each trash can.
Note that you should make the template longer than the can because you will want to cover the top rim and bottom of each can with fabric, as well.
3. Cut the fabric for the trash cans
Cut the fabric pieces for each trash can. If you are using a patterned fabric, make sure the patterns are cut in the right direction.

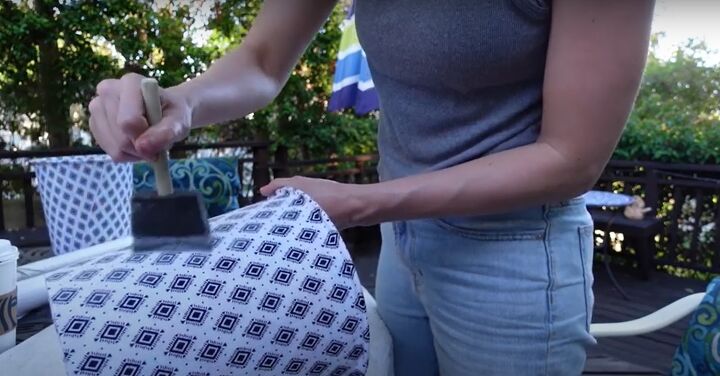
4. ModPodge the fabric to the trash cans
Brush ModPodge one section at a time to a trash can and carefully attach the fabric. Make sure the pattern is in the right direction and straight as you apply the material to the can.
Remember to wrap and attach the fabric over the top and bottom of the can. Repeat with the second trash can. Let them dry for 30 minutes.
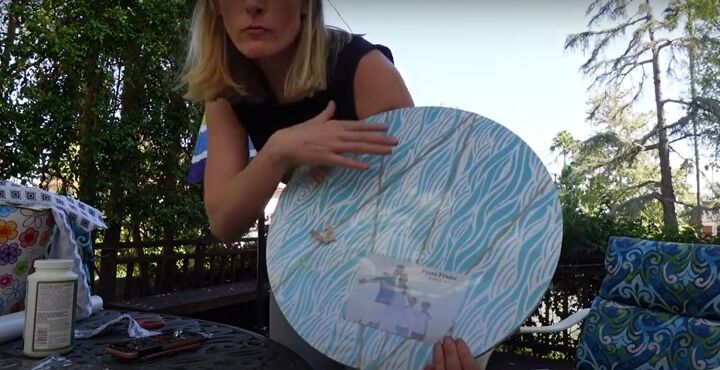
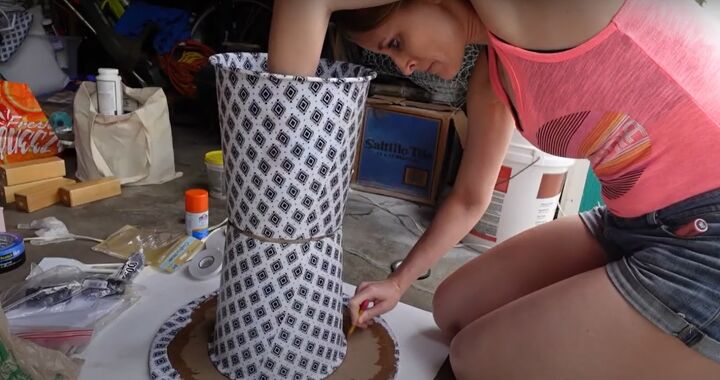
5. Cut and apply fabric to the tabletop
Cover the entire tabletop (round photo board) in the same fabric using ModPodge.
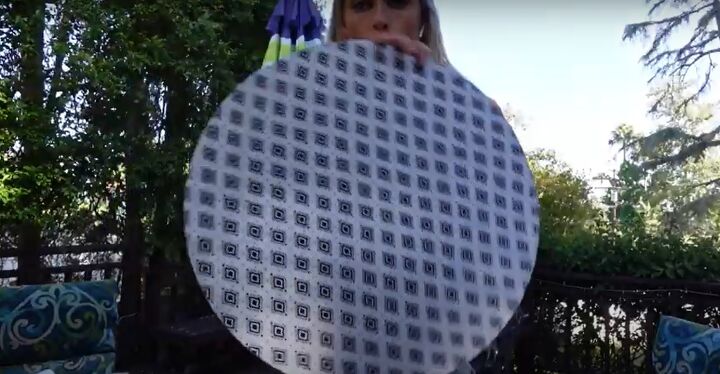
Wrap the fabric under the tabletop’s top rim. Let it dry for 30 minutes.
6. Treat the top of the table and cans
Use a sponge brush to dab ModPodge on the tabletop piece and two cans for protection if you used any type of indoor fabric (this fabric is flannel). The glue will dry clear.
After 24 hours, repeat with a second coat of ModPodge. Let the pieces dry.
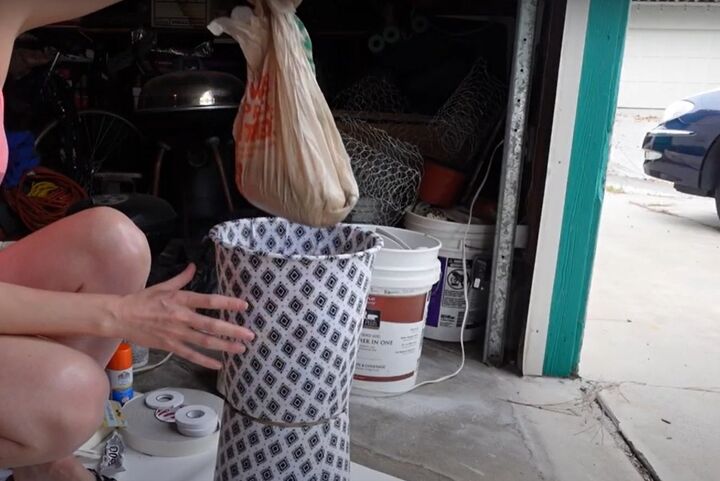
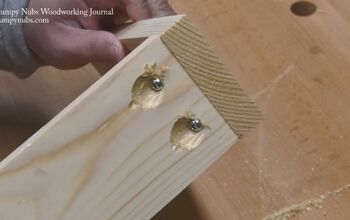
7. Glue the trash cans together
The cans are glued bottom to bottom, with a piece of round plywood between them, to create the pedestal base. Turn one can upside down and glue the plywood circle on the upturned bottom of the trash can.
Add glue to the top of the plywood circle. Keep the other trash can upright and put it on top of the glue. Attach the cans so the fabric’s pattern lines up as best as possible.
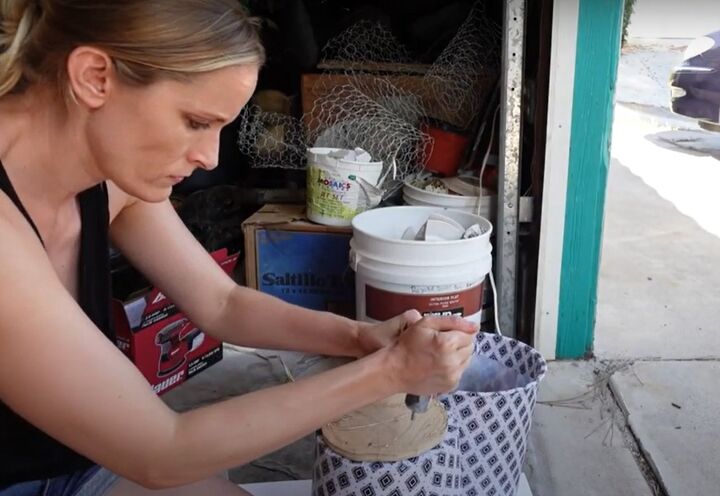
8. Add sandbags
Bags of sand are added to the top can to weigh the table down and keep it upright as the glue dries. Fill a few plastic bags (or zipper plastic baggies) with playground sand. Place the bags into the top can.
Let the glue dry for 24 hours. Remove the sandbags after the glue is dry. (Don’t get rid of the sandbags, you’ll need them for step 10.)
9. Center the tabletop on the base
Center the tabletop on the base by either eyeballing it or carefully measuring the tabletop. The technique I used was to put the tabletop upside down on the ground and place the base on top of it.
I centered the tabletop and drew a guiding line on the tabletop’s bottom so I could see exactly where to attach it.
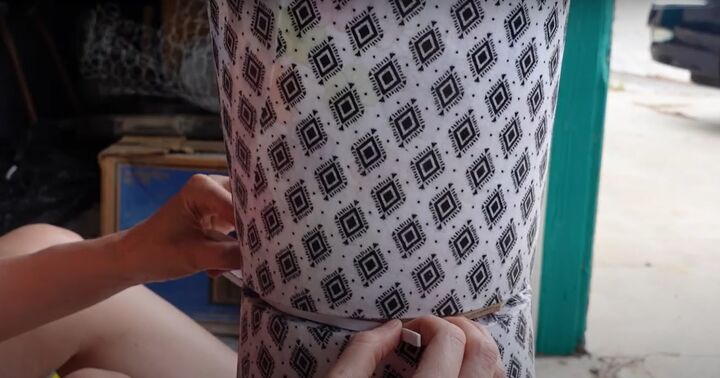
10. Fill the base’s gap with craft tape
Fill the gap between the two trash cans by pushing craft tape all the way around into the space before spackling. Put the sandbags back into the top can of the base for stability and compression.

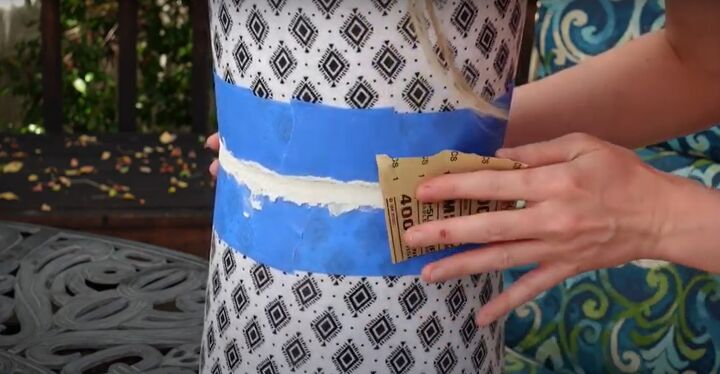
11. Spackle the gap
Put painter’s tape above and below the gap that you will spackle to protect the fabric. Use your finger to spread spackle in and around the gap. Let the spackle dry. Do not remove the painter’s tape yet.
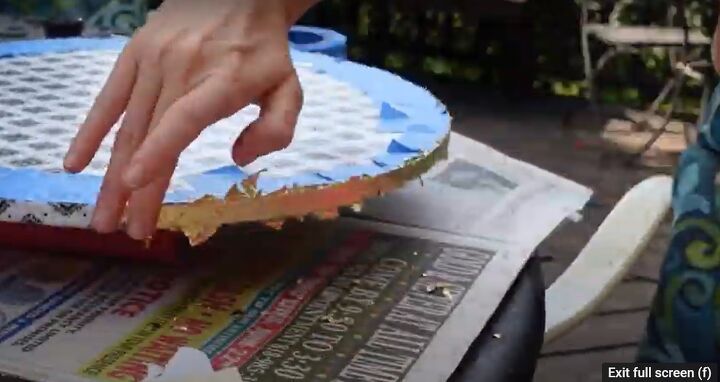
12. Gold leaf the tabletop edge
While the spackle is drying, add gold leaf to the edge of the tabletop. Begin by taping the top edge of the tabletop with painter’s tape to protect the top. Follow the directions for gold leafing.
The basic instructions include painting on the white glue and when it’s tacky, apply the gold leaf, then brush on metal leaf sealer on top to set the gold leaf. Remove the painter’s tape after gold leafing.
13. Sand the spackle
When the spackle is completely dry, sand it to smooth it out.
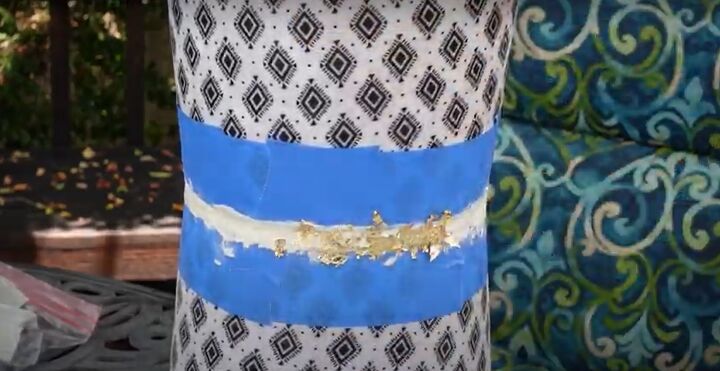
14. Gold leaf the gap
When you have finished sanding, wipe away any sand. Then gold leaf the gap the same way you did the table rim. (Note that the spackle may absorb the glue, but keep going, it will work.)
15. Attach the tabletop
E6000 the tabletop to the base using your guidelines. Weigh it down while it’s drying with a planter.
16. Add acrylic finisher
Note that the ModPodge takes two weeks to completely cure. After it cures, follow up by applying an acrylic topcoat of your choice.
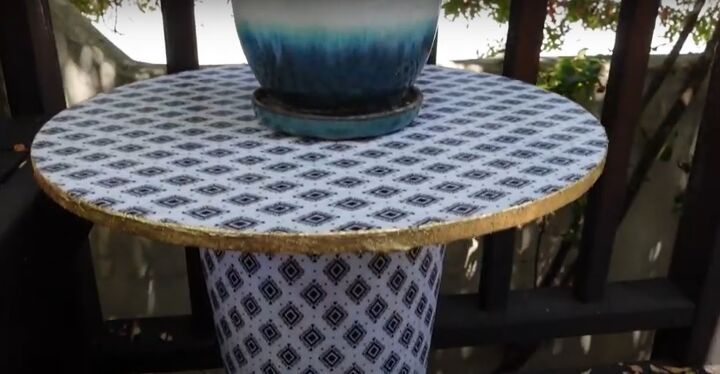
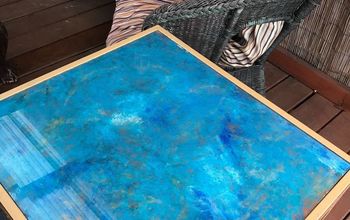
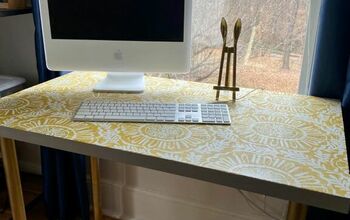
Here’s the before photo and final reveal.
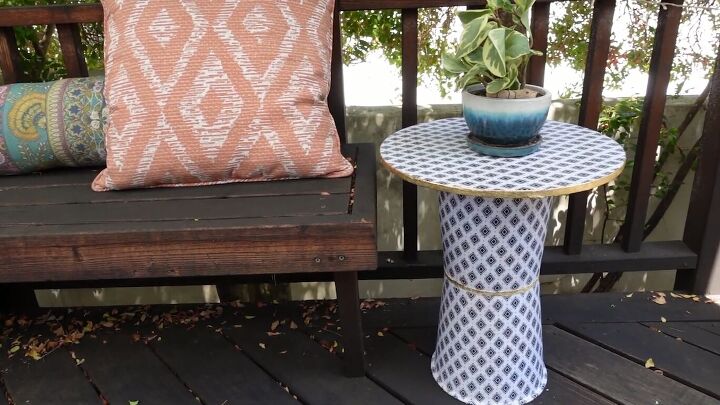
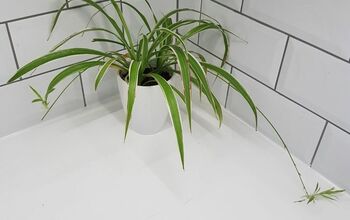
DIY round end table
Here’s the final table, just as beautiful as the ones that inspired this project.
Don’t let anyone tell you trash cans are just for trash! In the comment section below, let me know your thoughts on the finished DIY round end table/plant stand.
Comments
Join the conversation
-
Instead of cloth, use oilcloth.
It is water repellent!
-
Thanks! With the right tools and a bit of creativity, you can transform those trash cans into a stylish end table.


Frequently asked questions
Have a question about this project?