


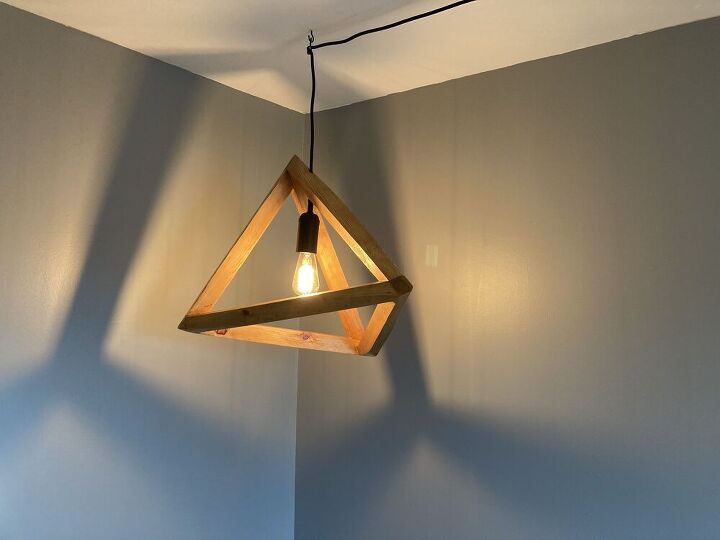
Mid-Century Modern Wood Chandelier

Inspired by something we saw watching HGTV, I decided to set out and try to create a wood chandelier with a geometric, mid-century feel. This one took a lot of patience and creativity - because my first, second, third and fourth plans didn't really work. I almost quit and threw it away at one point. But, then I decided to do what I could to salvage the build by going a little outside the box and forgiving myself for the fact it wasn't going to look exactly like I'd originally hoped.
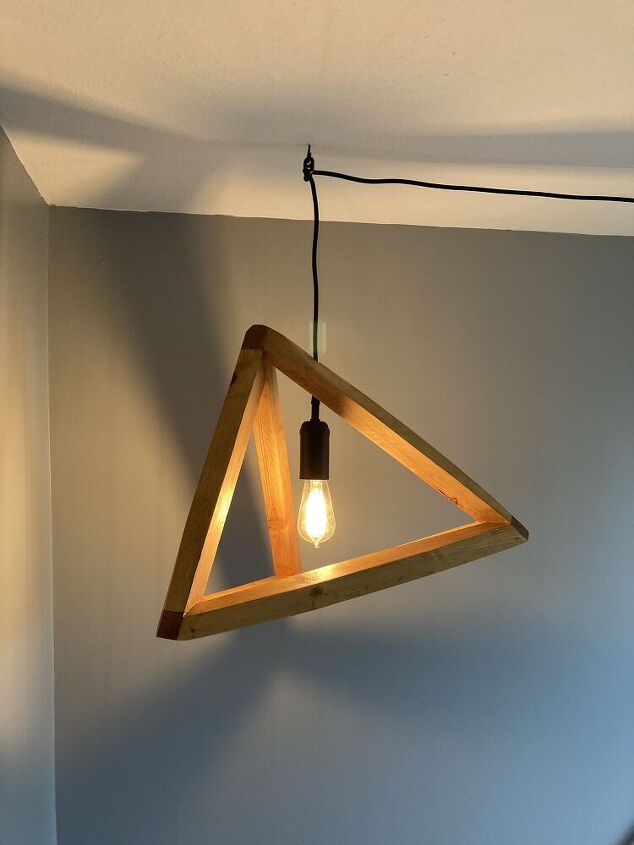
In the end, I love it! (even if it's not perfect)
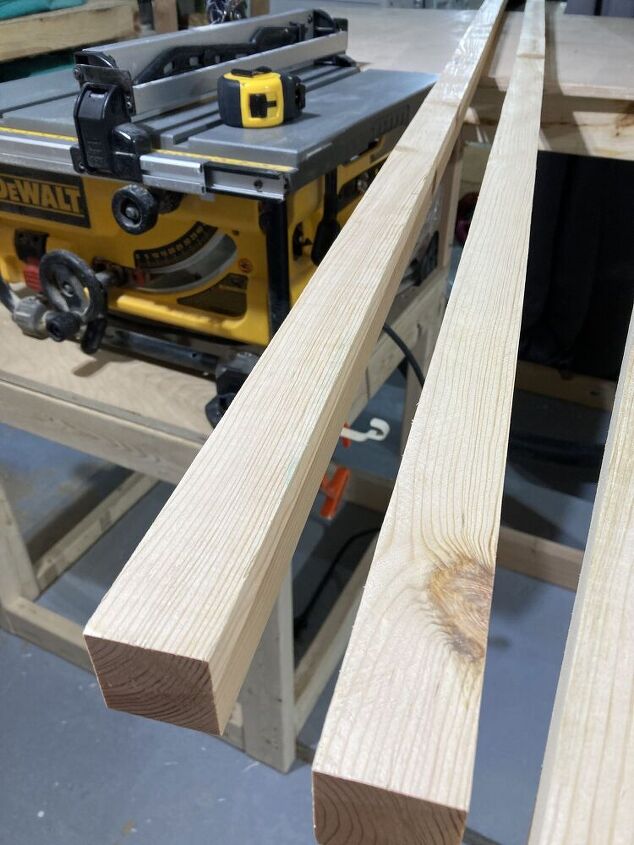
I started by ripping a 2x4 into 1 1/2" strips
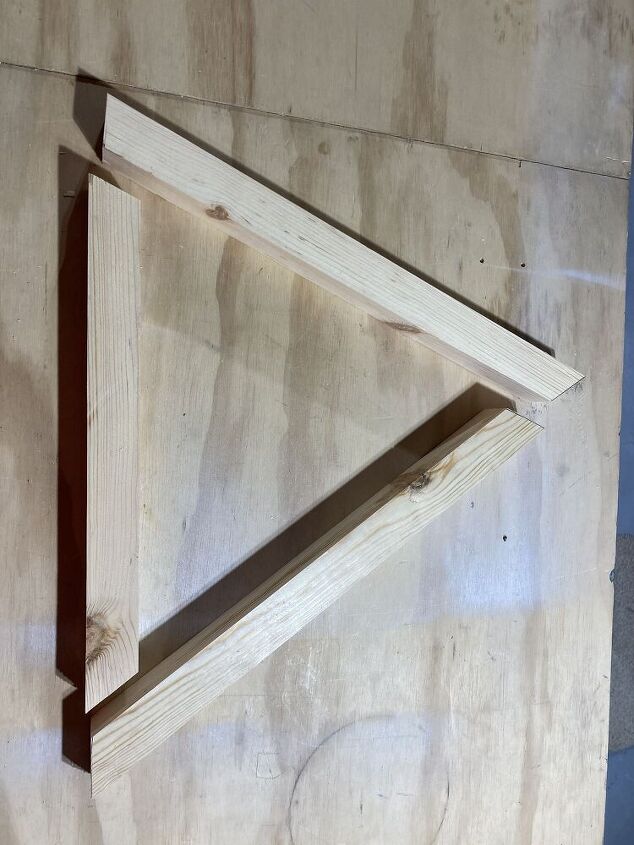
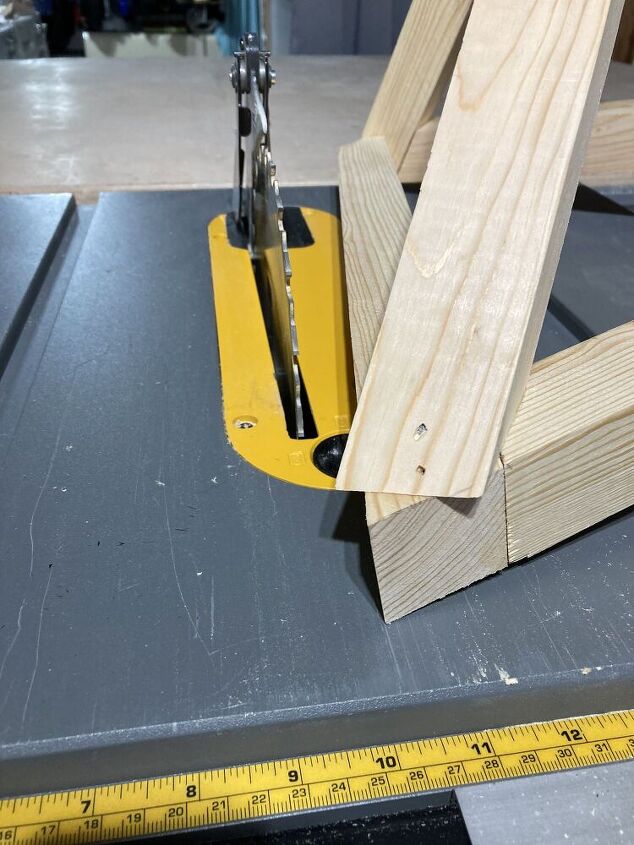
Then came the angles, and things got sketchy quickly. These pieces are roughly 15 1/2", 18 1/2" and 19" long. I was playing with the angles on my miter saw and adjusting to odd 1/2 angles just to make the pieces fit. I didn't want a perfect 45-degree angles triangle - so I winged it and thus don't have specific angles for you. This was trial and error and cut to fit. I assembled the triangle with wood glue and 2" brad nails.
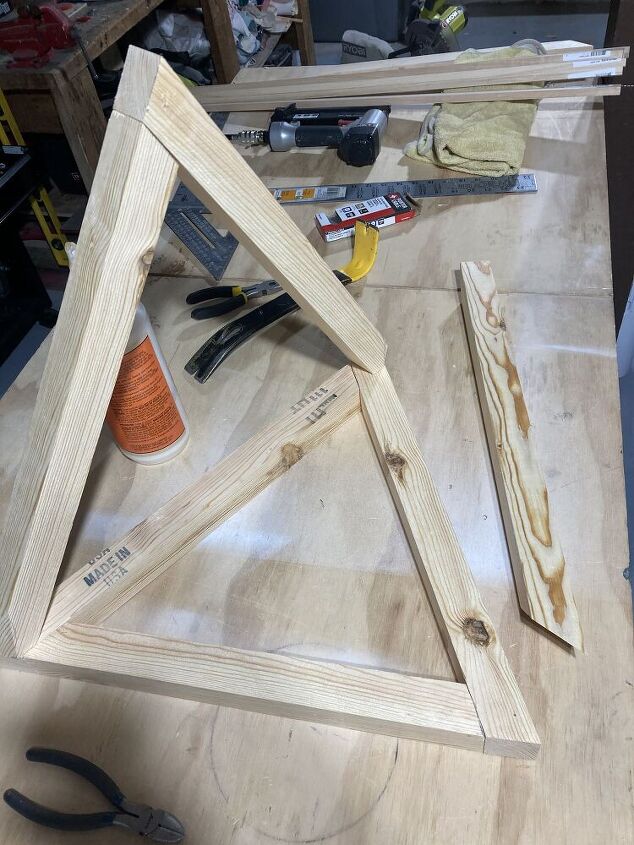
Next, I had to cut two pieces for the vertical triangle. This is where things REALLY started getting tricky. Because I made it up as I went with the first triangle. I was once again cutting these angles by trial and error. Eventually, I decided I would just get them close to flush on the bottom and cut off the protruding edges (next photo).
This was where I almost quit. I just couldn't get things to line up and my attempts at "angle math" were going nowhere. So, I eventually decided... who cares. I didn't want a perfect triangle anyway, so I would just get this sort of pyramid glued and nailed together, and then I'd use the table saw to trim up the corners.
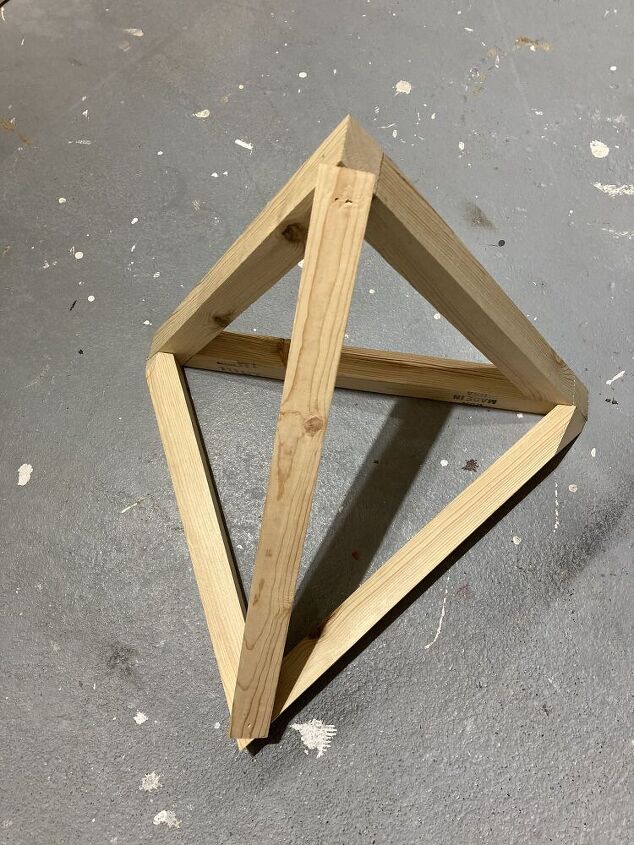
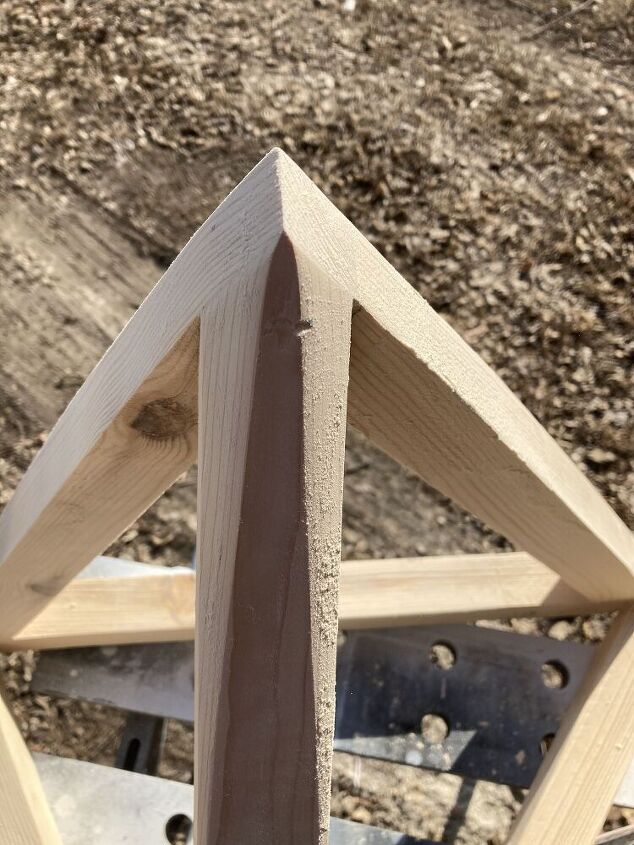
Here you can see the full pyramid once the final piece was attached.
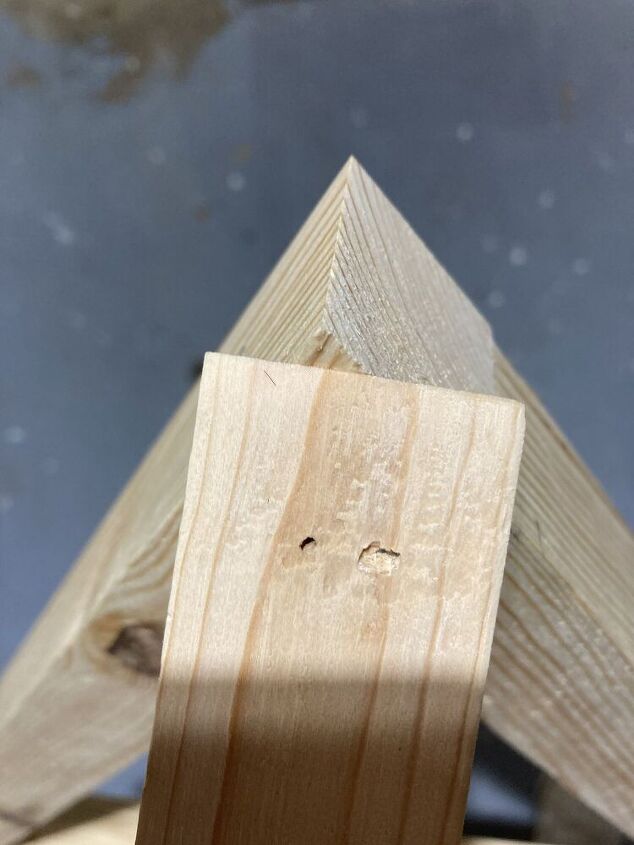
And here you can see just how NOT close the top angle was. It was nothing a table saw and a little rough grit sandpaper couldn't cure!
At this point, I let go of everything in my head about what this was "supposed" to look like. I decided to just have fun and get a little creative with rough grit sandpaper. The fir 2x4 was such soft wood, you can really get a lot off in a hurry with the sander.
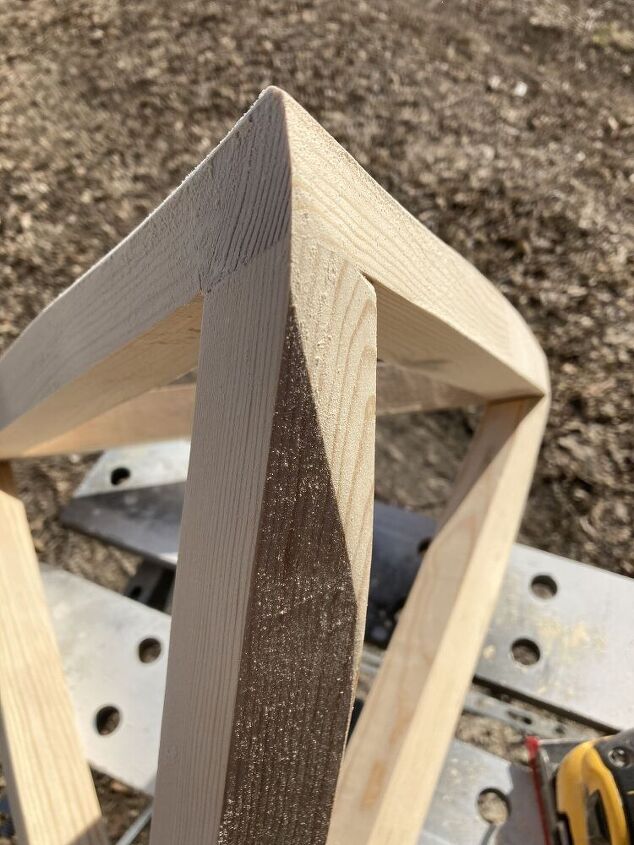
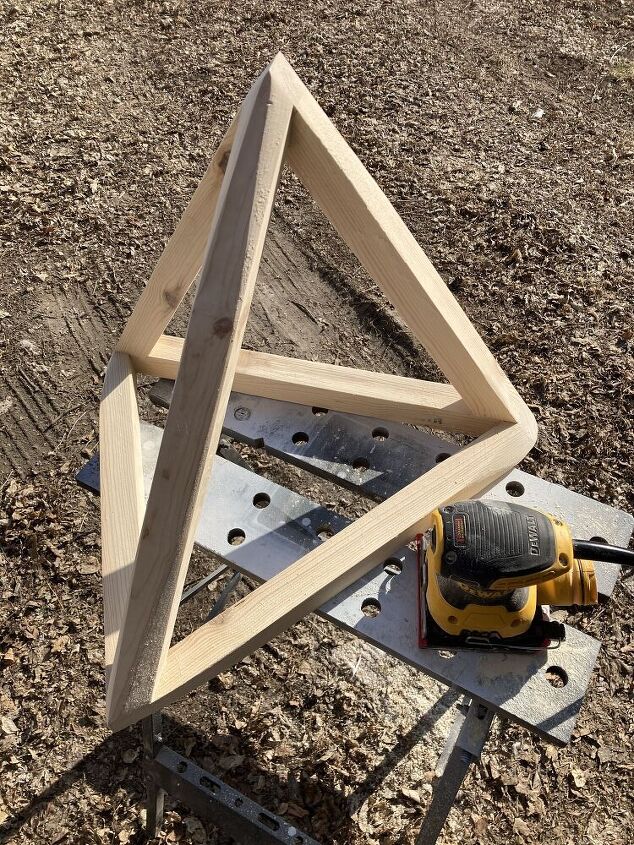
Here is a closer shot to give a better idea of what I was doing at all the corners.
Each corner, or point, ended up looking very different, and now that is part of what I love most about this chandelier. It got a little "artsy" in a hurry, and it was way outside my comfort zone. But, I had a lot of fun once I got into the idea. After rough sanding, I added wood putty to the nail holes and at the corners where it wasn't quite perfect and where there were a few gaps. Then, I fine sanded.
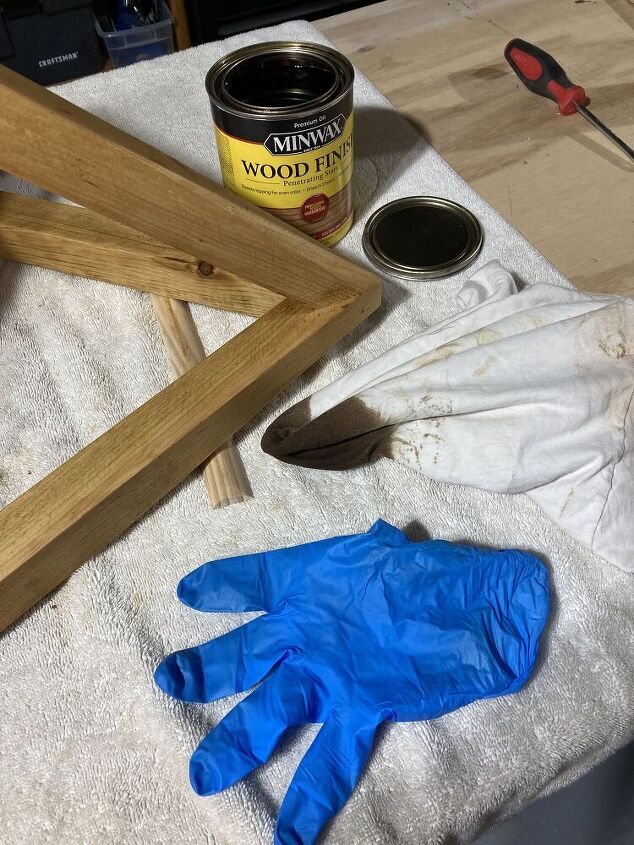
I went with a lighter oak stain to match a nearby shelf.
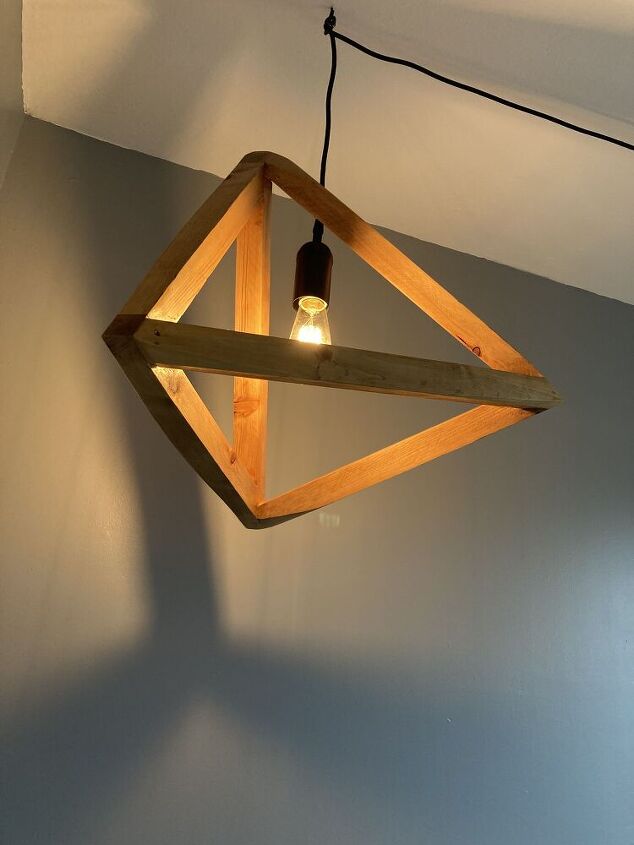
The final step was deciding how I wanted the chandelier to hang and picking what piece, where and what angle to drill the hold the light cord would go through.
There are countless options for the actual light pendant and bulb. I went the Amazon route and found one with a cord long enough for our area. It was $11.
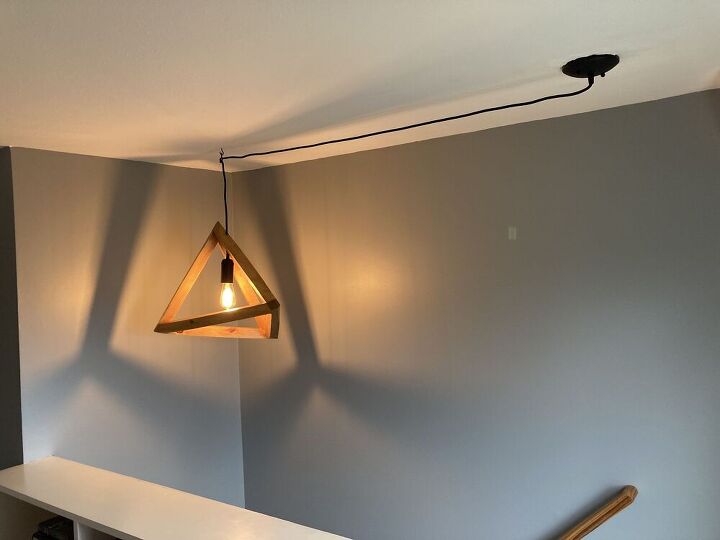
It was a bit of an odd cord run for us, but we love the chandelier!
Follow me on Instagram at @woodyworking for more woodworking DIY or home improvement projects. Happy building!
Resources for this project:
See all materials


Comments
Join the conversation
-
The shadow shapes that the fixture casts on the walls adds dimension to an otherwise empty corner.

-
Not a fan of this project. Good thing that everybody does not like the same thing,


Frequently asked questions
Have a question about this project?