


Modern Steel and Wood Mailbox Stand

When remodeling our front porch, we had to remove our old mailbox and ended up covering the spot where it hung with our new privacy wall. With no great spot to hang the mailbox on the house, we started brainstorming other ideas. We loved this mailbox stand idea because it gives the whole design of the front yard a little depth. We hated the premade mailbox stands we found, so we decided to make our own with the same style and materials we were using on our privacy wall and new railing. We think it ended up giving us a nice, modern look, and it was super affordable compared to the prices charged for "modern" mailboxes or some premade mailbox stands.

First for the supplies. I bought two 6' long 1" inch angle irons. I also used one 3 1/2" by 3/4" treated, cedar tone board.
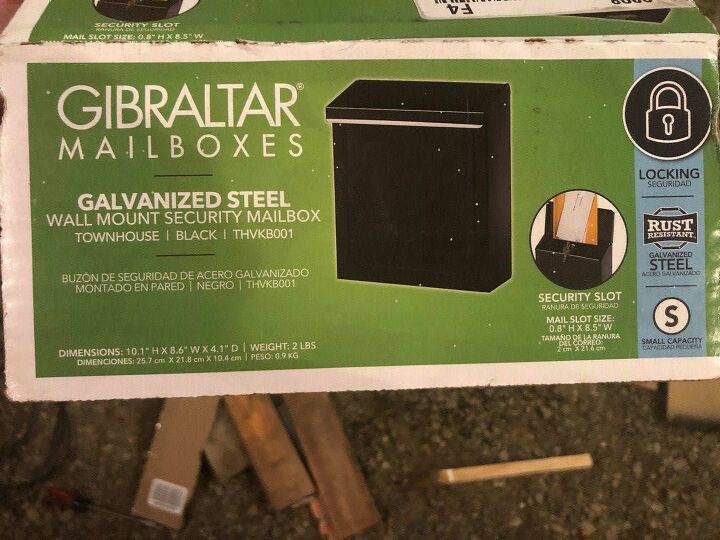
I also bought a new mailbox. This was a standard, pretty cheap variety. I had no idea mailboxes could get so expensive until I started looking. I did have to use some leftover gutter tape to discretely cover the mounting holes on the back of the mailbox so water couldn't get inside since I knew I would not be using those holes for mounting the mailbox on the stand.
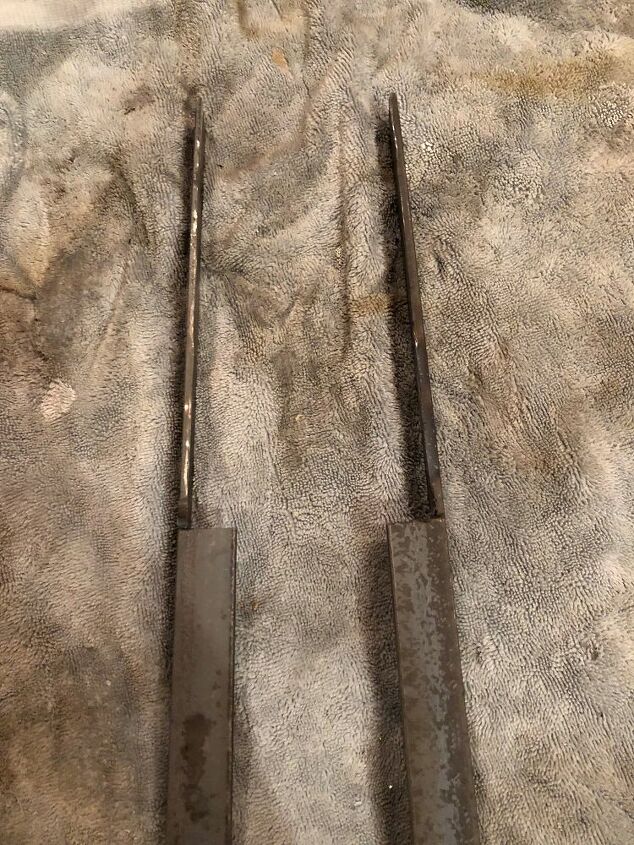
Next, I measured the height of the mailbox and cut of one side of each angle iron at the appropriate height. This is where the mailbox will be mounted. The next step was to sand and wipe down the iron with mineral spirits so it was clean and ready for painting. I sprayed them with primer and then two coats of flat black.
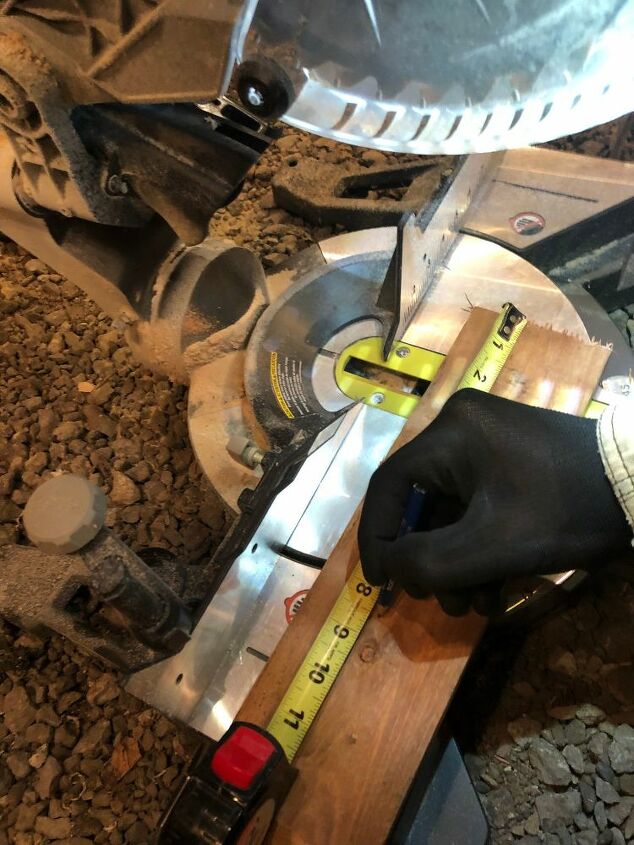
The next step is to cut your board. I cuz eight 8 1/2" pieces because my mailbox is also 8 1/2" wide.
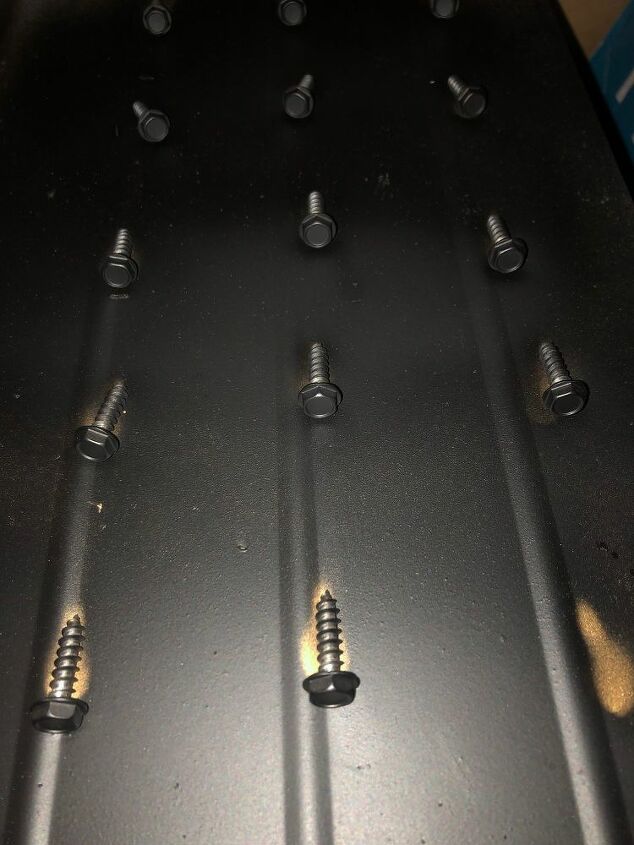
I couldn't find black bolts in the style I wanted, so I went with the standard silver and gave them a quick two coats of the same flat black spray paint that I used on the angle irons.
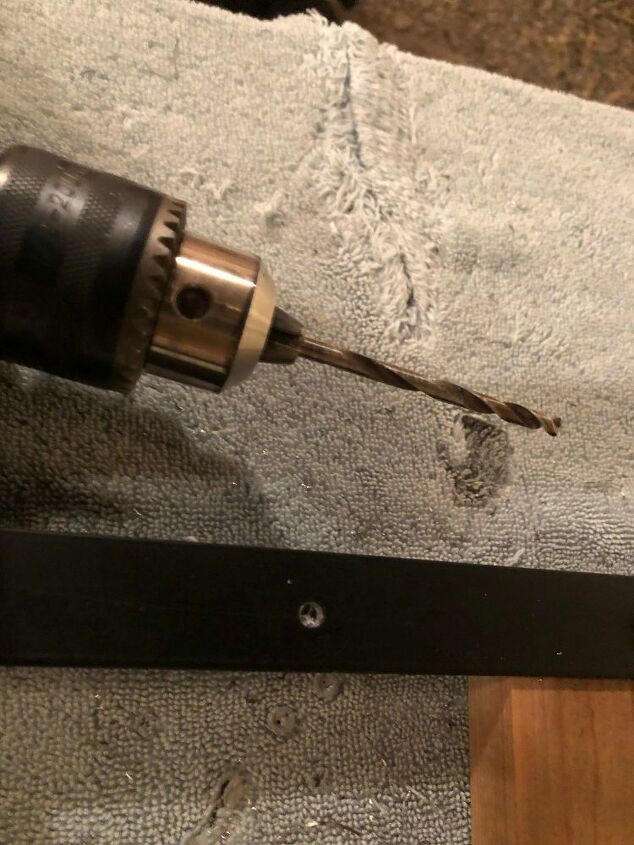
To mount the boards, I used a 3/16" bit to drill holes in the angle irons and a smaller bit to drill a little pilot hole in the wood.
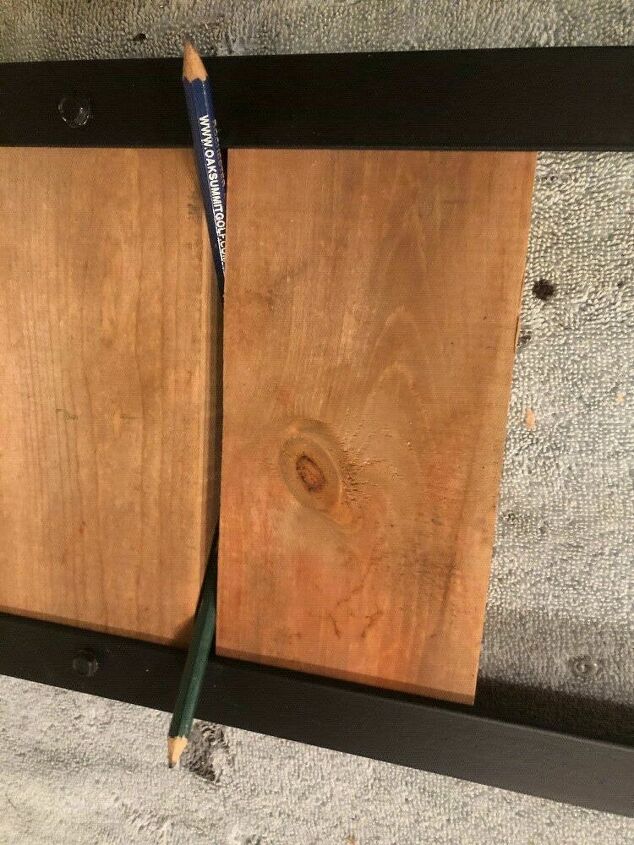
I started by mounting the top board first. I placed it right on the edge of where I cut the fronts of the angle irons out. In other words, right below where the mailbox will rest. I then used pencils to space the additional boards. With each board, I placed it where I wanted it with spacers, marked it's center on the angle irons, then took it out to drill the holes, before putting it back in and securing it with the bolts.
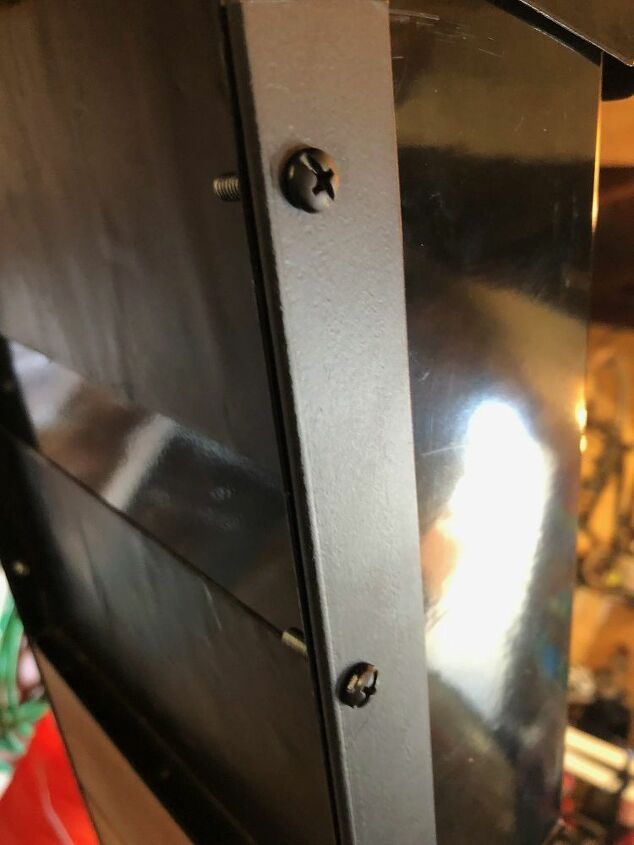
With all the boards attached, I mounted the mailbox. There was a flange on the backside of the mailbox that I used to attach it to the angle irons. I used the same bit to drill a hole through both the angle iron and the flange on the mailbox. I put three holes on each side and used small machine screws and nuts to secure it.
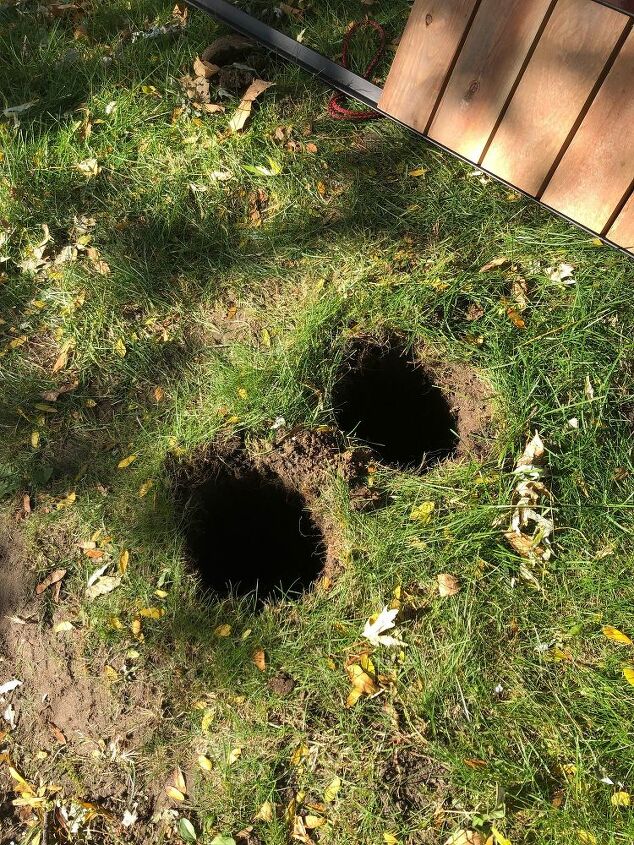
With the mailbox stand complete, I used a post hole digger to dig a hole for each leg where I wanted it located.
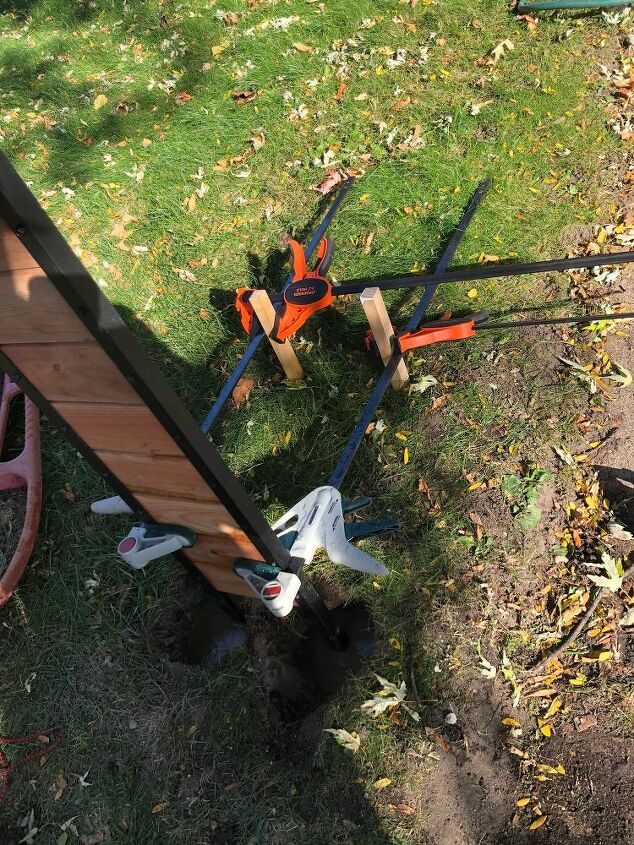
I drove two wood stakes into the ground behind the mailbox stand and used four bar clamps to secure the stand in a plum position.
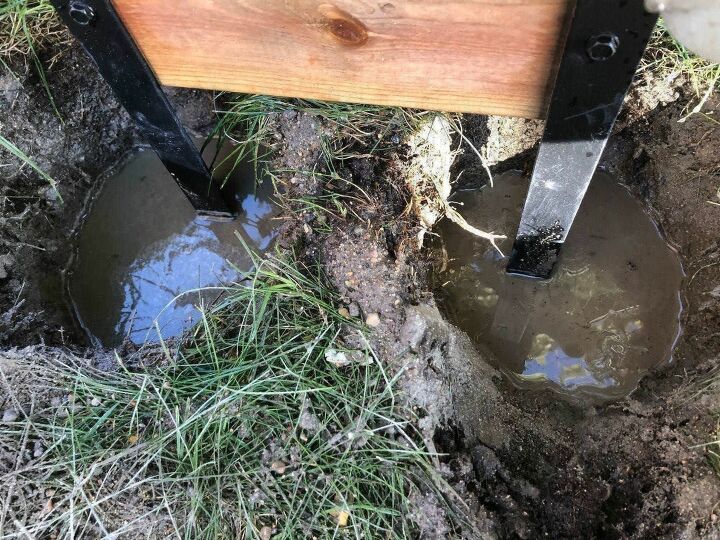
Once secure in the proper position, I filled the holes with concrete. I stopped about 3 inches from the top of the hole so I could fill the rest in with dirt and plant grass again later.
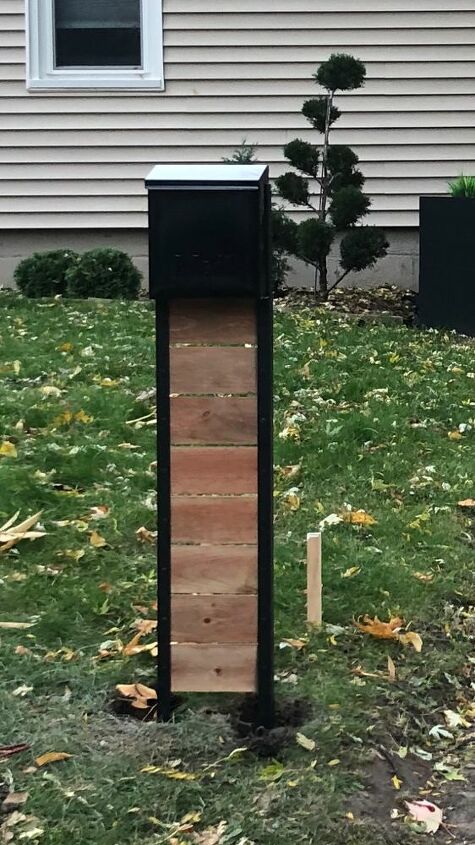
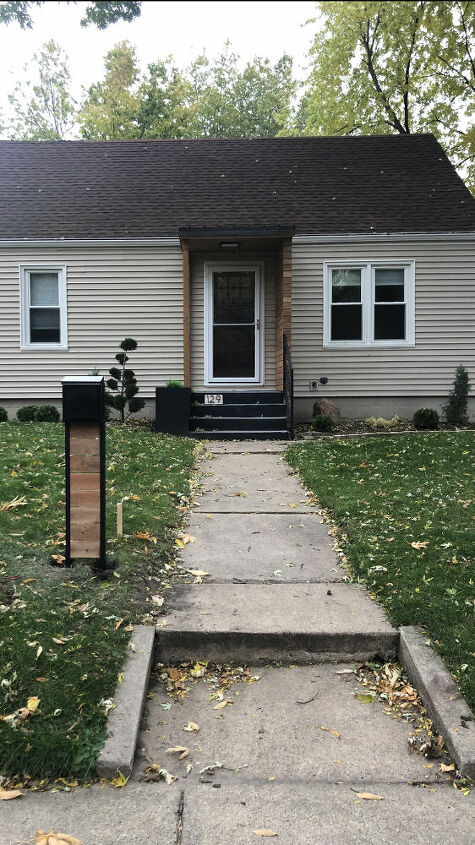
Here is the finished product! We may still add floating address numbers on the wood. We're undecided at the moment, so let me know what you think. Address numbers here, or on the awning support pole?
What do you think about our address numbers debate? Follow me on Instagram at @woodyworking for more simple woodworking DIY or home improvement projects.
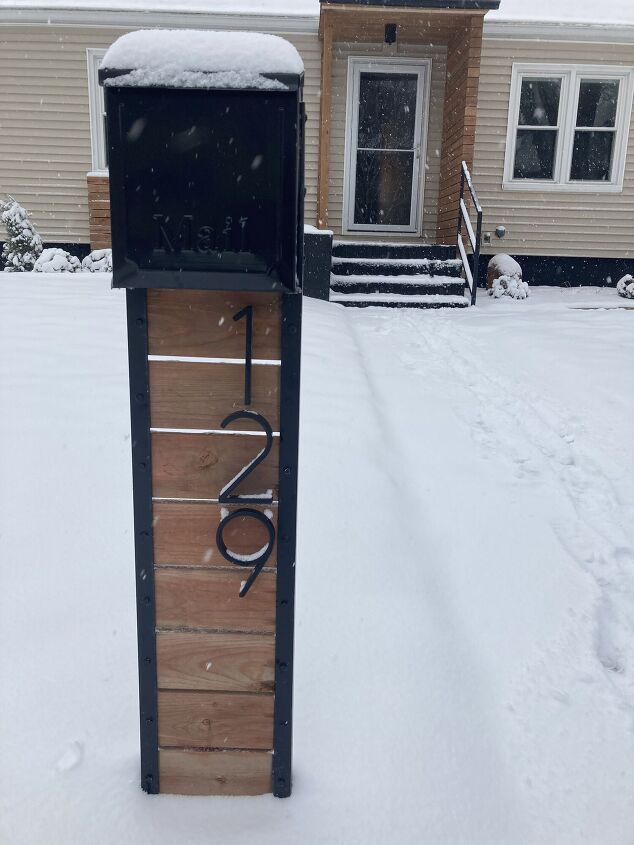
Long overdue update, address numbers have been added!
Resources for this project:
See all materials


Comments
Join the conversation
-
Great idea and execution!
-
Floating numbers on the wood of your mailbox definitely! Nice job!!


Frequently asked questions
Have a question about this project?
Of course, add the house numbers. I think it’s brilliant
Love it!
I would definitely put floating numbers on the wood.
Did you ever think of adding your house numbers to it so it stands out and is clear that it’s your mailbox? It just looks like a real estate sign or something without numbers