


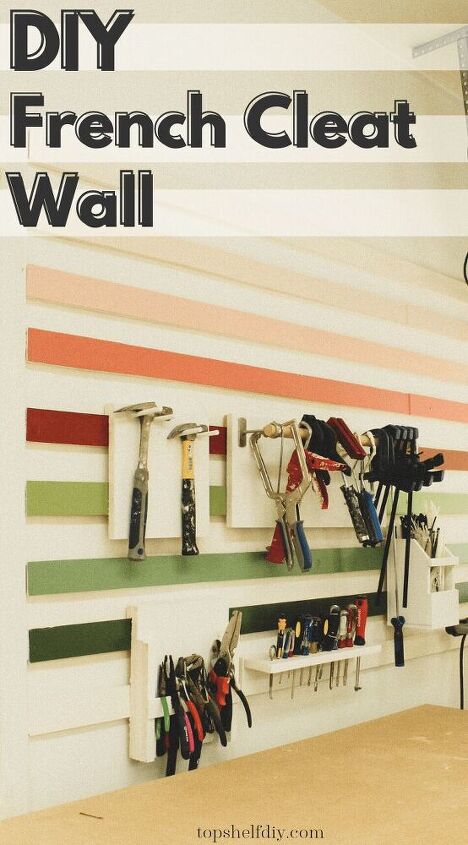
Fun Ombre French Cleat Wall
My garage makeover is in full swing! Keep reading to see how I created a french cleat system and finished it with an array of vibrant paint colors.
This post is Week 3 of The Take Back My Garage Renovation Series!
What is a French Cleat System?
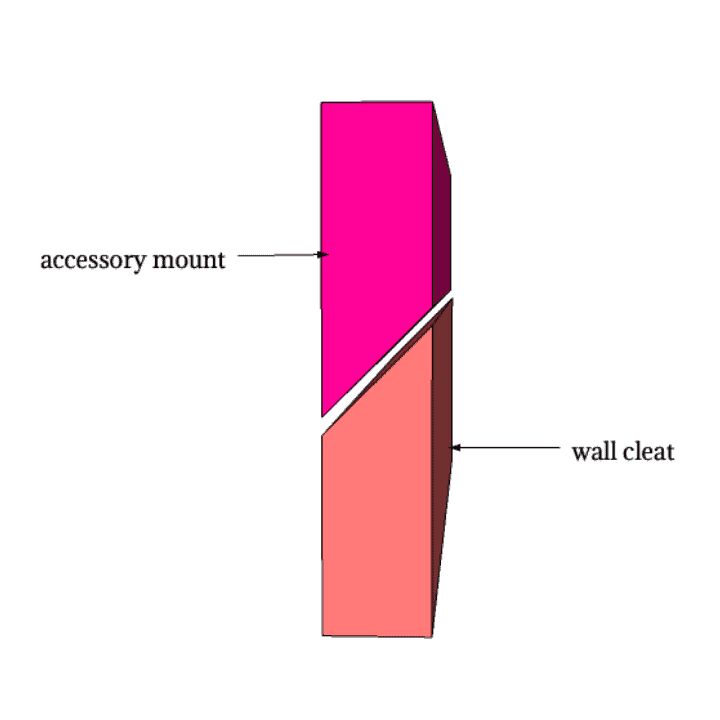
A french cleat system is a time-tested method for hanging anything heavy on the wall. It consists of a strip secured to your wall studs and a corresponding strip secured to the back of your item – both mitered at a 45-degree angle.
If you have scrap wood and a table saw (or circular saw), french cleats are easy and inexpensive to make. I made mine from leftover MDF, which saved me a fortune on lumber!
Ideally, it would have been better to make these cleats from 3/4" plywood, which is more durable than MDF and less susceptible to changes in humidity/temperature.
BUT, lumber is wicked expensive right now. So I took a chance and used what I had lying around.
I cut and installed all of my cleats in just a few hours. Even with a quick turnaround, this project made a substantial impact on my workshop organization.
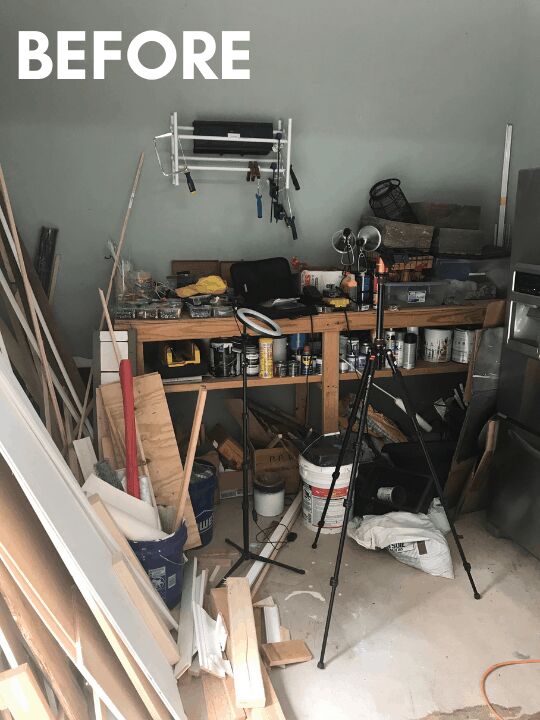
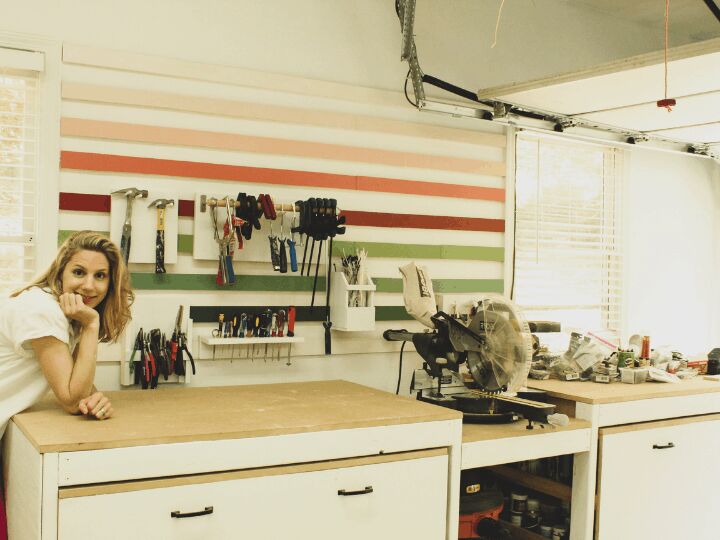
Scary, right? Here's how it looks now.
Building your own french cleat system
Tools
- Table saw or circular saw
- Impact driver
- Drill
- Stud finder
- Level
- Measuring tape
Additionally, you'll need to following to make your tool holders:
- Scrap wood
- Nail gun
- Brad nails (1 1/4")
- Clamps (assorted sizes)
- Kreg jig + pocket hole screws
Step 1
Use a stud finder to mark the location of your studs. Do a quick sketch of your spacing to determine how many cleats you'll need.
Step 2
Set your table saw to 45 degrees and rip your boards. I made my cleats from 1x4 boards ripped to 2.5" on the table saw. Once mitered, I was left with a second cleat 1" wide.
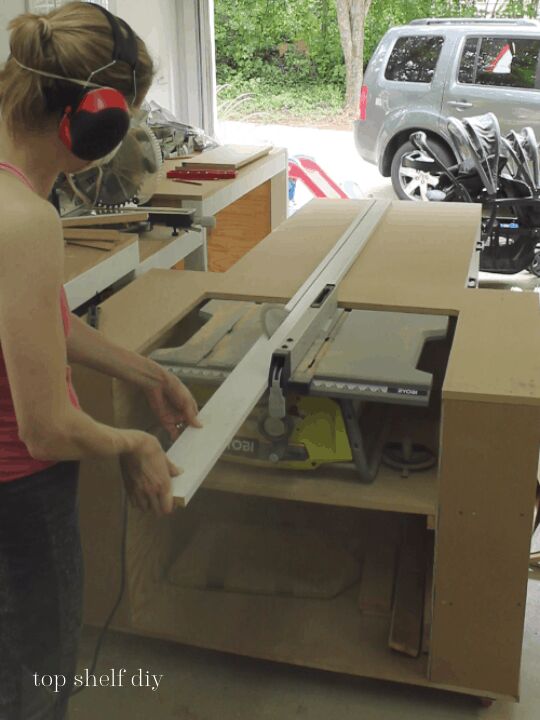
I repeated this process until I had 9 cleats ripped.
Some of my scrap pieces weren't long enough so I had to join two pieces together on the wall. In this case, I didn't always have a second stud available so I used a wall anchor for my screws. Each cleat had at least one stud support, with most of them having 3+ stud supports.
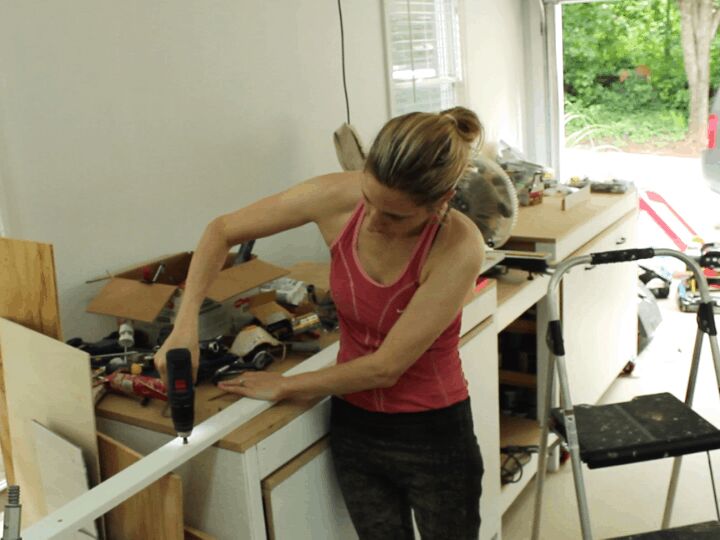
Step 3
Hold your cleat up to the wall and mark your stud locations. Pre-drill your holes at these spots.
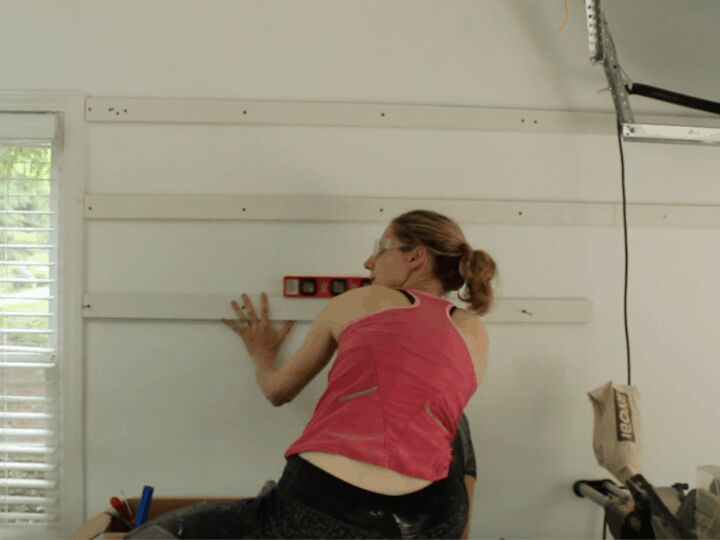
Step 4
Run a bead of construction adhesive along the back of your cleat. Secure your cleats to the wall studs using 3" screws. Check for level as you go. Make sure your mitered edge is facing up and toward the wall!
Step 5
Fill in any nail holes or seams with wood filler. Sand. Paint in a color of your choosing. Once dry, seal with water-based polycrylic.
I changed the paint scheme for these cleats at least 5 times. The great thing about paint is that it's an easy fix if you hate it. Which I did.
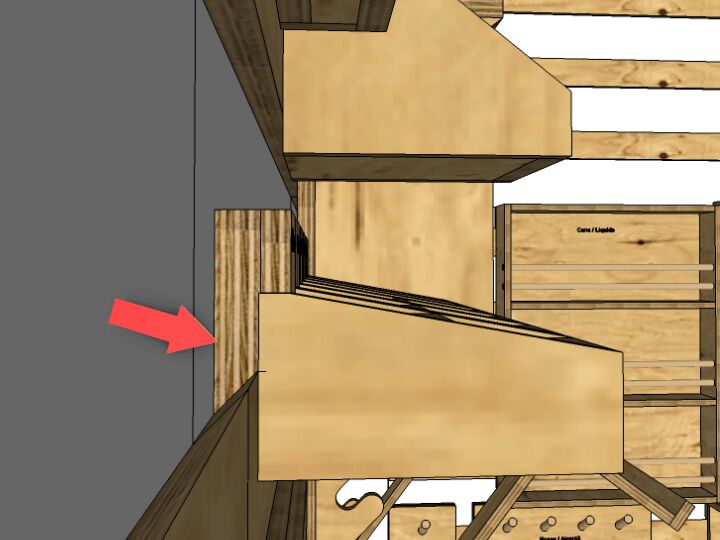
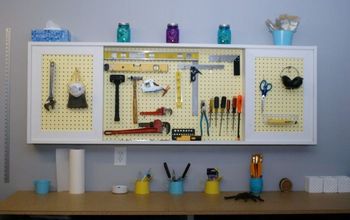
Step 6
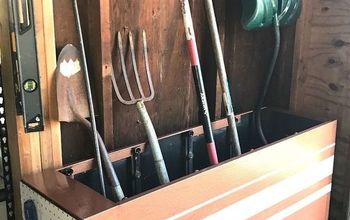
The last step in the process is to create custom holders for all of your tools! Hang on to the remaining beveled pieces as you'll attach these to the back of your bins like so.
There's an endless array of options for creating holders from simple plywood, PVC pipes, dowels, and hinges. This topic deserves its own post, so I won't go into too much depth here.
If you'd like to see other installments in the garage renovation series head on over to topshelfdiy.com!
Resources for this project:
See all materials


Comments
Join the conversation
-
Interesting factoid. French cleats are called French cleats because in France (and many other European countries) upper cabinets are not installed. You bring your own with you, and hang them from the cleats. Properly installed, they will hold a LOT of weight.
BEAUTIFUL use of French Cleats, here. I'm sending this on to my son, who can use this in his studio. He and his wife customize guitars, and most other instruments.
-
.I would love to do this in my outhouse but I'm not understanding the instructions. My fault but I cannot see clear pictures of how its installed. Looks just like straight strapping on a wall and then tool holders attached. What am I missing. .? I'm a visual person


Frequently asked questions
Have a question about this project?
What is MDF?
Great project! There is a lot more to this improved after photo than French cleats on the wall. Finished wall has windows that weren't in before pic. Also a finished workbench with doors/drawers that must hold a lot of the items in the 1st pic. The cleats are holding a few tools, what happened to all the scrap wood, larger items that were in the pile? That is what I need to organize in my space.