


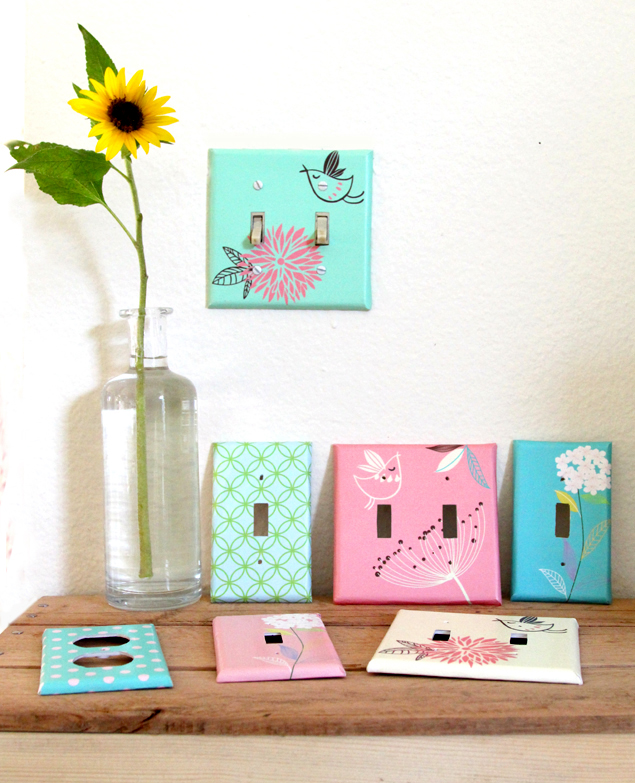
Make Your Own Designer Switchplates
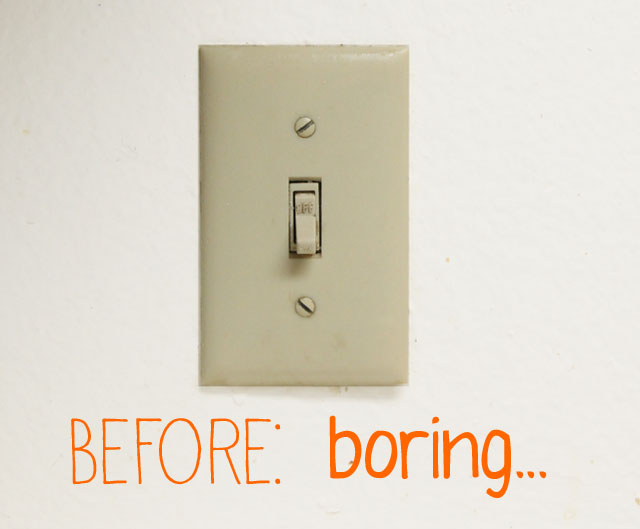
Most switch plates and outlet covers lack personality and flair. Yet it's so easy to turn them into something special with very simple materials. See how you can make your own designer switch plates! If you love these patterns I made, you can download the printables at the end!
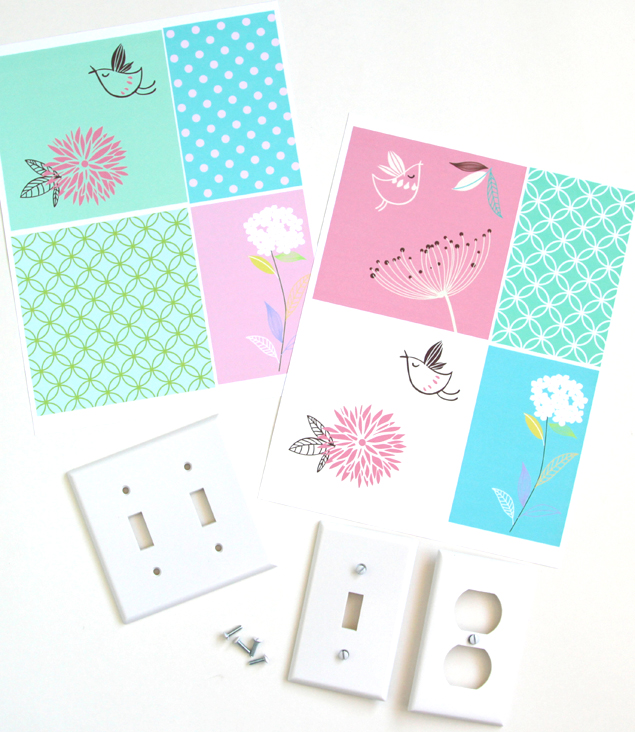
First gather some designs and patterns you love - I created some with graphics I have, you can download the printables at the end! - and print them onto medium weight cardstock.
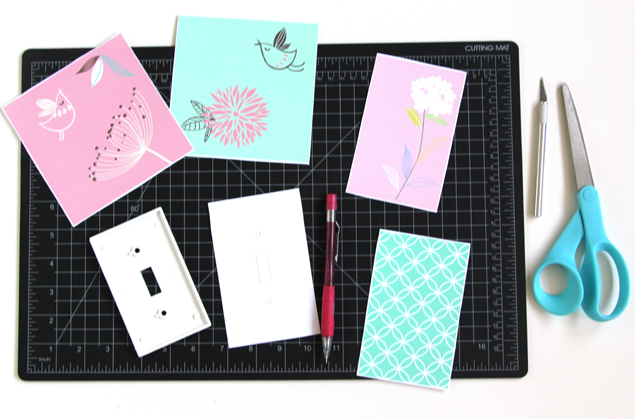
Next cut the pieces to size, trace the openings onto the paper, and cut those out.
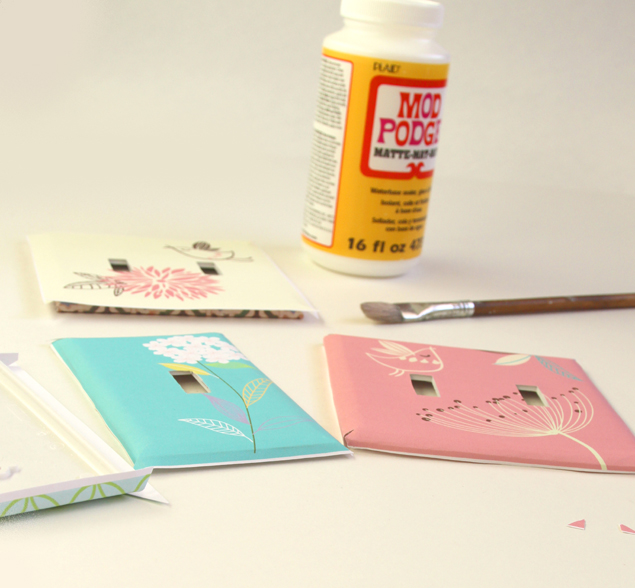
Brush Mod Podge onto the flat surface of the plates, and lay the patterned paper on top, make sure the openings match and edges align nicely.
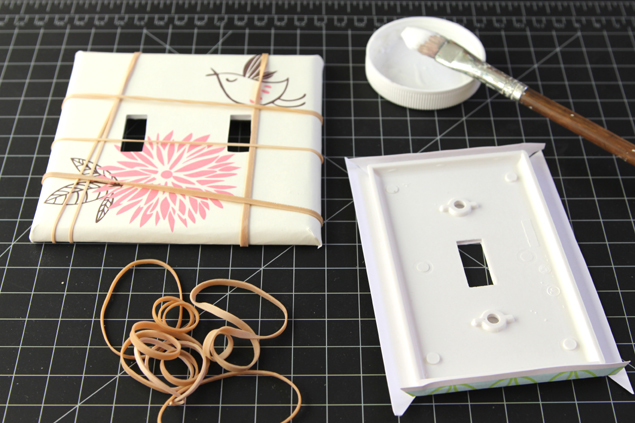
TIP: rubber bands make it easy to hold the shape during the gluing process!
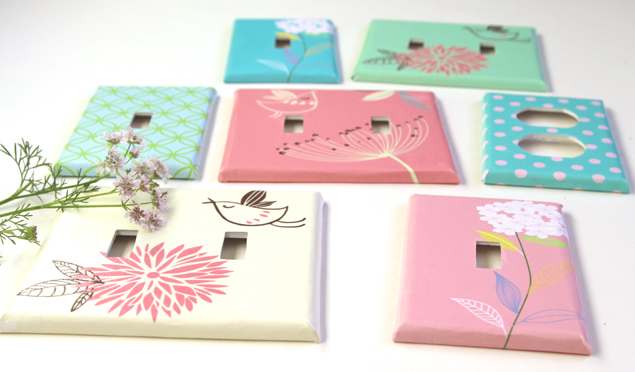
The final step is to coat the surface of these switch plates with 2 coats of Mod Podge or acrylic gel, so they become more water resistant, and in the future easy to clean with a damp cloth.
To download the patterns or see more, visit the link below.

Want more details about this and other DIY projects? Check out my blog post!
Comments
Join the conversation
2 of 166 comments
-
Oh. Just what I wanted! I can put some roses on mine!
-
I love this and will definitely try it. Such a small thing can be so mood-lifting. Thanks for your ideas.


Frequently asked questions
Have a question about this project?
So I tried this and the cardstock would not stick to the back of the plate. had to use duct tape to hold it together. Than, When I placed it on the wall and screwed the screws in, the paper tore around the opening. It looks awful. The opening where the switch is and outlet plug is tore as well. Any suggestions?
Love them but do not know how to print on cardstock. Any other way I can get these designs?
Hi, beautiful project but I cannot find the link for the patterns! Help?