


Tips Your Mama Didn't Tell You About Tiling a Backsplash...
Never in my 32 years had I imagined that I would be tiling anything at all. Before I started this crazy mission to update and sell our builder-grade home, this was definitely not my bag. But now... I can honestly say, it's not as hard as it looks.
As long as you have the right tools, the job will be easier- not easy, but easier. I'll tell you exactly what you need so you won't be running out later to buy something, or have to take something back that you didn't need in the first place.
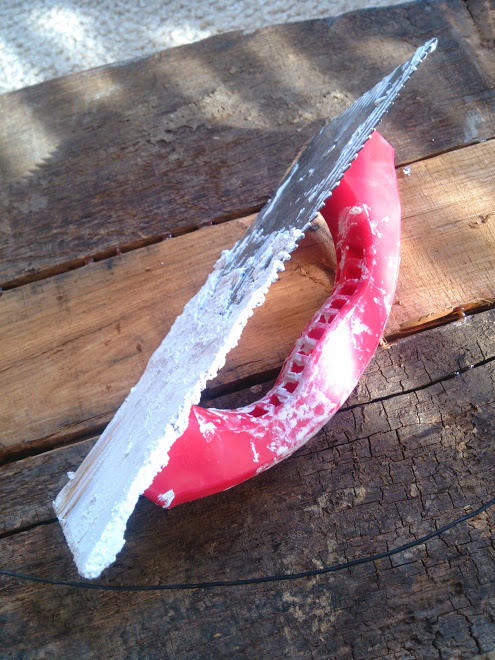
For the first stage, you'll need a v-notch trowel. You don't need an expensive one- I think mine was in the $5 range. Worked fine, but since I'm not as coordinated as a pro, a smaller one may have been better to work around the outlets and cabinets.
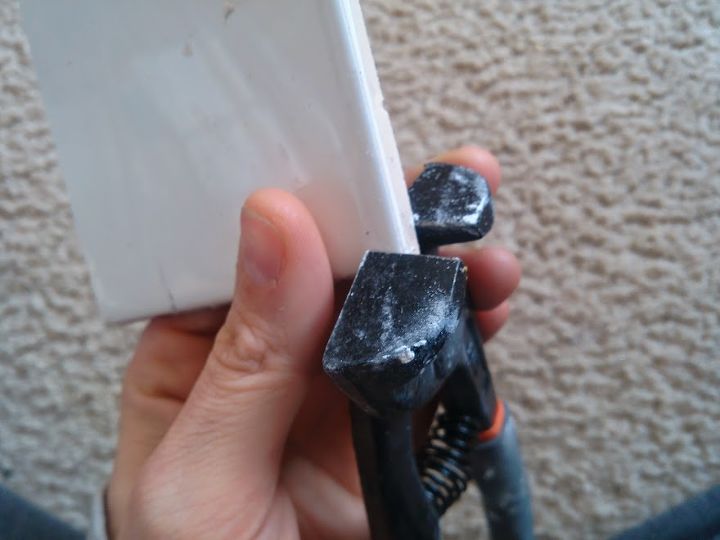
A tile nipper- This is good for biting off little chunks of tile at a time. Here is a good tip- don't try to use the entire blade of the nipper, only use about half of it when nipping off a piece. Then you won't break the tile.
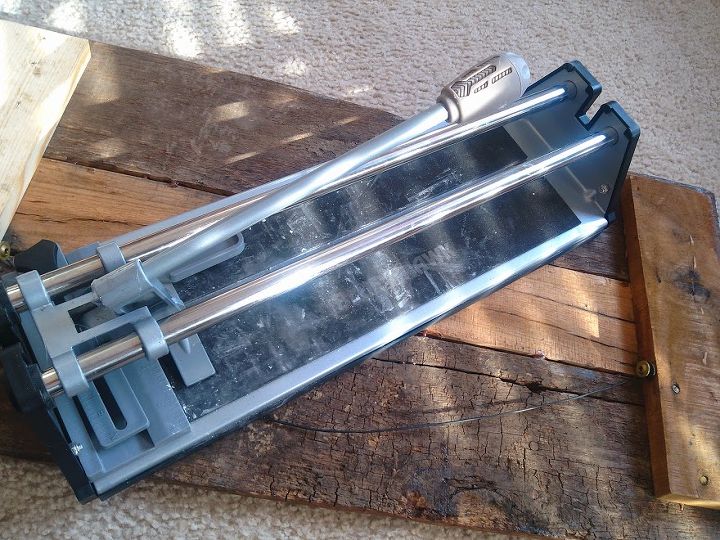
A Tile Cutter- This works awesomely for those straight cuts. You don't want to have to fire up the tile saw for every single cut. You will hate your kitchen, your tile and your life by the end of the project if you did that.
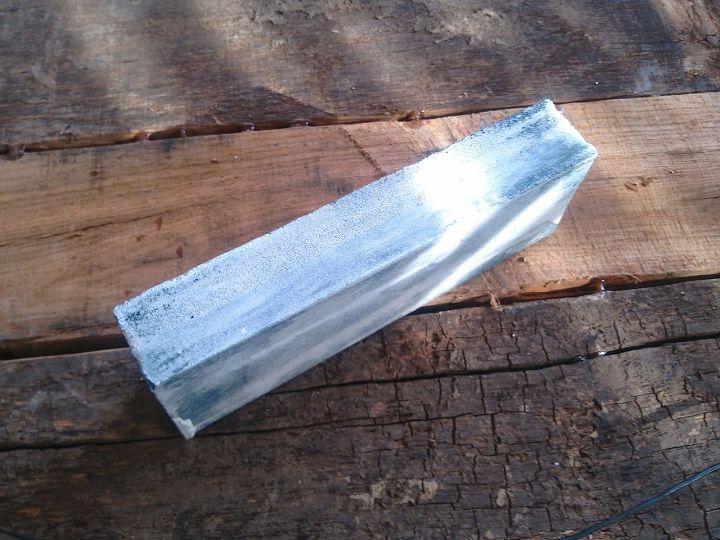
A sanding stone- necessary if you don't want super sharp edges after cutting.
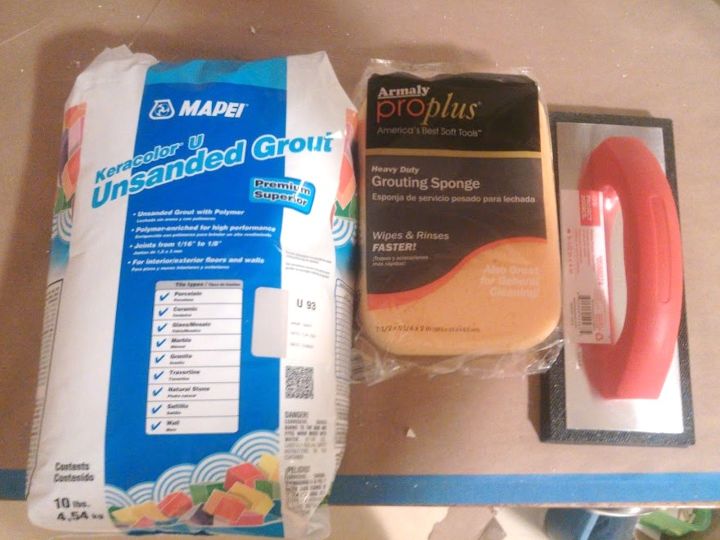
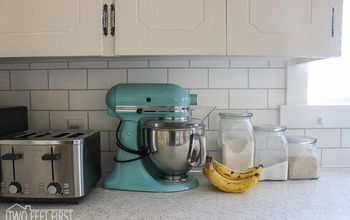
For the second stage- the grouting. You need Unsanded grout if your lines are less than 1/8"- My tiles have the little nubs on the sides that make the grout lines 1/16", that is why I didn't need spacers.
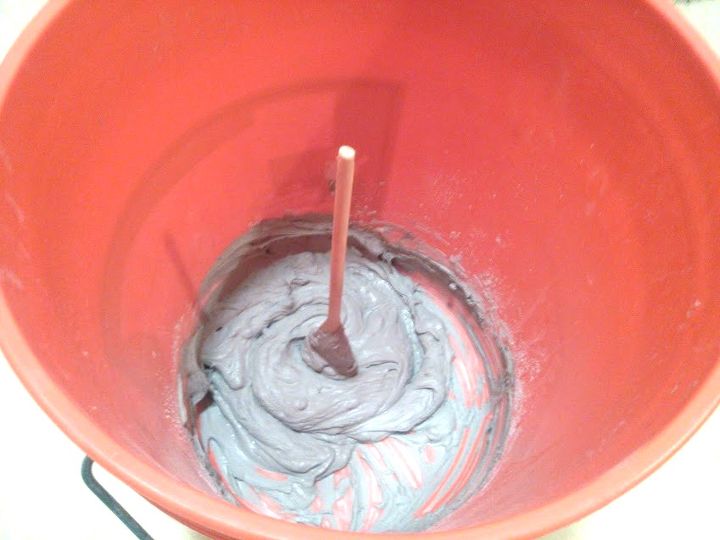
The grout should be peanut butter consistency and you should have 2-5 gallon buckets. 1 for the grouting- then when your finished with the grout, use this bucket to dump the dirty water in. Use the other for clean water when your sponging. This just makes it way easier since you CANNOT dump grout down the drain.
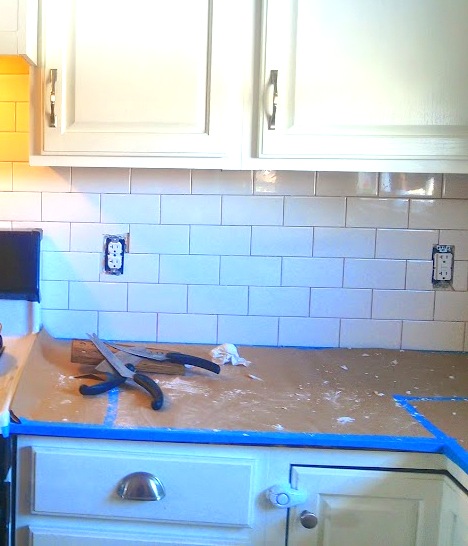
This project is not for the faint of heart. It takes a while, it take some patience, and it takes not having 3 kids running around the kitchen. With that said, my tile turned out great and it was my first crack at it.

Want more details about this and other DIY projects? Check out my blog post!
Comments
Join the conversation
3 comments
-
Great job. I wish I'd done my own instead of hiring a hack who said he could tile. I am going to do the baseboard job you showed. Mine are already 6 inches but very plain. Every little bit helps, right?
-
Looks awesome!


Frequently asked questions
Have a question about this project?