


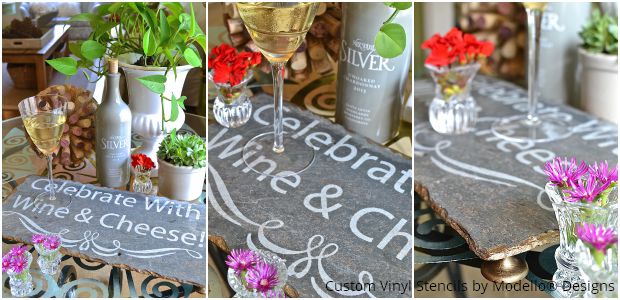
DIY Stencil Tutorial: Etched Wine & Cheese Plate

This etched slate serving tray is one of my favorite quick and fun projects, ever. As I was reading the directions on the Etchall container for a previous Paint+Pattern glass etching project on our deck, I discovered that the product would etch surfaces like tile, granite, and more. So, I realized that it would probably also etch slate. And off I went with this idea. Look closely and you would swear there is white paint on the slate, but it is only the etched surface.
Here in North Carolina, although we don’t have a lot of slate roofs, you can find the slate pieces at Home Depot and Lowe’s really cheap. I have no idea where I got my piece, but guessing it was from a yard sale in an “I can use this for something” moment. It’s perfect because the edges are honed and nicely chippy, but not sharp.
The pieces have nail holes pre-drilled in them, so if you go shopping for a piece, just know that you probably won’t find one without holes. If you have some slate left over from a deck or garden project, you can etch it, but it may not work as well to serve hors d’oeuvres.
Isn’t this so cool? Let’s do it!
Stencils and Supplies by Royal Design Studio www.royaldesignstudio.com
SUPPLIES
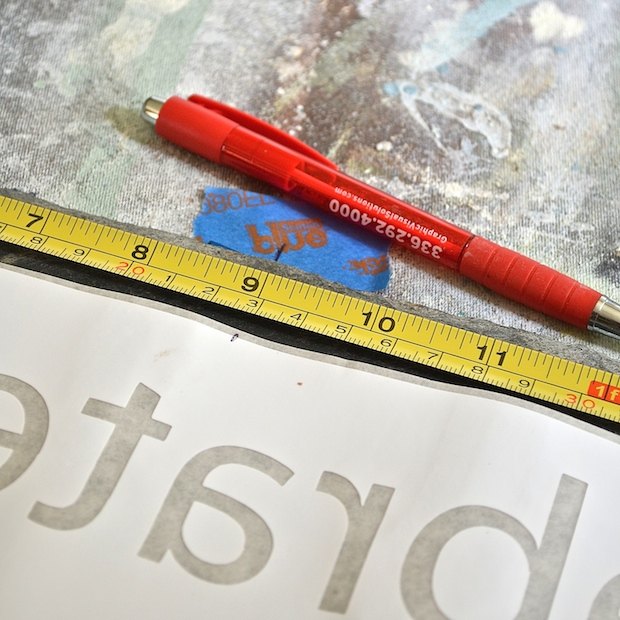
FIND THE CENTER OF THE SLATE AND THE MODELLO
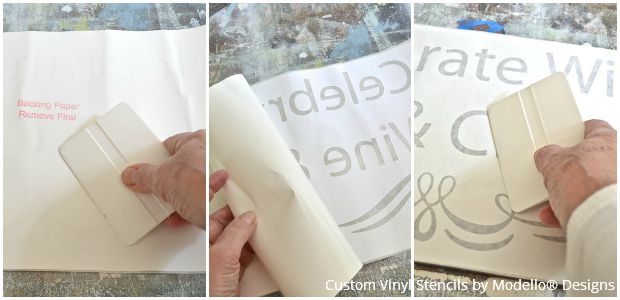
BURNISH MODELLO, REMOVE BACKING PAPER, POSITION ON THE SLATE, TAPE THE EDGES
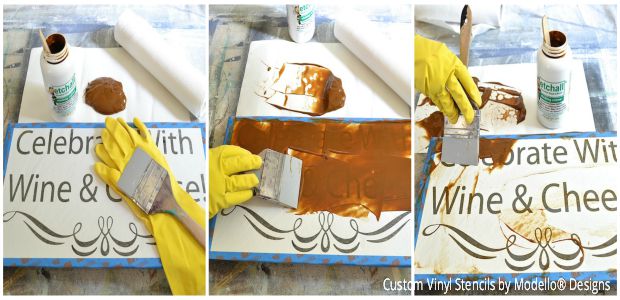
APPLY ETCHALL, WAIT 15 MINUTES, THEN REMOVE IT
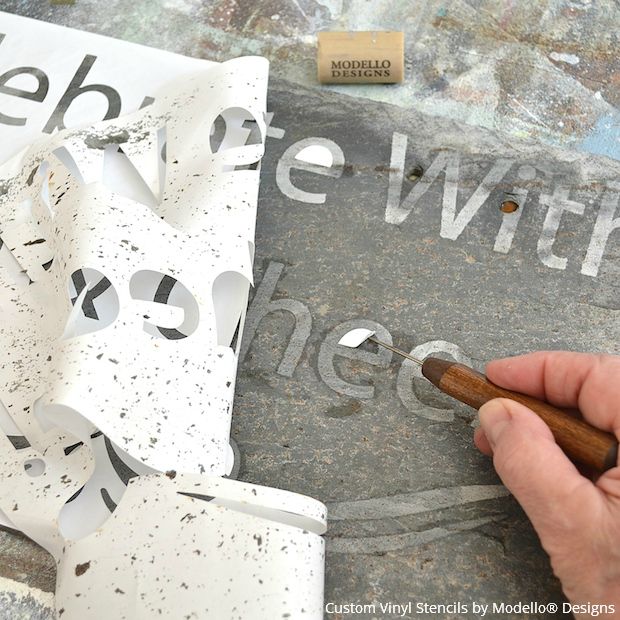
REMOVE THE TAPE AND MODELLO
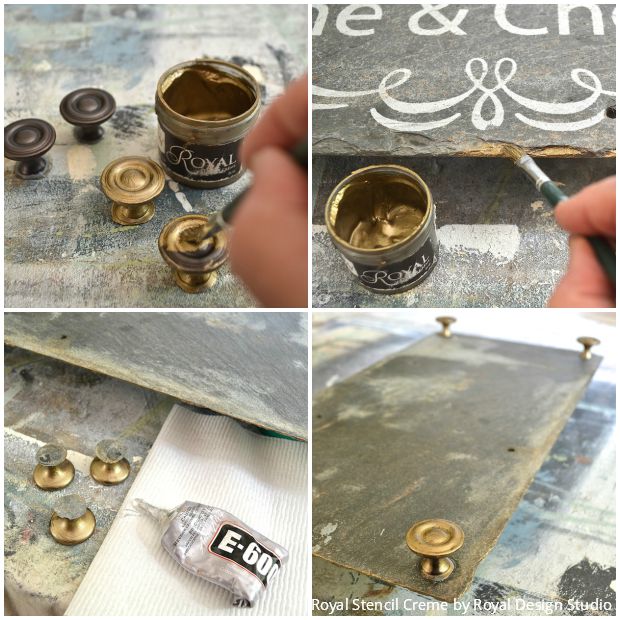
PAINT THE FEET AND EDGES OF THE SLATE AND APPLY THE FEET


Frequently asked questions
Have a question about this project?