


Frosted Glass Bath Storage Cabinet Makeover
This little bath storage cabinet makeover has been a long time coming. It was a neglected run down cabinet hidden away at the back of my closet for almost a year. It was also a lot more work than I initially thought it would be. Only because I was kind of figuring out how to do this as I was going along. Oh, and then there was an extra little twist I had to work into this makeover as well.
What kind of twist you ask?
All I had to do was make my bath storage cabinet makeover fit an animal theme. Simple, right? I think the challenge was making over my cabinet into something I'd actually like and use.

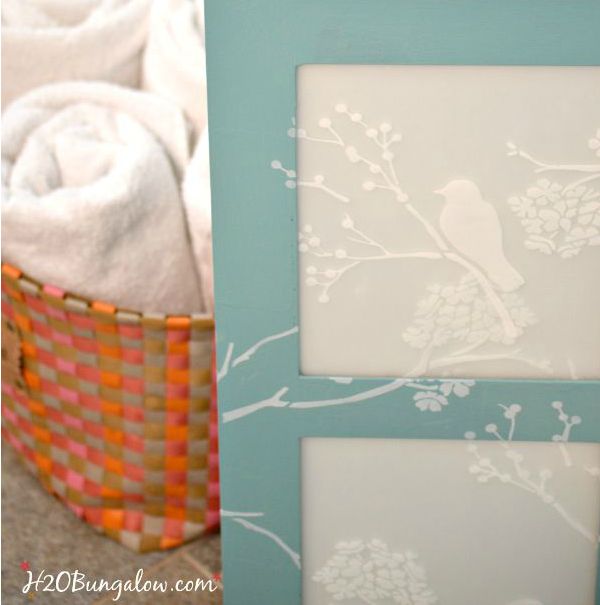
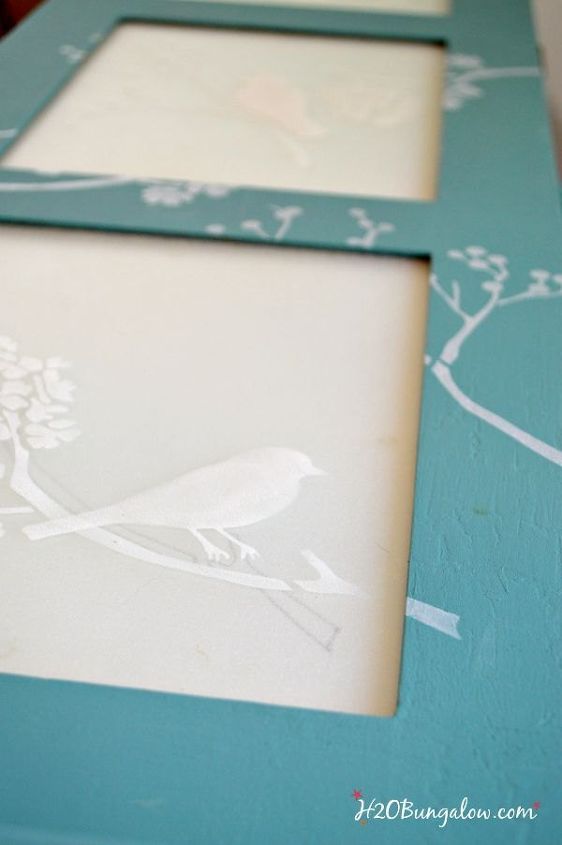
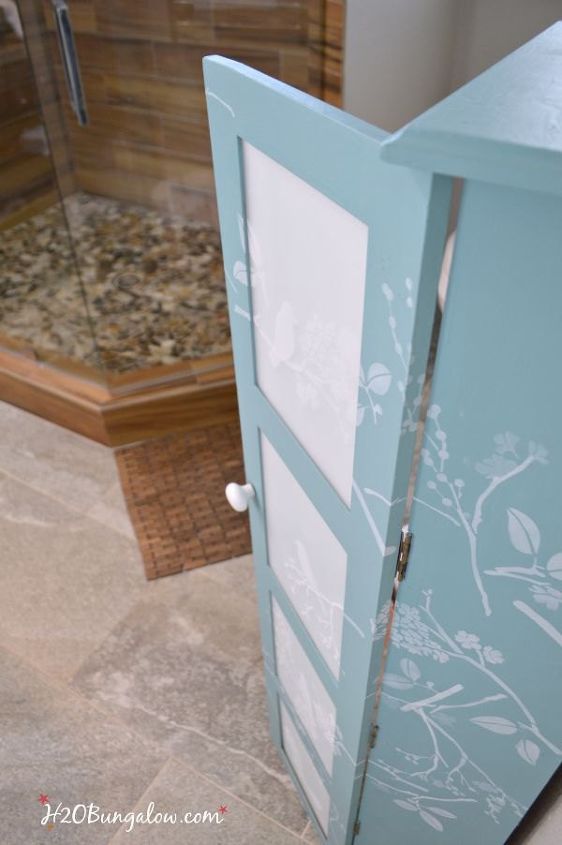
I ended up choosing a light grey called Yesteryear for the inside and a pretty blue-green Cascade on the outside. Both are acrylic based which I think will wear well for a non-distressed bath cabinet. I decided to frost the glass panels with frost glass paint and stencil the entire cabinet with my bird stencil in a white acrylic based multi-surface paint. I picked a poly sealer from my stash from DecoArt because I had some left over from another project. I also like the finish and it's at an afordable price point. **I have a link to each of these product in my post on my blog if you'd like to know what they are**
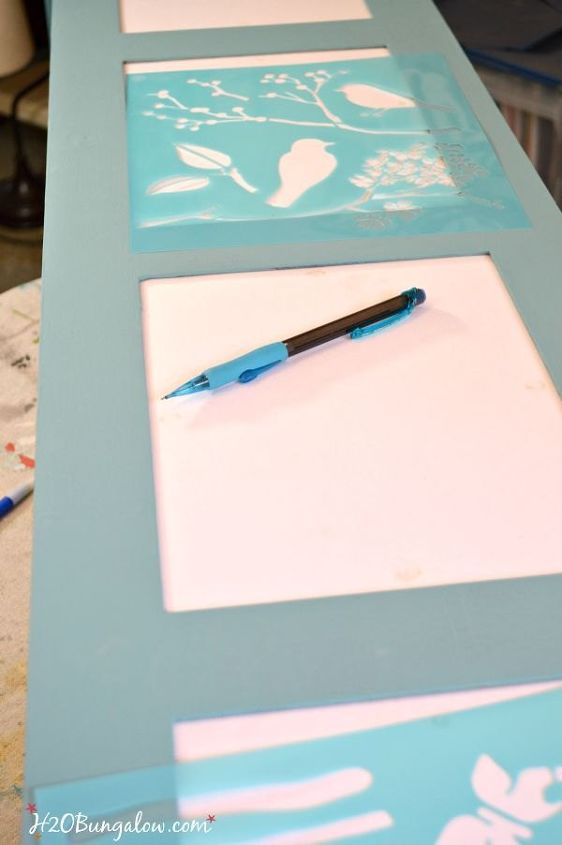
Once I had my stenciled bird layout drafted on paper, I built my design out from the center.
I wanted this bathroom storage cabinet makeover to be unique:) So I decided to stencil my pattern over corners and across the frosted glass inserts. I took the glass in and out several times in this process. You'll only have to do this once because I'm showing you the easy way :)
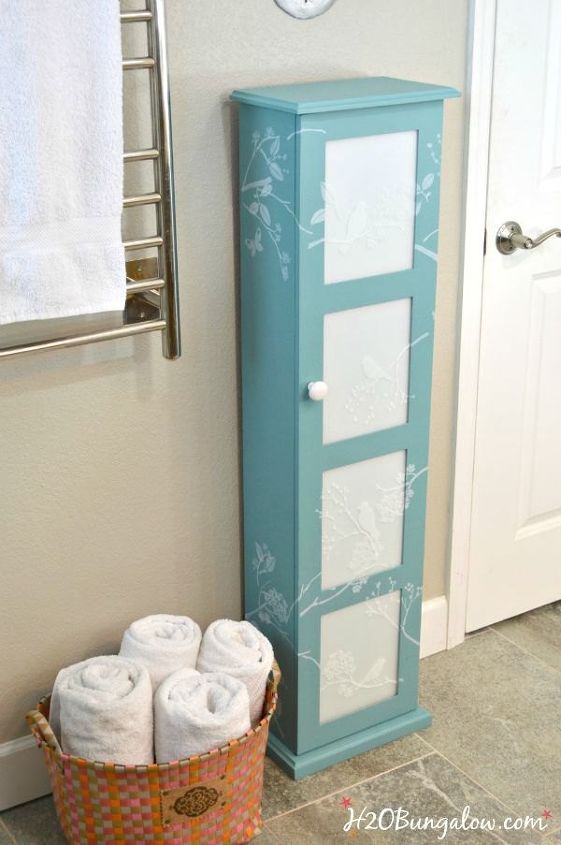
It turned out great
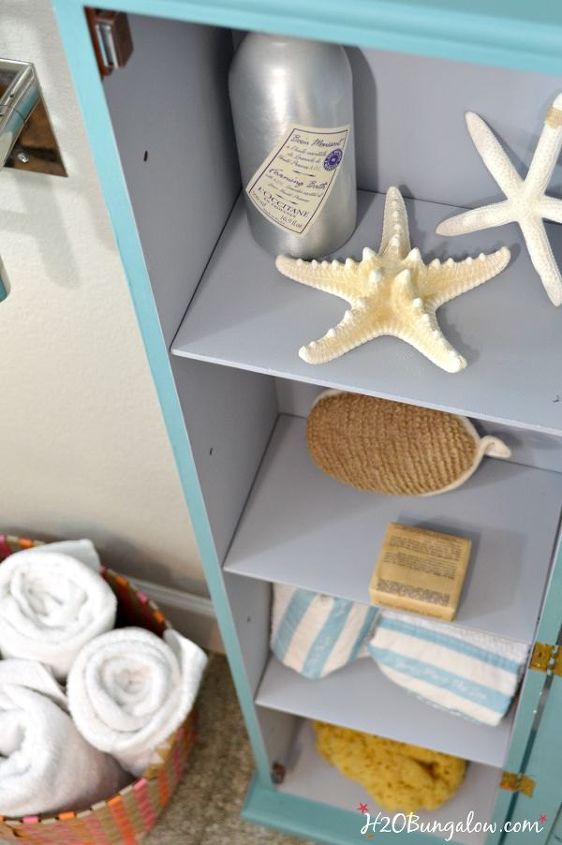
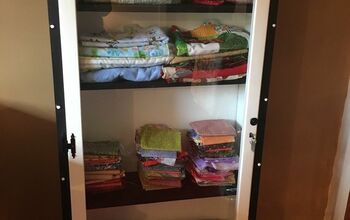
Has plenty of storgae
And I love how the stencil pattern cascade down and around the front of cabinet. I shortened my post a little. If you need more details please click my post link to read this post in full:)

Want more details about this and other DIY projects? Check out my blog post!
Comments
Join the conversation
3 of 5 comments
-
Really, really fabulous, I especially like the color.
-
I love this. I need this in my life!!


Frequently asked questions
Have a question about this project?