


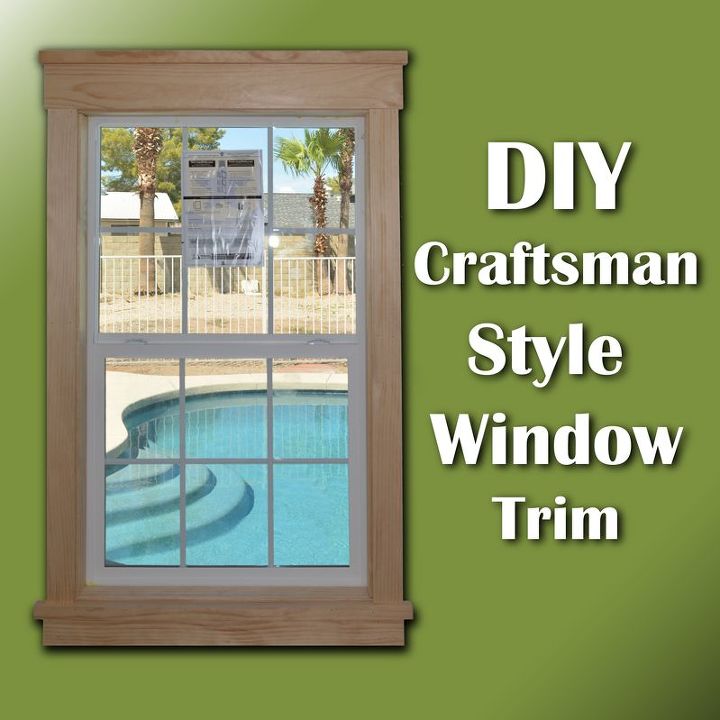
Super Easy DIY Craftsman Style Window Trim
$75
1.5 Hours
Easy
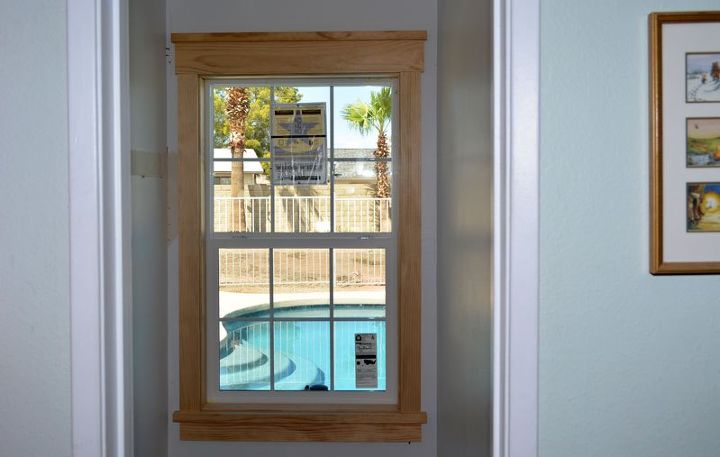
I recently added a new window in one of our closets. I wanted to try the Craftsman style to see if we liked it enough to continue throughout the house as we start replacing windows in the future. We like it, and it was super easy!
It may not be necessary on existing windows, but I started by adding a trim piece of 1x4 inside the newly framed opening. I'd ripped it to fit, just flush with the drywall.
Once that inner framing was nailed in, I scribed a line around the whole thing with a combination square to leave a slight decorative reveal. I'd attach all the face trim on this line.
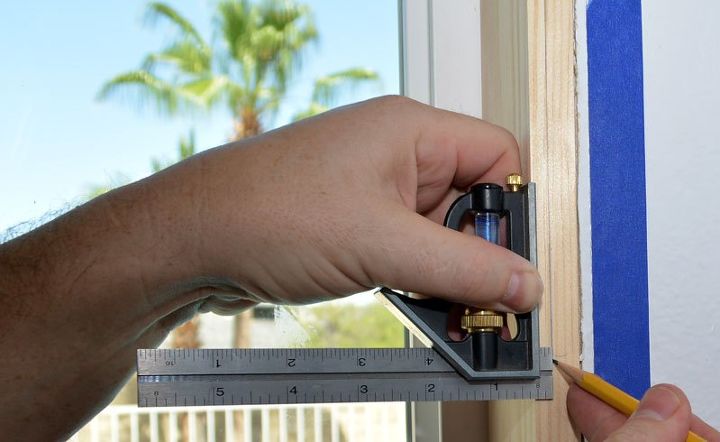
Scribing the reveal line
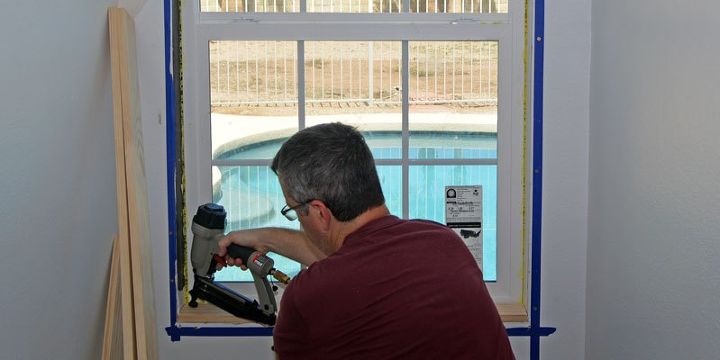
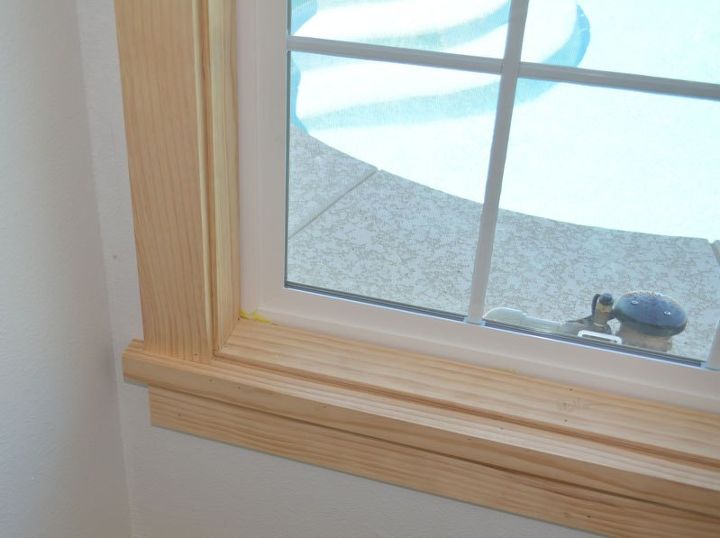
I used a finish nailer to attach the base piece, the stool, across the bottom.
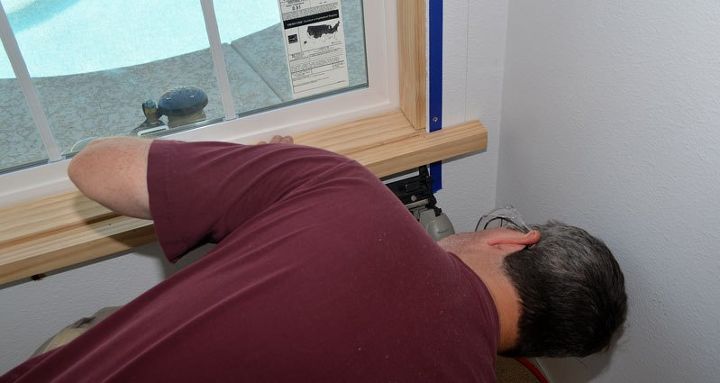
Everything quickly builds from that first piece. The casings went on next. I used pine 1 x 4's and covered the ragged drywall edge.
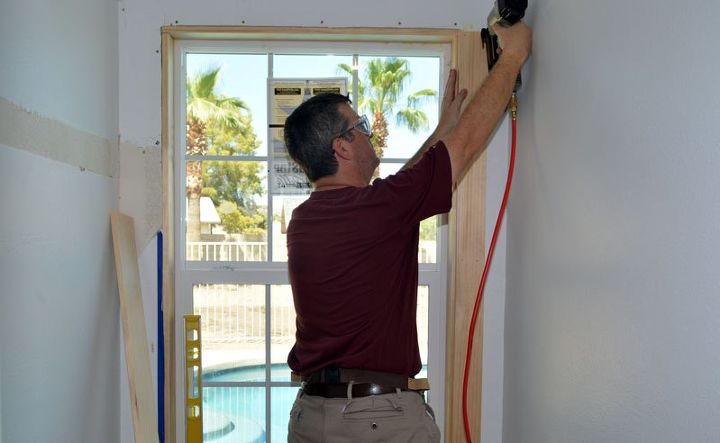
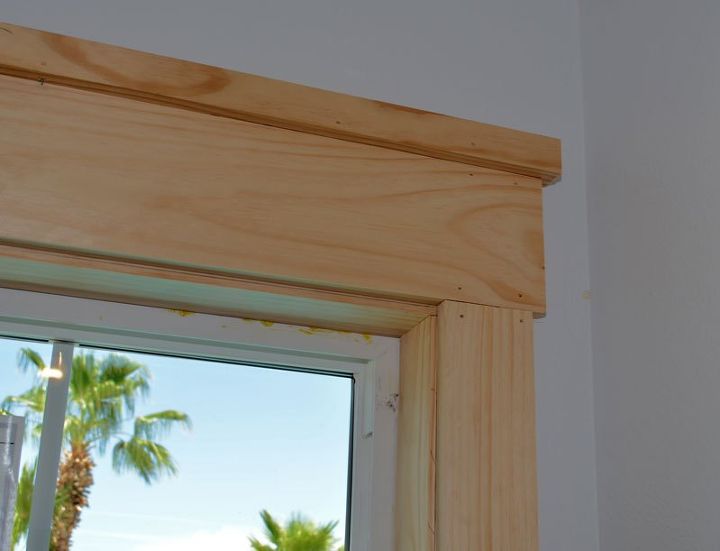
The large head casing overhung the side casings by a half inch on each side. Everything is a simple 90 degree cut and slips together easily.
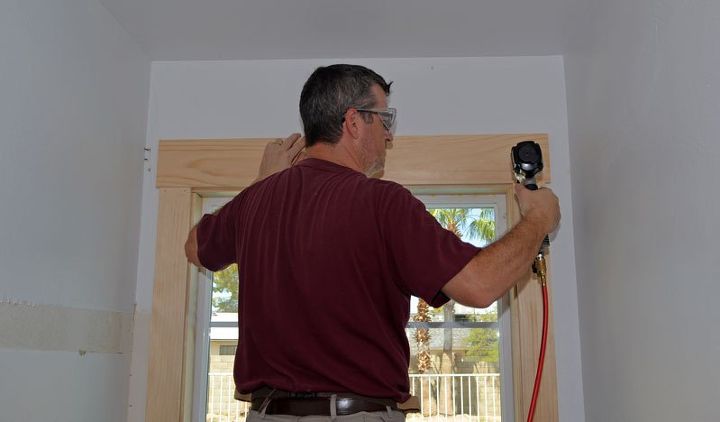
I added a 2x2 cap to the top, a half inch past the head casing.
Another piece of 1 x4 made up the apron, below the thicker stool piece. Done!
Like I said, super easy. It could even be done with hand tools. I bouch all the wood off the shelf at the home improvement store. No special order sizes.
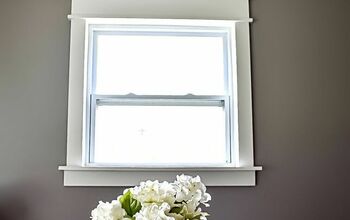
I just have to fill the nail holes, sand the edges a little, calk and paint. There's more to come with this closet remodel project. We sure do like the clean style of this trim.

Want more details about this and other DIY projects? Check out my blog post!
Comments
Join the conversation
2 of 8 comments
-
Very nice!
-
This looks much easier and faster than trying to strip 183 coats of paint! You saved my life!! Thanks!


Frequently asked questions
Have a question about this project?