


DIY Craftsman Window Trim

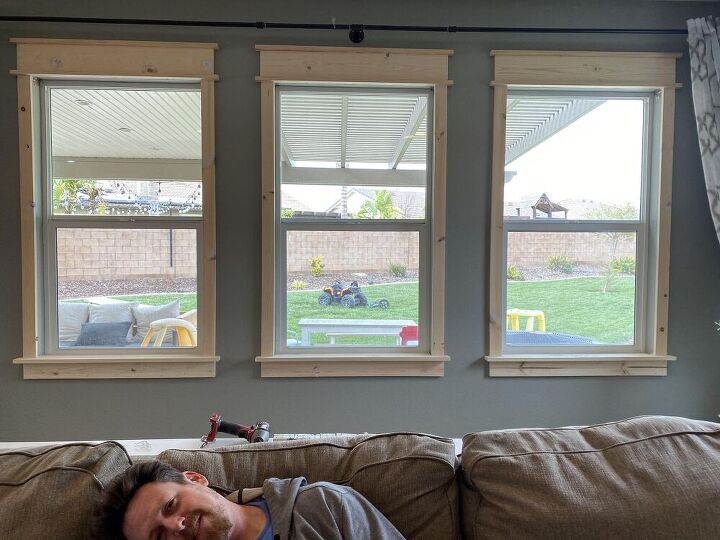
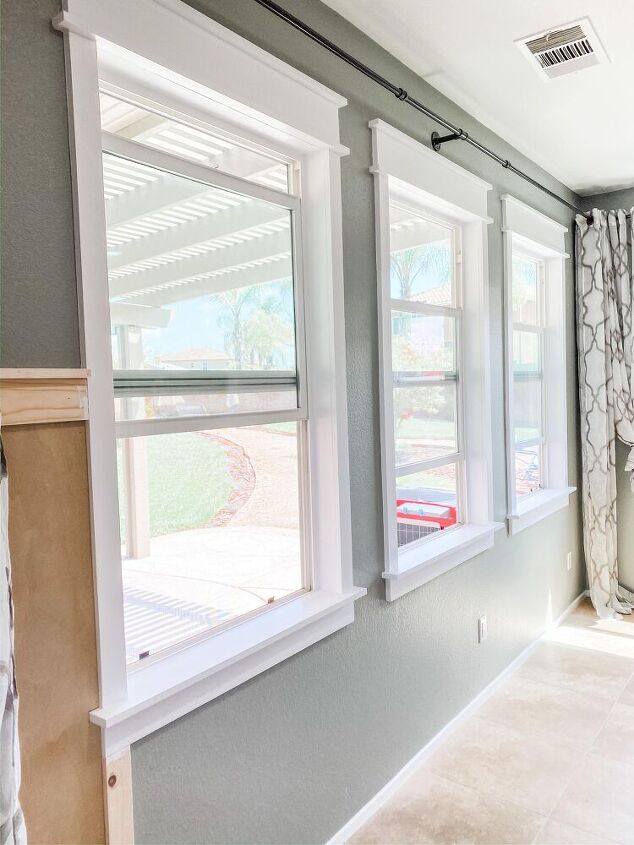
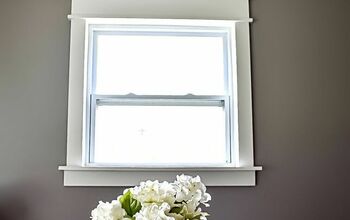
DIY Craftsman Style Window Trim
It's easy to learn how to trim out a window in your home yourself instead of spending a ton of money hiring a professional.
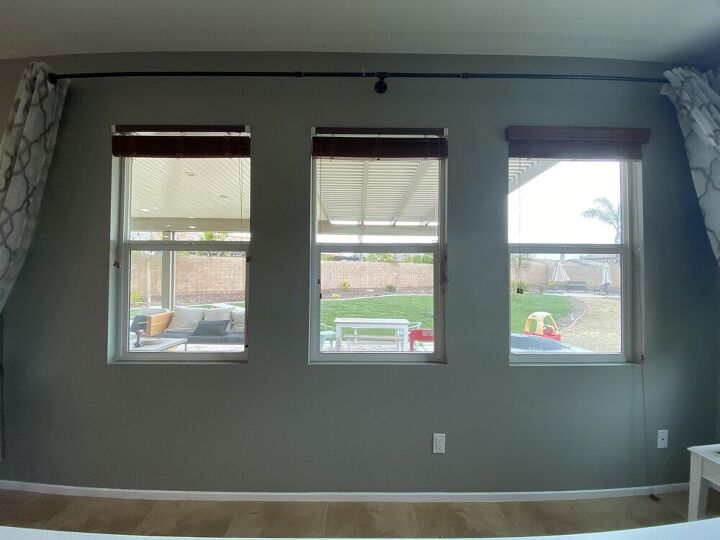
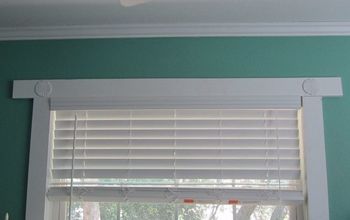
Before

Materials Per Window:- (2) 1x2- (2) 1x3- (2) 1x6- 1x4——————- nail gun/nails- wood filler- sander or sandpaper- caulk - oil based primer- trim paint- saw to cut boards
The Build
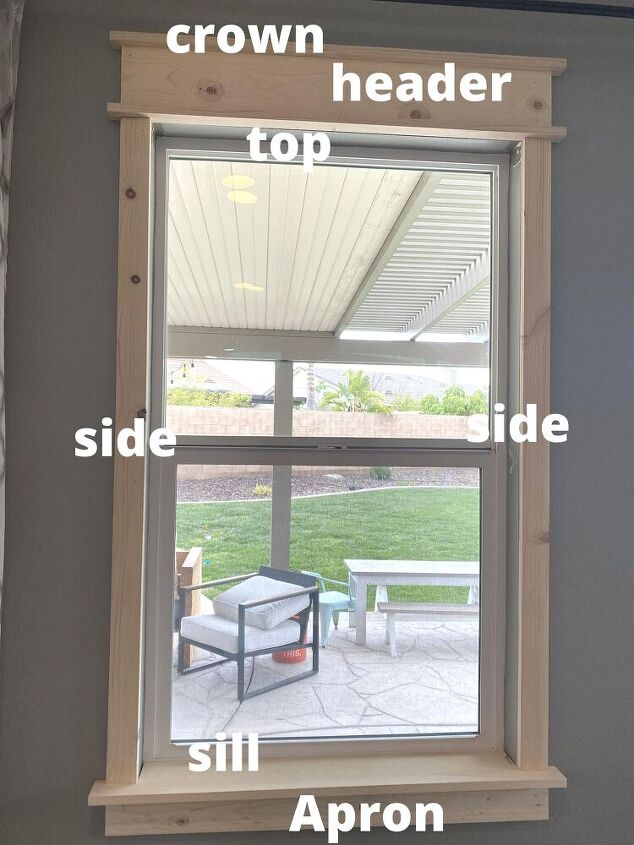
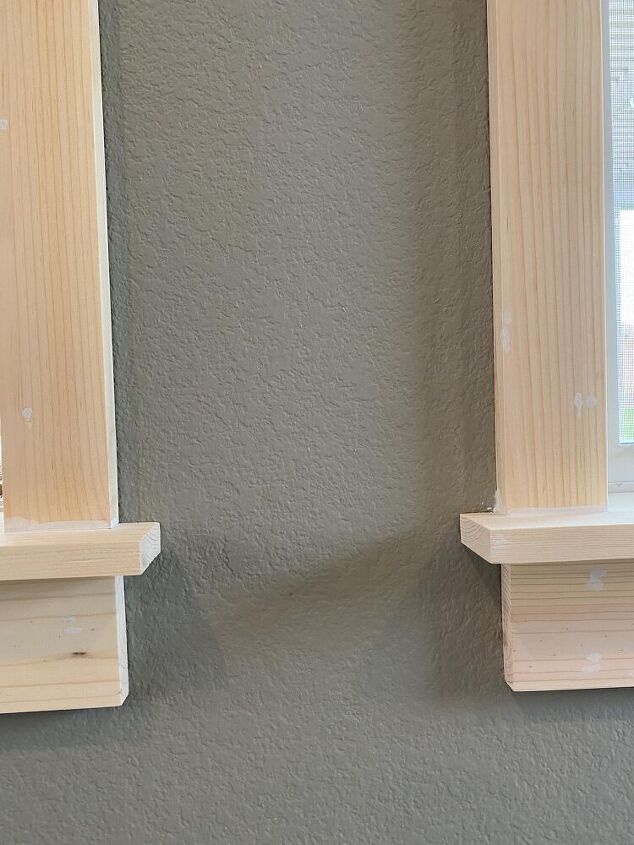
The apron, sides, and header will all be the same length and your sill, top and crown will be the same length.
We wanted the sill, top and crown come out an inch past the apron, sides and header.
Before you install make sure you sand your wood properly, use pre primed wood to make this even easier!
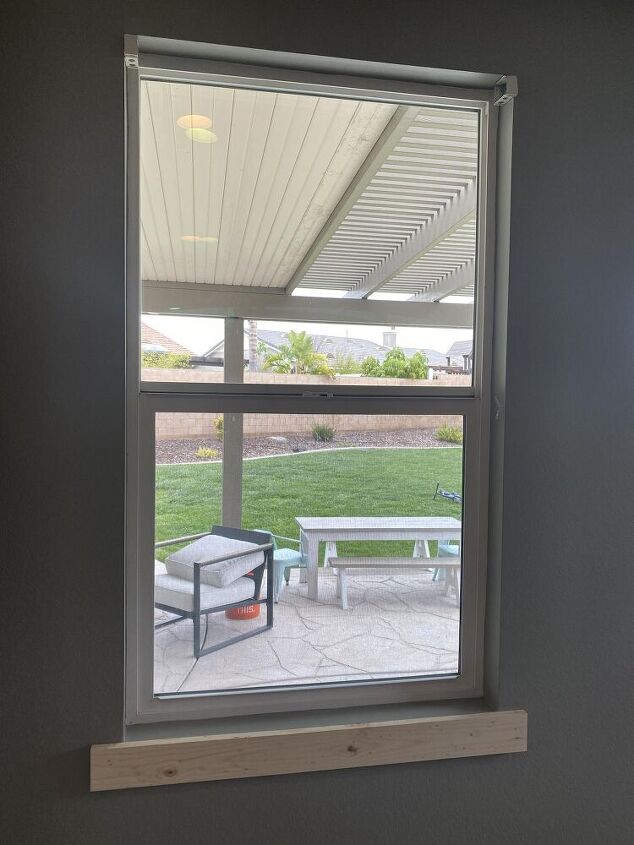
attach your apron to the wall first and make sure sit is level, you will fill with caulk later so it’s ok if it looks uneven if you have janky walls.
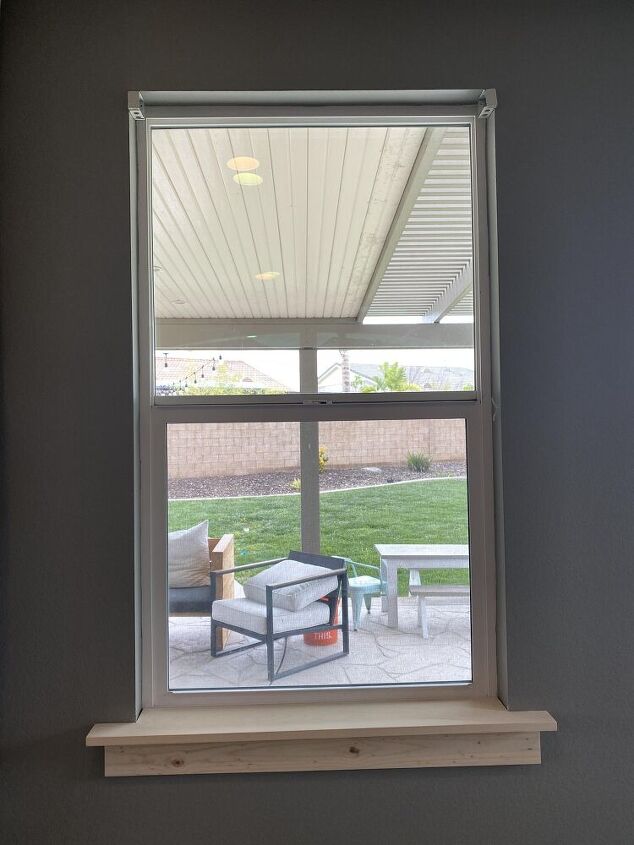
To cut the apron measure the inside of the window wall to wall and the depth from window to where the wall starts. Measure against your apron to assure you also leaving an inch on each side
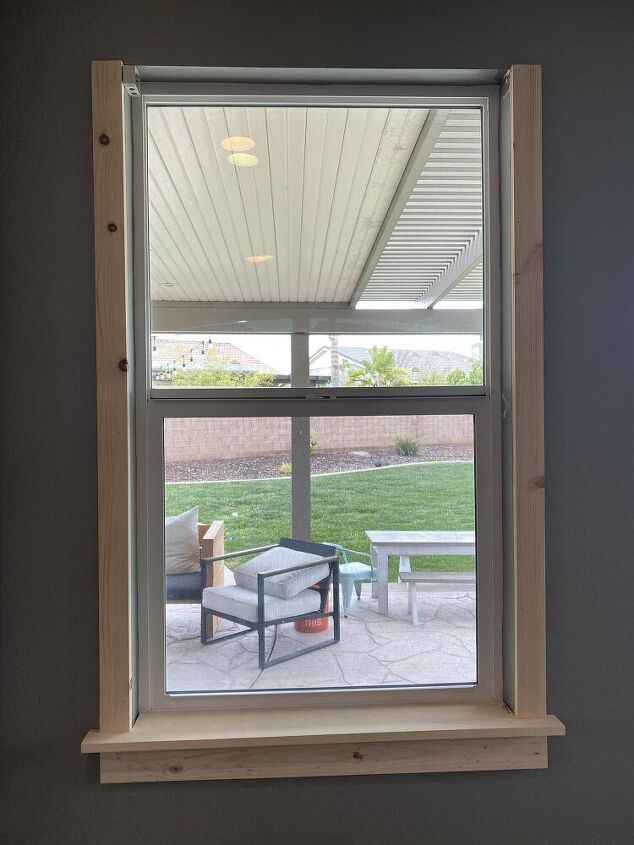
Your sides will sit on the sill and extend up to the top of the window frame
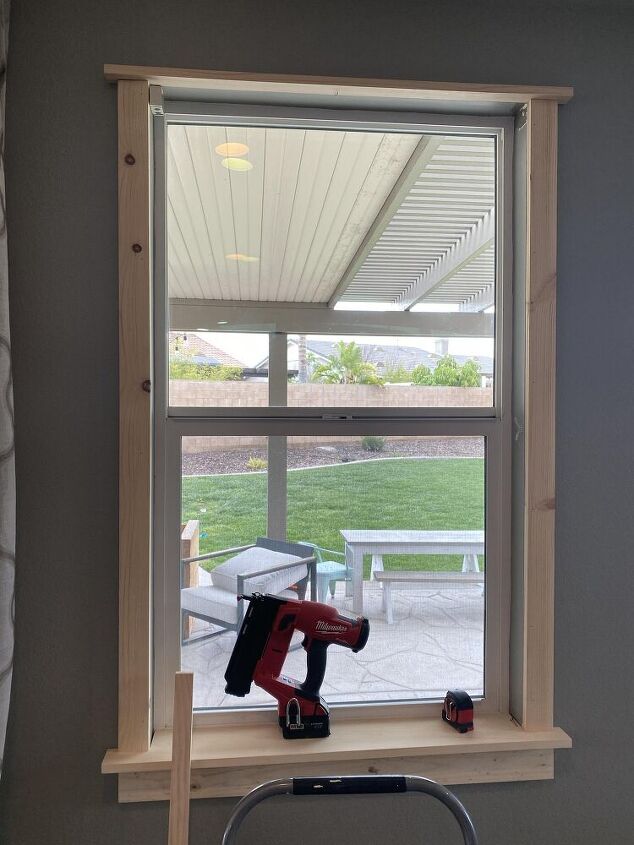
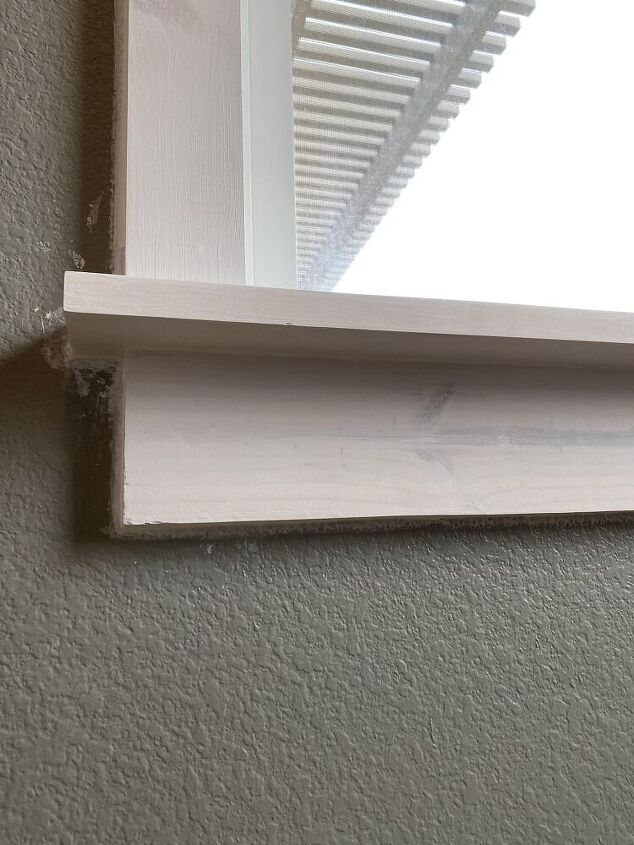
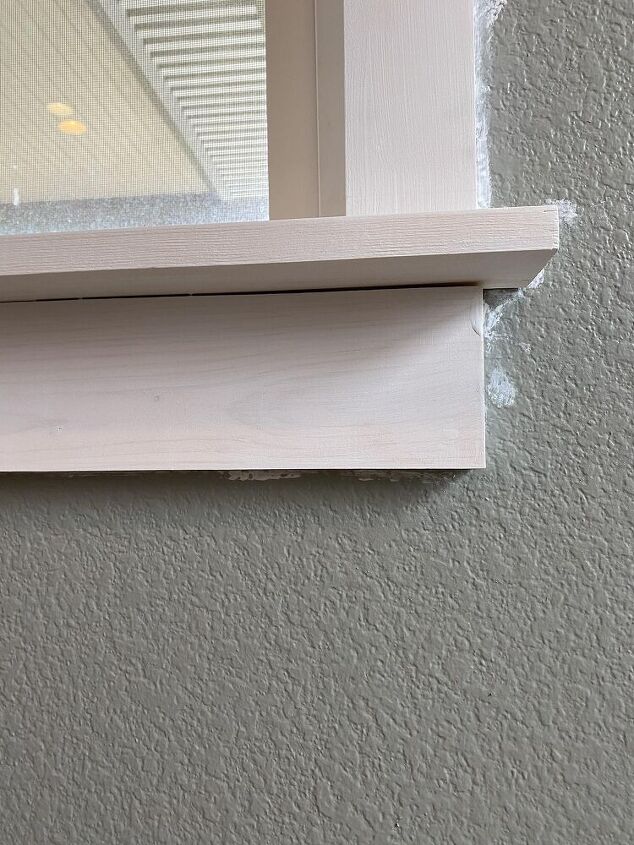
The will go next and you will mail from the top into the sides and at angle to get the nail into the wall
Remember to have the top go past the sides one inch
The header is next and that will be inline with your sides
Add another 1x2 to the top as the crown

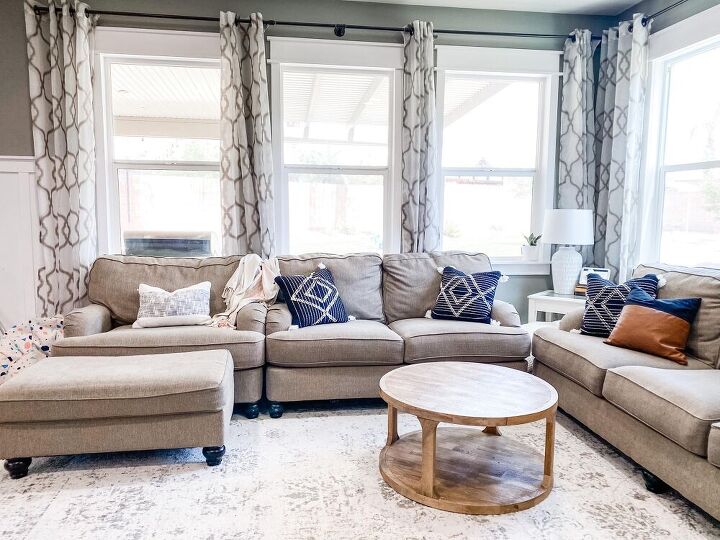
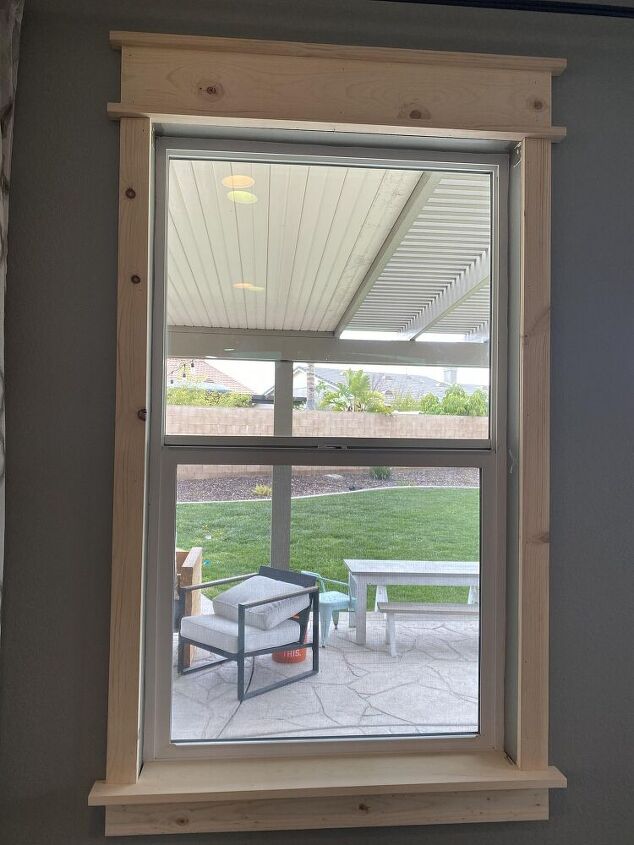
Here’s a direct side by side to see the dramatic difference window frame makes, the window looks so much bigger and more finished now.
Next you’ll use wood filler too fill the nail holes and imperfections in the wood. When that is dry sand with a 220 grit sandpaper.
Prime your wood with an oil based primer to avoid the tannings in the wood coming to the surface after you paint.
Prime, sand with 220 grit sand paper, wipe clean, prime again, sand again, wipe again.
After you are complete done priming/sanding (2 coats) you’ll need to caulk every gap and places where the wood meet walls, window, other sections of wood
Once caulk is dry paint with two coats of a high quality wood/trim/cabinet paint.
This was the first project we did to start adding character to our builder grade home and I think it such a great beginner project to tackle!
If you have any questions about this build please leave me a comment or DM on Instagram and I'll be more than happy to answer it!
There is always a project to do so I hope you follow along on my social media accounts where I share my life as a Mom of 3 and all things DIY Home!
*Links may be affiliate links and if you choose to buy a product through my link I will make a small commision, helping to support these projects.
Thank you for being here with me!


Comments
Join the conversation
-
I love this and it looks fantastic! I just found my next project for my boring bedroom windows. Thank you for sharing. 😊
-
Your work is beautiful!
When I put real barn wood on my living room accent wall, I had the same kind of windows. I cut and ripped some barn wood thin to line the wall around the windows. I don't plan to stain or paint this wall, going for the rustic look.


Frequently asked questions
Have a question about this project?
Did you add wood pieces to wrap the inside areas of the windows? I’ll have to because of installing new windows. In the pictures, looks like wooden jambs