


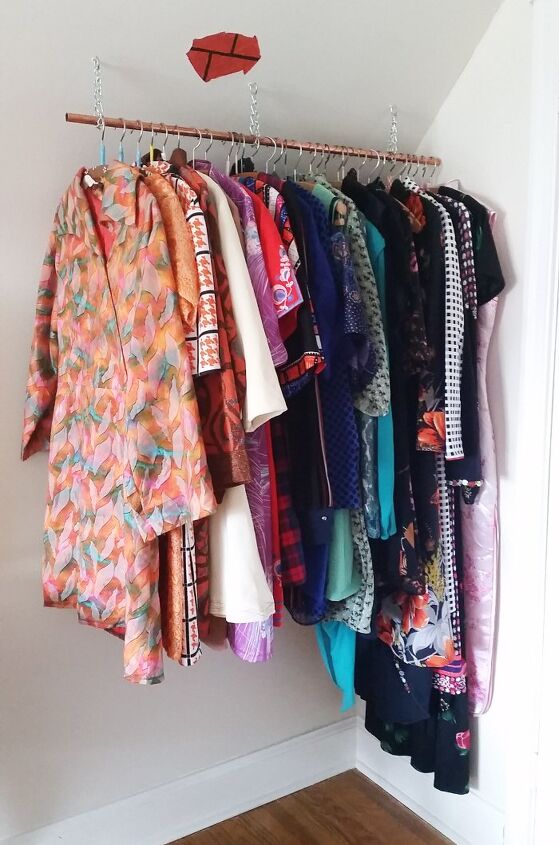
My DIY Upcycled Copper Pipe Clothing Rack
My bedroom was on the top floor of a very vintage 1940’s house which meant the walls followed the angle of the roof, closet space was nearly non-existent and a free-standing wardrobe simply wouldn’t fit.
My ever-growing vintage dress collection definitely needed to be hung up so I came up with a renter friendly and incredibly affordable solution!
Hometalk Recommends!
I put on my refashionista thinking cap and created a DIY upcycled copper pipe clothing rack!
Here’s how I did it:
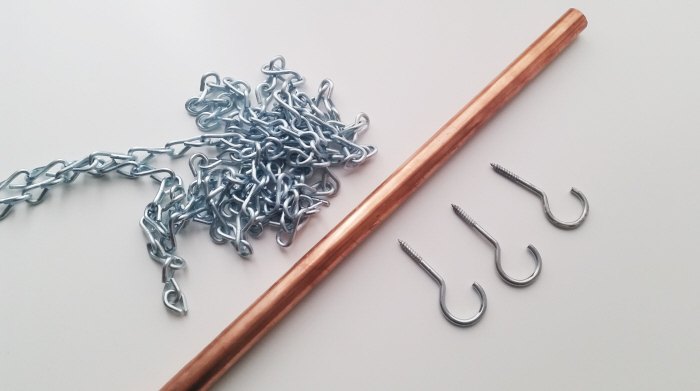
Grab a length of copper plumbing pipe, sturdy chain and 3 strong hooks.
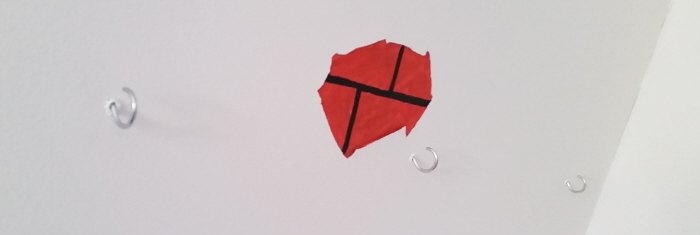
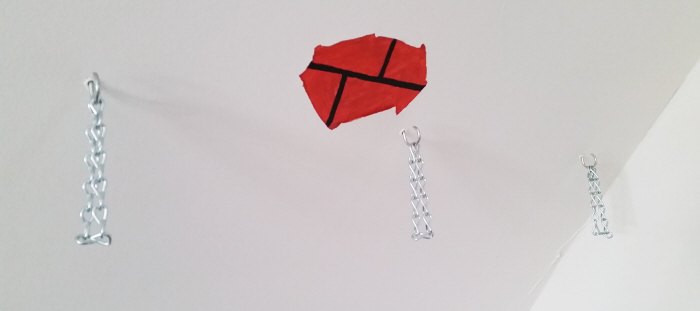
Measure, drill, pound in some sturdy anchors and screw the hooks into the angled wall (or ceiling).
Hmmm, what is that red blob on the wall above the hooks?

That red blob is my not-so-artistic, faux brick fix for the missing area of vintage paint that had cracked and peeled off of the wall.
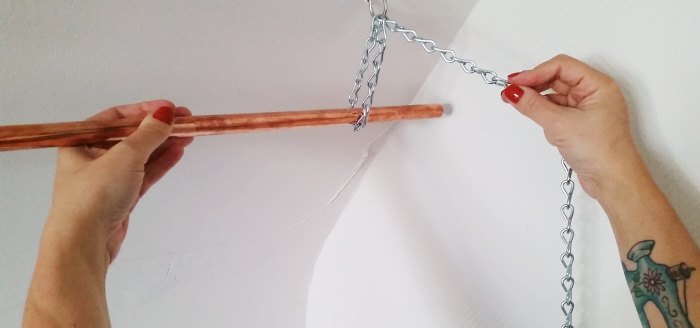
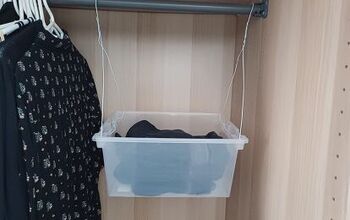
Once the hooks are in place grab the chain and pipe and decide what chain length is best for the height of your nearly finished clothing rack.
Create 3 equal lengths of chain and loop them over the hooks.
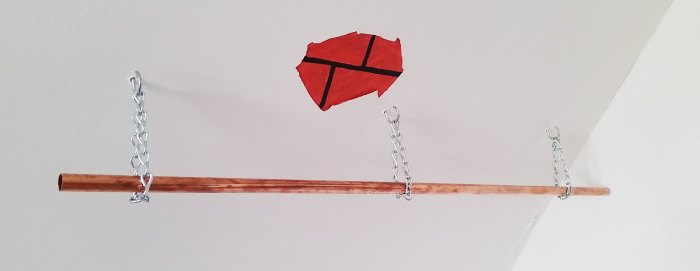
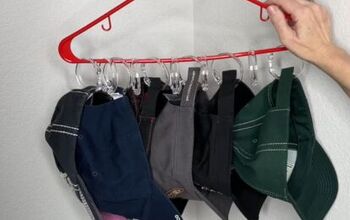
Pop the pipe through the chain loops and hang up your groovy garments!
(I also stuck a small piece of felt on the end of the pipe so it wouldn’t scratch the wall)

All of my tutorials for the nest are right here & you can get your vintage refashion on and transform those thrifted frocks from frump to fab with my delightful DIY dress tutorials!


Comments
Join the conversation
-
Love this! Can you do this without a slant wall?
How do you ensure the hooks can hold the weight of the clothing?
-
Thinset for fireplace project steps


Frequently asked questions
Have a question about this project?