


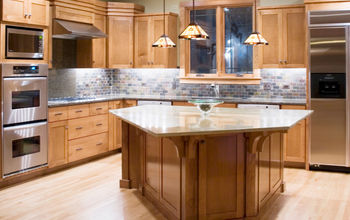
Kitchen Island Made From Old Dresser

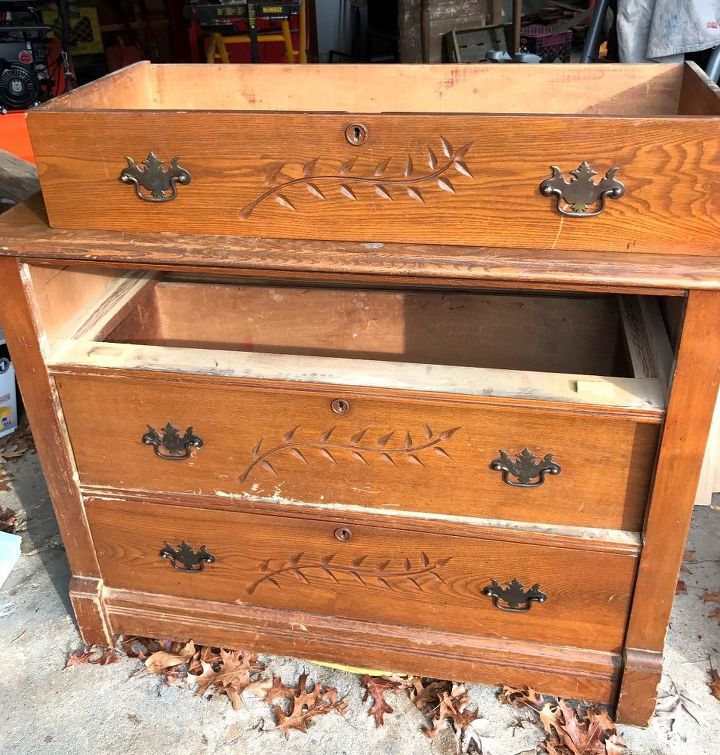
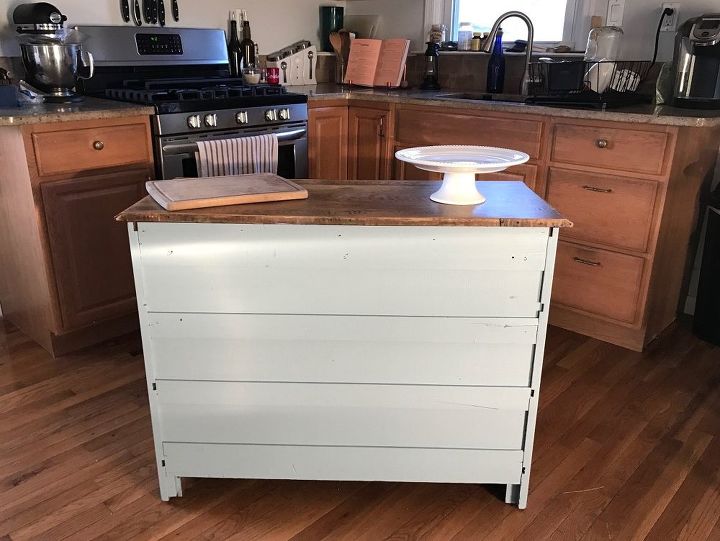
I’m sure by now everyone has seen a dresser turned into a kitchen island—I’ve been seeing them online for a while and have been wanting to do one myself, but just haven’t found the perfect old dresser. Until now. I went into my local thrift store recently and found the perfect little diamond in the rough—I’m so happy with how it came out! We want to help you DIY, so some of the materials in this post are linked to sellers. Just so you know, Hometalk may collect a small share of sales from the links on this page. BEFORE: Here is a shot of the dresser when I first brought it home. I love the etched detail in the drawers, which is a big reason I decided to keep at least one of them for my finished island.
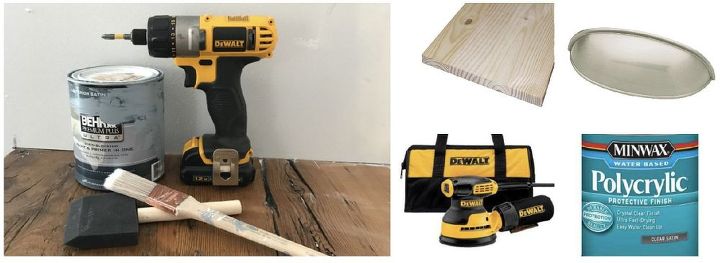
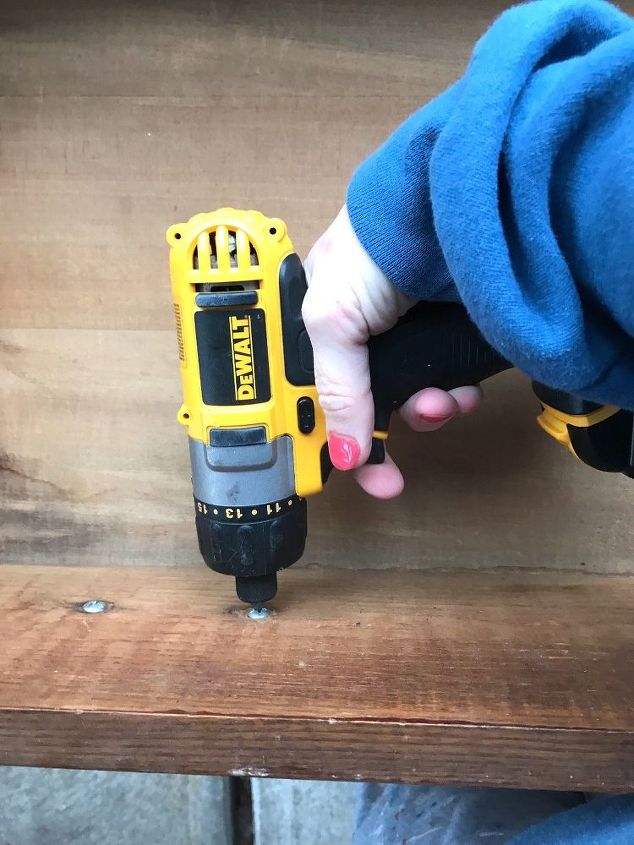
SUPPLIES: -Dewalt palm sander with fine grit sandpaper -Behr Premium Plus Ultra Paint & Prime in One Paint (Color: French Colony) -Dewalt 12v drill -Minwax Polycrylic (Clear Satin) -Liberty 2-1/2 or 3 in. (64 or 76mm) Brushed Satin Nickel Dual Mount Cup Pull -.656x15.75x48 laminated panel -Sponge brush -paint brush
STEP 1: Remove drawers and sand dresser First, I removed all three of my drawers and set them aside. I was going to keep one of the drawers (the top one) so I made sure to keep that one close by because I would need to sand it eventually, too.
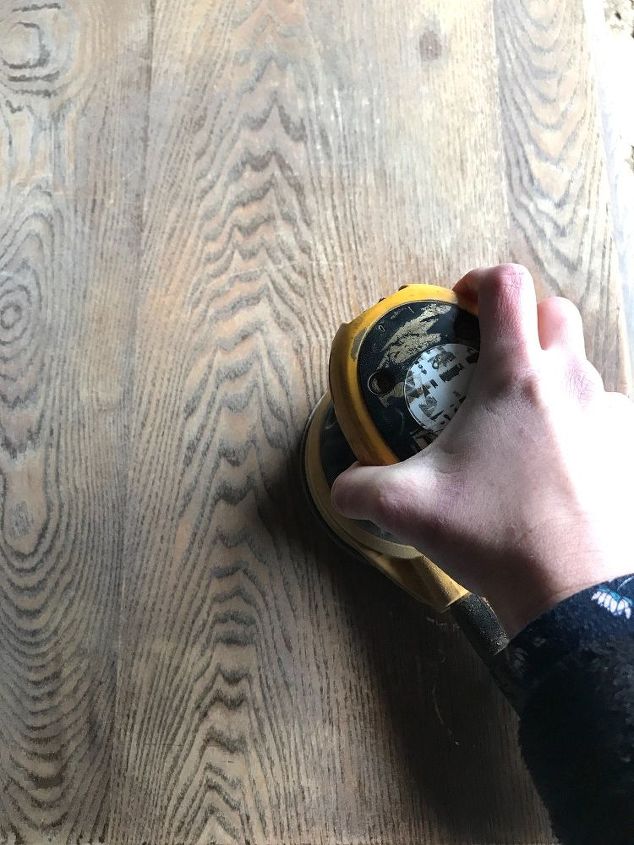
Then, using a palm sander with fine grit sandpaper, I sanded the entire dresser. Because I was simply trying to remove the scratches and the clear coat that was on the dresser, I tried not to sand too heavy and I used fine grit sandpaper. If you’re trying to remove several coats of paint on a dresser, you may want to try heavier grit sandpaper and a little more pressure when sanding.
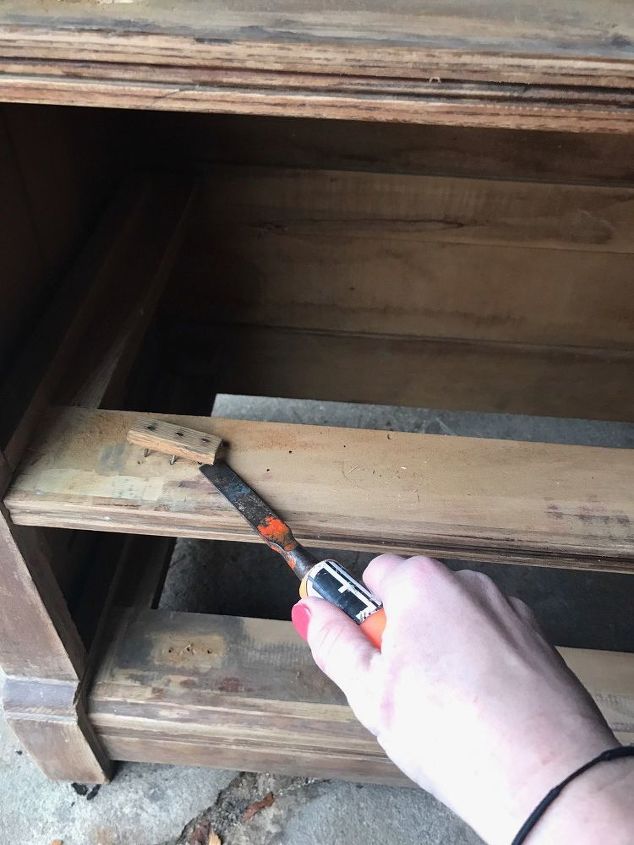
*Note: If you're not keeping some (or all) of your drawers and adding in shelving instead, you'll want to pop off any of the drawer snags/tracks (yes, I just made up the drawer snag name because I couldn't think of what else to call these tiny blocks of wood since they don't really look like tracks--haha!).
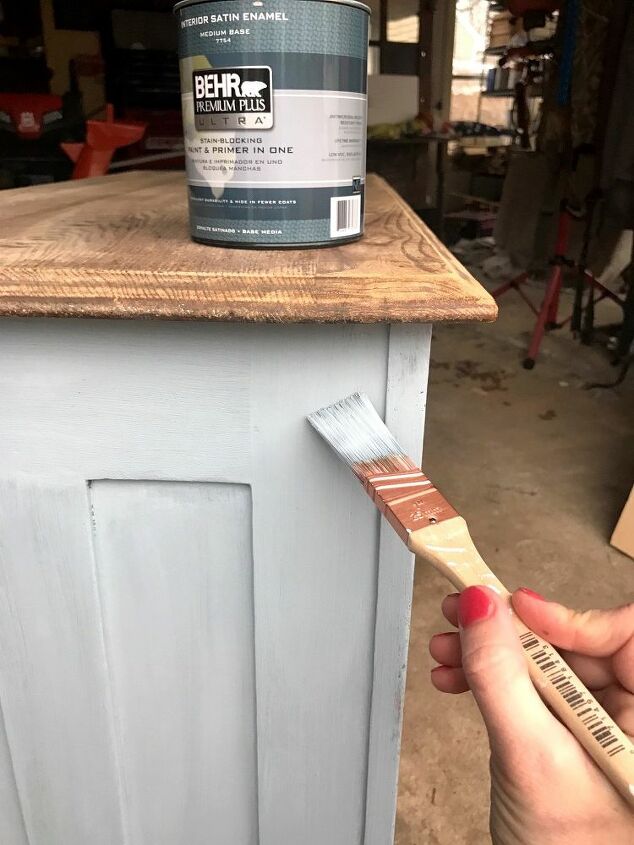
STEP 2: Paint dresser After my dresser was sanded, I applied two coats of Behr Premium Plus Ultra Paint & Prime in One paint to it, ensuring that the first coat was dried completely before applying the second. I wanted a two-tone look so I left the top of the dresser alone and did not paint it.
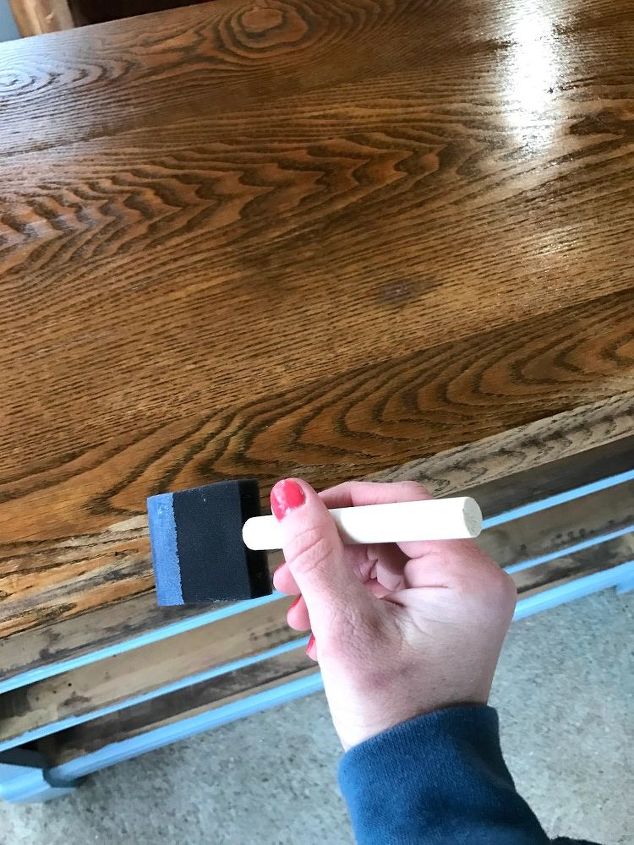
STEP 3: Apply Polycrylic (optional) Since I left my dresser top alone for the previous step, once my second coat of paint was drying on the body of the dresser, I applied an even coat of Minwax Polycrylic to the top. Try to apply the clear coat in long, even strides, being careful not to let it puddle in areas. I found it best to use a sponge brush for this step so that I didn’t experience streaking like I would with a regular brush. *NOTE: DO NOT SHAKE THE CAN OF POLYCRYLIC BEFORE USE! IT WILL CREATE BUBBLES, AND YOU DON’T WANT BUBBLES.
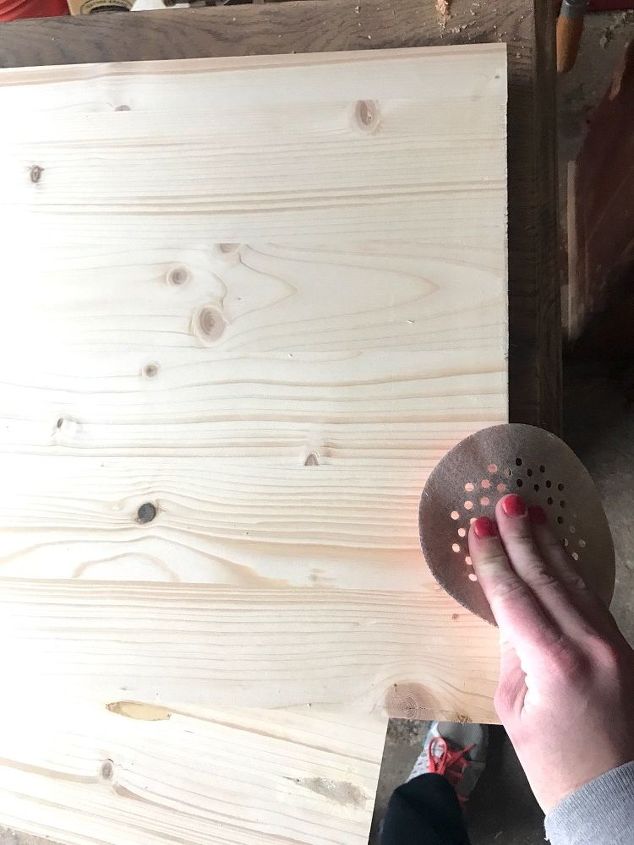
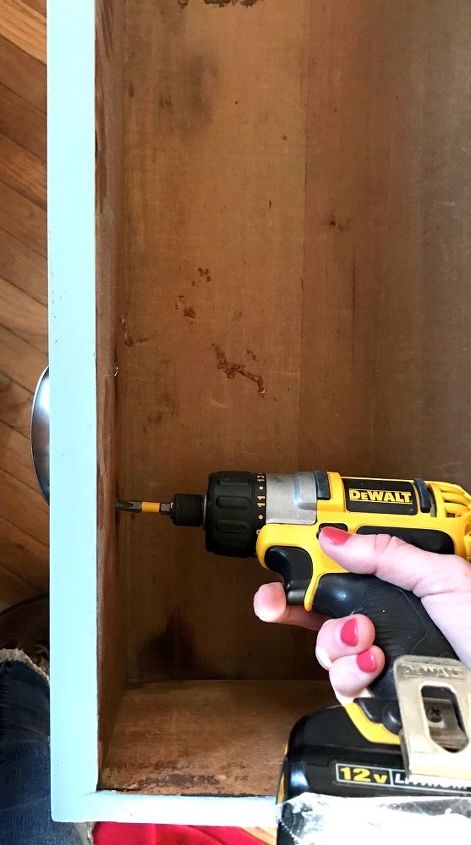
STEP 4: Create and insert shelves (optional) Every island is different, but for mine, I wanted to have a drawer for utensils, linens or other things of that nature, and two shelves for dishes and/or small appliances. I had Rob cut the laminated panels I purchased down to the size of the second and third drawer openings, then I quickly went over the edges with a piece of fine grit sandpaper to knock off any splinters and applied two coats of the same paint in STEP 2 to them. *Note: If you don’t have tools at home, simply ask someone at Home Depot or Lowe’s (whichever place you purchase your lumber from) to cut your panels to the size you need them to be.
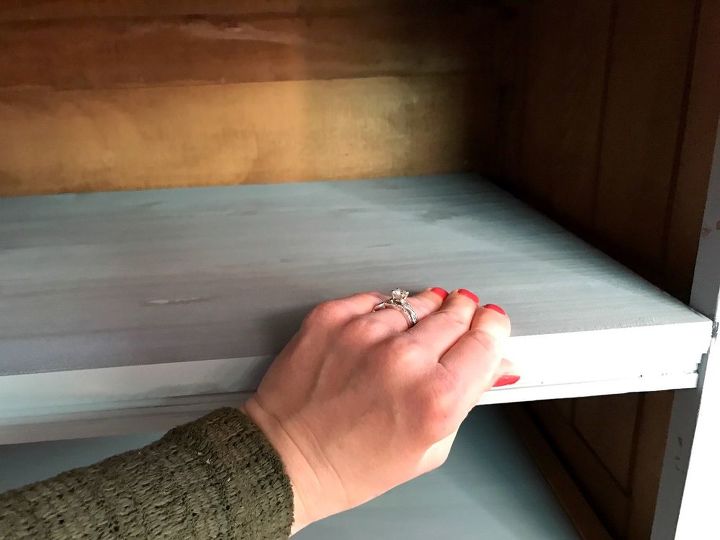
Once my shelves were completely dry, I placed them inside the old drawer openings. I didn’t bother securing them, because they fit in very snug, and if I want to go back and add a drawer liner in the future, I can easily remove the shelves in order to apply it.
STEP 5: Remove handles/knobs and sand/paint drawer(s) (optional) Another optional step would be to paint any drawers that you would like to keep. Again, I only wanted to keep one (the top drawer) so I removed the existing handles...
...then, I took my palm sander and sanded the face of the drawer, being careful not to mess up the etched design.
And lastly, I applied two coats of the same paint I used for the body of the dresser/island, letting the first coat dry completely before applying the second.
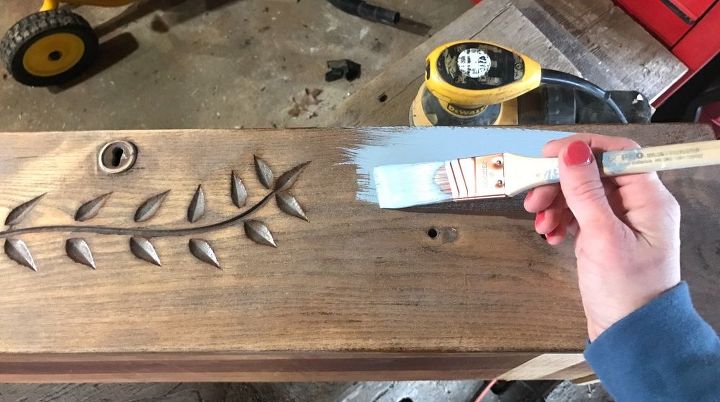
...then, I took my palm sander and sanded the face of the drawer, being careful not to mess up the etched design.
And lastly, I applied two coats of the same paint I used for the body of the dresser/island, letting the first coat dry completely before applying the second.
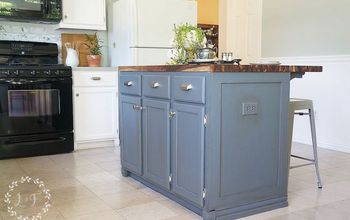
STEP 6: Add new handles/knobs (optional) The existing handles on my dresser weren’t awful, and in fact I very much contemplated keeping them for the island, but I ultimately decided to switch them out for something a little different. Thankfully I didn’t have to fill in the existing holes and create new ones as the new handles were the same width. I simply used the screws that came with the handles and my drill/screw gun, and fastened the new handles onto the drawer.
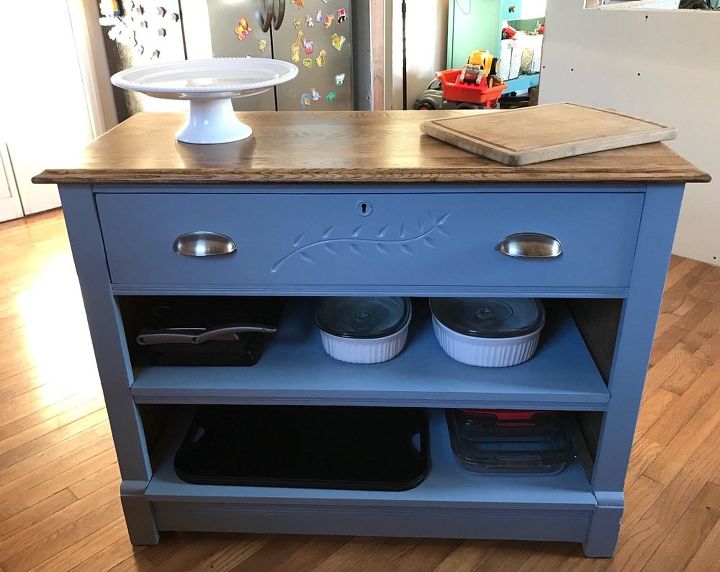
I’m so pleased with how this little island came out—and to think it was a junky-looking dresser sitting in the back of a junky thrift store (Junky is an understatement…this particular thrift store is beyond a wreck but I’ve been able to find some steals in there!). I now have a place to put some of my bakeware and kitchen appliances that also adds character to our ever-evolving kitchen. I’m considering adding casters (that would add at least another $20 for decent casters) and once our kitchen reno is completely finished (hopefully in the next month or so), depending on the overall look and feel, I’ve thought of potentially moving this little island into the kids’ room to use as a changing table for Baby CC (we are due to welcome a baby girl in May). The possibilities are endless! …now what to do with the two remaining (unique) drawers…my mind is already churning! *Note: the lighting of my kitchen made the front of my island look way more blue than it actually is in person. It's more of a blue slate grey color.
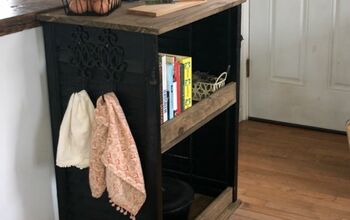
I'm totally in love with the back of this island!!! It's not that cheap press board you find in a lot of furniture these days which makes this dresser perfect for being an island since it looks nice no matter the angle.
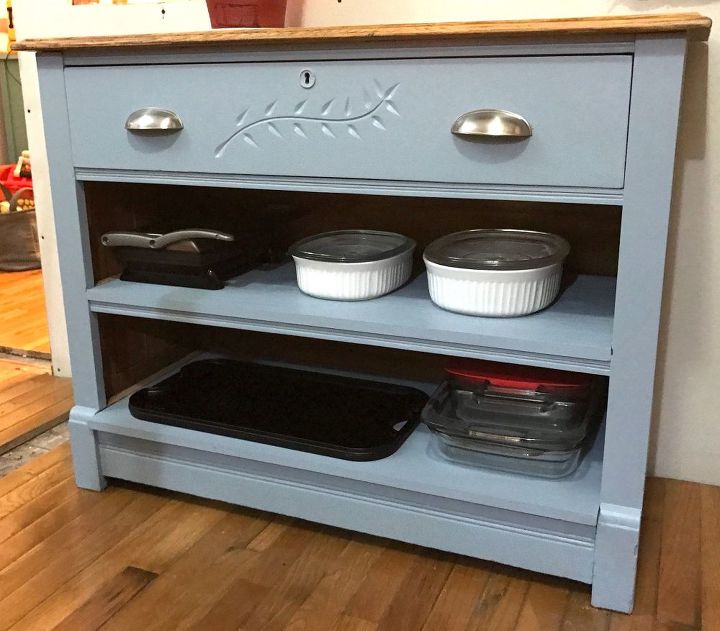
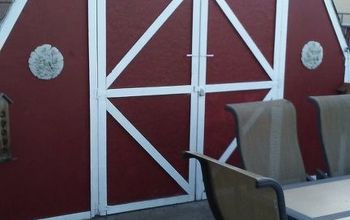
I moved the island so I could shoot this photo in order for you to it's true color--I'm in love with this French Colony grey/blue! If you've seen our red sliding barn door project, this grey/blue is on the same swatch as the Cherry Cola red we used on the barn door. I'm so excited to see the kitchen all put together after the reno so we'll be able to see how well the barn door compliments this kitchen island!
We want to help you DIY, so some of the materials in this post are linked to sellers. Just so you know, Hometalk may collect a small share of sales from the links on this page.
Comments
Join the conversation
-
Beautiful!👏👏👏
-
Very inspiring!


Frequently asked questions
Have a question about this project?
I have the exact same dresser set inherited from previous generations. Where in the US did find this?
Great project. I'd like to know if you reinforced your shelves or just laid the plywood over the original edges of the dresser. If you did reinforce, how did you do it? Thank you.
I have a dresser, but suspect it's all particle board. Would your project work if parts of the dresser aren't 💯 wood?