Beer Cap Table

After saving quite a few beer caps, I thought I would try to cover a small table that a friend found.
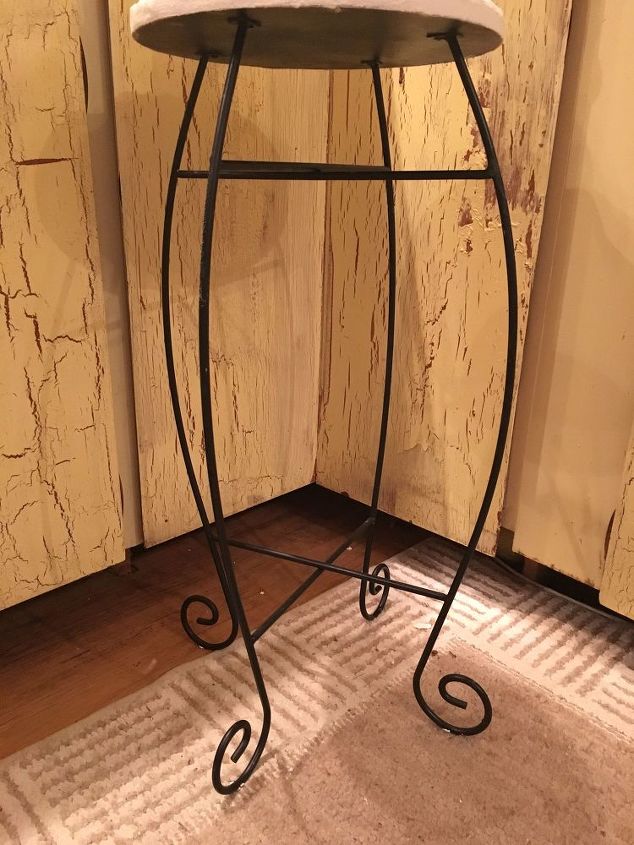
This table had a round red wooden top. I did respray the legs black just to make it look better.
Here is the box of beer caps. Luckily my neighbors help me save them so I have a variety of colors!
I started by separating them into colors. In the end this really was a timesaver.
I then made my design. You could do whatever you wanted, but I wanted to start simple since this was my first time trying this.
This is the tile adhesive I used to adhere the caps to the wood. I don’t have a pix but here is how I did it. I started with a quart size plastic bag and scooped the adhesive into the bag. I then sealed it and clipped a small corner off from the bottom. Now I could fill the bottom of the bottle caps easily and press them into the table top.
I started by doing the entire edge and worked my way into the middle completing every circle as I went. Not sure if this is the proper way to do this but it worked! I let it sit for a long time before I grouted it. You can do it a lot sooner just read the directions on the adhesive container.
The grouting begins! Make sure you lay something down on the surface you are working on. Little bits of the grout fall and it makes clean up easier.
Here is the table all filled in with the grout. I used an old rubber spatula to spread the grout into the crevices.
This is the grout I used from Home Depot.
Taking a wet sponge, I worked the grout in and smoothed it trying to clean it up as much as possible. Per instructions, I let it sit for 4 hours to set up.
After 4 hours, you can come back and with a dry, soft cloth and buff off the remaining film of grout.
This is a before picture but, I filled in the edges of the table the next day to make it look more cohesive. I was going to take a leather belt and put around the edge, but didn’t like it. If the grout starts chipping off the edges after use, I may have to end up putting a belt around it.
Last thing to do is seal the grout. This is what I had on hand.
And it’s done! I think I’m going to find a thin black belt after looking at it some more. I think it will “tile” it altogether!
DIY bottle cap ideas
Enjoyed the project?
Resources for this project:
See all materialsComments
Join the conversation
-
-
 Charlotte Benson
on Nov 26, 2018
I saw a bar top in a basement rec room done this way with epoxy and it looked awesome!
-











Frequently asked questions
Have a question about this project?
Will things (like cups) sit level on this table?
To respond to your concern about sealing around the edge, would some type of epoxy glue or some other clear sealant help with that?