


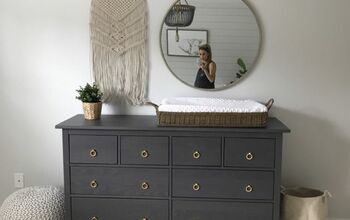
Customizing an IKEA Malm Dresser (Part 1)

Do you ever just get so used to something in your home that you almost stop looking at it? That definitely happened to me with our Malm dressers. We bought these many years ago to use as nightstands. They are awesome. I highly recommend! Amazing price point, nice basic design, lots of storage; seriously a great purchase!
Every now and then I would think about adding pulls or knobs to the drawers, or adding trim to customize it; but I never followed through. Until now!!
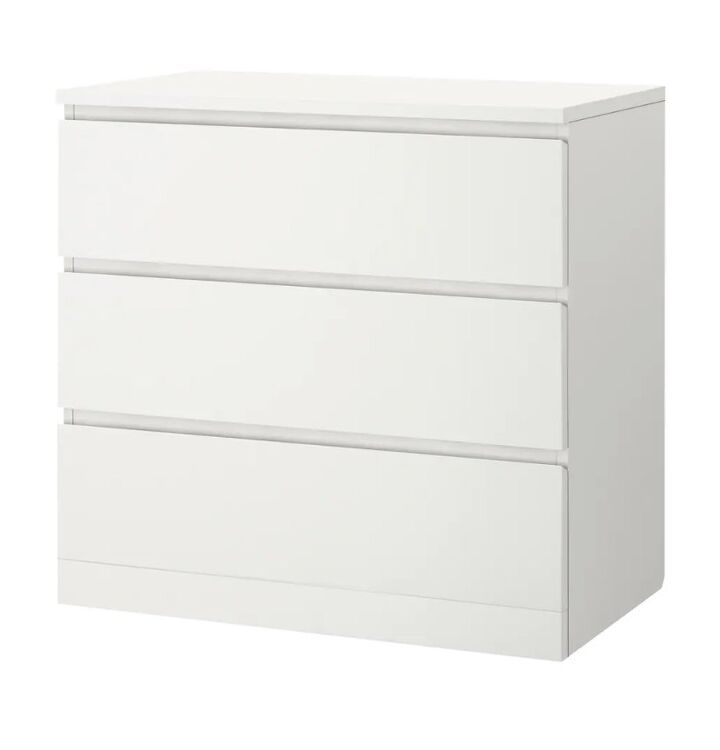
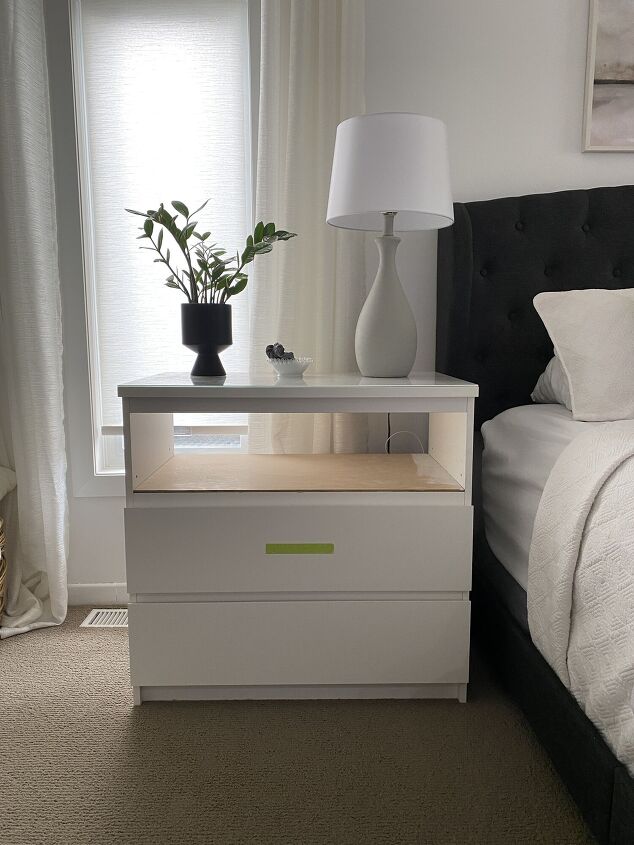
With a little bit of creativity and skill, you can turn a basic dresser/nightstand, into this...

I love it!! What a difference! In this first post, I'm going to take you through the steps of taking it from a 3-drawer dresser to a 2-drawer nightstand with shelf! This project required quite a few steps so I'm breaking it down into two posts.
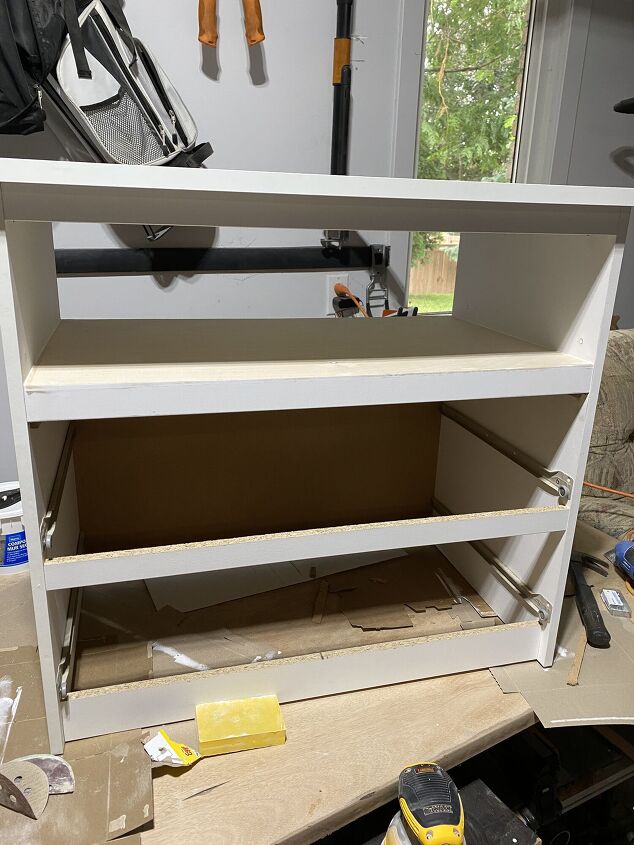
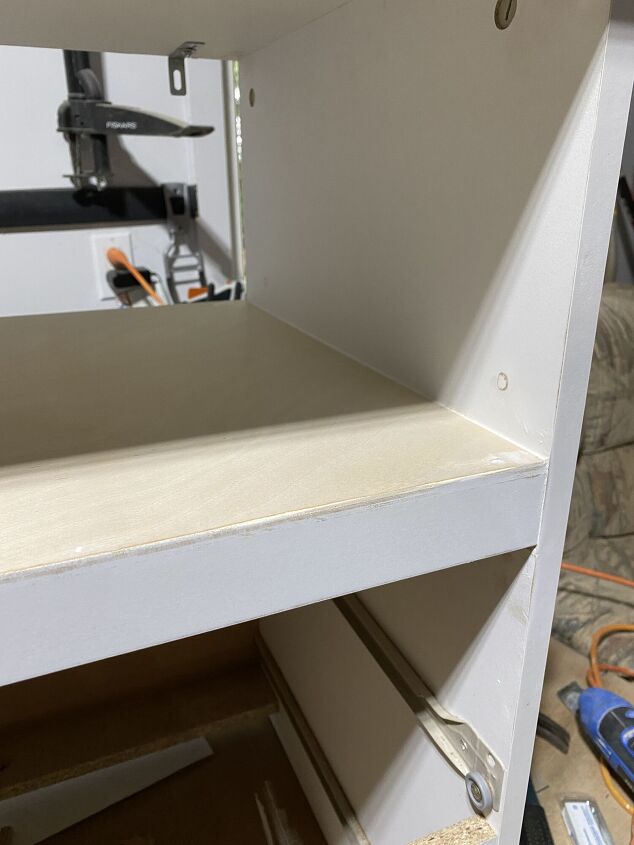
Here you can see the top drawer has been removed and the shelf is in place.
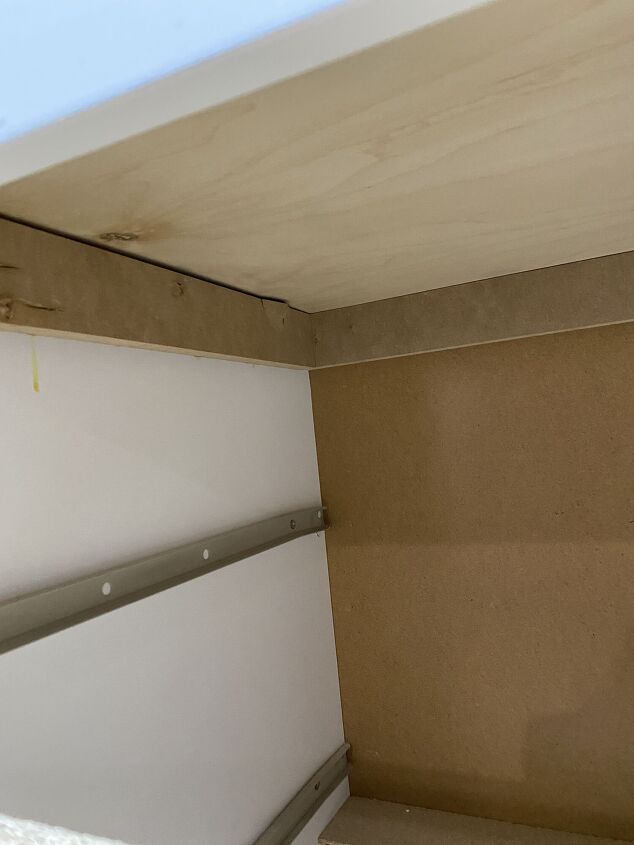
To add the shelf, the drawer and drawer slider hardware must be removed and a simple frame added on which to sit the shelf. We used pieces of leftover MDF from another project, cut to size and secured with a Brad Nailer.
Once the shelf frame is in place, the actual shelf board could be added. We used a thin board so that the shelf didn't sit up too high. We cut it to size with the table saw and secured it to the frame below with the nail gun.
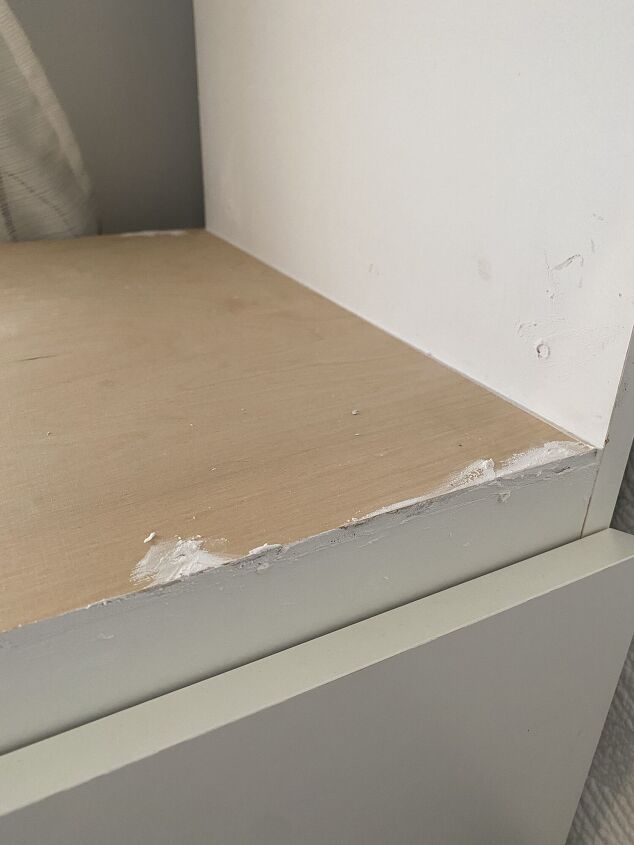
Any nail holes or gaps can be filled with wood filler and then sanded down to a smooth finish ready for paint!
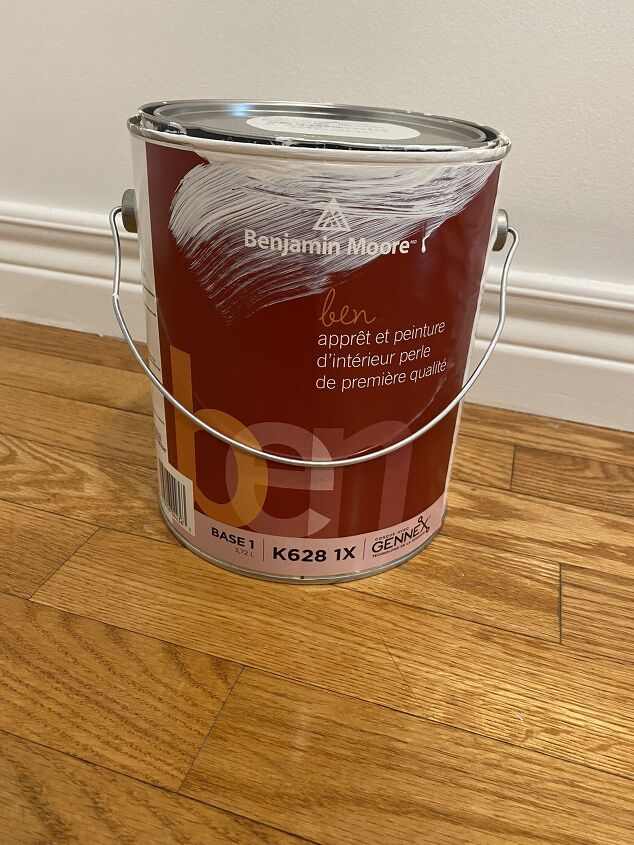
The entire unit was painted with Benjamin Moore Ben Pearl in Chantilly Lace using a small foam roller and 1.5in paint brush.
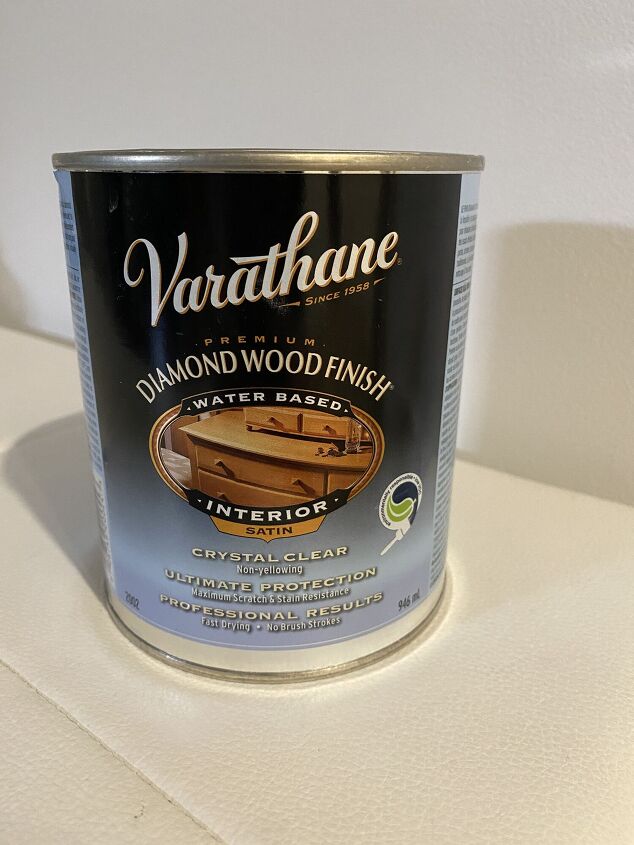
The shelf was also given two coats of Diamond Wood Finish Varathane since I knew it would see a bit of wear and tear.
*I have a piece of glass on the top of the dresser so I did not bother putting the Varathane on the top. If you do not have the glass, I would recommend adding 2-3 coats of Varathane for added surface protection.
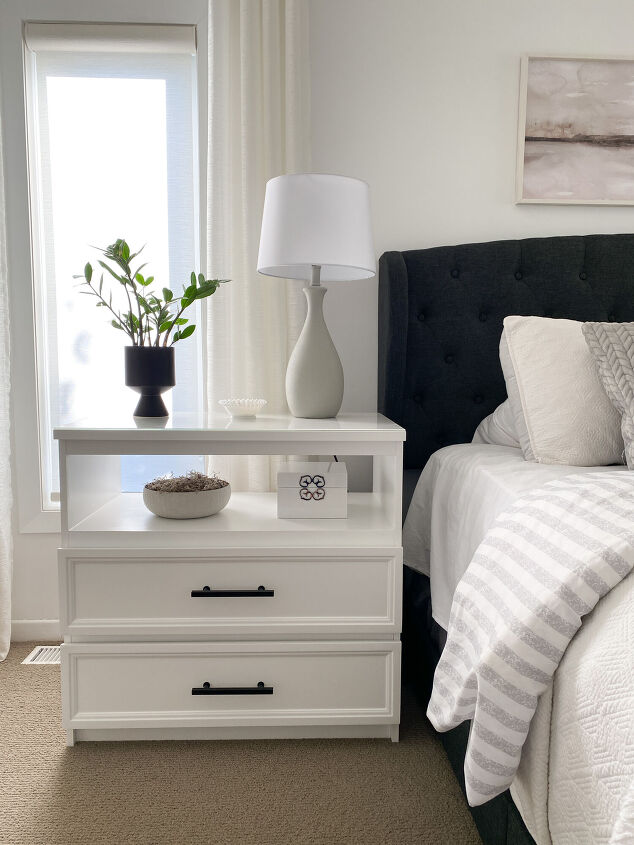
Keep an eye out for my next post where I will detail how we added the trim and hardware to finish off this piece!
Resources for this project:
See all materials


Comments
Join the conversation
-
You did a wonderful job!
-
I love it, its beautiful


Frequently asked questions
Have a question about this project?