


How to Build a Shiplap Headboard

by
Jenni Ingram
3 Materials
$75
2 Hours
Easy
I recently refinished a few pieces of bedroom furniture for a client who wanted a beachy vibe in her master bedroom. She also wanted a shiplap headboard to complete the look. So I built her one.!
This was one of those happy projects that was easier than I thought it would be - love those! - and it turned out to be a very do-able DIY project.
In fact, I was so happy with how this turned out, I think I'll be making a couple of these for our new house.
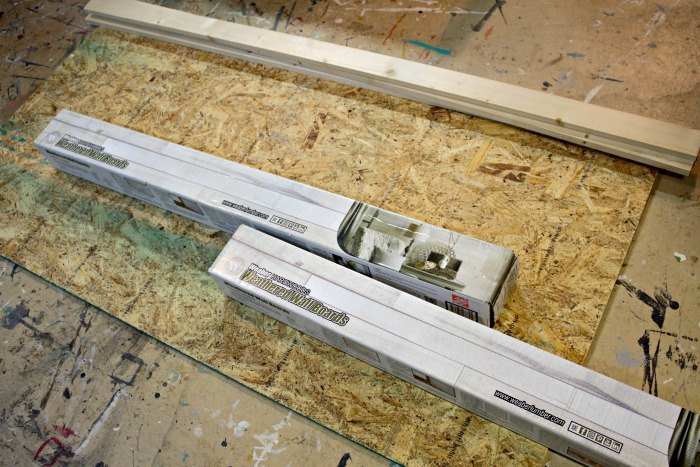
I built a queen size headboard, so I needed 2 boxes of wall boards, a piece of plywood cut to size -- get the exact dimensions and full supply list in my blog post.
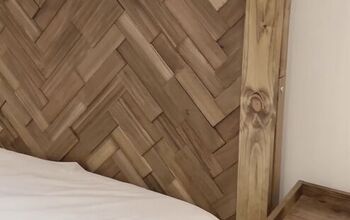
I started by lining the ends with a vertical board. Then I just started filling in the center. Be sure to stagger your cuts so the boards look random.
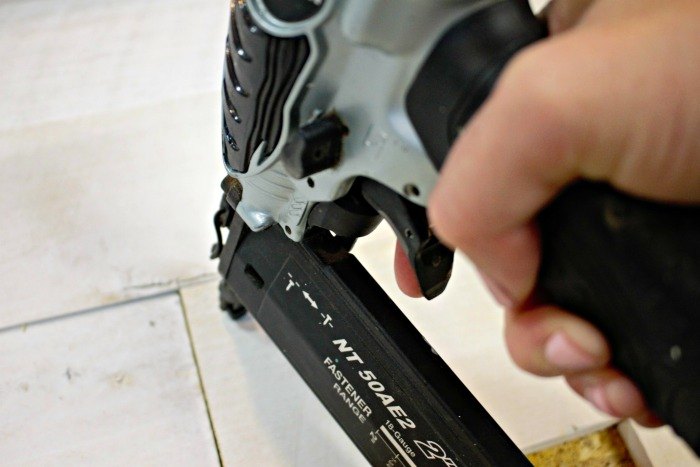
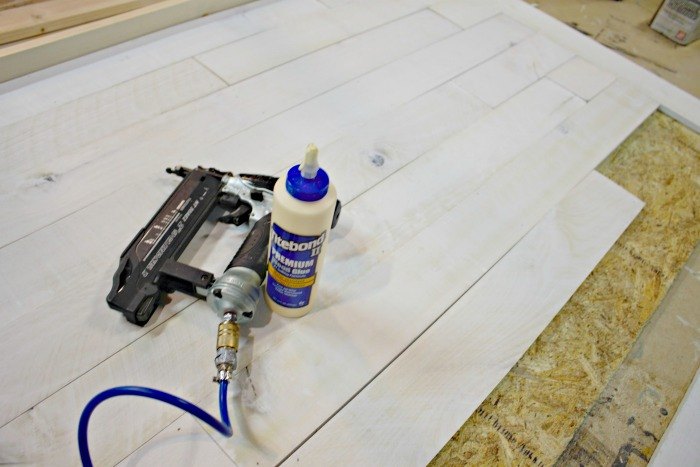
The "shiplap look" needs nails so I glued and nailed each board right to the plywood.
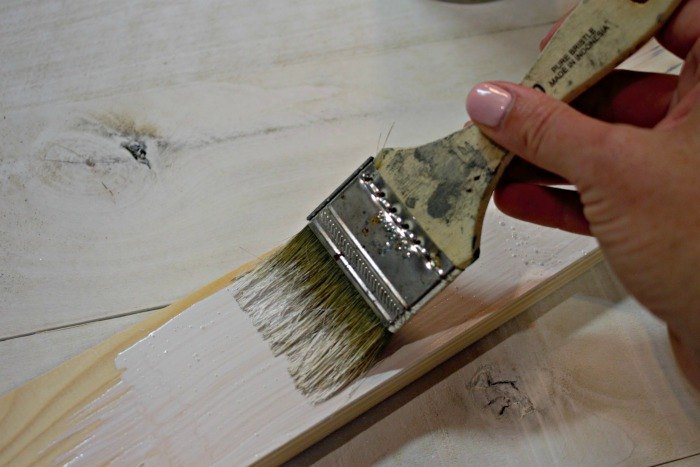
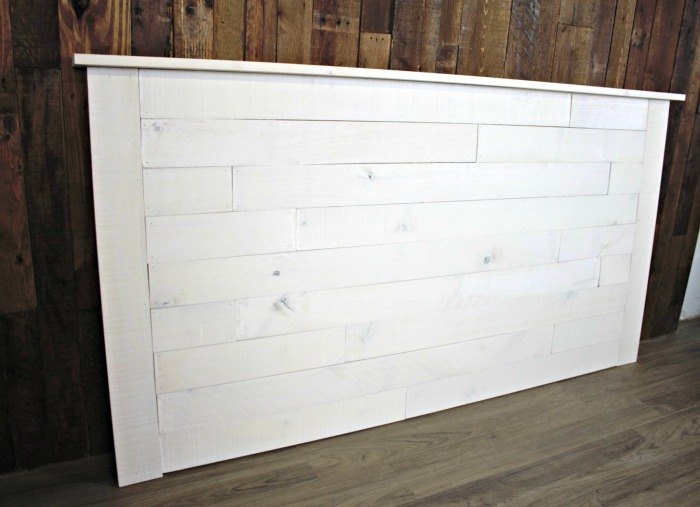
The process didn't take long at all. I knew I wanted a cap for the top to finish it off. I had a piece of raw pine, but I needed it to match - so I pulled out my sandpaper and my FAVORITE GLAZE & WHITE PAINT. Get those products on my blog - I use this white paint for all my farmhouse furniture. LOVE IT!
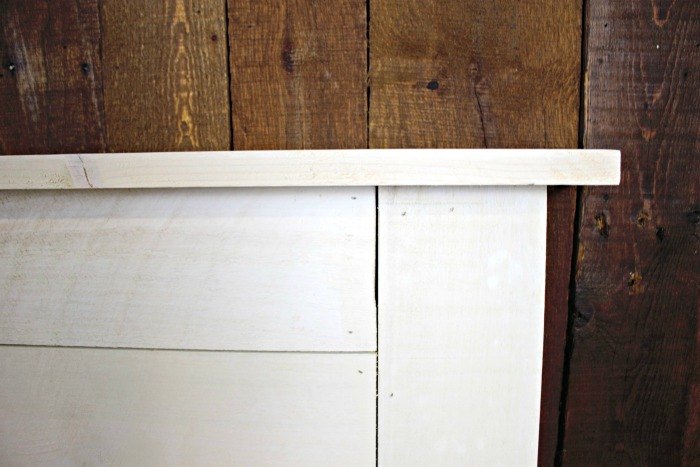
See the top cap matches perfectly!
My original blog post has some tips for how to "hang" the headboard.
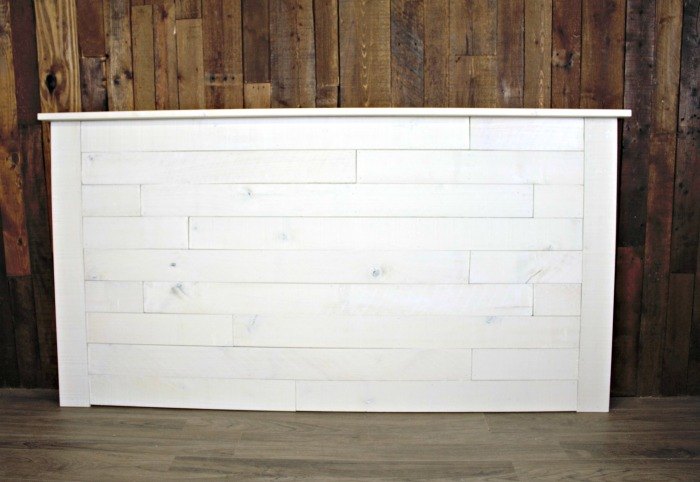
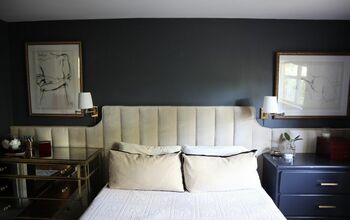
See how quick and easy that was?? Imagine it on a navy wall with a pair of sconces on either side!! Love it!
More fun projects coming your way!! Sign up for my blog here- where I take on many furniture transformations and easy build-it projects.
And click the blog link below to see more of this project + extra tips!
Want more details about this and other DIY projects? Check out my blog post!
Comments
Join the conversation
2 of 13 comments
-
Great job, love it.


Frequently asked questions
Have a question about this project?
love it, what size of the board did you use for sides and top, and what size nails for nail gun?
Where did you buy the wallboard. I want to do this in bathroom and living room. Thank Yoy!
How did you hang it