


Skeleton Hand Holding Crystal Ball
There’s a lot of negative energy in the world.
For example, some people say, “It’s too early to decorate for fall."
Or, "We live in Florida, it's still 90 degrees out.”
Or, “Halloween already? Amanda, it’s only September.”
And to those people (who I also refer to as my fiancé Tom), I say… nothing. And then start decorating anyway.
I live for a good theme or costume. So, it’s only natural that I have a deep love of Halloween.
Last year, when we were still eagerly anticipating that a certain pandemic may be over and that more than 10 people could be together at one time, a Halloween party was on the agenda.
I was eager to decorate away the stir craziness I was starting to feel at home. I tried to remain levelheaded and told myself there wasn’t a need to break out the pumpkins and bats before October.
I mean, the decorations would still be ready to buy and DIY by the time I was ready to shop. Right?
Wrong.
Every Dollar Tree, Walmart, and Party City had to have been raided before I got there. Between the spooky leftovers and ironically broken bones of plastic skeletons, I was able to scrape together a few fun things. But, I promised myself that next year would be different, and I would be ready.
That’s why I currently have 6 bags of various Halloween craft supplies and décor shoved in the closet. As far as Tom knows, everything is coming out of storage from last year… maybe I’ll scare him with the truth later.
So, here is my first little practice project of the season.

The supplies I used are:
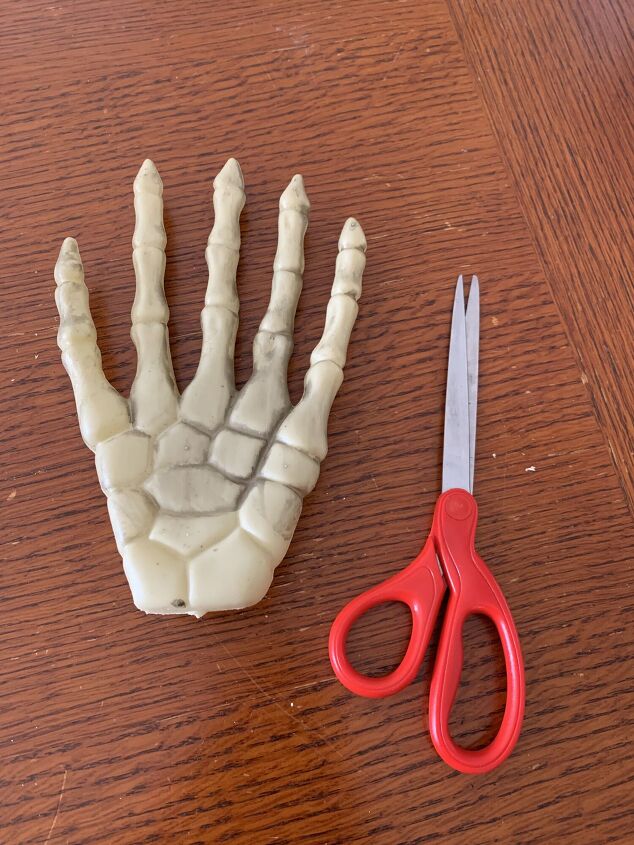
- Dollar Tree Skeleton Hand
- Hot Glue Gun
- Scissors
- Poly-fil (I used maybe 1/3 of a 2 oz bag)
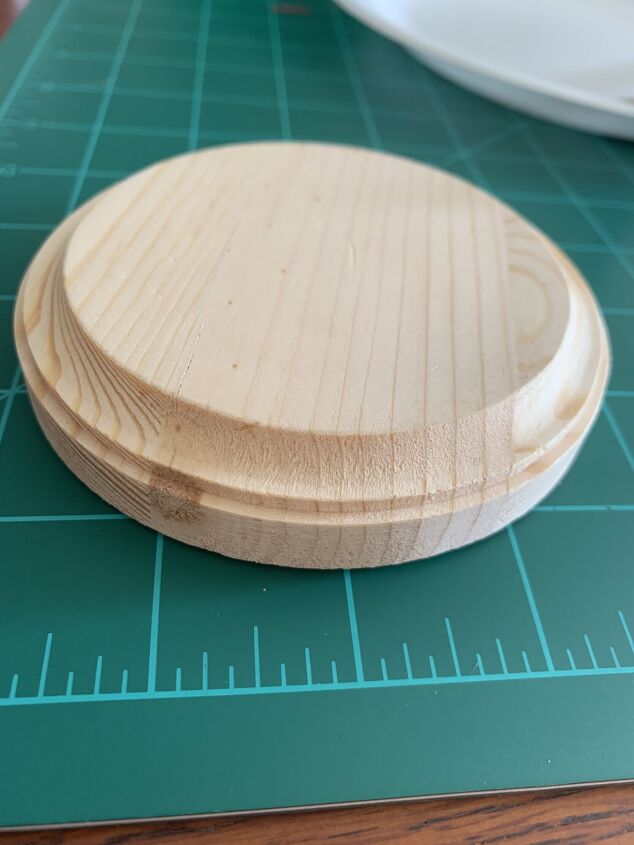
- 4x4 Round Circle Plaque
- Dollar Tree round glass floral bowl
- Glossy Mod Podge
- Blue & Green Food Coloring
- White Acrylic Paint
- Gold Paint
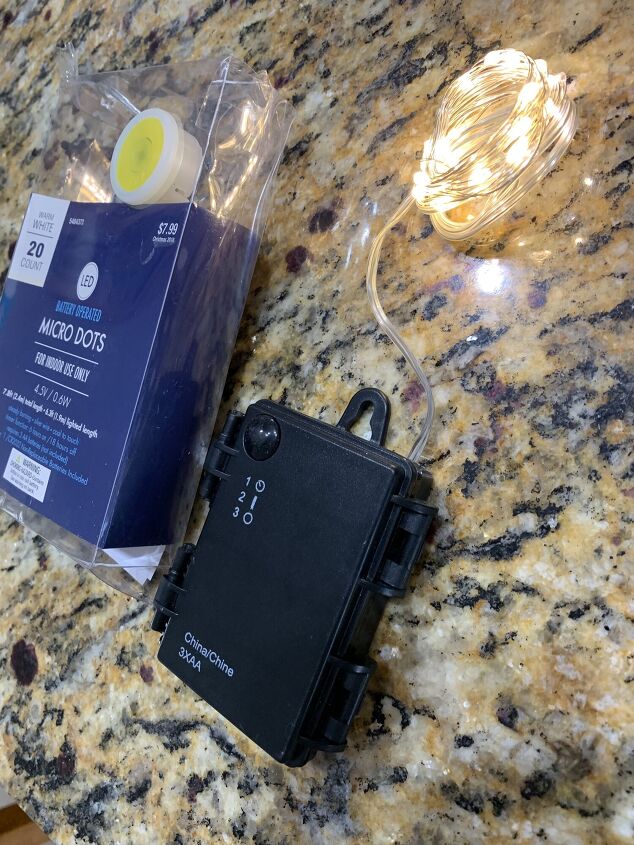
- LED Battery Operated Micro Dots
Step 1
Cut and Form the Skeleton Fingers to the Bowl Shape
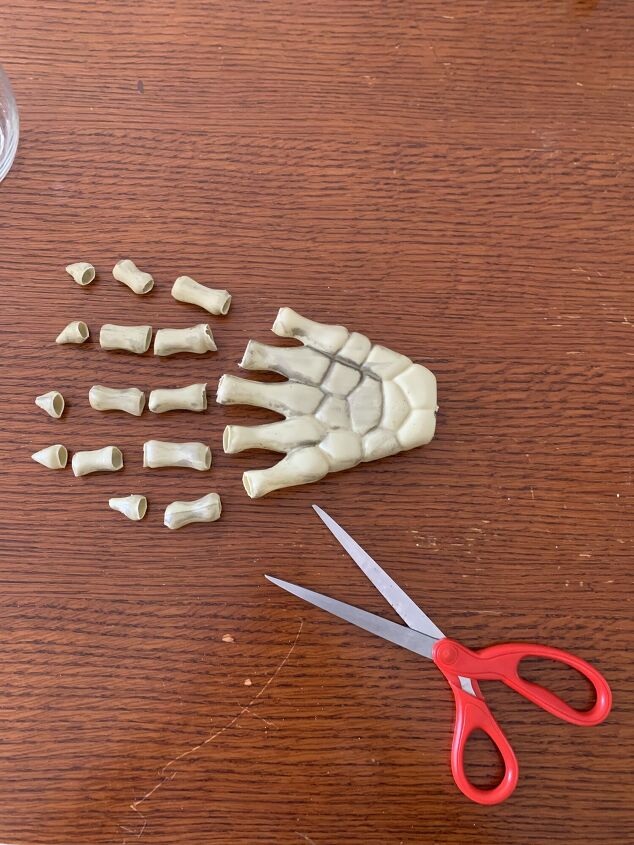
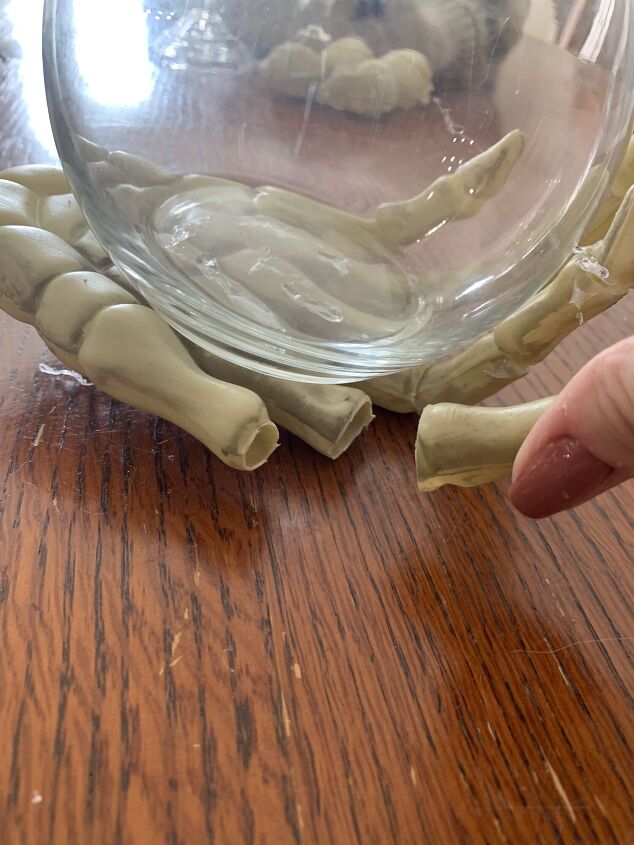
The hand I bought didn’t bend, so I cut the fingers at each joint.
Then, I made sure to place each section in order of where it goes.
(You would think it would be easy to tell if one was mixed up, but let me just say, I sent all those little bones flying after cutting the final one and it was not an easy task putting it all back together.)
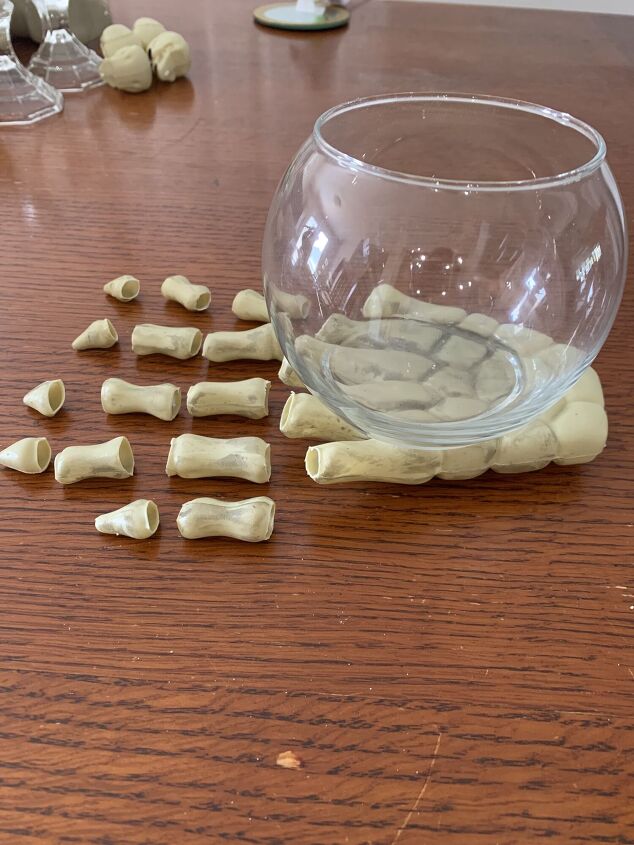
Step 2
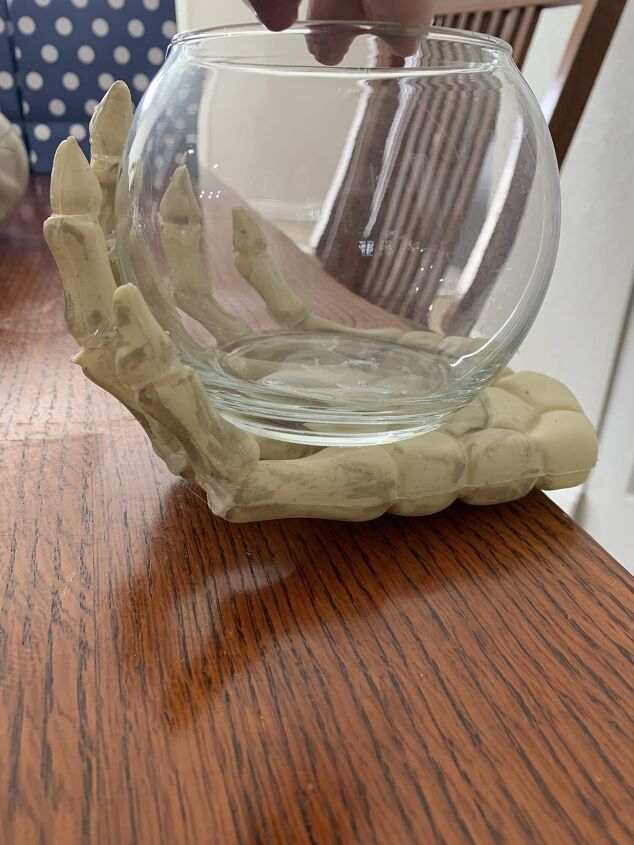
Align the glass bowl with where you will want it to sit in the hand upon completion. I placed the bowl open end up when doing this, but either way works fine.
I wanted to glue the finger sections at new angles to make it look like the hand is holding the dish.
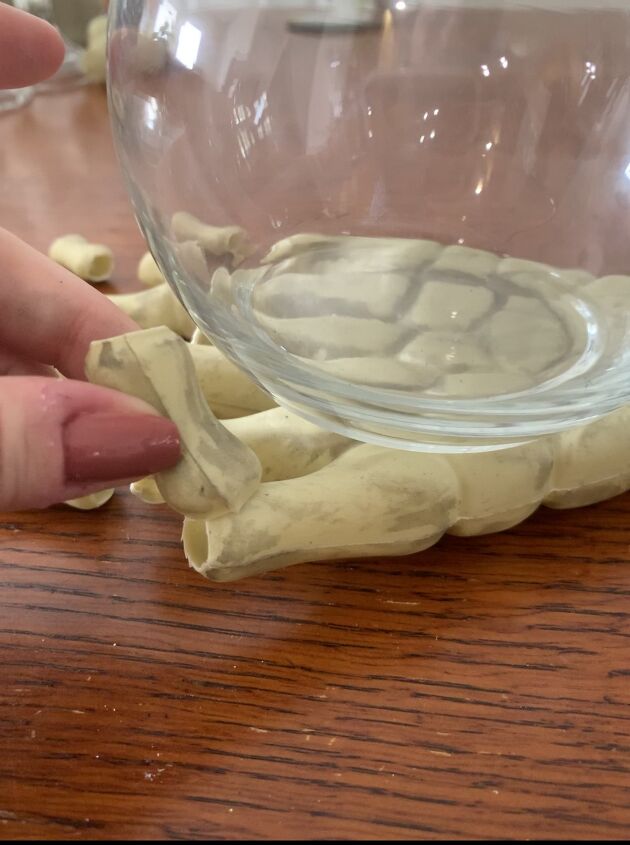
Step 3
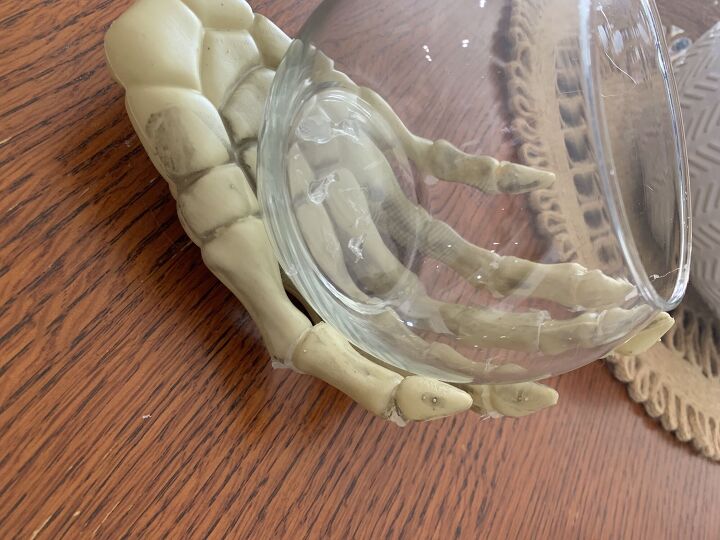
From there, I just started hot gluing the fingers back on at the angles I wanted.
It’s okay if there are some gaps when placing them.
I used hot glue because of the drying time, but if you have something else that you prefer, go ahead, and try it out.
(Optional) Step 4
Then, I went through the gaps and filled them in with hot glue.
Once it dried, I trimmed down any little strings and pulled off any pieces that dripped down.
Later, I took some beige, white, and gray paint to blend over the top of the hot glue at the joints and down the hand so it looked more cohesive.
It’s not mandatory, just personal preference.
Step 5
Next, start working on the crystal ball.
I wanted to make sure that the paint was more translucent for later when there were lights inside.
This part is up to a personal preference for materials, but I used food coloring and Mod Podge to get my desired effect.
I had initially planned to use alcohol ink but decided to work with what I had on hand.
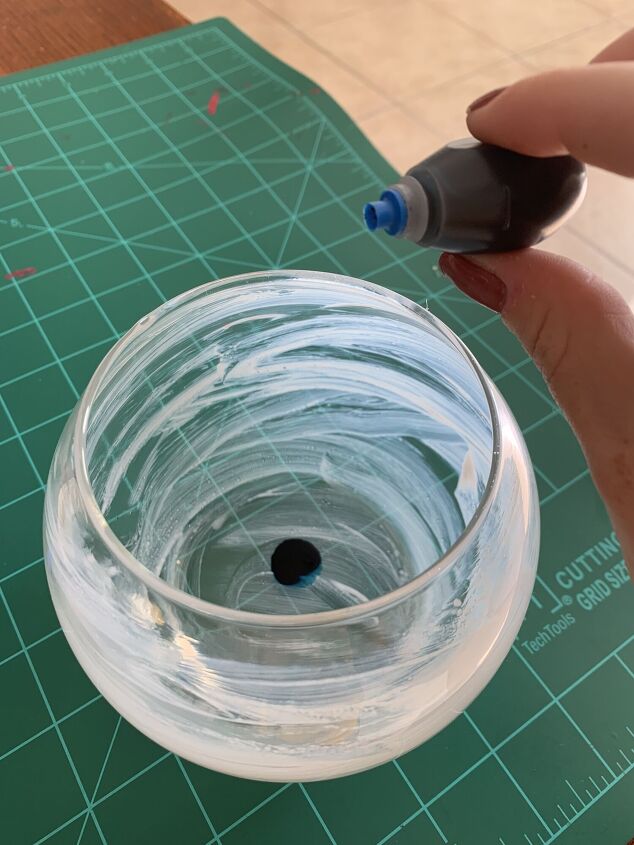
First, I painted thin layers of Mod Podge around the inside of the glass.
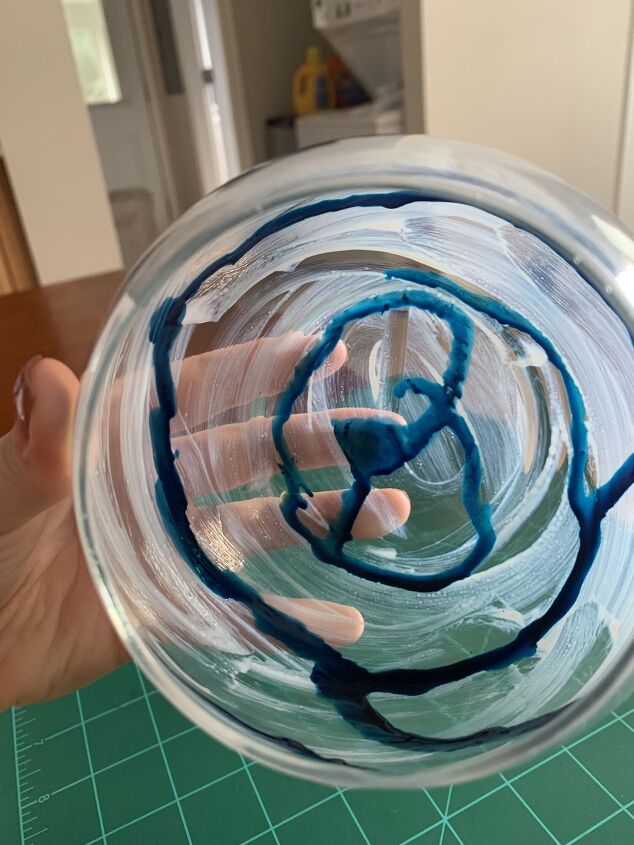
Then, I put a drop of blue food coloring into the glass and slowly rotated it.
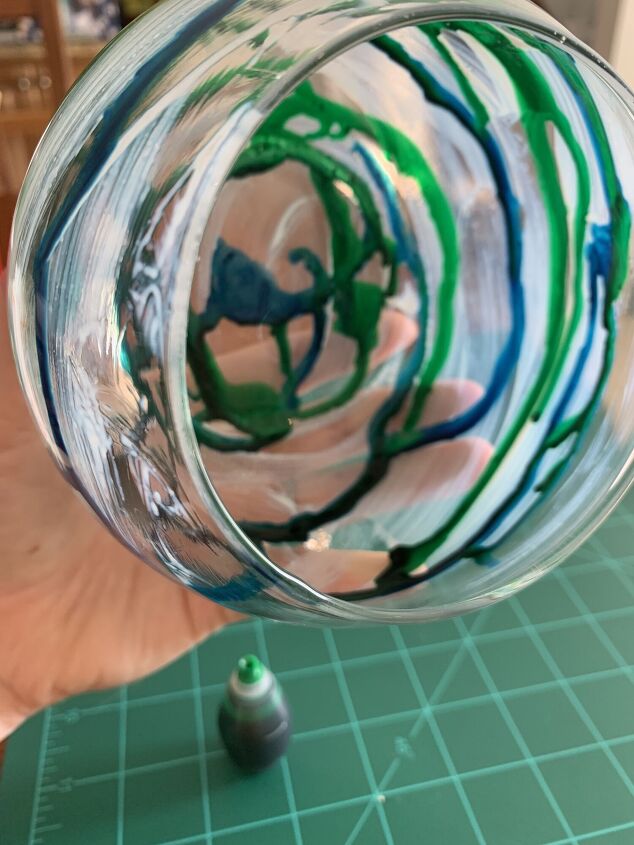
Step 6
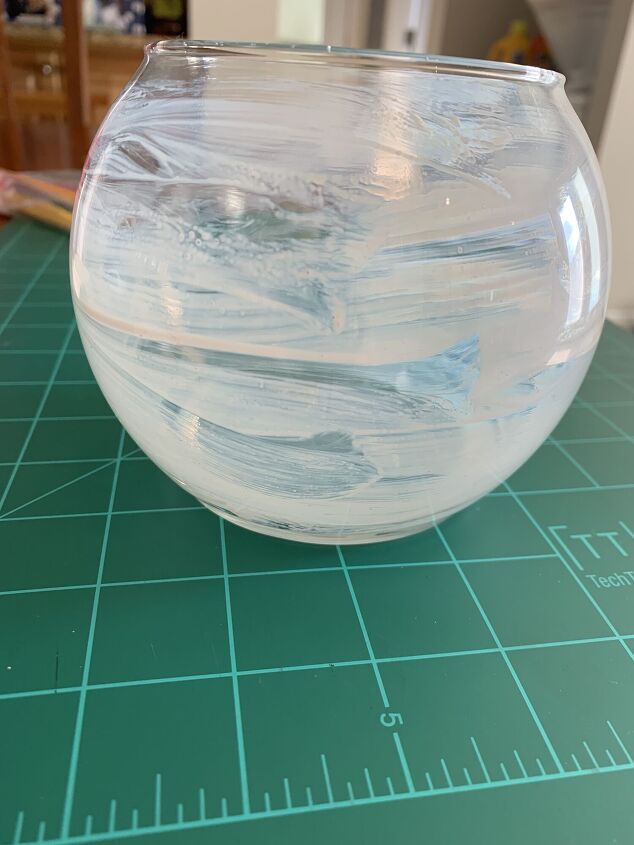
I then repeated the step with green food coloring. I continued to rotate it until the colors started to cover more of the space.
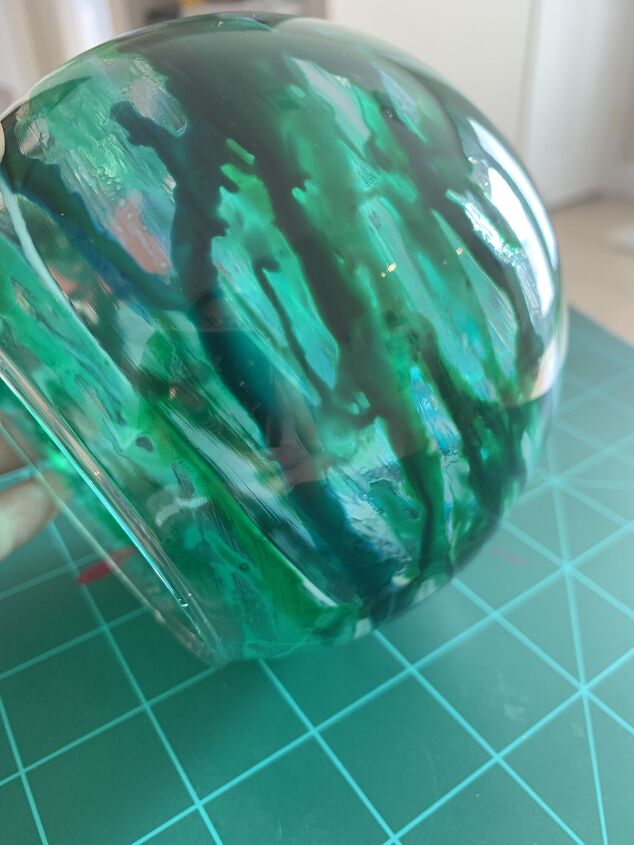
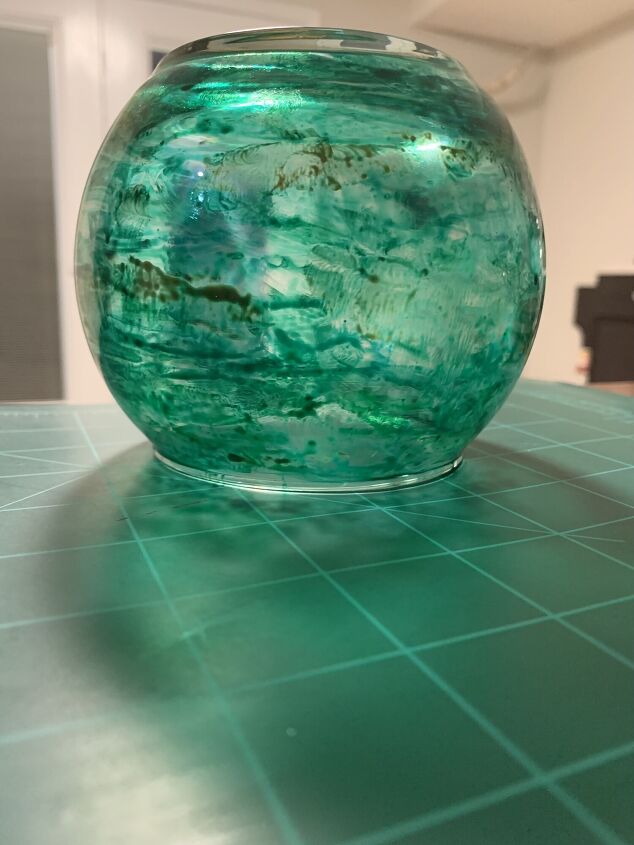
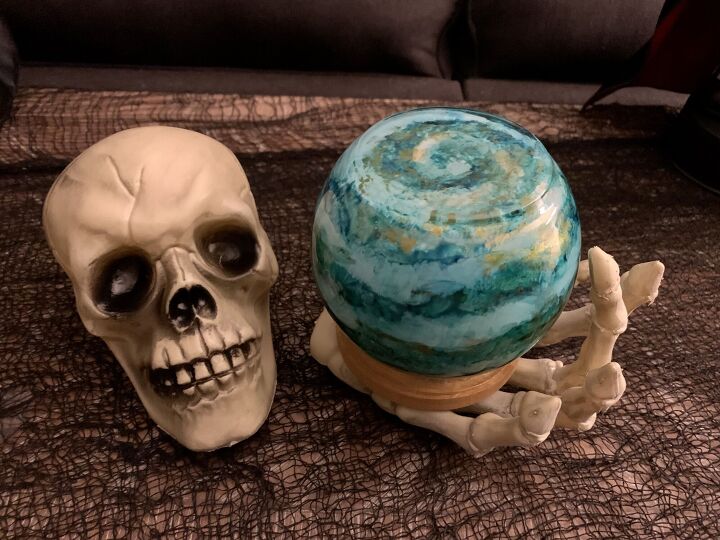
The glass dried like this.
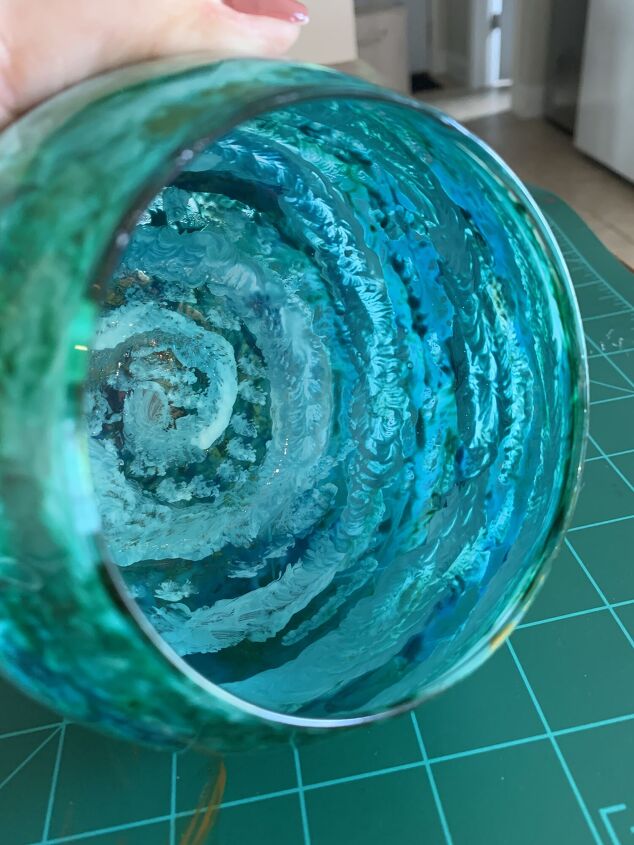
Step 7
It still wasn’t giving me the exact effect I was after, so I took a small brush with some white and gold acrylic paints and slowly blended them into a swirl around the inside of the bowl.

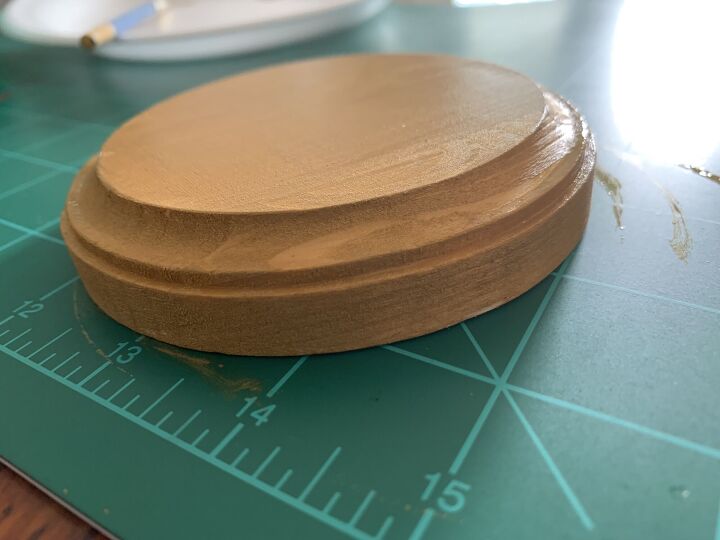
Step 8
I set the glass aside to dry and painted the small wooden plaque gold.
Step 9
Once both pieces were dry, I prepped my battery-operated lights. I bought these at Hobby Lobby last year, but I've seen sets like them in Walmart and the Dollar Tree.
This set has a timer setting which I like as I don't plan to keep the lights on in this for long periods of time.
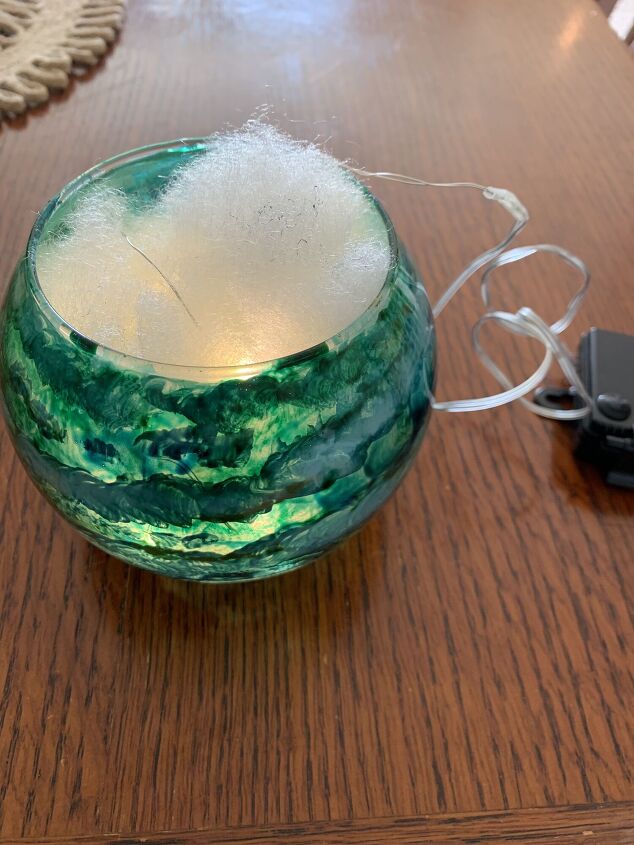
Step 10
Then I took a small ball of Poly-fil and wrapped the lights around it. I kept the lights on and adjusted them around until I was happy.
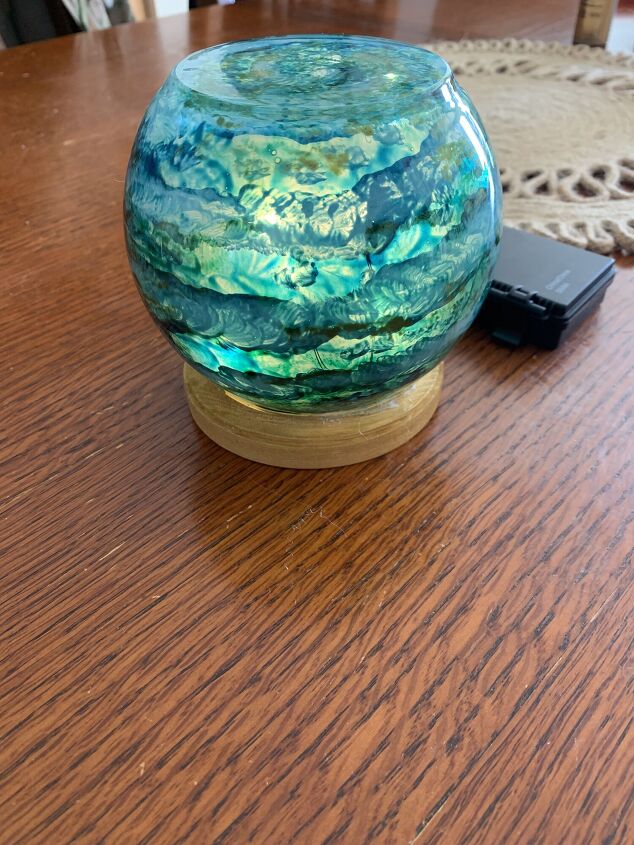
Step 11
Next, I flipped the glass upside down over the end of the lights and hot glued the bottom around the wooden plaque for the base.
Step 12
Then, I positioned the crystal ball into my skeleton hand.
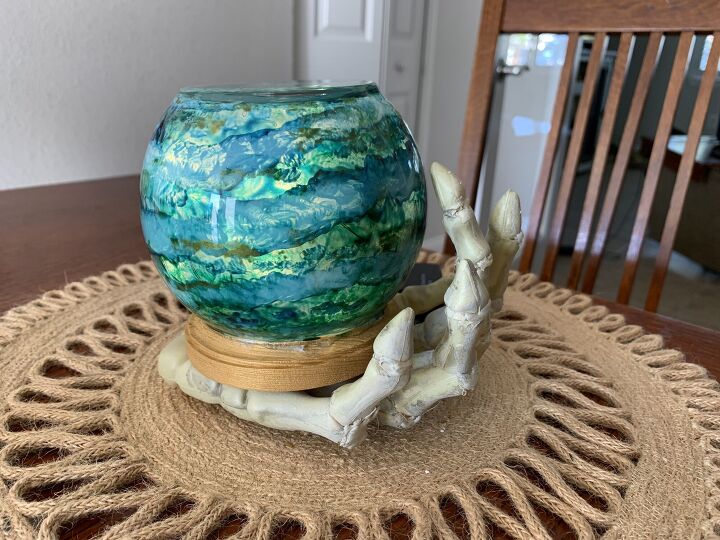
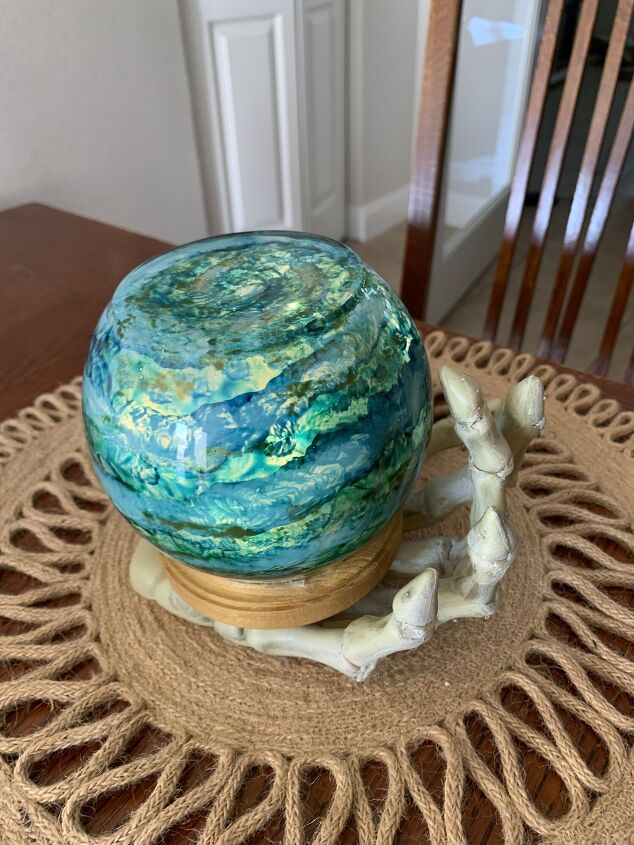
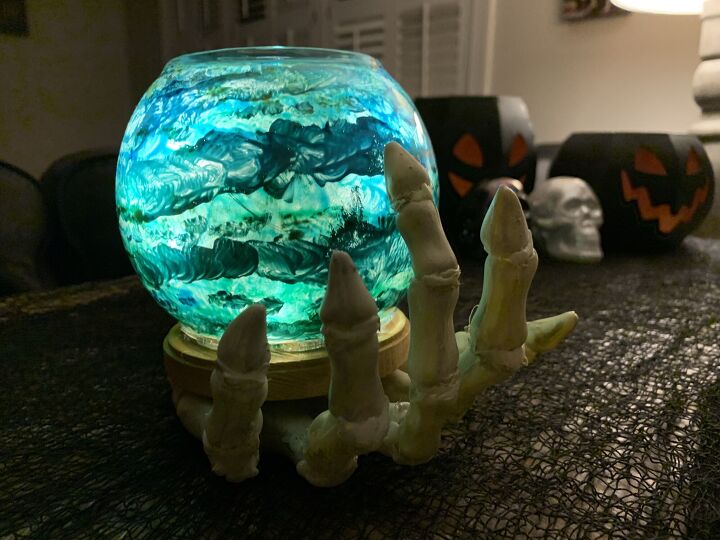
With that, my project was complete.
In the end, I really like how it looks while lit up, but I almost like how the glass looks more without the light.
Is it perfect? No.
But, it was super fun to make.
Plus, when I turn it on in a dark house it scares my fiancé. It’s a win-win.
Happy Hometalking, everyone!
More Haunting Halloween Decorating Ideas!
Resources for this project:
See all materials


Comments
Join the conversation
-
Love it! I want to do this if I can find all the products!
-
Clever and it is very well done


Frequently asked questions
Have a question about this project?
Very creative,well done