


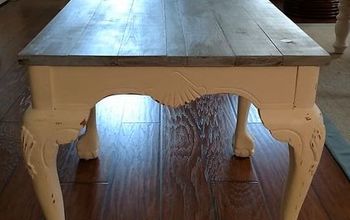
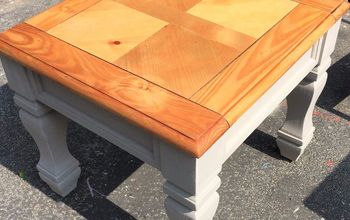
How To Restore Old Wood Accent Table

Do not give up on your old wood accent table just yet. You may have just stumbled upon a better way to deal with your old furniture.
There is always a way to restore old things such as furniture, you just have to find it. In this case, the way to restoration is given to you through step by step instructions. And after you check out this, you want to come back and check out How To Restore An Old Wood End Tabl e.
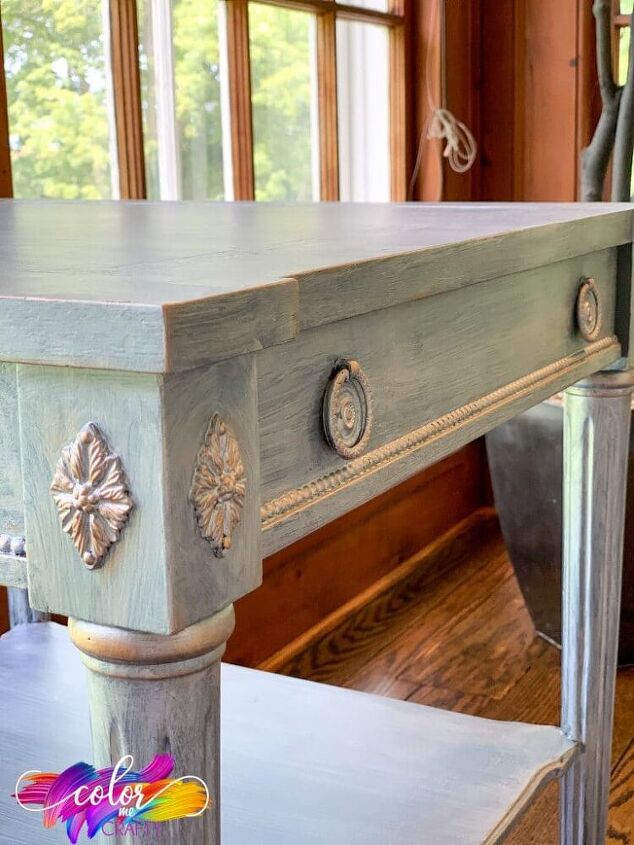
With a few materials and a “go get em” attitude, you will have what looks like a brand new accent table. And the steps to getting there are just as easy as I am making it sound.
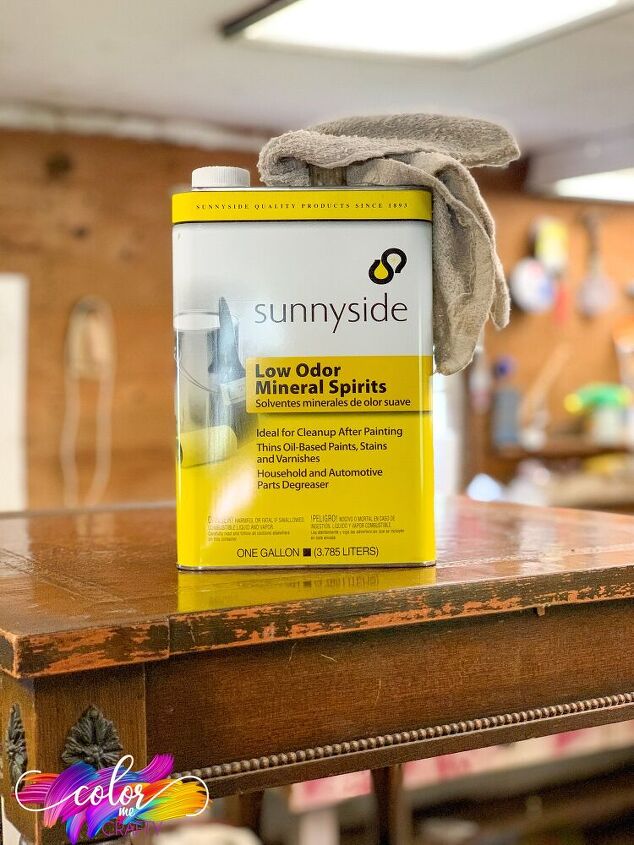
Take one lint-free cloth and dampen with mineral spirits. Clean the entire piece of furniture with the spirits to remove any and all debris or oils that may be on the surface. Be sure to wipe down anywhere you will be painting, including the inside of drawers and/or doors. It is advised to wear a mask or be sure you are in a well-ventilated area.
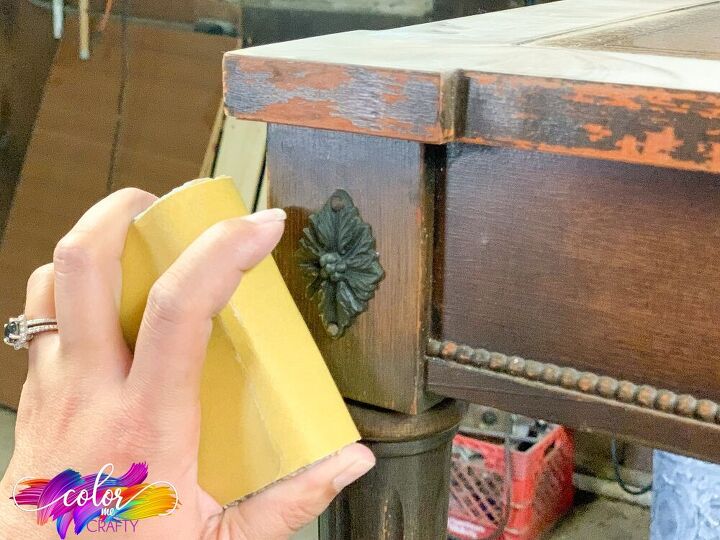
Sand the entire piece using 220 grit sandpaper. If you have an orbital sander you can use this for the top of your piece and any larger areas to save you time and energy. If not, no worries sanding blocks, and regular sandpaper will do just fine. Be sure to rough up the existing finish to expose the natural wood grain. Smooth out any imperfections and ensure your piece is smooth to the touch. Be careful around any small details. Sanding is all about the pressure you apply. Heavy pressure in areas that have thick existing finish, light pressure on corners, and areas with detail you do not want to disturb.
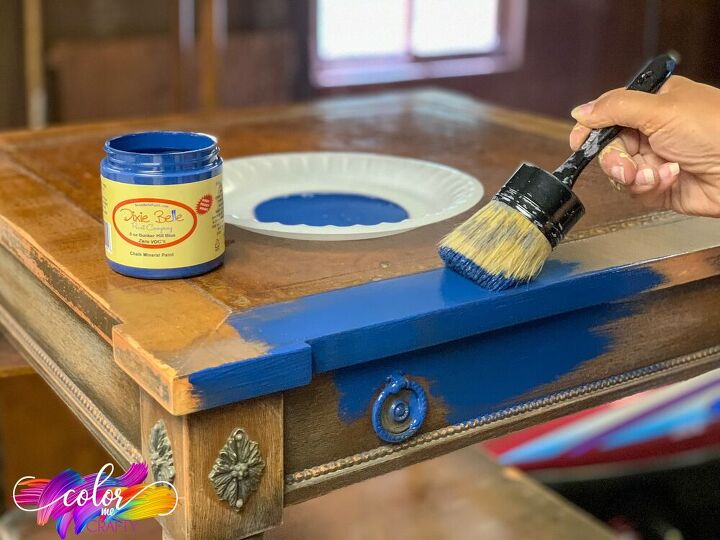
Using your Natural Bristle Chalk Paint Brush, coat the bottom of your brush and start painting the top of your piece. Be sure to work the paint in the same direction as the wood grain. Working from top to bottom will help minimize drips. Coat the entire piece with the exception of the feet, leave those as the natural wood finish for now. Be sure to open any drawers and paint all that you would like to be blue to the eye. Don’t worry if the paint looks streaky it will all flatten out.
Let dry for 30 minutes.
Flip piece and paint the underneath with Dixie Belle Bunker Hill Blue. Be sure to focus on any edges, drawers, or areas that might be visible to ensure full coverage.
Let dry for 30 minutes.
Flip piece to have top of piece parallel with the ceiling.
Apply a second coat of Dixie Belle Bunker Hill Blue to the entire piece of furniture. Work in the same direction as the wood grain. Don’t worry about the underneath, no need to flip.
Let cure for 24 hours (depending on weather and humidity)
If necessary, using 220 grit sandpaper lightly sand any areas of paint drips or build up. This would be the time to check for any bristles from your brush or dust that was trapped in your paint. Light sanding will remove and give you a smooth surface.
Using your lint-free dusting cloth remove all dust and debris.
Using your natural bristle flat paintbrush and Dixie Belle Moonshine Silver Bullet apply a thin coat to the entire piece. With the Moonshine Paint, less is more. You can dip your brush right into the paint container. Remember to apply a thin coat. You don’t want to glob on a lot of paint on to your brush, only a workable amount. Work the brush back and forth, without overlapping the paint, smooth even strokes. Work small sections at a time, complete and move on to the next section. Work quickly. If your paint starts to dry before you're satisfied in that area, lightly mist the paint with your misting spray bottle and rework the section. Water reactivates to the paint.
Only one coat of Dixie Belle Moonshine Silver Bullet is necessary on top of your base coat of Dixie Belle Bunker Hill Blue for an opaque finish. Don’t worry if you see brush strokes, as long as you didn’t drag the paint everything will flatten out once dry.
Let cure for 24 hours (depending on weather and humidity)
Using your Dixie Belle Bronze Gilding Wax dip your dominant index finger into the tin. Apply Dixie Belle Bronze Gilding wax to any detail areas that you want to stand out. Any hardware or detail that you would like highlighted simply finger wax the area. A little bit goes a long way. If you would like the tone of the Dixie Belle Bronze Gilding wax deeper you can reapply in 10 minutes.


Frequently asked questions
Have a question about this project?