


When Plan B Works In Your Favor For A Nightstand Makeover
When we decided to make over Gabrielle’s bedroom, I knew a lot of furniture had to come out of the room and we would need some new pieces instead. I wanted to make conscious decisions about the furniture we chose and only choose things she really needed and would use in the space. This DIY nightstand makeover is one of the projects we did to make her room very functional and yet, exactly the style she wanted. She is thirteen now, so I wanted her to have a lot of say on what we did to her room. She was happy to oblige.
After we got her new bed assembled and put in the room, we got a better idea of the space we were working with and what was left for other furniture we needed to bring in. I knew Gabrielle needed some kind of nightstand next to her bed because she reads at night, so a surface to hold books, her clock and other things was important. I also wanted the nightstand to have drawer storage because this teenager has a lot of things that mom doesn’t want to see all the time. Closed drawer storage was a must.

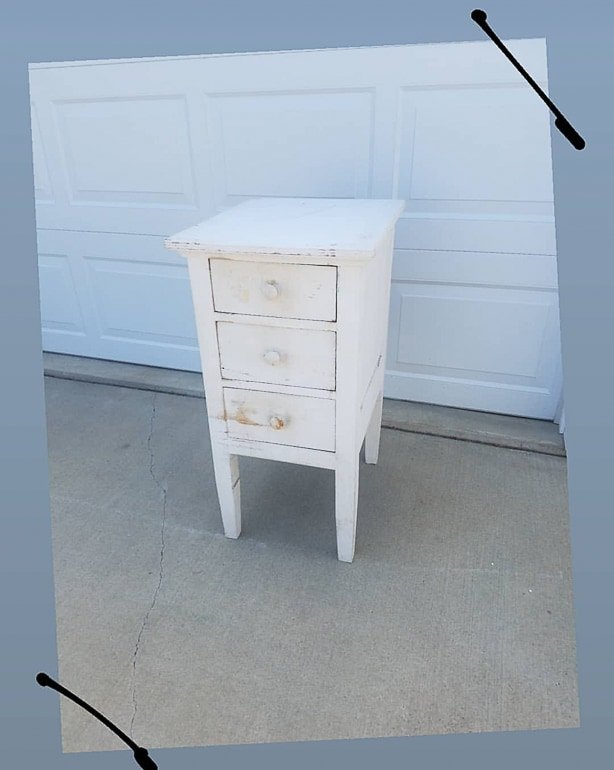
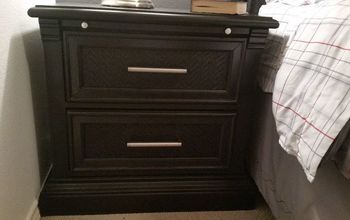
My friend was selling this piece and I knew immediately it would be perfect for Gabrielle's nightstand.
The paint wasn’t in great condition and it had a sheen that I didn’t want to paint over. I didn’t think the paint would stick to it very well, so I wanted to strip it to see what was underneath. I put paint stripper all over the table and let it sit for about an hour.
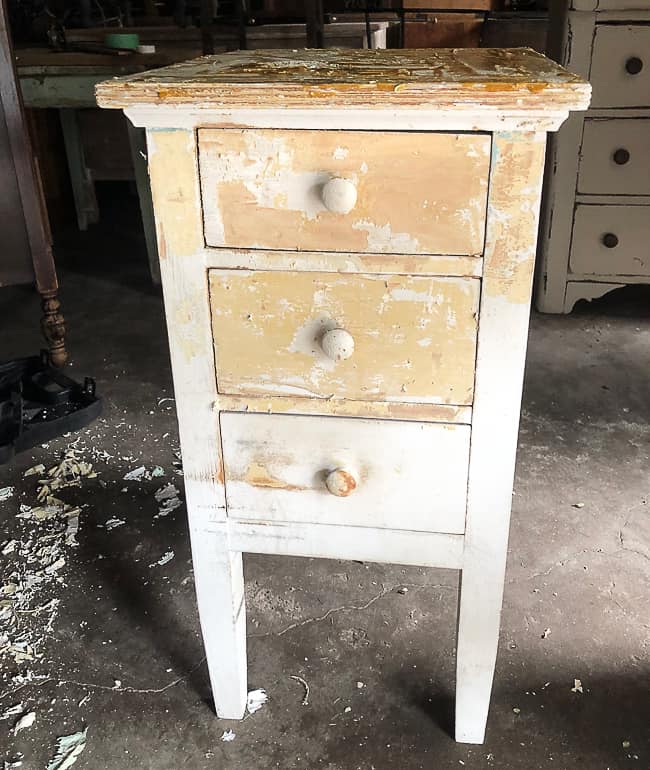
The stripper took the white layer of paint right off, but there was a tough coat of yellow paint underneath that the stripper didn’t budge. I used {aff} 40 grit sandpaper and my {aff} orbital sander to see if it would take the yellow paint off. It did. Now, I don’t use 40 grit sandpaper a lot because it is so rough and it can leave the wood marked up and give it a rough surface, but I wanted to get the yellow layer off the nightstand. Once I got the yellow paint off, I used a 320 grit sandpaper to smooth the surface. The wood was pretty, but there were some areas that didn’t sand out very well. At this point, we had the wallpaper done in Gabrielle’s room, the bottom portion of her walls had a fresh coat of paint on them and her new bed was put together. I was planning on staining the nightstand, but I was so glad it didn’t work out because after seeing the room come together, the nightstand needed something different.
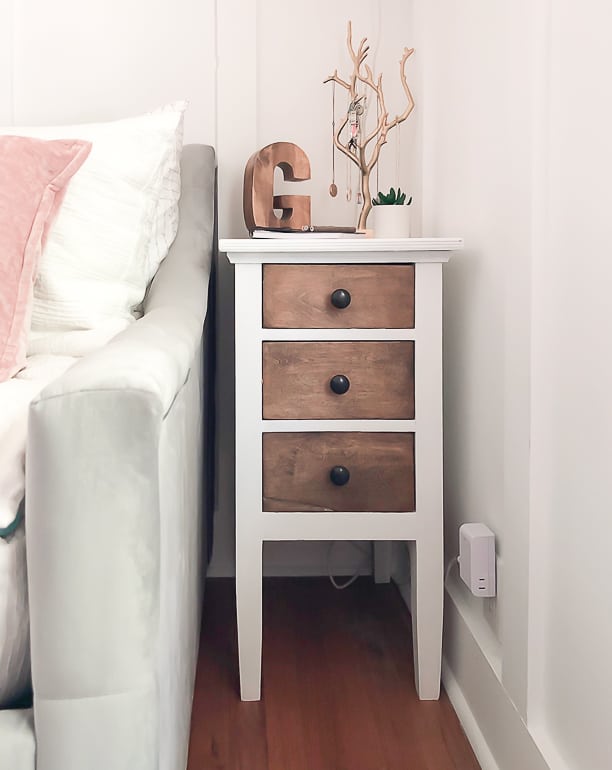
I decided to paint the outer shell in one of my favorite white colors from Dixie Belle Paint. Then, I stained the drawer front with a dark stain. I am a huge fan of stained and painted pieces. You can find the paint color and stain color I used in my blog post below.
After the paint and stain were done, it was time for new hardware. I looked through the stash of hardware I had and found cute black knobs that were the perfect size and color.
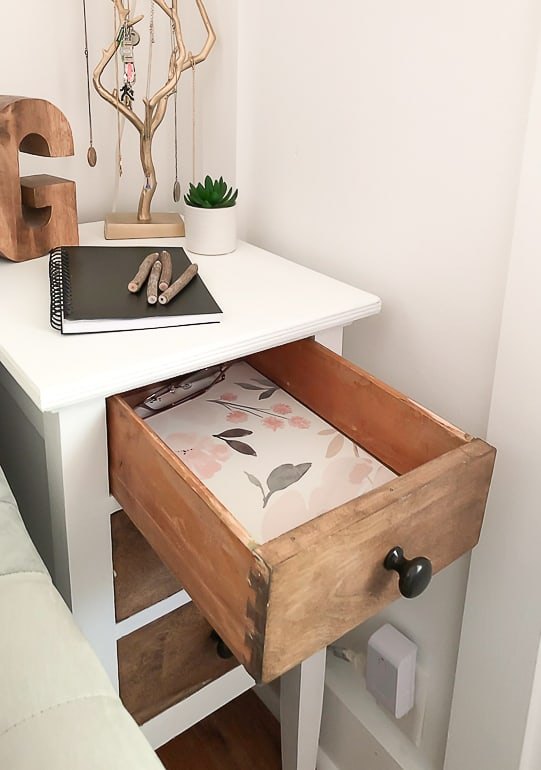
We also added some of the left over wallpaper from her walls to the inside of the drawers. They weren’t very pretty and this was an easy way to make them look better and add a pop of “happy” with Gabrielle opens the drawers.
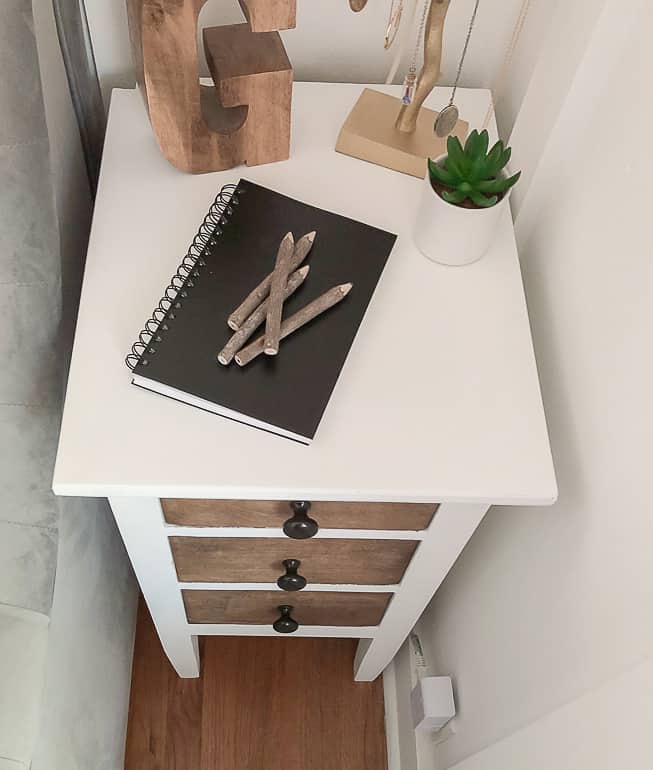
This DIY nightstand makeover has come a long way. It is the perfect addition to Gabrielle’s bedroom makeover. I tried to find something that would work in stores, but in the end, I went with something not perfect, but something with tons of potential for us to make it exactly what we needed. DIY and thrifting pieces is such a fun and frugal way to get a custom look in your home and add a lot of charm without spending a lot of money to get it.


Frequently asked questions
Have a question about this project?