


DIY Cedar Closet Lining
While the basement apartment of our new house, (a Mid-Century to Colonial Revival) is getting the rest of the baseboard trim installed, (by our carpenter) and I’m waiting to do the touch up painting after that, I decided to squeeze in a main floor project…
Don’t you just love the smell of cedar? I sure do! That was one of the reasons for this DIY cedar closet lining project I just completed…
Hi! I'm Liz the author of the DIY and decorating blog SimpleDecoratingTips.com. Here's a easy project I recently completed on our newly mid-century house I'd love to share with you!
The aroma of fresh cedar is wonderful for sure, at least to humans… but not so much to insects. Cedar is supposed to repel insects including moths. I think it’s true too… at least people have been touting that property of cedar for generations. I’m going to cling to the belief that it really works and be glad I just put it in 2 of the hall closets.
I’ve seen cedar balls for sale and little pieces of cedar wood on a hook to make closets smell good and bestow the insect repelling benefits… So I figured that to line a whole section of wall in the closet with cedar would really be aromatic and work well. Plus, comparing with the hanger thing, this is quite cost effective… it just had a bit more work involved.
This is what I used:
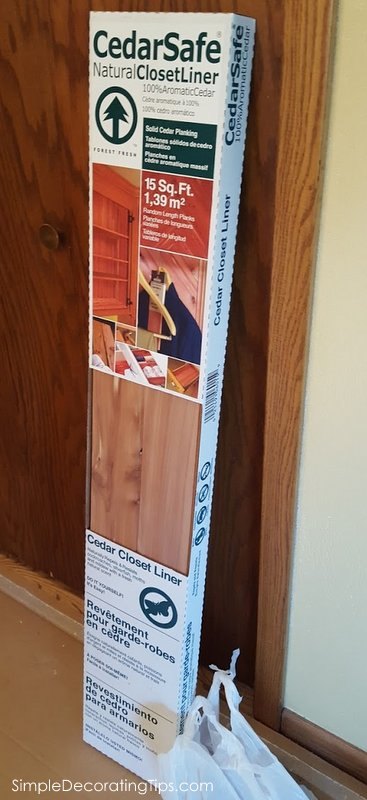
It’s 100% cedar planks, super thin and lightweight boards, that have a tongue and groove on the edges.
Most of the boards are the full length, but there are a couple that are shorter that fit together to make a full length. I guess they thought that looked better?
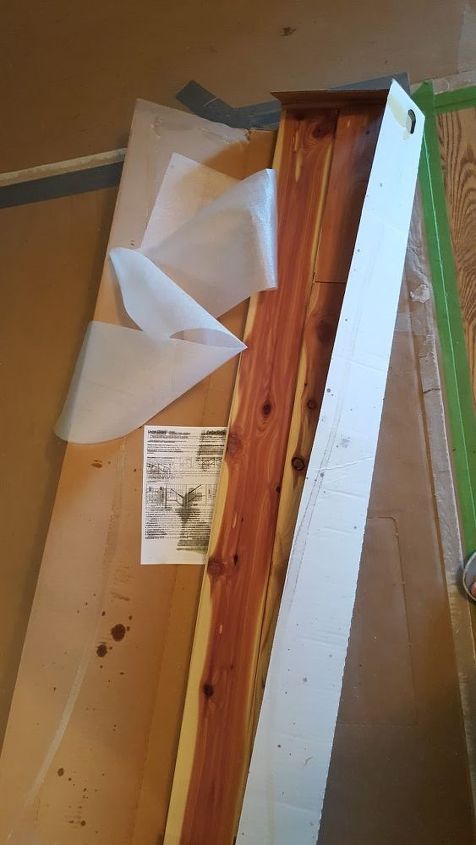
I installed it in our closets a little bit differently than they suggested on the directions. However, I decided that because the boards are so lightweight I wasn’t concerned with hitting studs in the wall behind.
You see, they recommend that you install the boards horizontally to ensure you’ll hit studs behind them. However, I just wanted a full height board going across the back bottom of the closet wall, like a chair rail height. That would give the closet the wonderful smell of cedar, but not be a huge investment in time, energy and money… (all of which are feeling a bit of a pinch with this whole house renovation!)
Here is what I used to install the cedar planking with:
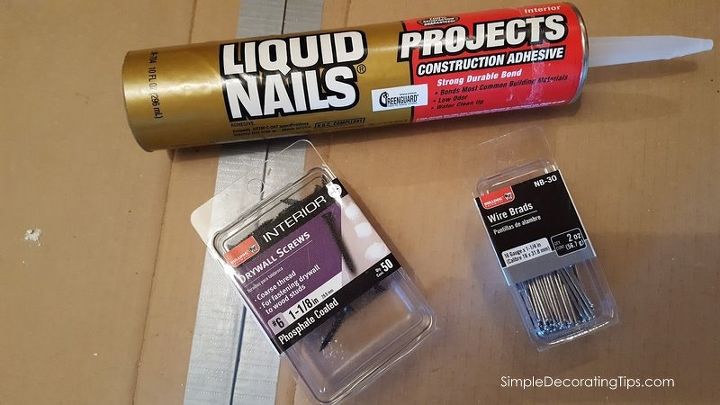
I bought both screws and wire brads, (skinny nails) not sure which would work better… but once I started, I realized right away that the wire brads were the way to go combined with the construction adhesive.
First, using a caulk gun, I applied 3 stripes of adhesive on the wall, making sure it was within the area the planks would be.
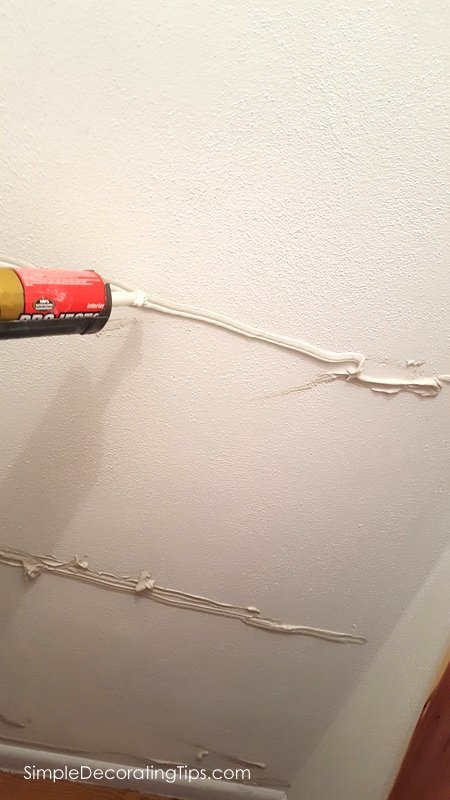
Nothing fancy with those 3 stripes… just goobered them on. Then one by one the cedar went up super easy. Once it was placed on the adhesive, I just tacked it to the wall with a brad at each end and one in the middle.
The next plank just simply fits in the groove of the previous one and on I went til I got to the end. That last board was the only board that I needed to cut. I could have just left it off the wall, after all it is a closet, and the cedar is meant to make it smell good and repel insects, but since I just happened to have a carpenter in the lower level that just happened to be using a table saw, I quickly marked what needed to come off and he cut it in 20 seconds.
Ta-da!
It’s done and smells sooooo much better!
The cedar alone wouldn’t be good enough to mask the cigarette odor lingering in the closet from the previous owner, that had to be properly sealed first. I did that by priming the walls and ceiling with BIN primer, a shellac based primer, and then painting, bringing the walls back to a neutral odor. (you can read the painting tip I wrote about here when I introduced our new house a few weeks ago) Then I installed the cedar closet lining to introduce the fresh smell I was after.
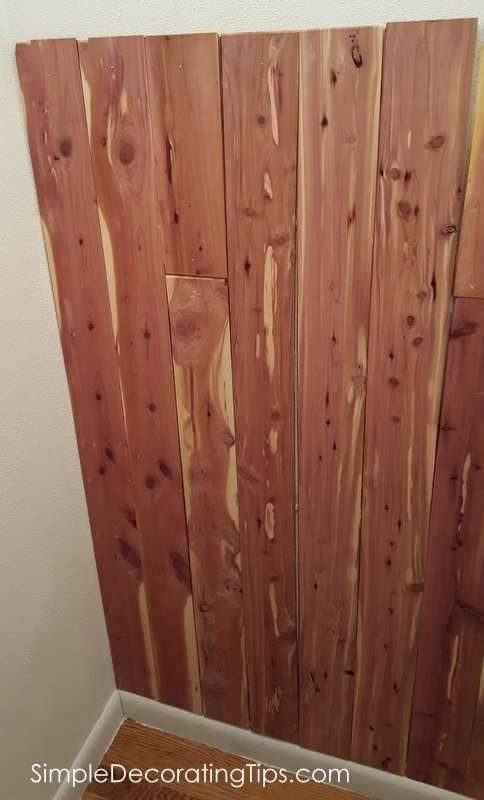
One thing I will say about this cedar closet lining… all the boards are not perfectly straight. In fact a couple were quite warped and I decided that would be ok for the back wall of a closet. You can see the open seam in this picture between the 4th and 5th boards. The cedar itself is very visually busy, so it’s hard to notice the seams, but if you’re a perfectionist, this may bother you. I guess I’m not, because it doesn’t bother me for this treatment.
If you’re interested in getting some of this wonderful smelling cedar closet lining, (or wouldn’t it be great to line a trunk or cupboard too!?) here is the link for the stuff I bought: Cedar Closet Lining However, if you want some cedar smell, but don’t want to (or are unable to line your closet) here’s another alternative: Cedar Hookup
For more fun projects and to see our new 'Mid-Century-turned-Colonial-House' we are totally renovating, be sure to come visit my DIY and decorating blog: www.SimpleDecoratingTips.com Hope to see you there, Liz
Resources for this project:


Frequently asked questions
Have a question about this project?