


DIY Jewelry Organizer

by
Keri Johnson
8 Materials
My friend was in search of a pair of decorative jewelry organizers to hold her beautiful necklaces. When I saw what she was looking for and the cost of them, I told her that I could make them for a fraction of the cost using wood plaques and pretty knobs. So... I did, and here's how!!
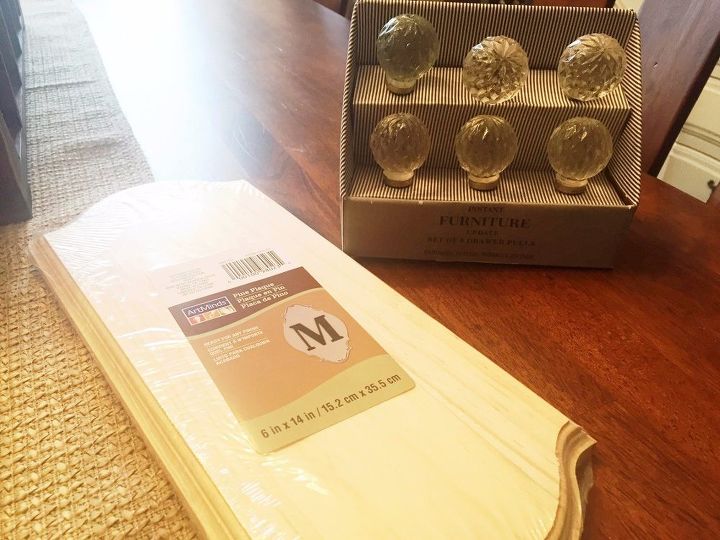
The first thing to do is pick out the style of wood plaque and the knobs. We took a trip to Michaels and she decided that she wanted two plaques with 3 knobs on each. I think each plaque was about $6.00 after using our coupons!! She went to HomeGoods and found this beautiful set of glass knobs for around $10! (What a steal!)
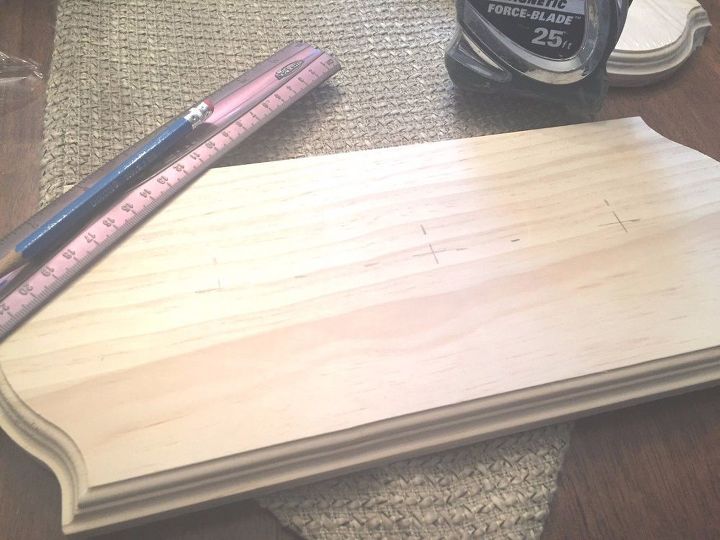
Since I knew that she wanted 3 knobs on each plaque, I did the math and marked the spots on each board where each know would go. (Your measurements will vary depending on the size of the board and how many knobs you want to use.)

Now the fun part - drilling the holes! I checked to make sure that the drill bit I used was big enough for the screws to fit through, but not too big, Be sure to drill all the way through, and double check that the knob screws fit. (**Also - my husband told me to find a drill bit the same size as the nut and drill out the equivalent of the nut - depth and width - on the back side. This way, once the screws are cut to proper length and the nuts were attached, the board would lay flush against the wall. Brilliant!)
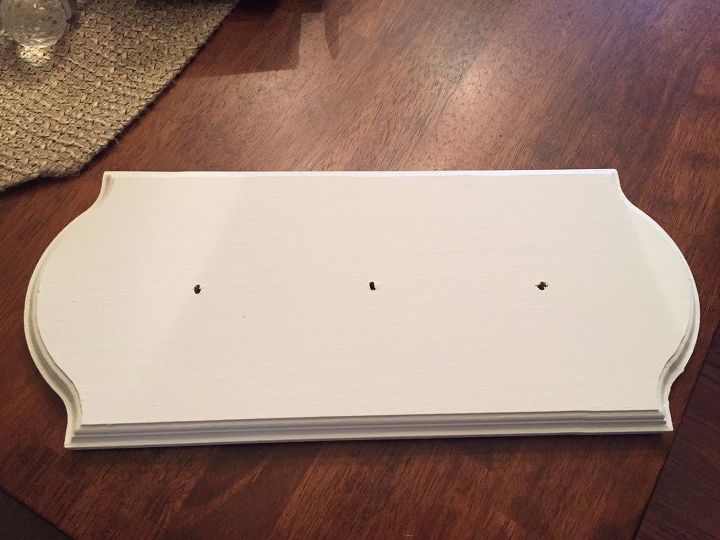
Since I knew that I would be distressing the boards and wanted gray to peek through, I painted a couple base coats of Shabby Paints Americano Gray before adding my top coat of Shabby Paints Worn White. (Quick tip - the wood plaques are rough on the edges. Be sure to sand all of the edges with a high-grit sandpaper so that you wind up with a smooth finish.)

Once they were dry, I used a wet sanding block to distress the plaques. I concentrated on the edges, where a piece would naturally be distressed.
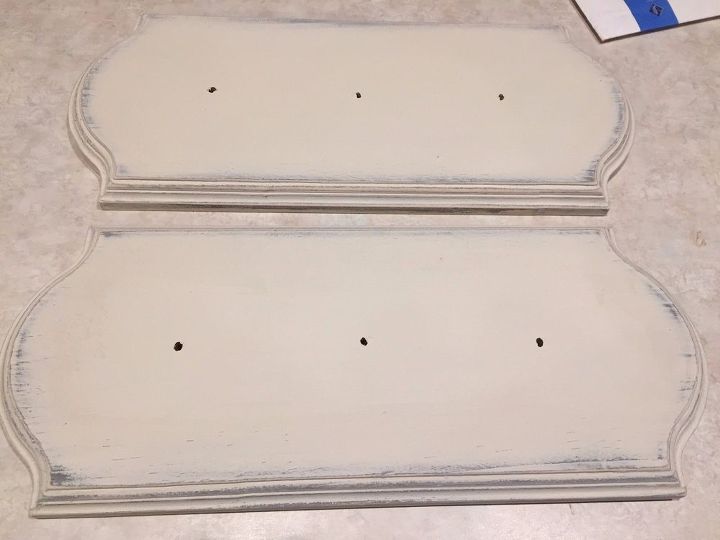
Once both of them were distressed, I added a couple topcoats of Shabby Paints Vax. Vax is a great product and has a matte finish. (And it's VOC free and non-toxic!!)

Here is a closeup of the finished paint finish. At this stage, I pushed the knobs through and marked the desired depth for each screw. My husband used a saw and cut each screw so that each was flush with the back of the plaque.
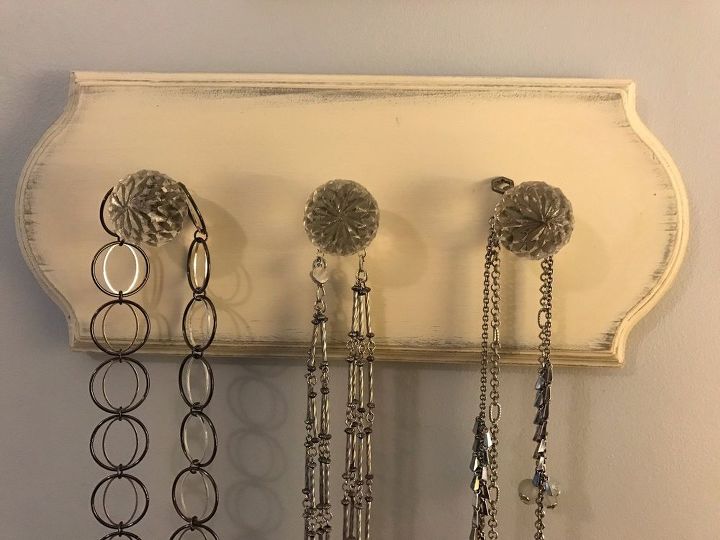
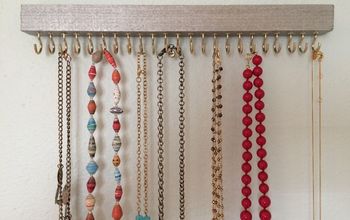
The last step was to add hangers to the back of the plaques. (I used saw tooth hangers, but there are many options!!) They turned out great!
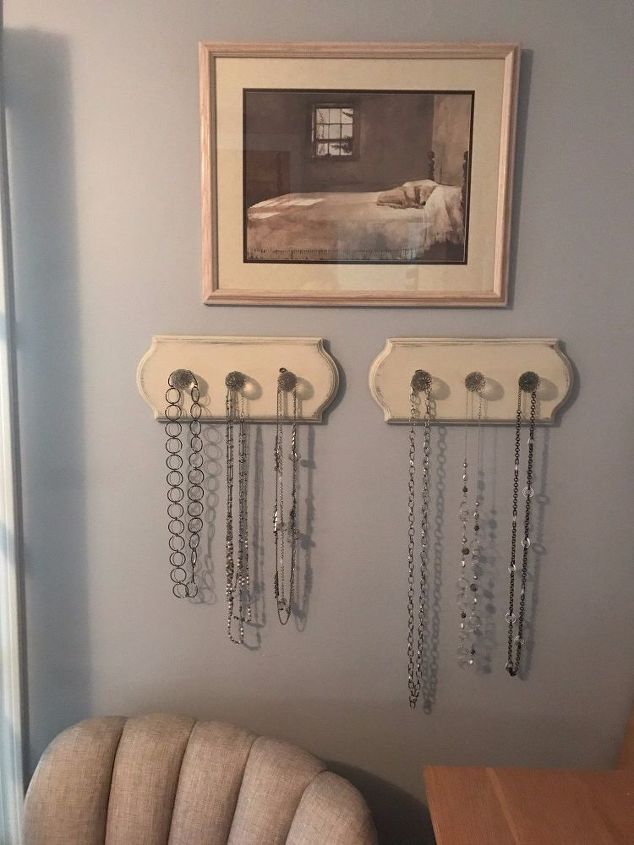
Check out the beautiful finished product!! I love how this project turned out, and my friend couldn't be happier!!
Comments
Join the conversation
2 comments
-
This is super pretty!!! Your friend is lucky to have someone like you :)


Frequently asked questions
Have a question about this project?