


Creating Your Very Own Countertop!
About a year or so ago, we redid our kitchen countertops using epoxy. Since it was relatively easy and very budget friendly, I decided to use the same product ro make countertops for my brand new laundry room!
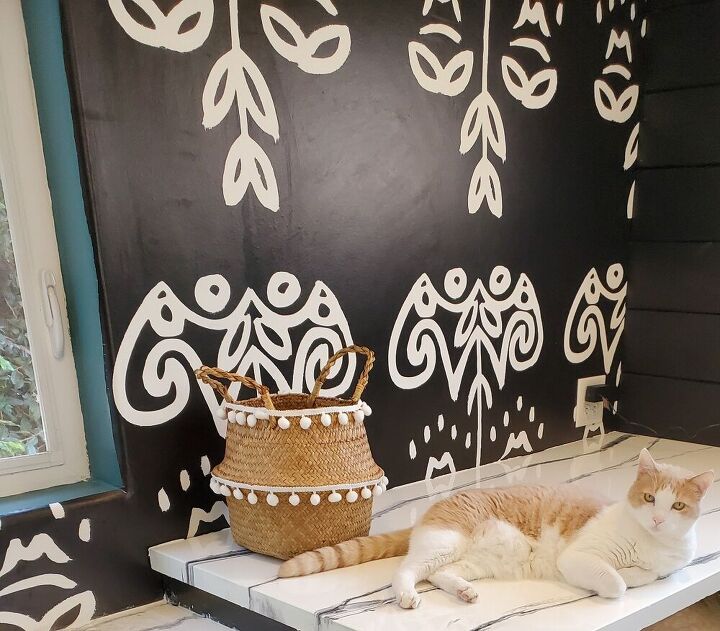
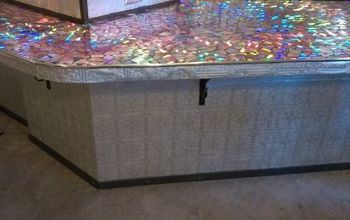
As you can see, my cat Tukker approves of the new counters! 😂 While this was my second time using this particular product, I did run into a problem, which I'll talk about later.
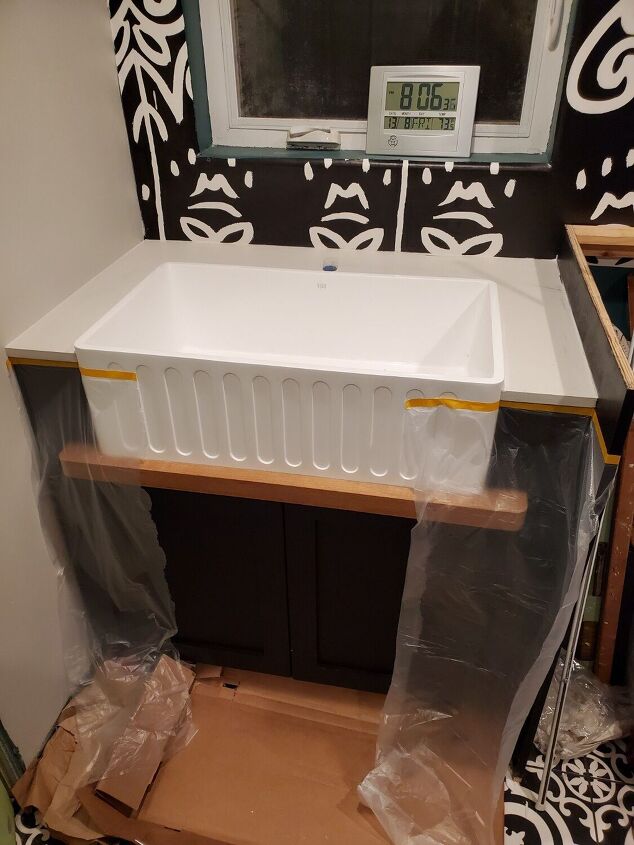
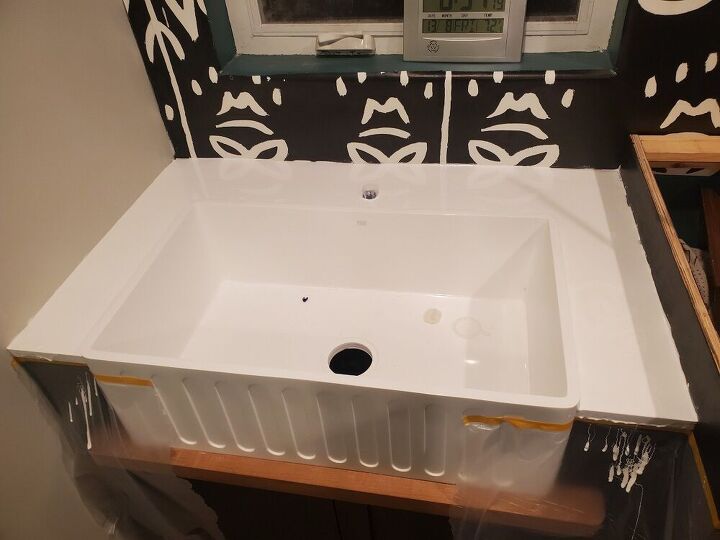
One of my biggest tips for doing a project with epoxy is to prep and prep WELL! It is an unavoidably messy process so you want to save time, your floors, sinks, and cabinets by prepping and protecting them. I tape everything off and add layers of plastic and paper or cardboard to cover all surfaces.
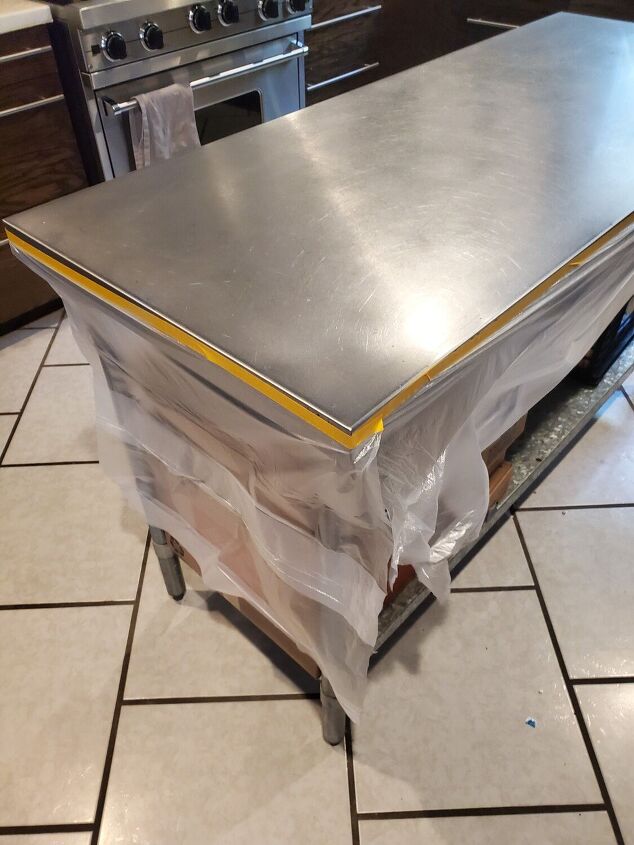
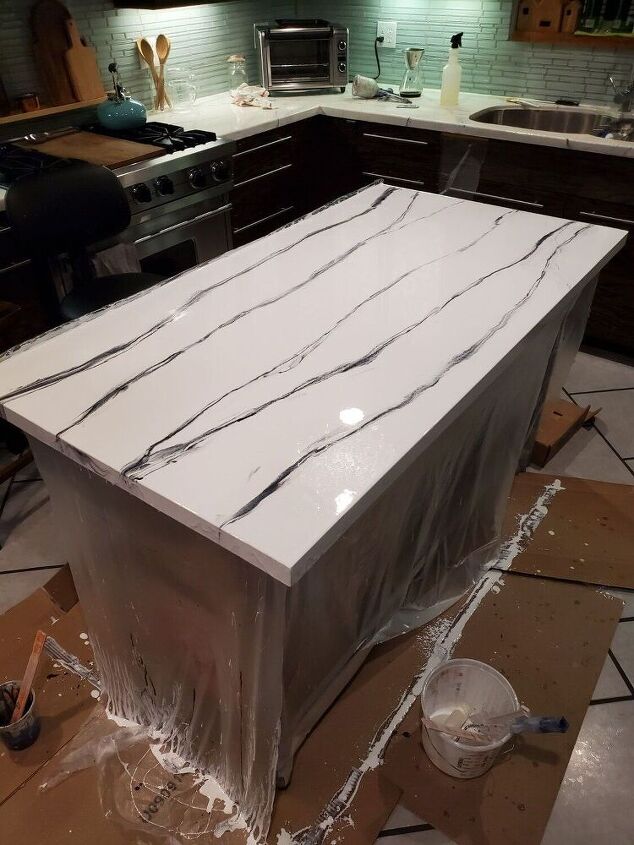
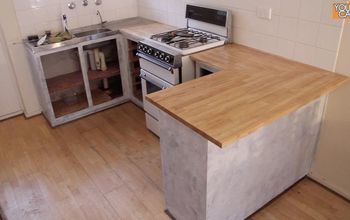
I'll be pouring in two separate spaces because I have 2 countertops in my laundry room. One is a solid piece that goes over the washer and dryer and the other is already built in around the sink as the previous picture shows. I built the larger countertop out of wood and will be using my kitchen island to pour it on. I decided on this instead of pouring it in place in the laundry room because I can get to all sides this way and have more control over my design.
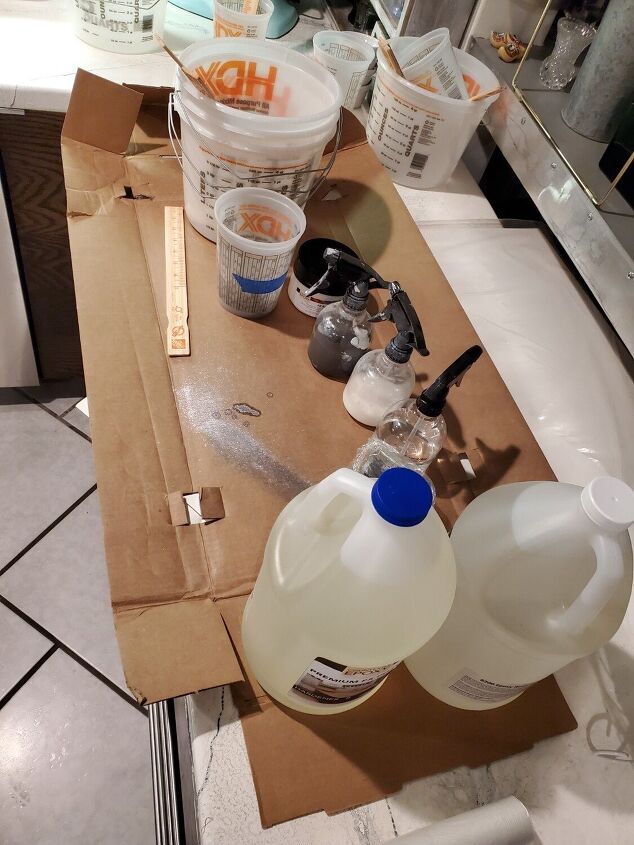
It's important to have all of your products and materials ready to go and laid out. I went with a brand called countertop epoxy since it was the same one I used for my kitchen and I was fairly familiar and happy with it. The color and style possibilities are virtually endless with their products! I'm going for a striped marble look so I have a white pigment for my base and a shimmery black for my accent color.
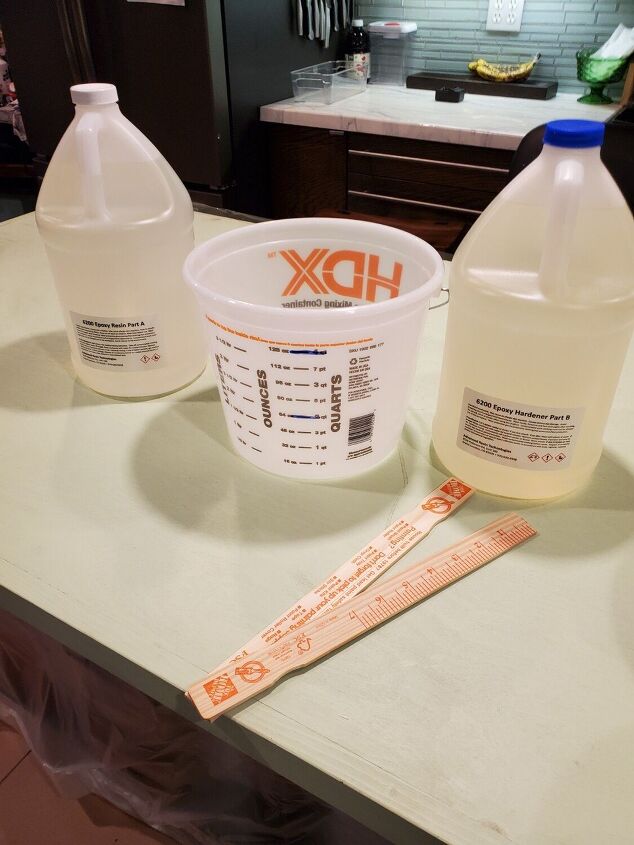
Another important tip is to familiarize yourself with the brand and product you're using. Read all instructions and watch lots of videos and tutorials if available. I will be pouring over wooden counters which I made and painted to seal them. Depending on the product you go with, you can use it over almost any hard surface if it's prepped properly.
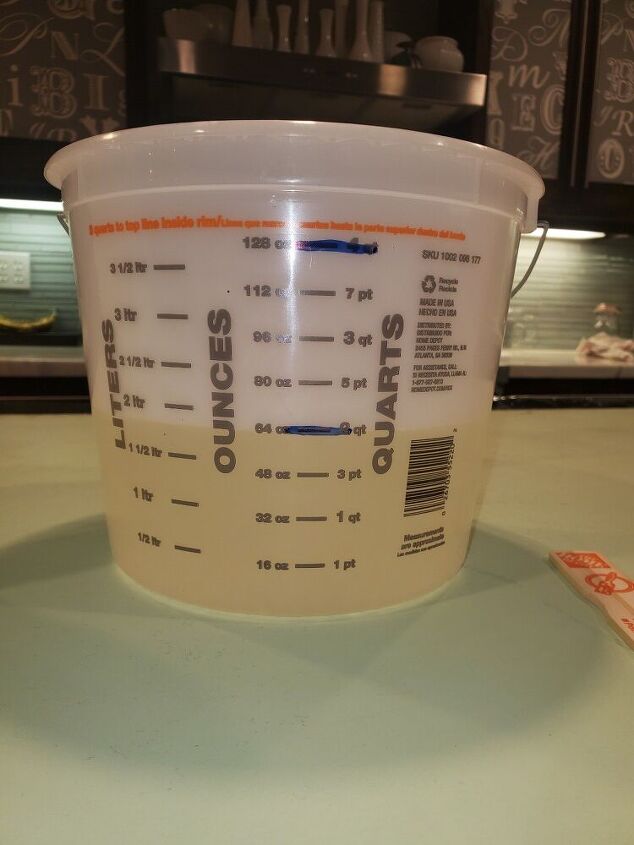
Be very precise when pouring, measuring, and mixing your product and follow ALL directions. No short cuts! For example, this product is a 2 part epoxy that requires a 50/50 mixture poured in a specific order and needs to be mixed for 3 minutes and then poured into a separate clean bucket and mixed another 3 minutes with a clean stir stick. You will calculate how much to use based on how many square feet you need to cover.
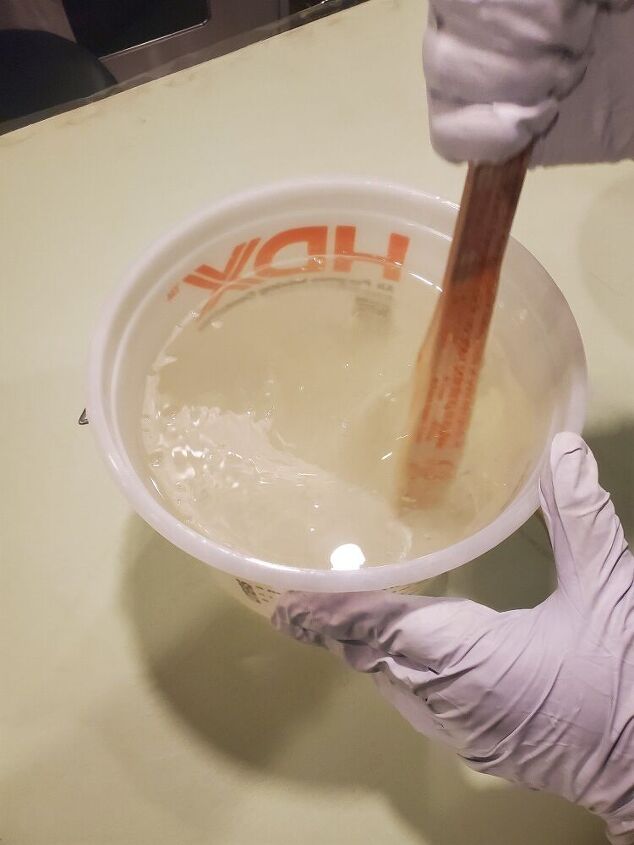
When I was about half way done mixing in the second clean bucket, I set a small amount aside into a small bucket to add my black pigment to. I added my white pigment to my large bucket and finished mixing.
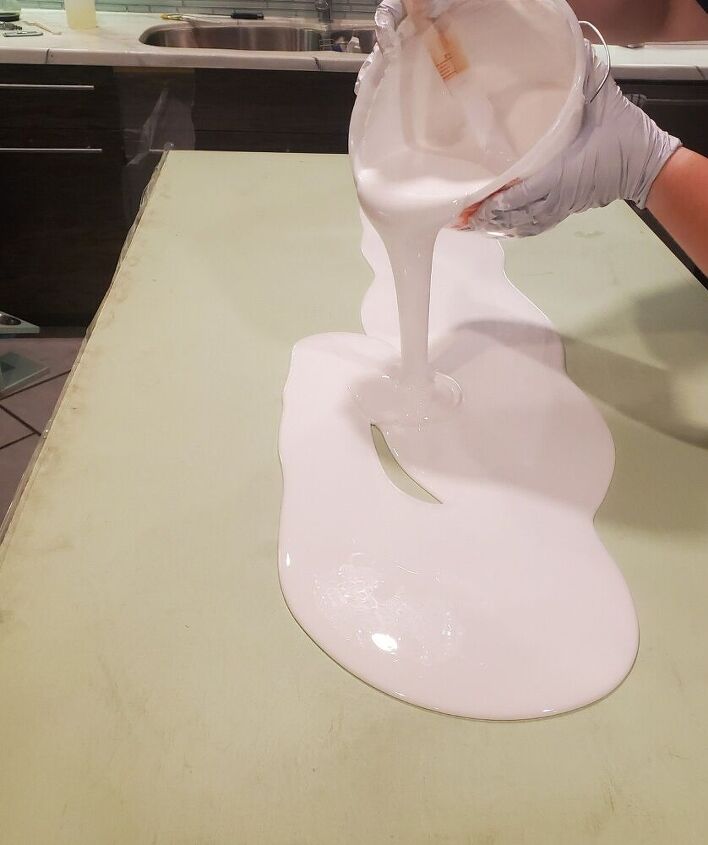
Time to pour! I have heard of another method where you actually paint your counters first and then pour clear epoxy over it which is also an option but I had such great results doing it this way. You want to pour out all of your base color epoxy quickly because if you leave it in the bucket it will harden at a much faster rate.
I poured my large counter first and then poured the small piece around the sink. You WANT to let it drip over the edge quite a bit to ensure good coverage.
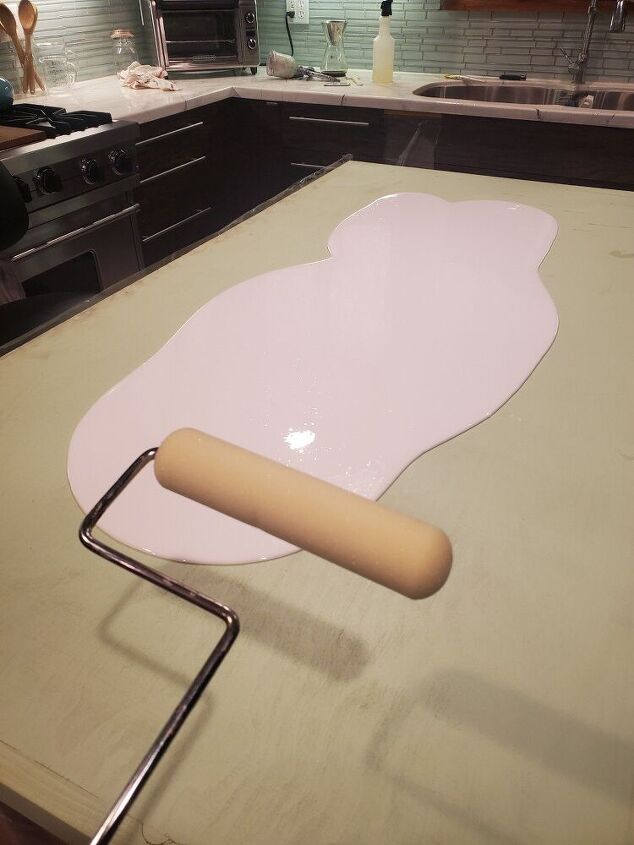
I used a foam roller to spread it out all over the surface.

Once your base is all covered you can start adding in your color(s). I used the same stick that I stirred the black with to "drizze" my stripes across.
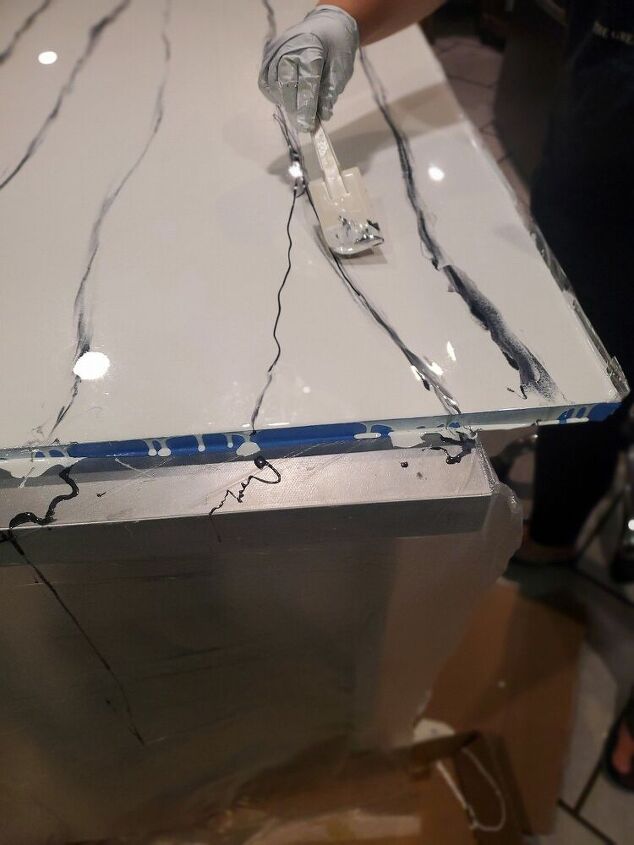
You can use a paint brush, putty knife, or spatula to spread and play with your different accent colors. You can also add the pigmented powder to a spray bottle filled with alcohol and add color or shimmer that way. I used spray bottles when I did my kitchen but I wanted a bolder stripe on these so I just went with the black pigmented epoxy as my accent. If you accidentally add too much black or don't like a certain area, you can always cover it up with more white, either what's left in the bucket, if any, or what has dripped down onto your cardboard on the floor.
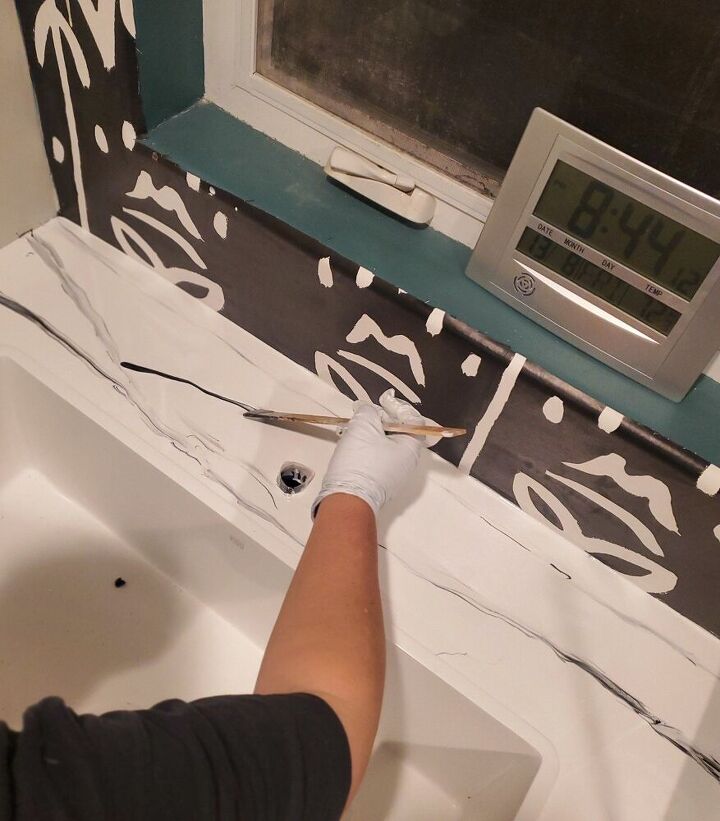
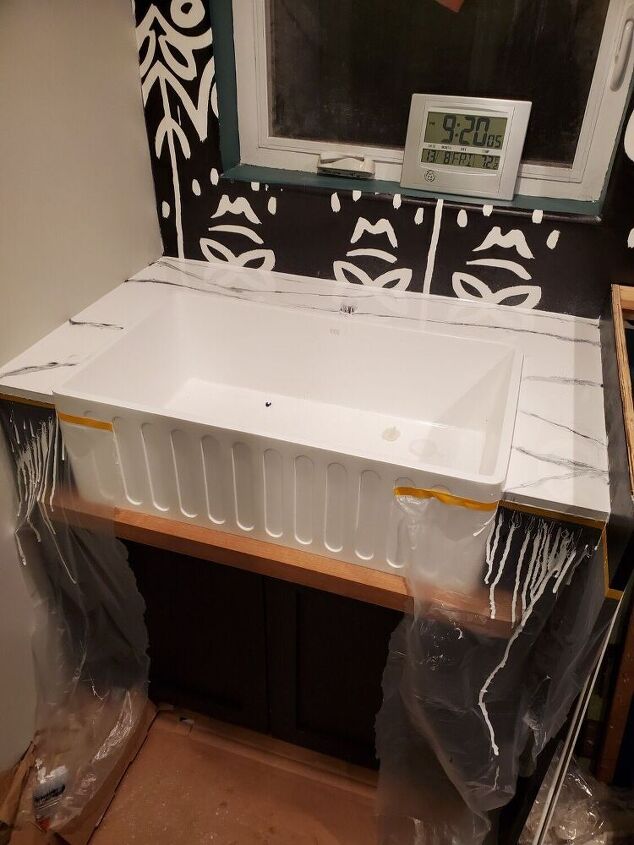
The sink area was a little harder for me to add the black since I was working in place and couldn't just drizzle it over the sides like I did on the larger piece. You'll also notice we have a clock with a thermometer on it. It's important (at least for this brand) to work, and let it cure in, a specific temperature range.

Once you are happy with your design, you can spray the surface with alcohol to release air bubbles.
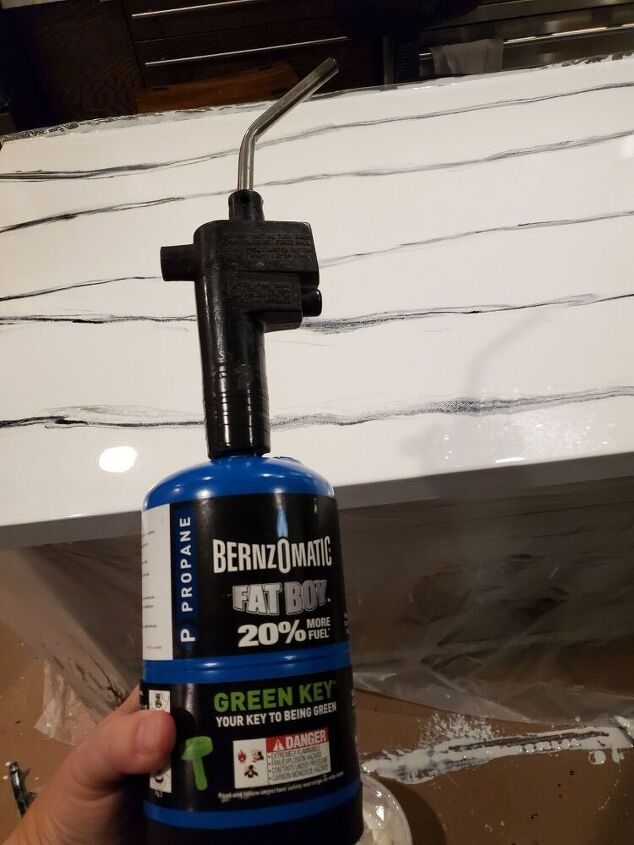
You can also use a propane torch to get the bubbles out which I find to be more effective. It wasn't recommended to use a torch excessively when working with white because it can discolor easily but when I did my kitchen the torch didn't give us any problems so I used it here as well.
Once you're happy with the look you just have to let them cure. You can remove drips on the edges before it's fully cured with a razor or wait until after they're cured and use a sander.
I'm overall happy with the finished product but we did encounter an issue with these that we didn't when doing our kitchen counters which were concrete. You can't even see it in the pictures, but there are some small pours or divets that appeared as they cured. I'm thinking it could have been something released from the wood that wasn't sealed properly. I thought painting them and letting the paint fully cure would do the trick but we probably should have done a skim coat of epoxy like we did on our concrete counters in the kitchen. Whatever surface you're planning to pour over, make sure to research it properly beforehand!
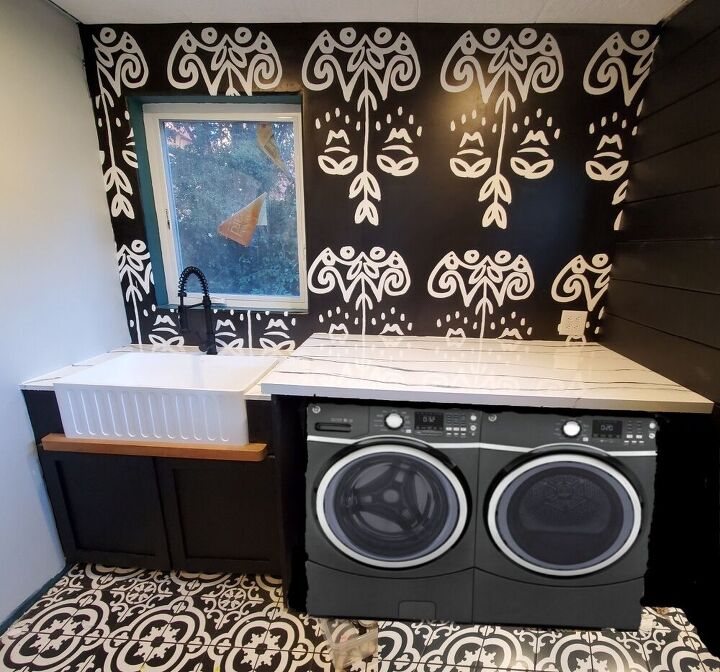
This phase of the new laundry room is now complete! (Don't mind the photoshoped washer and dryer... 😂 We're still using that area to store a bunch of materials and junk!) Once the laundry room is completely finished I'll be posting a step by step with all of the details so be sure to follow me if you're interested in seeing it! Also, I have a post with our kitchen counters in my profile as well. Thanks for following along and I hope you enjoyed this DIY!


Frequently asked questions
Have a question about this project?