


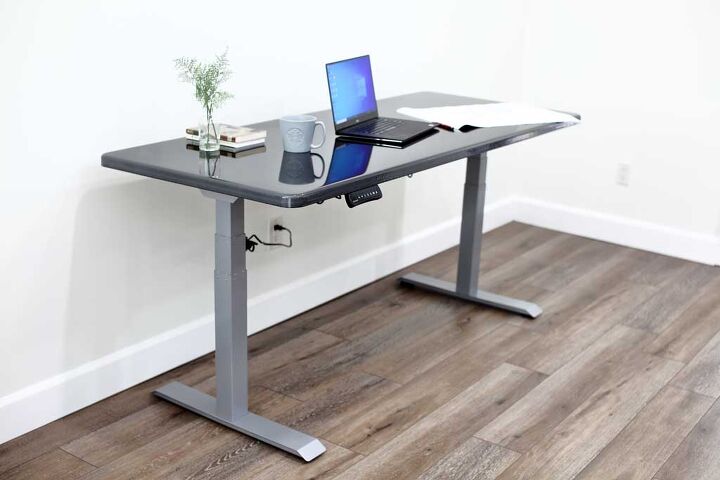
DIY Epoxy Tabletop for a Standing Desk Frame

If you work in an office and sit by the computer all day, after some time, it takes a toll on your body. As a result, you might develop a back problem or other issues. But if you had an option to stand or sit periodically, you would feel much better. FlexiSpot offers adjustable desks to solve this problem. This article will show you how I make a DIY Epoxy Tabletop for a Standing Desk Frame from FlexiSpot.
FlexiSpot offers many different desks sizes and colors. If you don’t have the tools or prefer not to build your own tabletop, you could purchase one at FlexiSpot. With 20 years of experience in the ergonomic industry, they offer other products like standing desk converters, desk bikes, ergonomic office chairs, and other accessories.
For this project, I wanted to make my own tabletop from epoxy. What I like about epoxy is you get to create your own design. And if you decide a year later to change the design, you could pour another epoxy layer and change it again. See more info and pictures on my website TheDIYPlan.com.
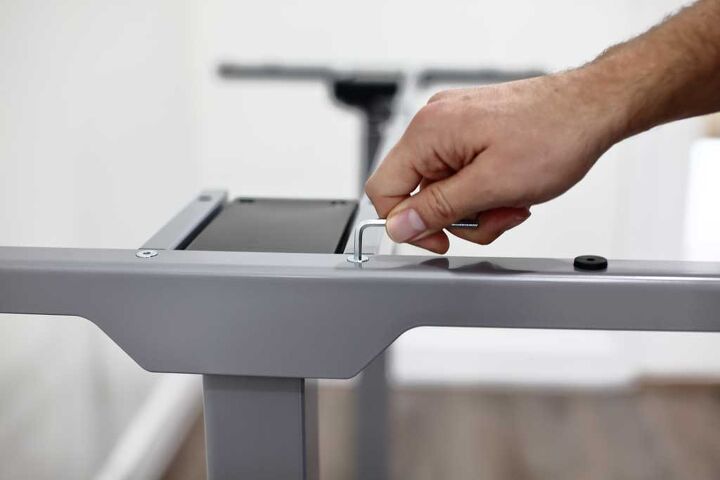
Step 1 – Assemble FlexiSpot Adjustable Frame
When making your own DIY tabletop for a FlexiSpot frame, first, you need to assemble the frame. Having the frame assembled will help you better determine the size of the tabletop.

Step 2 – Choose the Right Material for the Tabletop
I decided to make my tabletop using an MDF board and cover it with epoxy. MDF is very strong and has a good flat surface on top and the ends as opposed to plywood. Having flat or smooth ends makes the tabletop look much better.
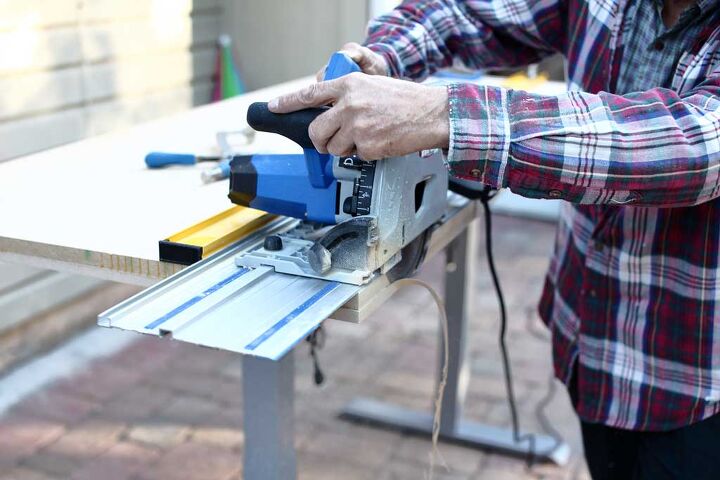
Step 3 – Cut MDF Board to Your Measurements
When cutting the MDF board, you want to use a table saw or a Kreg Accu-cut track system to make the cuts straight. If you don’t have these tools, you could always ask one of the HomeDepot employees to cut it for you. They have a table saw and will cut it for you to the exact measurements.
Step 4 – Glue MDF Boards Together
Take 3/4″ MDF board and place it on a flat surface. Then apply wood glue throughout the surface of the board. Make sure to spread wood glue evenly, especially on the edges of the tabletop.
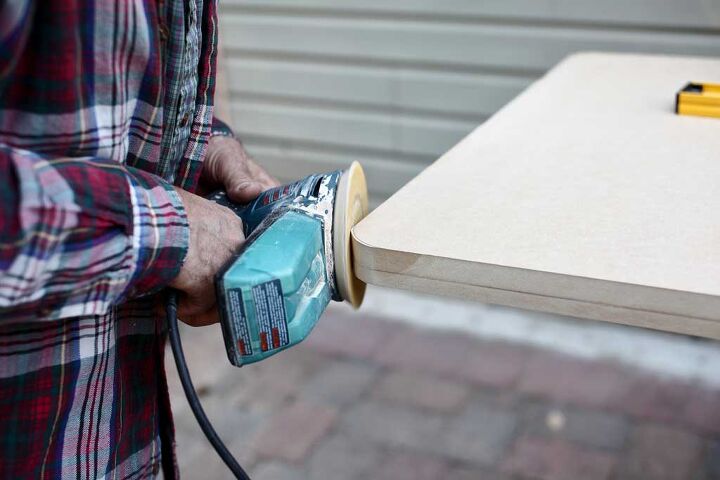
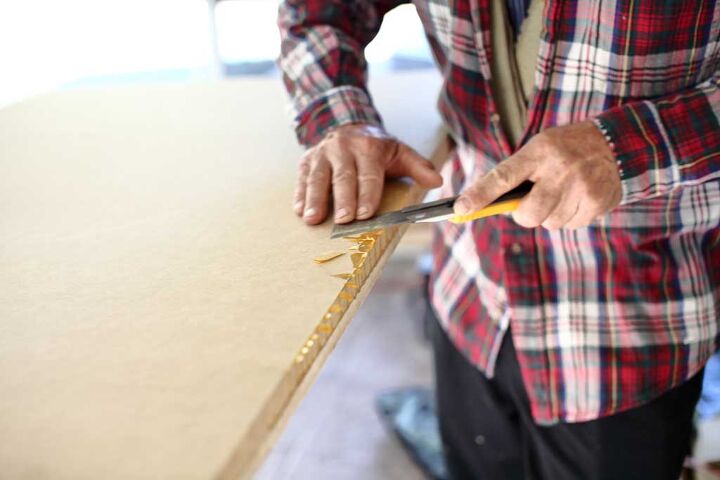
Step 5 – Cut Corners and Chamfer the Edges
Round the corners with a random orbital sander
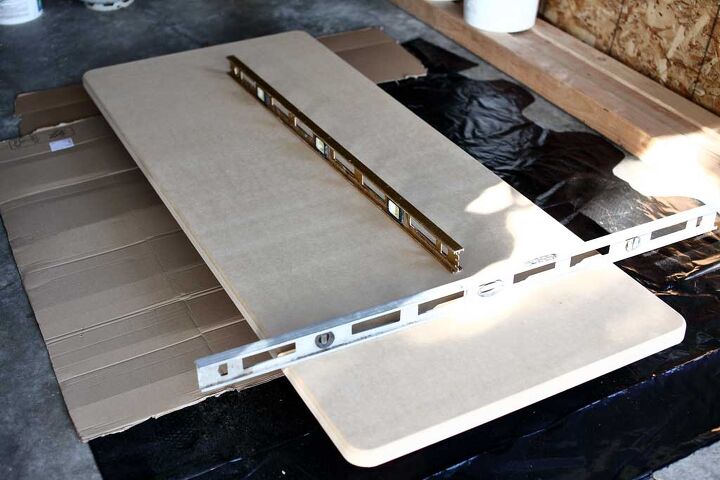
Step 6 – Prepare the Area and Level the Tabletop
Make sure the tabletop is leveled.
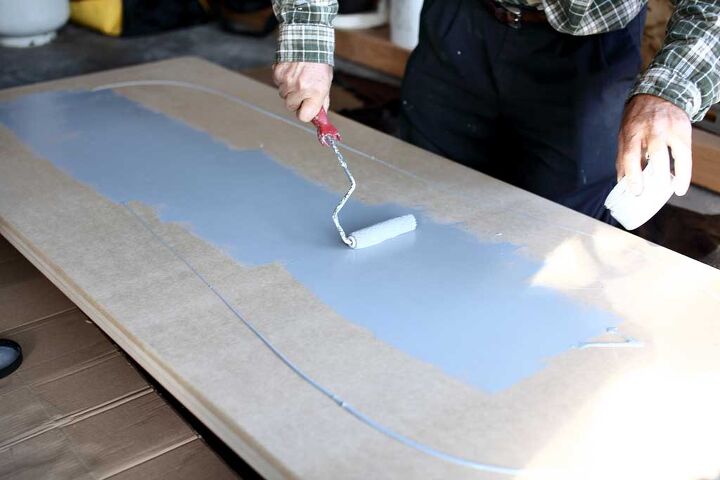
Step 7 – Apply Primer on MDF
Apply primer on top and on the sides with paint roller.
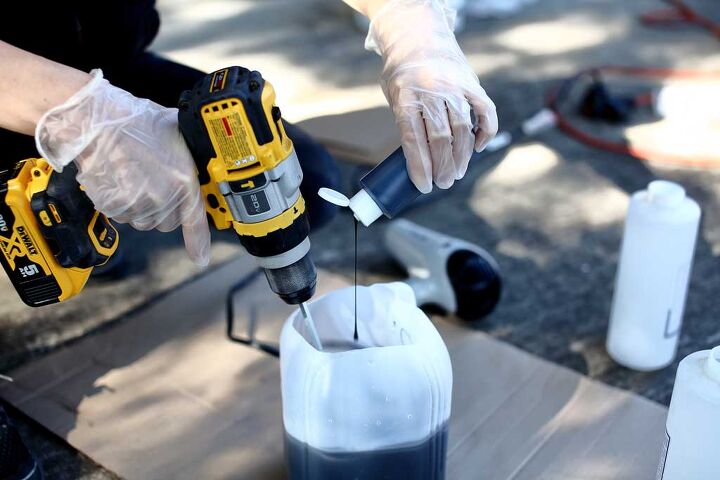
Step 8 – Mix Epoxy Resin
Then take an empty container larger than 1/2 a gallon and pour both part A and part B into it. Using a helix paint mixer, mix epoxy for about 5 minutes. You want to make sure it is mixed very well. Add black liquid dye to epoxy.
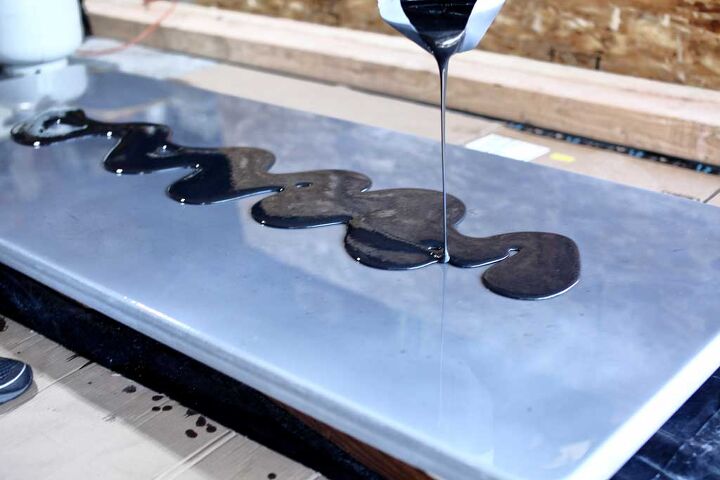
Step 9 – Apply Epoxy Over MDF
Now pour the epoxy over the MDF and spread it with a putty knife or a nylon brush. It’s easier to use a nylon brush for applying epoxy on the sides.
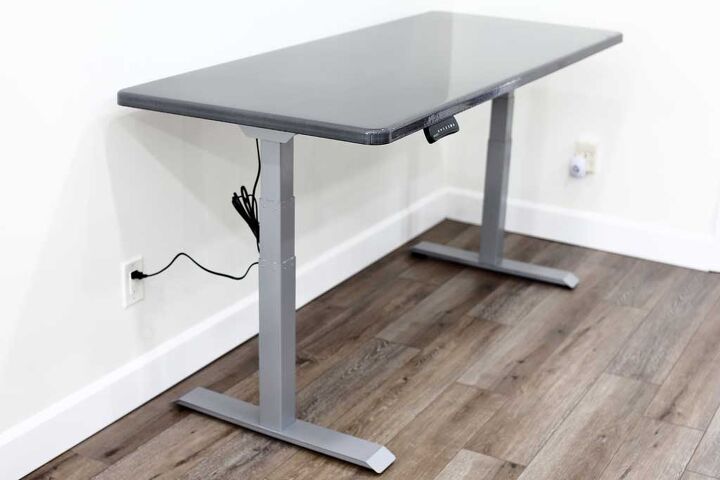
Step 10 – Attach the Tabletop to the Frame


Frequently asked questions
Have a question about this project?