


DIY Side Concrete Table
If you love this project, grab your quick start DIY guide & subscribe to our blog!
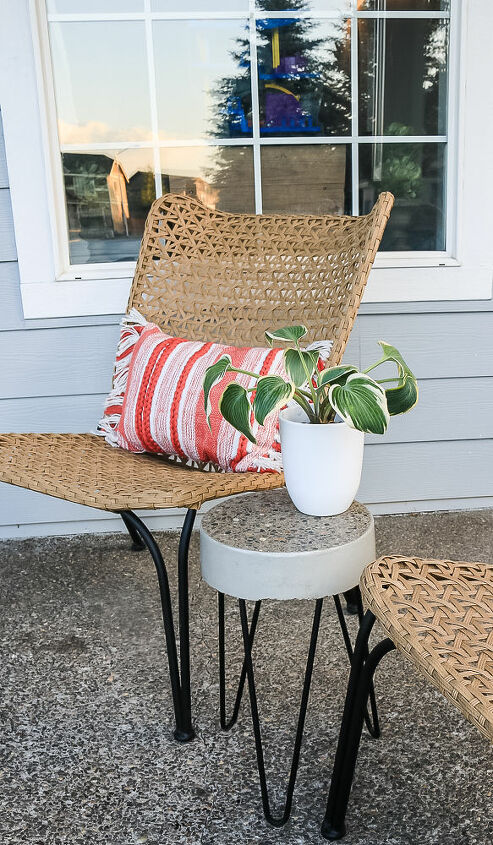
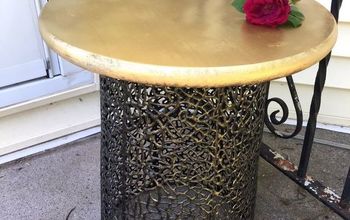
Our front porch needed a small outdoor table, so we turned to concrete! This DIY concrete side table was so fun to make & looks so cute!!
I think everyone can agree that concrete is a little intimidating. You’ve got to work quickly or it hardens up. But I really think it just has a bad rep, because it turns out that it’s pretty easy to use. We’re going to walk you through all the steps in this tutorial for a concrete side table!
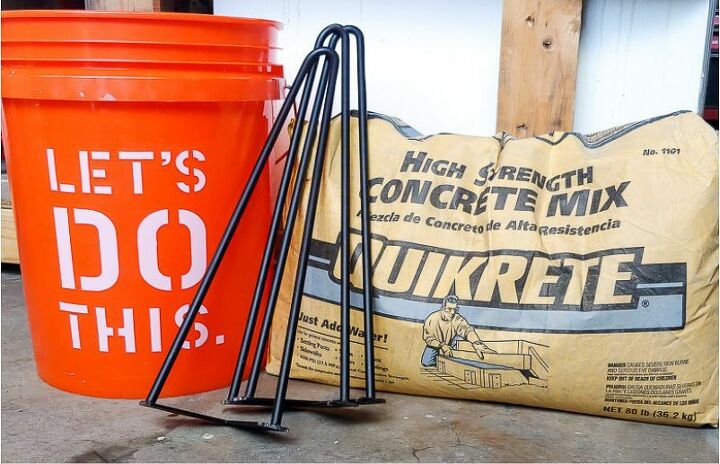
Step 1: First, you’ve gotta mix that concrete up! It’s really pretty simple. Just pour it into a bucket and add water.
Step 2: Mark inside of basket so you know where to pour to.
Step 3: Pour your concrete into the bucket to the marked line. Then you want to shake it up a little bit. This helps get rid of any air bubbles in the concrete, which can lead to cracks and chips in the concrete once it hardens. You can also tap it gently on the sides of the bucket with a rubber mallet to get rid of the air bubbles.
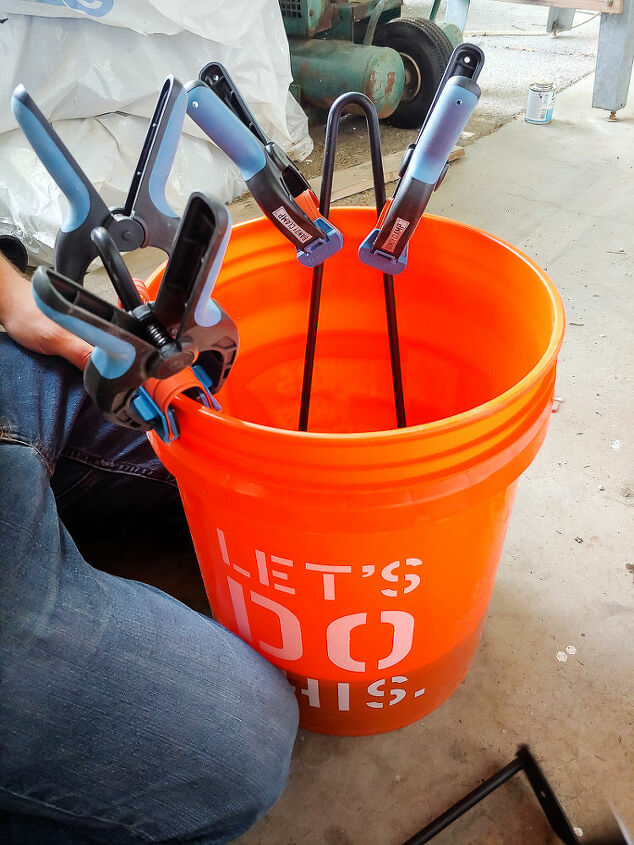
Step 4: Step in and secure legs.
Before we got started on the concrete side table, we did cut off the tops corners of the hairpin legs on the base to make them rounded.
We set the hairpin legs in so they were equal distance from one another.
To make sure they were nice and level, we simply measured from the top of the bucket to the bottom of the leg that was sticking out and made sure they were exactly the same before securing them in place. We used these super handy clamps to keep them in place while the concrete hardened.
Step 5: Remove the bucket. Waif for atleast 2 days for the concrete to fully harden. This may vary based on your climate and humidity.
To remove the bucket, flip the concrete side table right side and tap on the outside of the bucket with the rubber mallet. You’ll be able to see the concrete “unsticking” from the bucket. Then, just gently pull the bucket off.
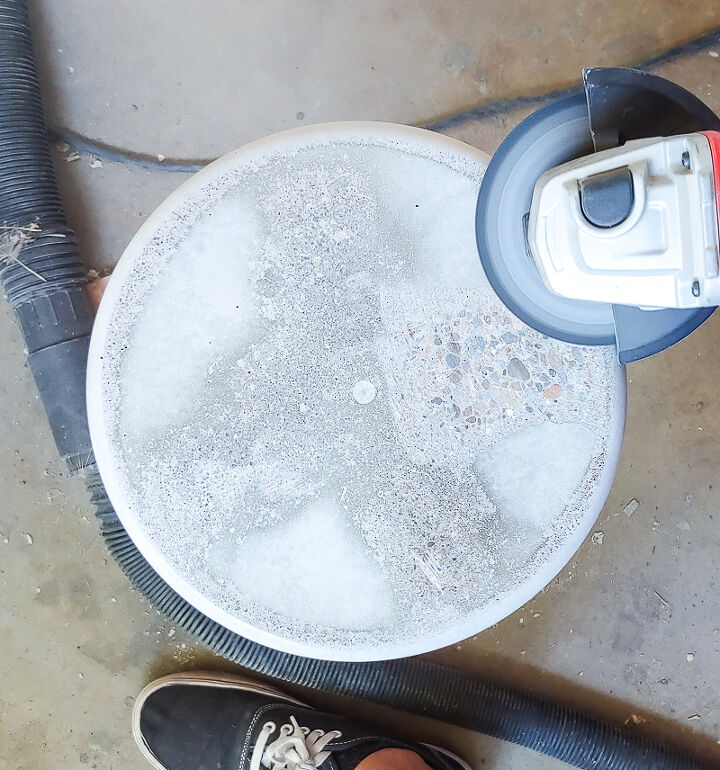
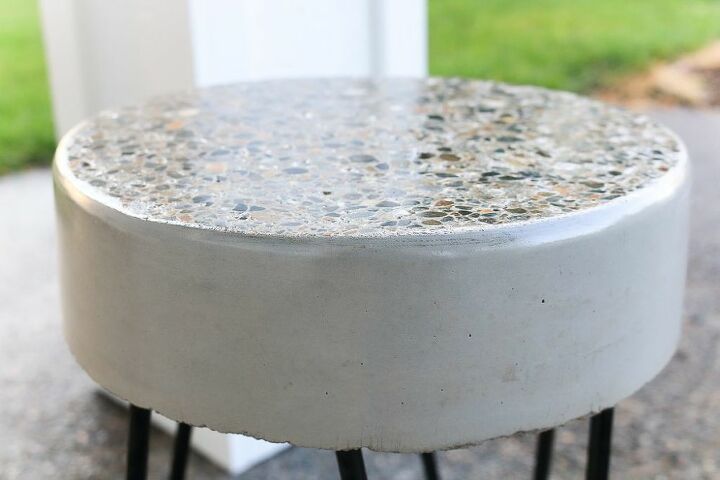
Step 6: Sand and level top using the girnder with a masonry griding wheel. Use belt sander to smooth everything out.
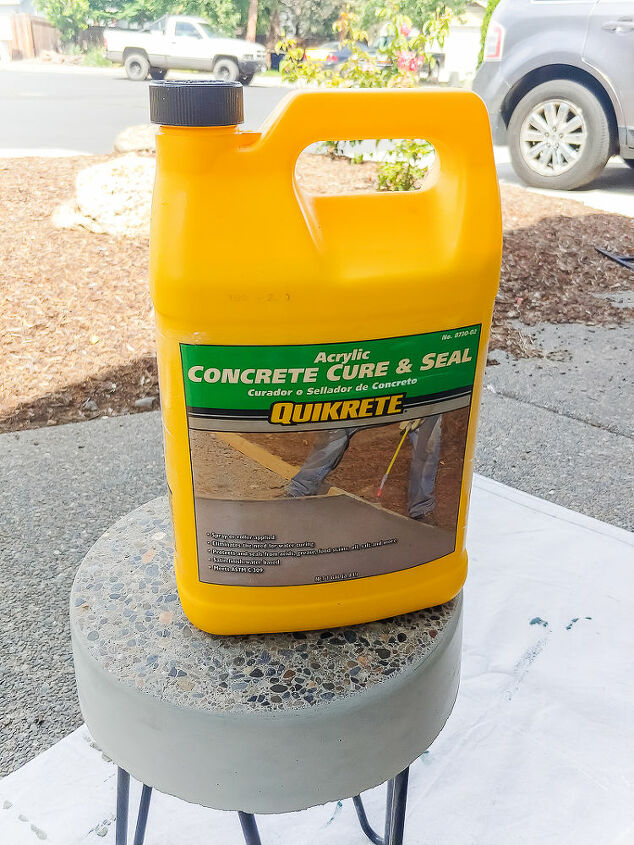
Step 7: Brush the sealer on with a foam paint brush as evenly as possible on the sides and top of the concrete.
Also, be sure you tape off the legs before sealing!
Enjoy your concrete side table.
Have you ever done a concrete project before?
Resources for this project:
See all materials


Frequently asked questions
Have a question about this project?
How did you get the stone pebble look to the top of the table?