


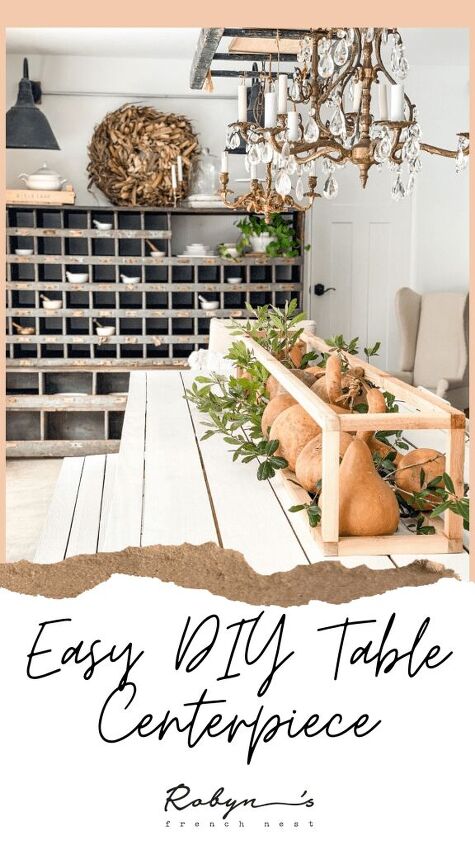
How to Make an Easy DIY Table Centerpiece

by | DIY, Tablescapes
Check out this simple, budget-friendly DIY table centerpiece, perfect for seasonal decorating or your next special event!
You all know how much I love a pretty tablescape; they are one of my favorite decorating things to do! Usually, the first thing I consider for my tablescape is the centerpiece. Sometimes, a simple jar or pitcher of flowers is all you need. But when a DIY table centerpiece can fit the bill, I’m all for that too! I love creating pieces that can be used over and over.
We recently did a DIY table centerpiece for our niece’s wedding and I loved how it turned out! Even though you may not be wedding planning, this centerpiece idea could be used for so many seasons and events. Best of all, you can easily tweak the dimensions to make it work best for YOUR home!
Before we dive into the “how to”, let’s chat about what makes a great table centerpiece, ideas for things to use, and some tips for even deciding on a centerpiece!
How to Choose a Table Centerpiece
There is a ton of room for personal preference and I actually love that a centerpiece is a great opportunity to express your design style! Whether creating an everyday centerpiece that remains on your table for the whole season or switching it up for a special tablescape, centerpieces can be a lot of fun and can be as simple or extravagant as you want to make them!
Size and Scale of a Centerpiece
When I start to think about a centerpiece, I first thing of size and scale. While simple centerpieces are beautiful, I like to make sure that every guest at the table has a “centerpiece”, so to speak. Instead of one jar of flowers, I like to use three jars and spread them down the table. Or instead of one grouping of candles, I may scatter a few groupings of candles and candlesticks down the length of my table.
Always keep in mind the amount of space you’ll have once your place settings have been set. If you’re uncertain, try putting your place settings down first and then plan your centerpiece. When I am setting the table, I almost always start with my place settings for that very reason!
Whether creating a DIY table centerpiece or using decor that you already have, you’ll want to consider height. If I am creating a tablescape for an event, I like to make sure that guests have a decent line of sight to the guests near them. There are a lot of different opinions about that and rightfully so, as there are varying scenarios. For example, if I’m doing a round tablescape, I am not terribly concerned if everyone has a pure line of sight all the way across a large, round table. They aren’t really going to be chatting with someone six feet across the table! Again, this is a lot of personal preference, so just consider your guests.
If I am creating a centerpiece that is going to stay on my table for a particular season, I don’t worry about height at all. I like to create pieces that can be easily moved down if we are having a family dinner. For those everyday centerpieces, I tend to go large and make them statement pieces for the dining room!
Favorite Items to Use for Centerpieces
Here is a list of my go-to centerpiece items. Since I love creating tablescapes, I always keep an eye out for interesting things that could make unique centerpieces or even items that I can turn into a DIY table centerpiece!
- Vintage French zinc pitcher
- Large ironstone pitcher
- Vintage zinc bucket
- Vintage European pickling jars
- Collection of vintage jars (these French green ones are my favorite!)
- Collection of old bottles ( amber are great for fall or the French ones for spring and summer!)
- Brass candlesticks
- Vintage dough bowl with candles or seasonal items like gourds, lemons, or pinecones
DIY Table Centerpiece
Why a DIY?
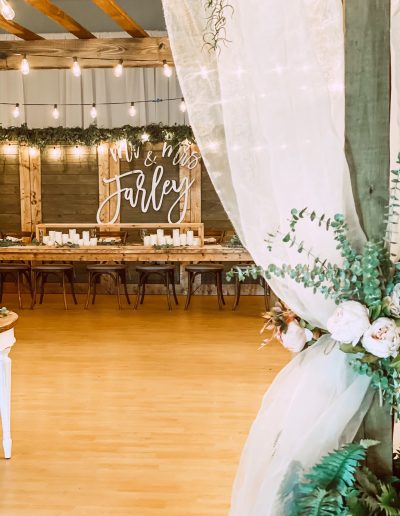
If you’re still needing something unique, like we did for our niece’s wedding, you may want to consider a DIY table centerpiece! For the bridal table (which was about 18 feet long!), we needed something very long. However, we didn’t want to hide the bride and groom for their reception! So we needed a centerpiece that would be short enough that they could still see and be seen.
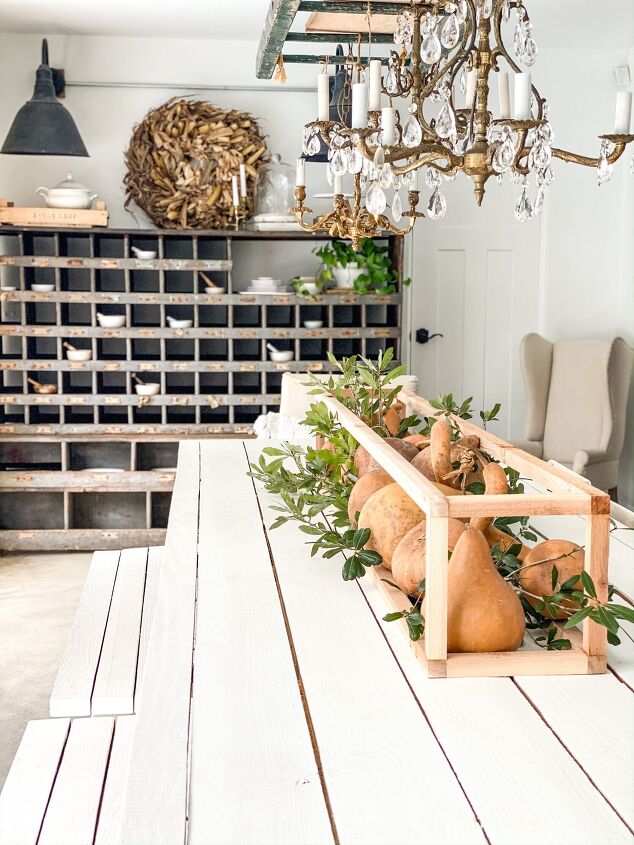
To go along with the rustic chic style of the reception, we opted for a simple wooden frame. The reception venue didn’t allow real candles, but the bride loves lots of light and candles. We ordered battery operated pillar candles and decided to turn them into a statement.
Grouping a collection of items is always a great way to make a beautiful statement, whether it is on a tablescape, bookshelf, or any kind of decor space.

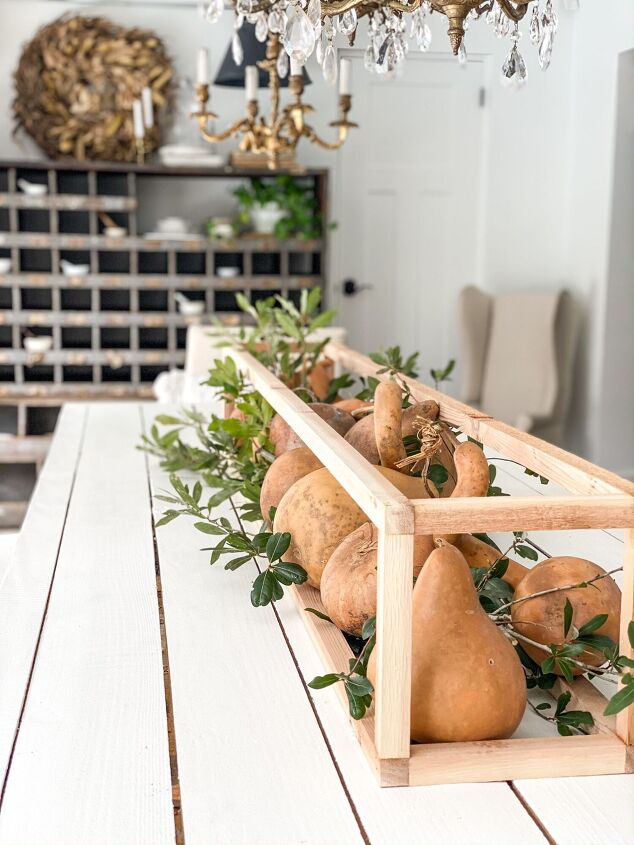
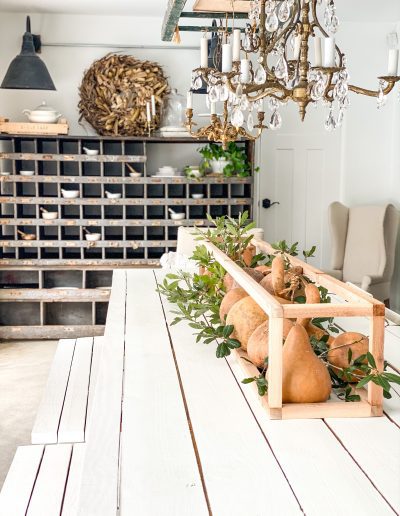
I love that this DIY table centerpiece will allow for grouping items for a big statement on the table! Whether it’s candles, candlesticks, jars or bottles of flowers, or seasonal items, such as pumpkins or Christmas trees, it has a lot of possibility!
To fit the size and scale of the bridal table, we made our DIY table centerpiece six feet long. You may want to shorten the length for a more standard dining table! If I were making this for my eight foot dining table, I would make it no longer than four feet and probably closer to three feet.
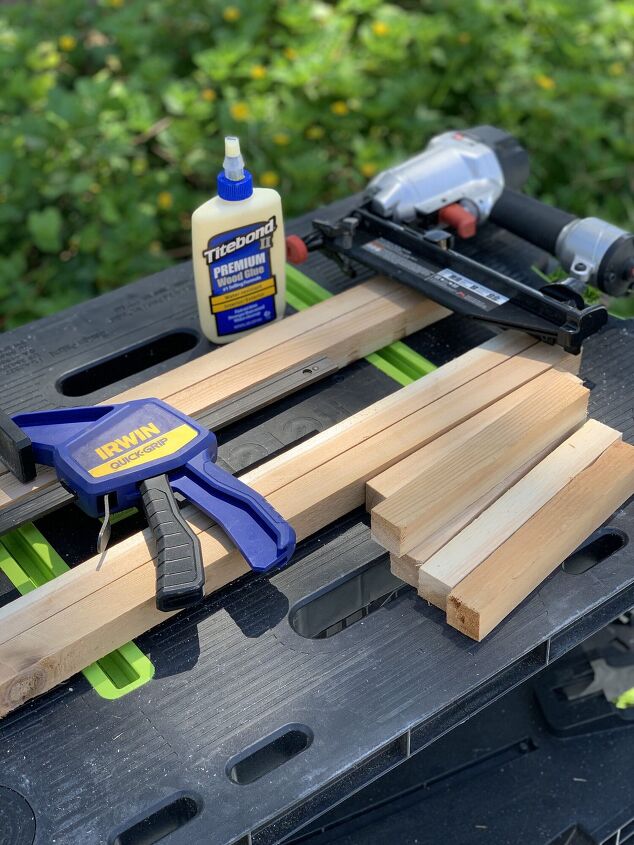
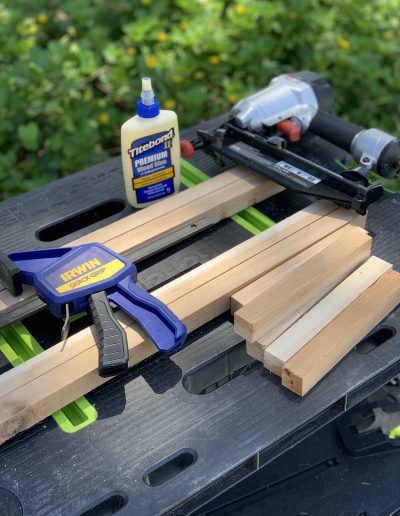
Materials for DIY Table Centerpiece
- Wood (We used spruce, ripped down to one inch square)
- Wood Glue
- Finish Nails
- Clamps
DIY Table Centerpiece Step One: Material Prep
The first (and most important) step is to decide on the type & cut of wood. We wanted a rough, unfinished look. Our first choice (cypress) was unavailable, but a 2x4x16 piece of spruce worked great instead. As an extra bonus, it smells great!
If you plan to staining or paint your centerpiece, an everyday 2×4 may work just as well.
Since we had a specific dimensions to work with, we cut the two by four into the lengths we needed (ripped to approximately one inch square):
- 4 Six foot rails
- 2 Four foot pieces (Cut to size in next step)
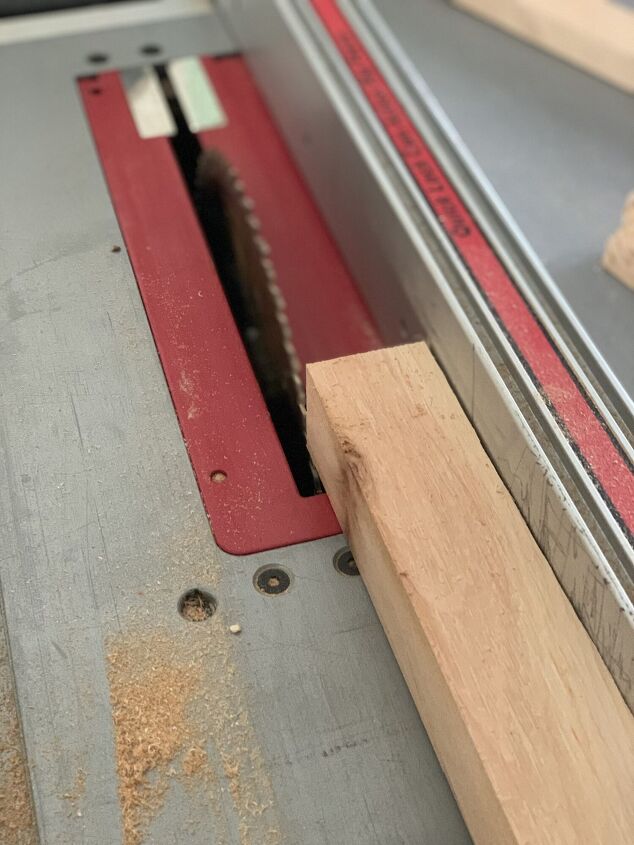
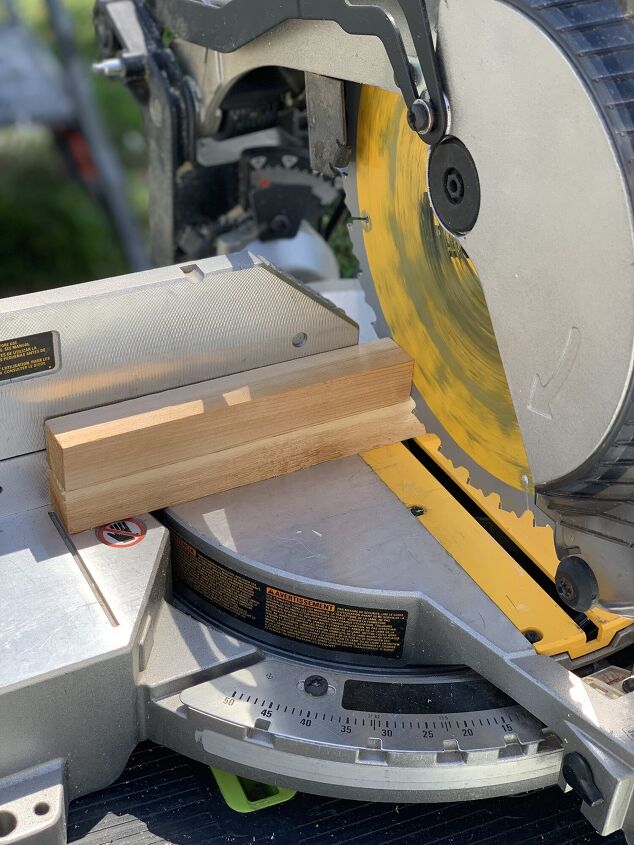
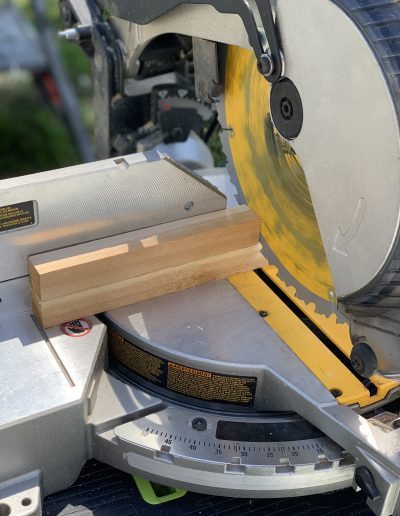
Disclaimer: We are not master woodworkers–far from it! But we did discover a new-to-us way to cut the right length every time. Instead of marking the length with a tape measure each time, or using an existing piece as a template to mark on the new piece to cut, we:
- Cut our first piece
- Stacked it on top of the next piece to cut
- Slid the stack over until the template was snug to the (non-moving!) saw blade
- Removed the template piece & and sawed away (see video below)
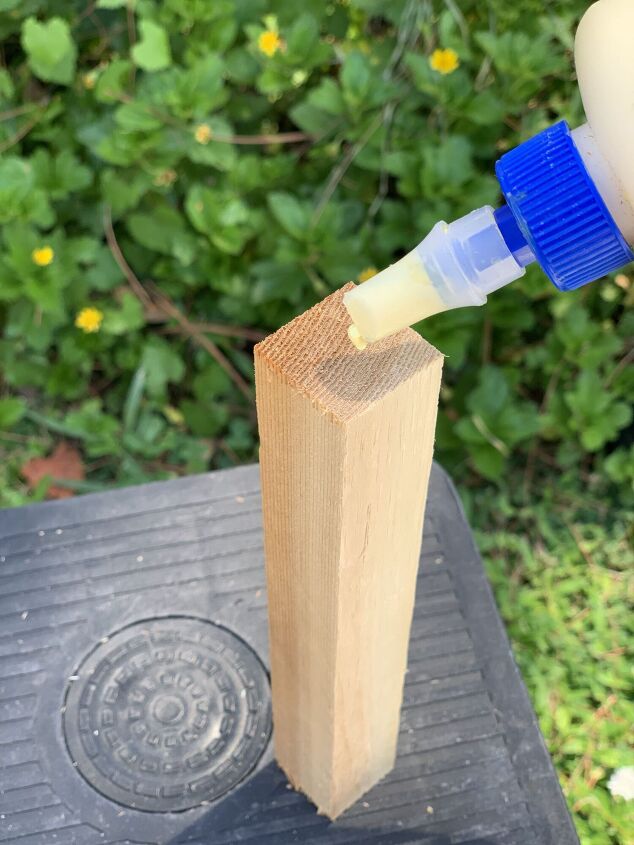
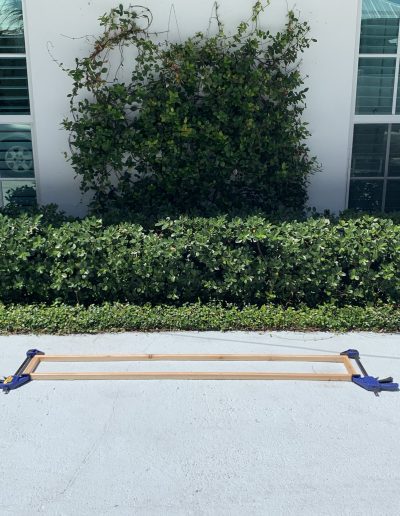
Step Two: Glue & Clamp
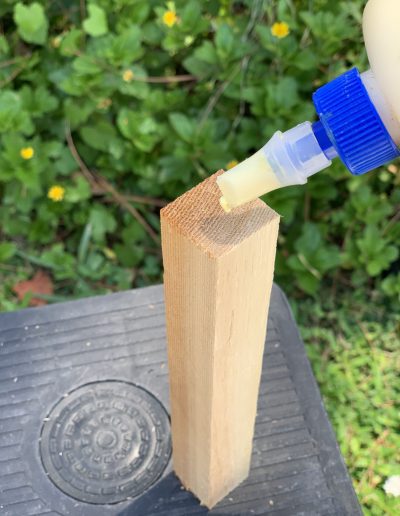
Now that we had our wood cut to length, we next glued the pieces together in sections.
- First, we glued two short support pieces to the two six foot rails
- Tip: Keep a damp rag on hand to wipe away excess glue.
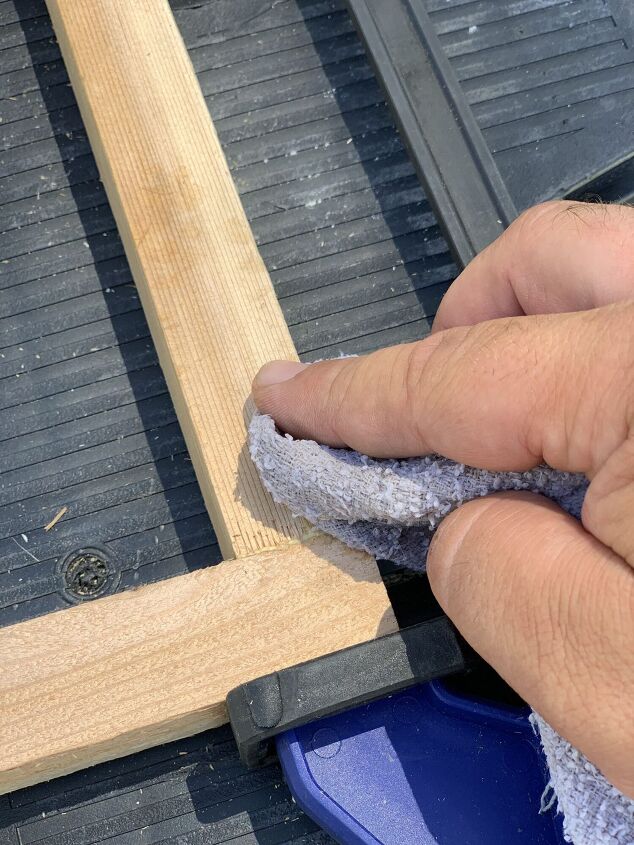
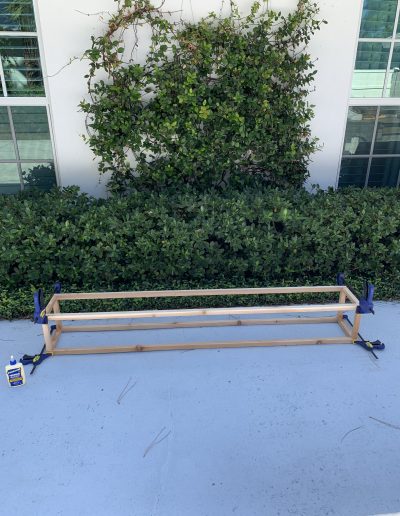
- We clamped the side rails together and laid it out to set.

Step Three: Final Assembly
Once we glued both side rails together, the end was in sight! We just:
- Glued more 8″ support pieces to connect the side rails
- Clamped them together

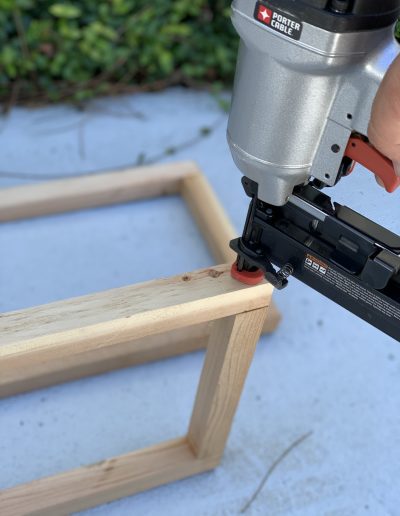
- Once the glue was dry, we removed the clamps & nailed the corners
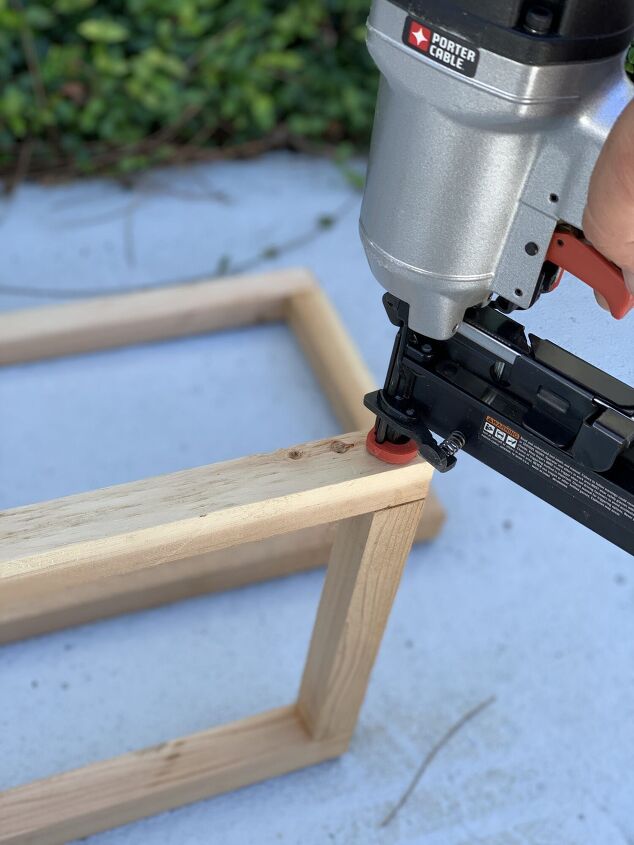
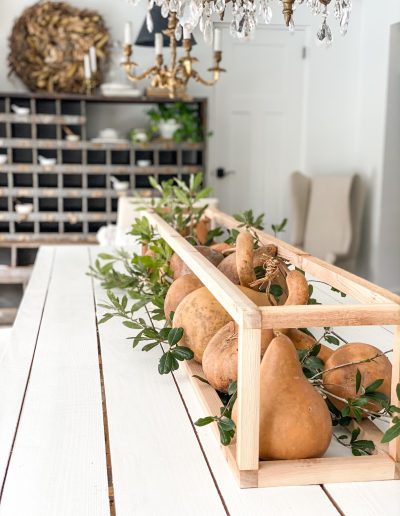
AND it’s done!
While at first glance, it seems like a very simple, wooden box, this DIY table centerpiece is full of possibilities! I’d love to hear if you decide to make one! In the comments, list a few things that you would use to style this centerpiece! Let’s help my niece have a long list of decorating ideas since she is taking this to use in her new home!
I’d love for you to follow me on social media! You can find my home decor inspiration on Instagram, Pinterest, and Facebook!
Blessings,


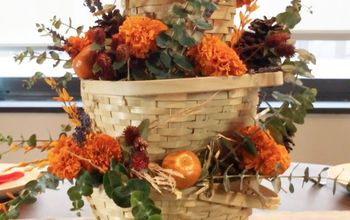
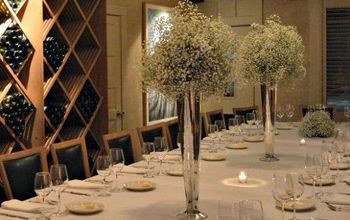
Gallery
DIY fall centerpiece ideas
Resources for this project:
See all materials


Comments
Join the conversation
-
Pretty 💗💗💗
-
I think we're going to give this a try. It is amazing. Thanks for sharing.


Frequently asked questions
Have a question about this project?