


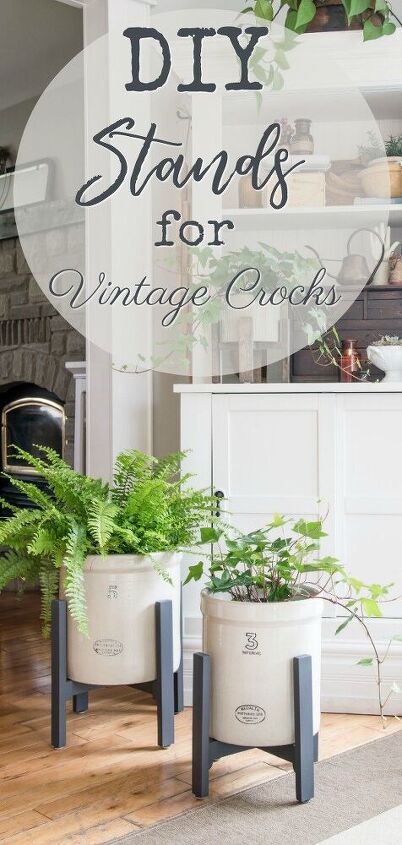
DIY Stands for Vintage Crocks – Cozy Living
Happy May friends! I say this VERY tentatively but I think Spring might just be here – like all the way here, finally!!! Our cozy living series is back for another month with some springspiration for you. I truly hope that Spring has sprung where you are too?
This is month 5 into our cozy living series (5 months already?), my lovely friend, Jennifer from Town & Country Living is our gracious hostess and I must admit I look forward to this series every single month! I’m joined by some highly talented friends and they always share the most cozy posts, so stick around until the end – you will be in for a treat.
If you’d like to see what I’ve posted about so far in the, Cozy Living Series, you can visit those posts here.
AND
You can follow along with this hashtag on Instagram to see more super cozy ideas!
I’m an odd duck
You guys, I’ve had this project in my head since forever – seriously!!! Well, ever since I saw these plant stands online (image below)! It’s not super clear to me who first offered these cool plant stands before all the knockoffs arrived (warning – Pinterest rabbit hole), was it West Elm, was it Wayfair or was it Ikea? I dunno? Seriously though, I don’t know! What I do know is that there are a ton, SO. MANY. DIY tutorials out there! Phew!
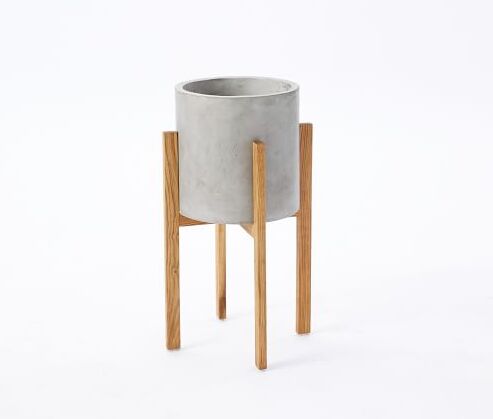
Image source
sadly no longer available – but SO build-able you can totally make your own!
It seems like everyone has built one of these! Of course, being the way I am I didn’t follow any of the bajillion tutorials (I’m an odd duck)… that’s kind of why all 3 of the ones I did build are a little different – *spoiler alert, the last one I built is my fave and the easiest!
I wanted this to be a fast and easy project and wanted to figure it out myself, call me stubborn, maybe I am – or maybe I’m lazy? A little from column A and little from column B. 😉
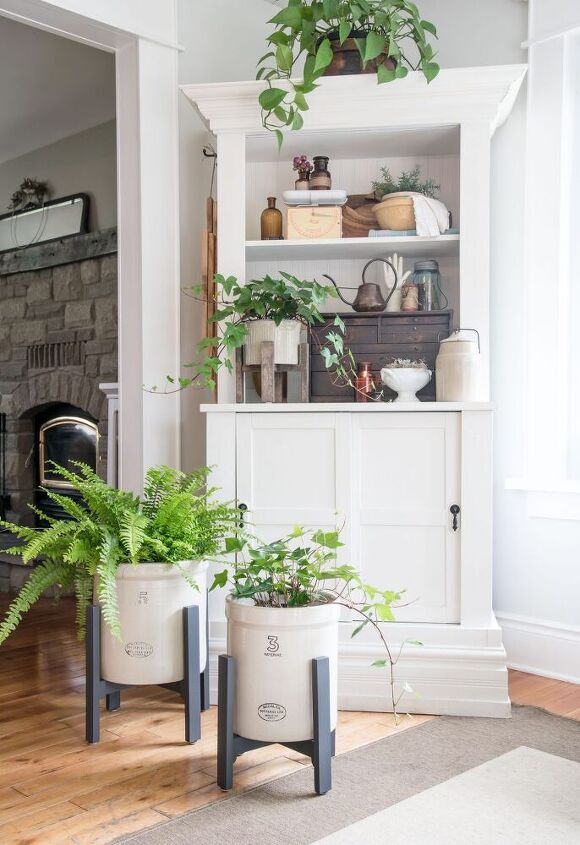
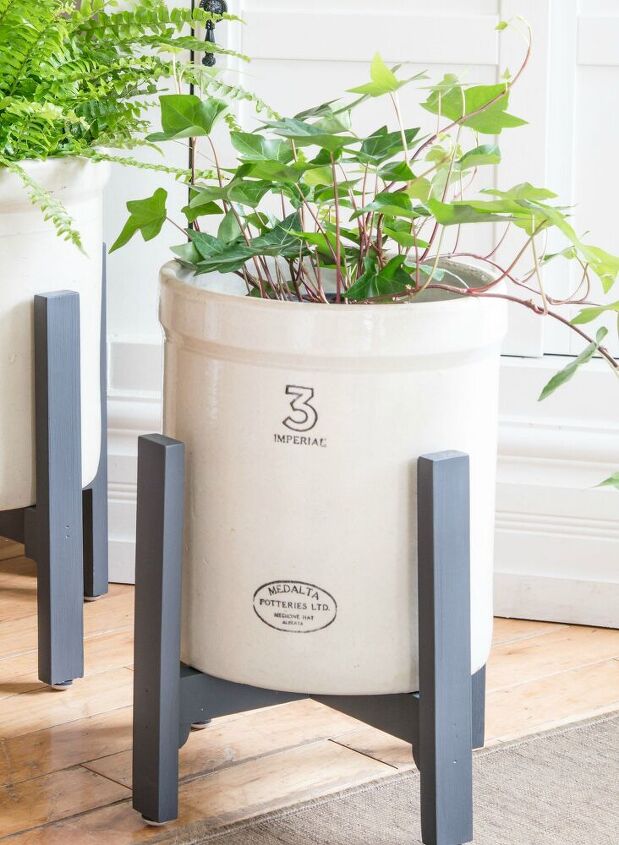
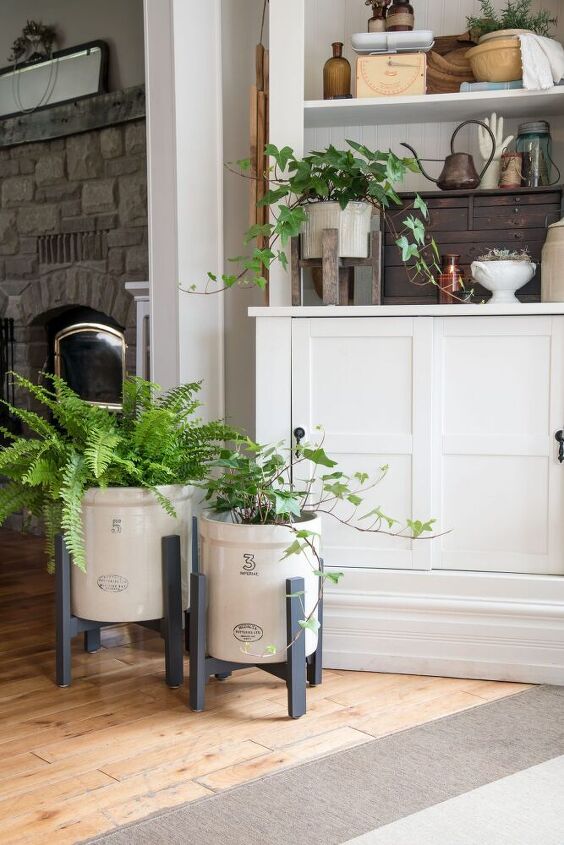
In my research for this post one thing I noticed over and over, the key words – when I was searching Pinterest the key words were always, modern & mid century… I always think, really? I don’t necessarily see modern – maybe MCM (aka just vintage)… and being the vintage lover that I am I wanted to adapt these cute plant stands for my own vintage eclectic aesthetic – AND plants, come on – what’s not to love?! As many times as I’ve seen these online though I haven’t seen any vintage crocks in them… bingo that’s what I wanted to do – show those vintage crocks some love too – like really elevate them (hahaha), don’t just plop them on the floor (not really a plopping, more like gently setting them on the floor)! Speaking of which, one of the cringy (totally a word) things I find about crocks, when they are larger and on the floor – the sound of them on the floor when I need to move them – ugh. Yet another reason to get these bad boys off of the floor.
And now for me these become not only plant stands, they also become crock stands… crocks filled with whatever you’d love to fill them with, crocks on stands!!! Mind blown. 😉
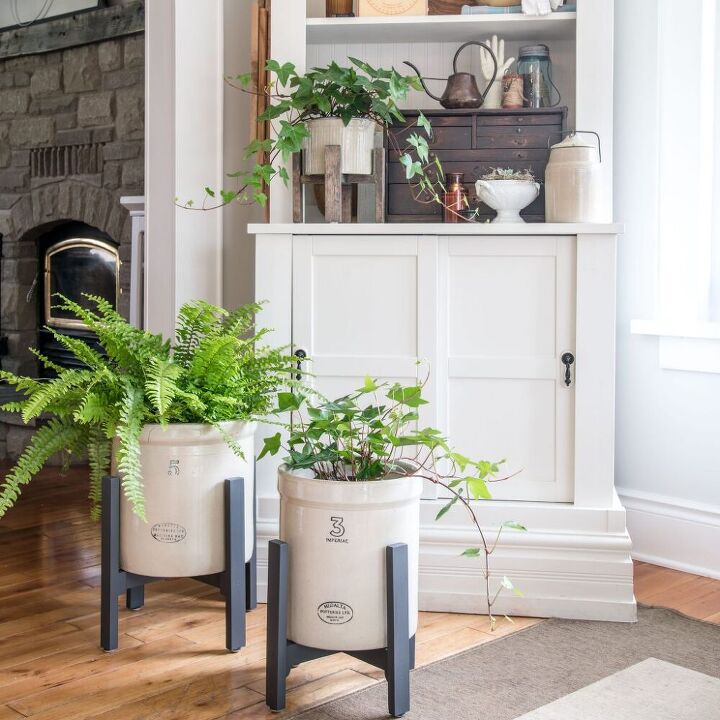
So crock stands it is!
How I made these (newly named) crock stands
Things you will need
1 x 2 clear pine
Nail gun – or screws
Carpenters / wood glue
jig saw or band saw
Paint (and brush) and your favourite colour, mine is – Fusion – ASH
Nail-on furniture glides or felt pads
****Always use eye and ear protection if operating power tools, your peepers and ears with thank you later! ****
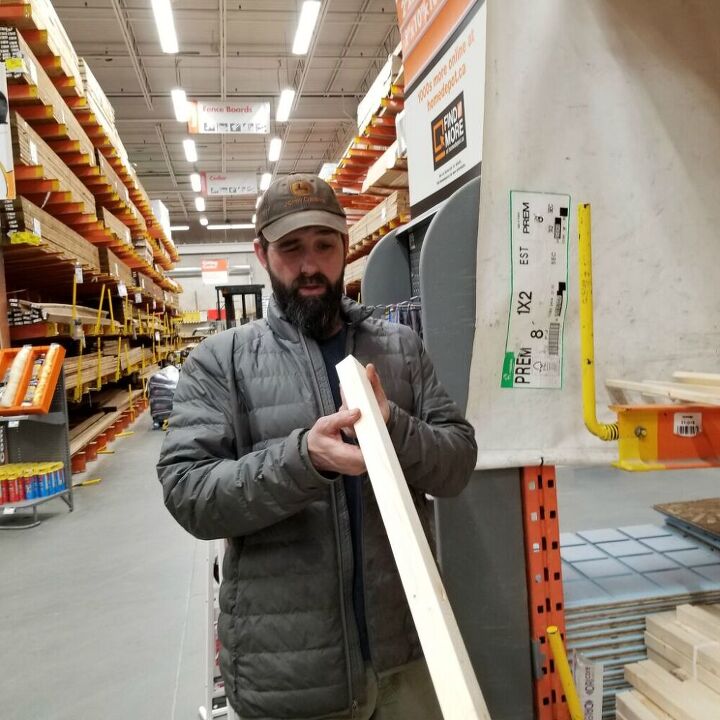
Pick out straight pieces of wood (sometimes tricky) at your local hardware store, my lovely assistant helping me here. *Note the concept was to originally go with 2×2 pieces (as shown here) but the scale I felt was too large.
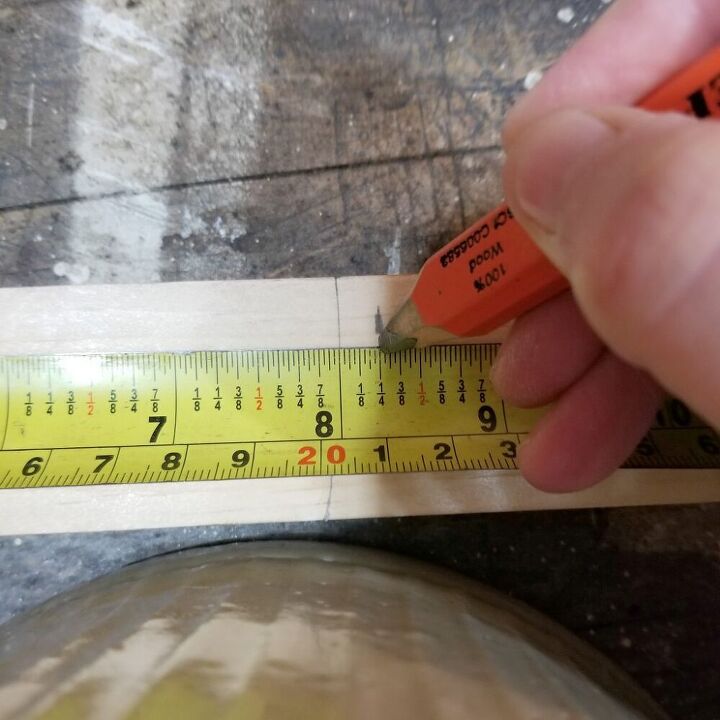
Measure the crock at it’s widest part and add at least a 1/2″ extra in the total measurement. (1/4″ on each side)
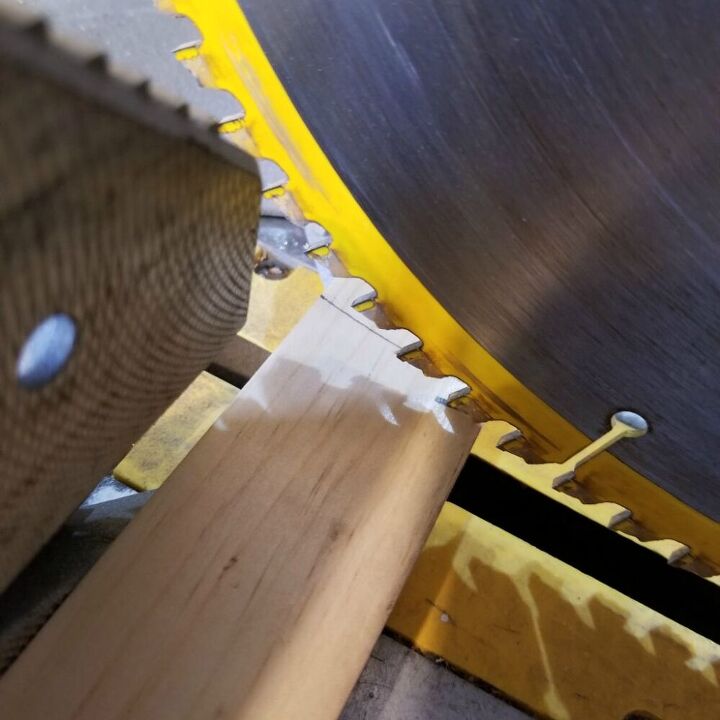
Cut your 1 x 2 measured pieces to length (I used a miter saw, but a jig saw works beautifully too). I decided to use the same measurement (size of crock + 1/2″) for the centered X and the 4 legs. It just made everything easy. 2 for the center X and 4 pieces for the legs – 6 equal pieces of 1 x 2s.
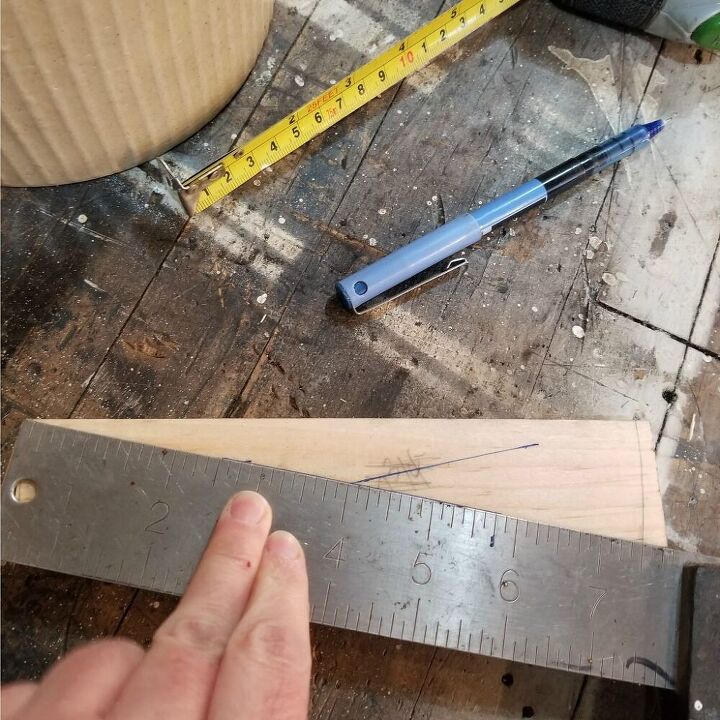
Take 2 of your pieces and find the center of each piece. Lazy girl talking now… to find the center I just used a ruler and lined the ruler up – opposite corners and drew an X, where the center X meets is the center of the board.
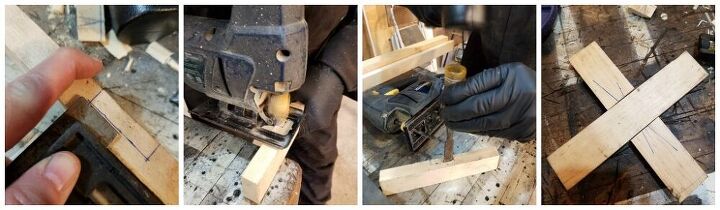
Keeping with the theme of easy… I decided to lay the pieces flat and sandwich them together as the base of the small crock – I notched pieces out of each one and fit the two opposite pieces together in an X (aka X-base) as shown. Glue and brad nail as needed.
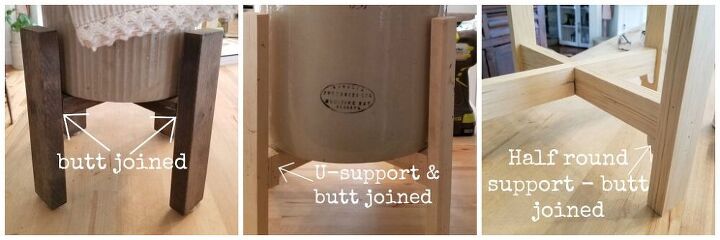
Without getting into each specific way I joined the X-bases to the legs I just wanted to show you how the connections look – hopefully this makes sense to you? If not ask away and I will try to explain. Basically I butt joined the X-base(s) to the legs, using glue and brad-nails. U support was a long and drawn out process… so I’m not even going to go there. But the half round support could not have been easier. Notch 4 half rounds out of your spare cut-off wood, place the flat edges, 1) against the leg at the determined height, 2) flat edge up so that the X-base can lay flat on top of that. Glue and nail as per. Glue and lay your X-base on top of the little half round supports, once they are all installed, I then brad-nailed on the outside of the legs in towards the X-base to attach and secure the X-base. I just confused myself there… hahahahaha hopefully you are a visual learner, like I am. 😉 Sand all of your stands down and finish as per your tastes, then simply enjoy YAY!
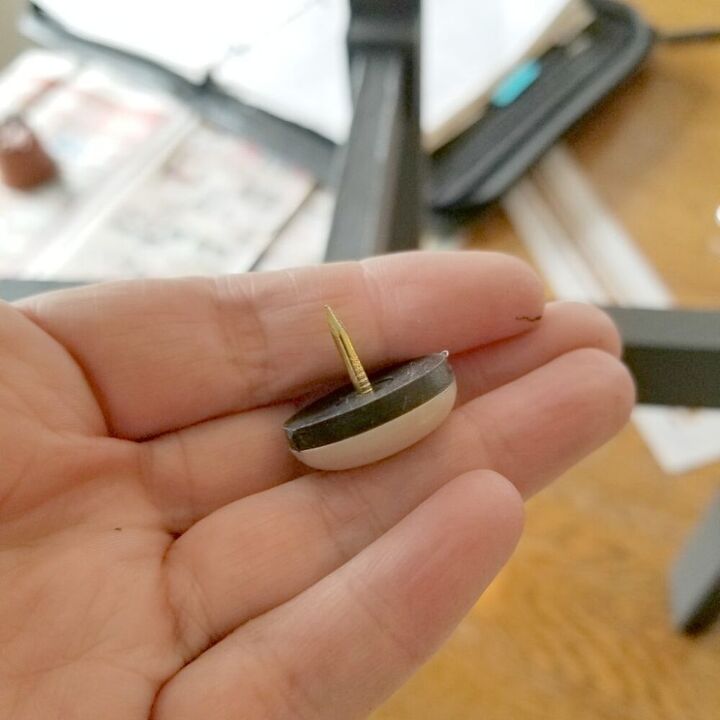
As a finishing touch I added nail-on furniture glides on the bottom of the stand’s legs, this allows me to move the stands around much easier – you could also use felt pads.
Thank you so much for stopping in, I hope you’ll try and build your own crock AKA plant stands… if you do, tag me! I’d love to see them! AND remember, crocks like to be cozy too! haha Cheesy I know, can’t help myself!
Our cozy living team is a bit smaller this month, life is very busy this time of year, isn’t it?! Pop on over and visit my friends find some cozy inspiration. Until next time friends, take care! xoxo
Town and Country Living – Vinyet Etc. – Duke Manor Farm – Finding Silver Pennies
Pin – DIY Stands for Vintage Crocks
Resources for this project:
See all materials


Comments
Join the conversation
-
Love this idea!!! Just pinned it under my husband’s “honey do list”
thanks for sharing.
-
Great idea. Looks great. Better than sitting on floor IMHO. Funny your favorite way was the third time. After all experience is our best teacher. Thanks for sharing


Frequently asked questions
Have a question about this project?
I have old crocks like these but they REALLY heavy! These are sturdy enough to support heavyweight crocks?