


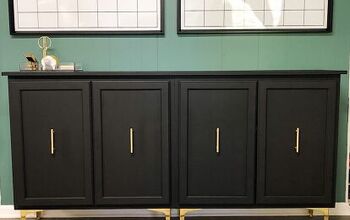
DIY Wall Mounted Floating Cabinet
10 Materials
$70
2 Days
Easy
Here's a simple and effective way to build a wall mounted floating cabinet!
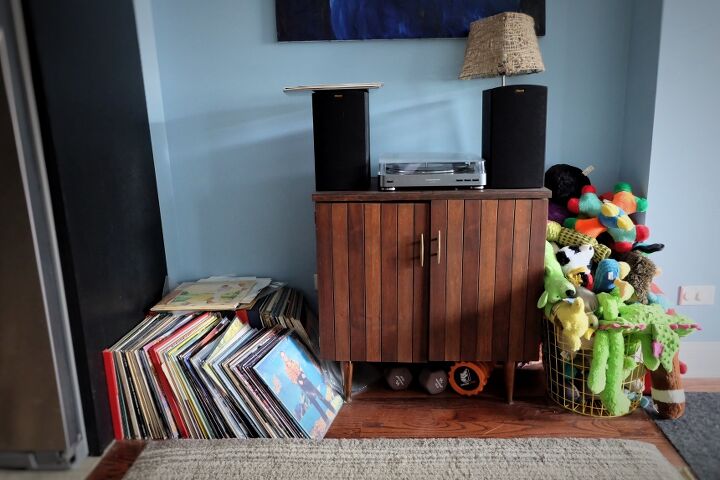
After we were suddenly gifted a boatload of vinyl record albums, we ended up with a disorganized storage disaster. Well, not to mention Finn's toys....
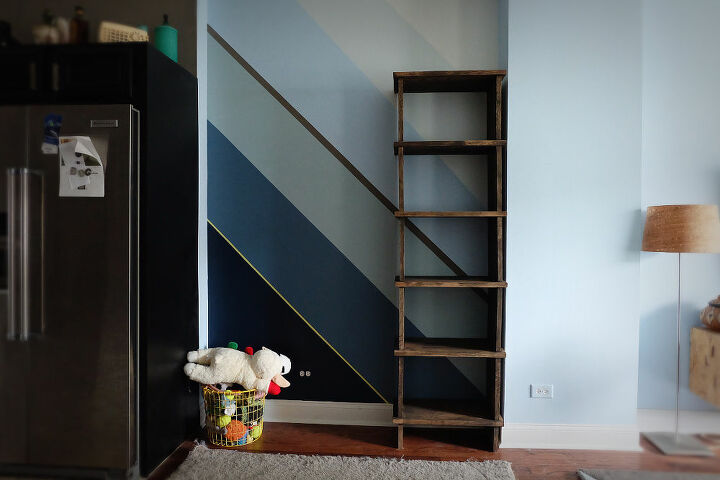
The first part of this project was assembling ....well wait, the first part of this project was painting the wall. Originally I hand painted a florally scene which Hometalkers loved but I ended up painting over it into stripes which Hometalkers thought was terribly boring.
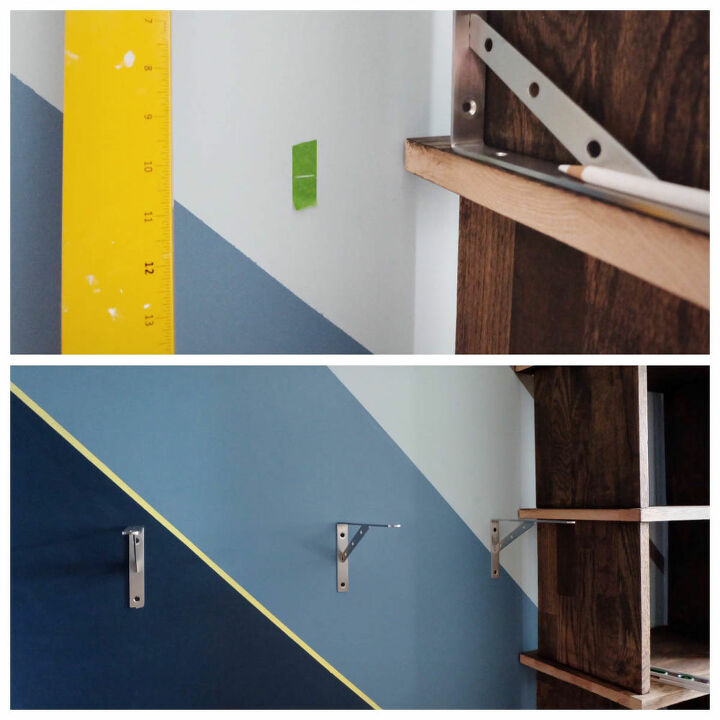
For the wall mounted stereo parts cabinet, I ordered up some heavy duty solid stainless steel shelf brackets, the key to the floating.
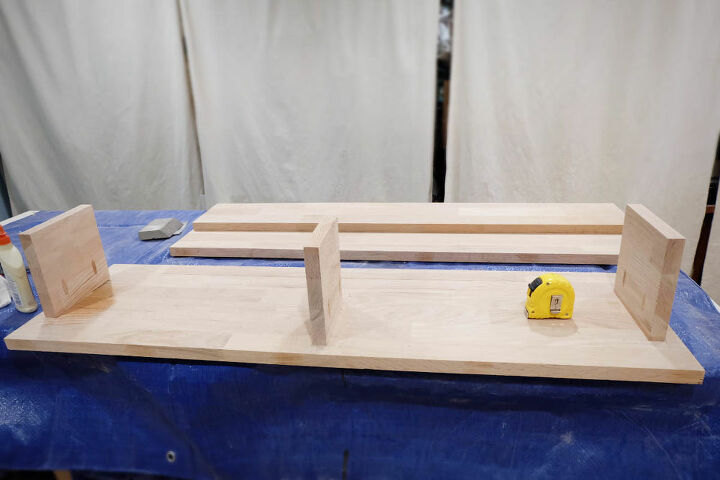
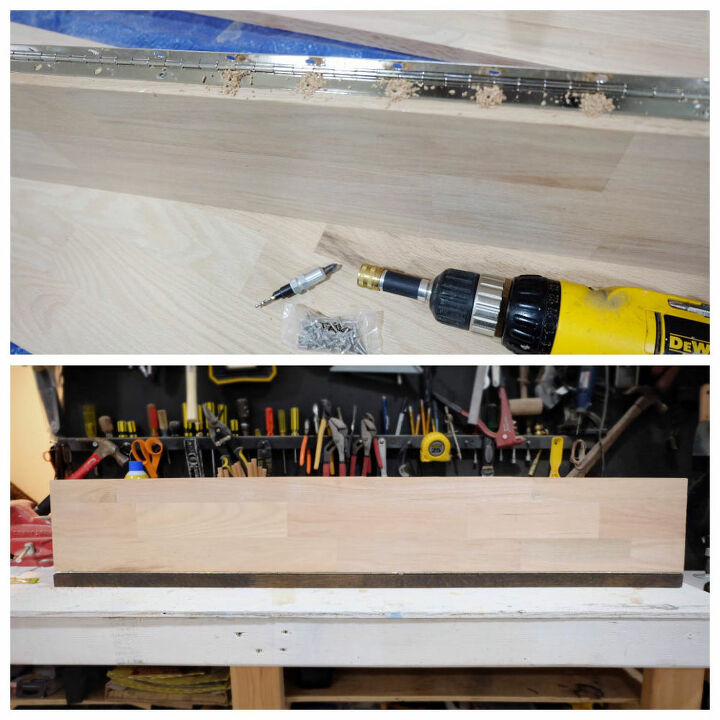
So the next part of this project was to build the cabinet.
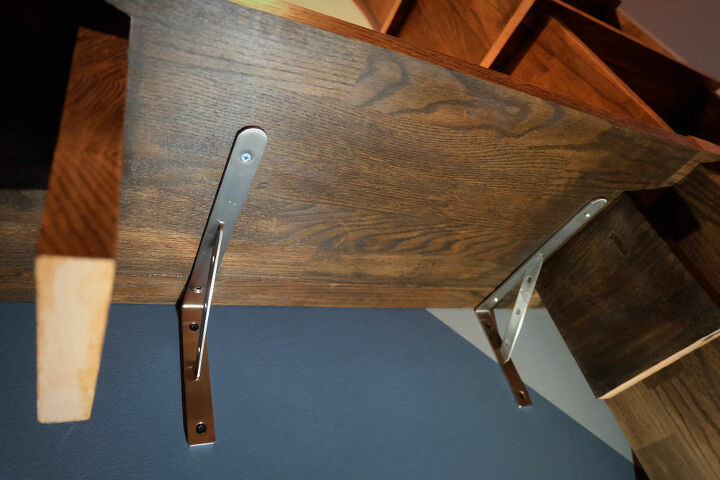
After staining and sealing the wood, I set the top on the brackets and screwed them together from below.
Next I attached a door panel (I left it unstained by choice) using a piano hinge. This door panel attached to the bottom of the cabinet to fold out and down. Tip: I had to trim the hinge; I used an angle grinder, easy peasy.
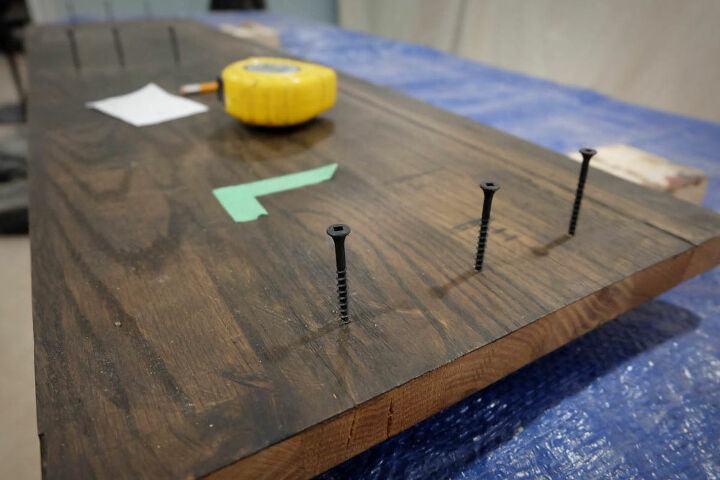
On the underside of the bottom, I measured out where it would meet the top's supports, pilot drilled some holes, then set some screws in the holes. To avoid confusion, see I taped an "L" on the bottom for "left side."
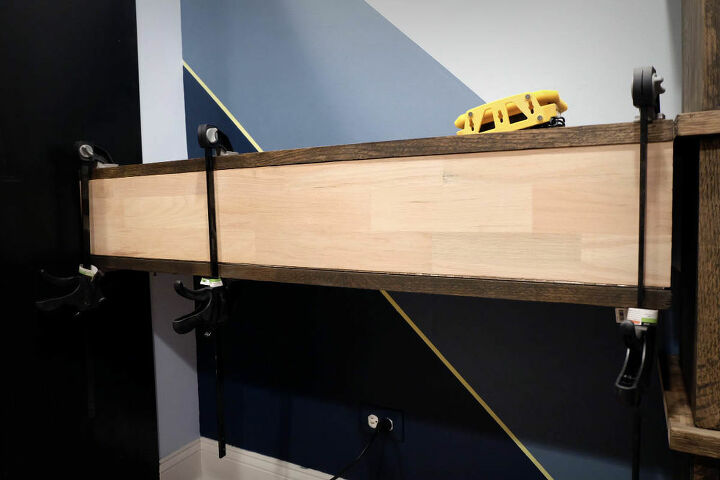
I used some clamps to hold everything in place while I screwed it together from the bottom.
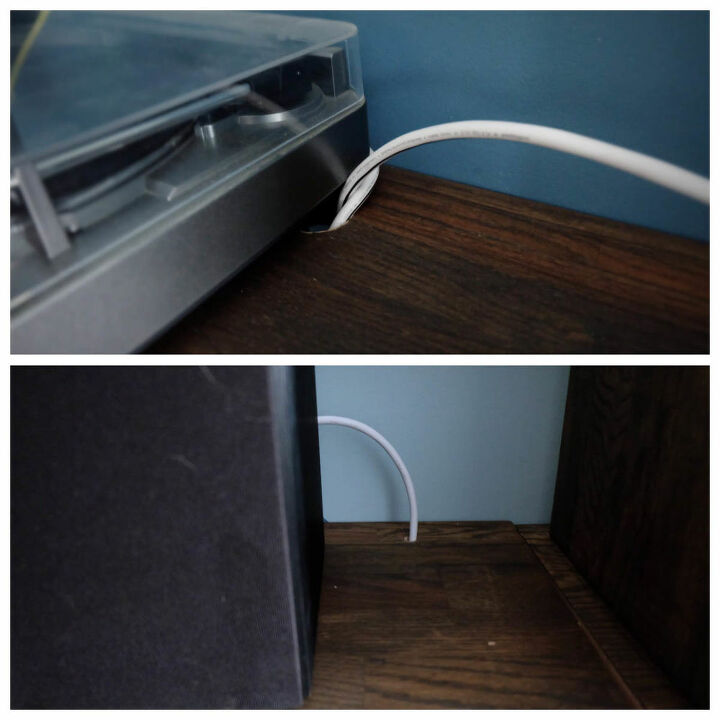
Lastly I drilled some holes with a hole saw and a regular drill bit for cables and speaker wires. The first go at the top didn't work for the speaker wires so I drilled behind the speakers to fish the cables through.
You'll have to swing by the blog to read about the nightmare that happened next.
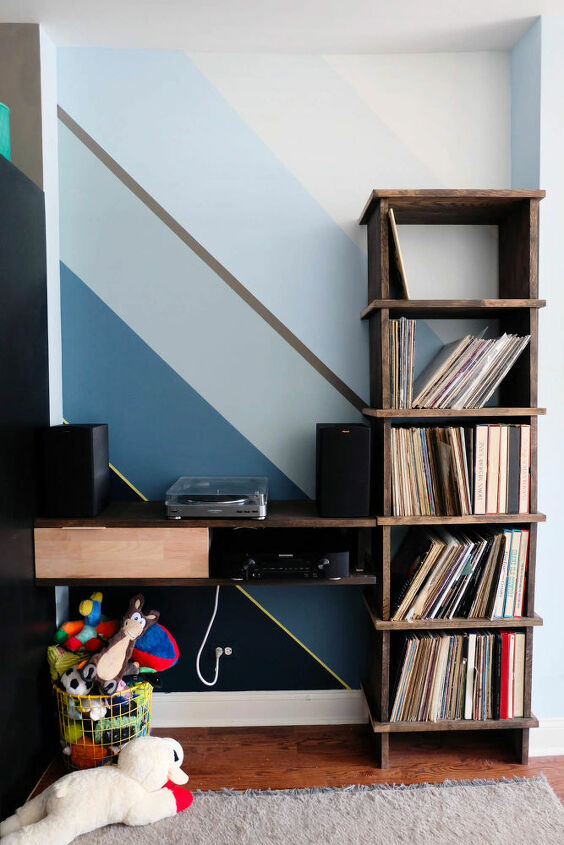
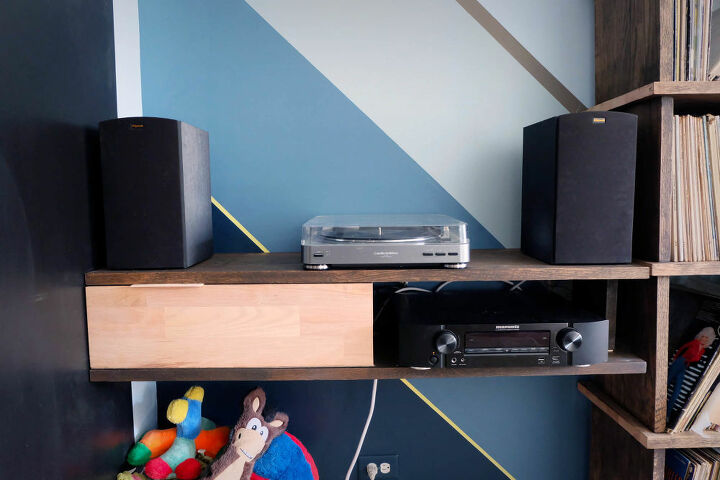
Tada! heh
Resources for this project:
See all materials


Any price and availability information displayed on [relevant Amazon Site(s), as applicable] at the time of purchase will apply to the purchase of this product.
Hometalk may collect a small share of sales from the links on this page.More info

Want more details about this and other DIY projects? Check out my blog post!
Comments
Join the conversation
2 comments
-
I read this really hoping you didn't put up a floating cabinet for those albums. That never ends well. Nice job. Back in the day we used cinderblocks and 2x10's. Very functional, but yours looks nicer.


Frequently asked questions
Have a question about this project?
It looks really good but maybe the cord could be painted the wall color ?