


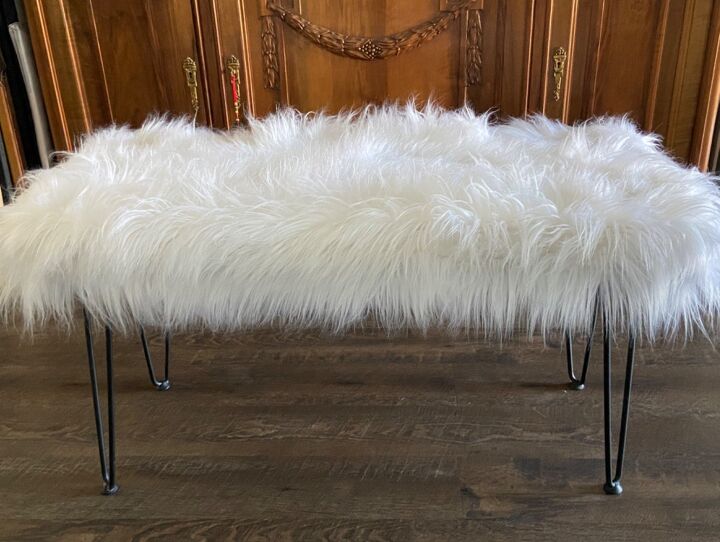
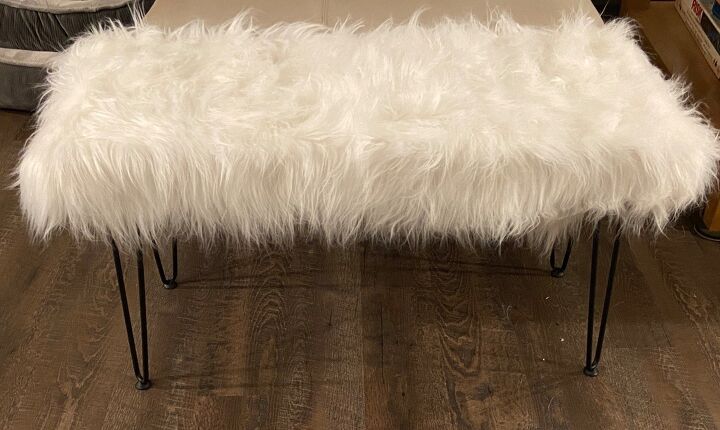
Fuzzy Glam Ottoman/Bench

I wanted a fuzzy ottoman to sit at the end of my sectional. After searching for my “vision” to buy, it became apparent I wasn’t going to be able to find the exact size I needed. So I decided to make my own.
I needed a 36” bench. I didn’t really want to spend a ton of money making it, so I checked my wood stash hoping I had some thick enough plywood to use. I found a 5’ x 12 piece of 3/4” plywood in my, “ gotta save this for a future project”, wood stash. Lucky for me, cause that stuff is pretty pricey when you need to buy a 4’x8’ piece. Since I just needed to cut the board down to 36”, I used my circular saw to do that. Precision wasn’t required, so I wasn’t too concerned about my saw skills. As long as it was cut fairly straight, it was gonna work.

Once my board was cut, I gathered my supplies and spread everything out on my dining room floor. I got to work measuring and cutting. The foam was recycled from a previous piece of furniture I bought so I didn’t have to buy that. I did need to cut it to size. In my past projects I used scissors and an exacto knife to cut foam because I didn’t and don’t own a foam cutter. My previous cutting tools were not very good to use and I remembered someone said you could use a kitchen knife to cut foam. I decided to try that method and it worked quite well.
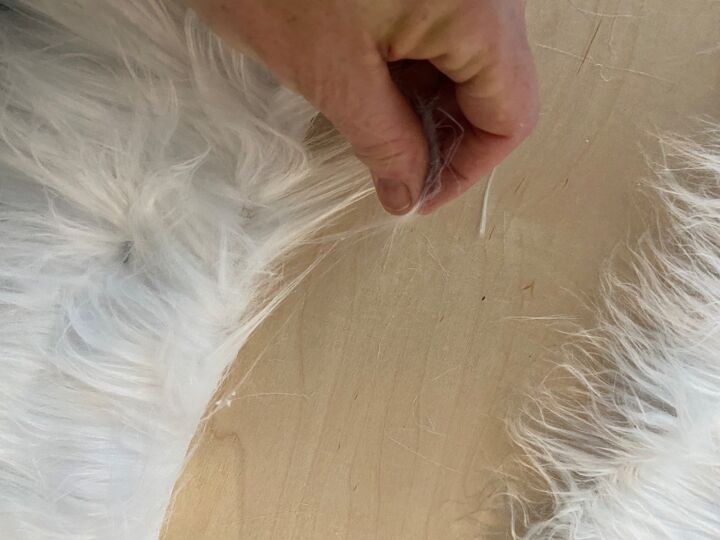
I cut the foam to 36” x 12”. It was then time to cut the faux fur. This stuff sheds tremendously when you cut it! I cut the fur by laying the cut to size foam and bench board piece on top of the upside down 3’x 5’ fur piece I bought . Making sure I left enough fur for covering foam and board, I trimmed down the faux fur to a more manageable piece. I left about 3” extra all around my fur piece to be sure I had enough to staple gun to underside of bench seat. I pulled off the fuzz around the cut fabric so I would not have fur flying all over the place. ( wishful thinking. I was cleaning up white fuzz for awhile)
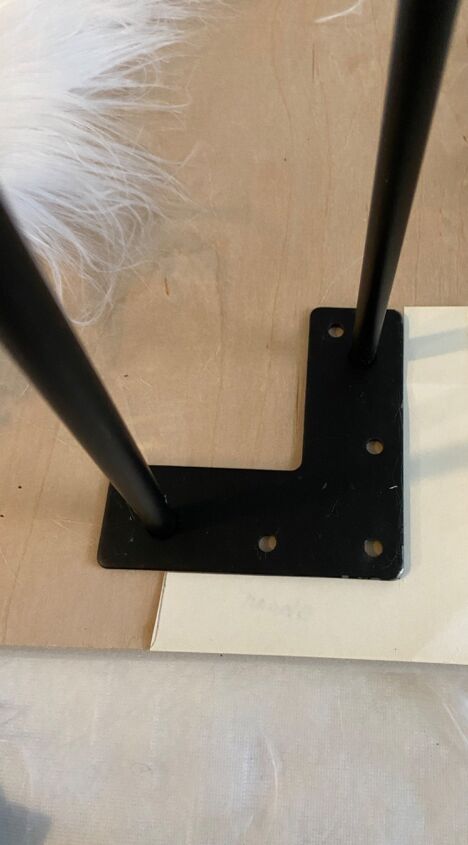
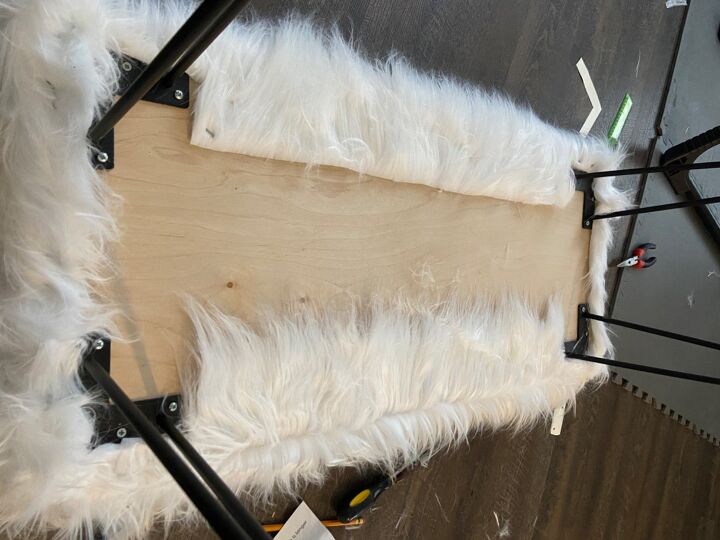
It was time to determine leg placement. With my visual perceptual skills, I need to actually see stuff in place. Measuring alone doesn’t work for me. So I made a template by tracing along the outside of the L bracket. I cut out my paper “L” and placed it along the edge of the wood and placed the hairpin leg inside my paper “L”. I had to make sure the hairpin leg was facing the right way so I actually placed all the legs onto the seat to visualize the orientation of the legs. ( My spatial skills are severely lacking) Anyway, working with my knowledge of my deficiencies, I continued on. I placed my template in the corner and placed one leg inside the template on the underside of the bench seat. I repeated this for the other 3 corners. All legs were now equal distant from the edges. Making sure all hairpin legs were angled correctly, it was time to mark and drill the holes. I used the template in the corner as I placed a leg inside of it and marked the holes with a sharpie. I repeated this for the other 3 corners.
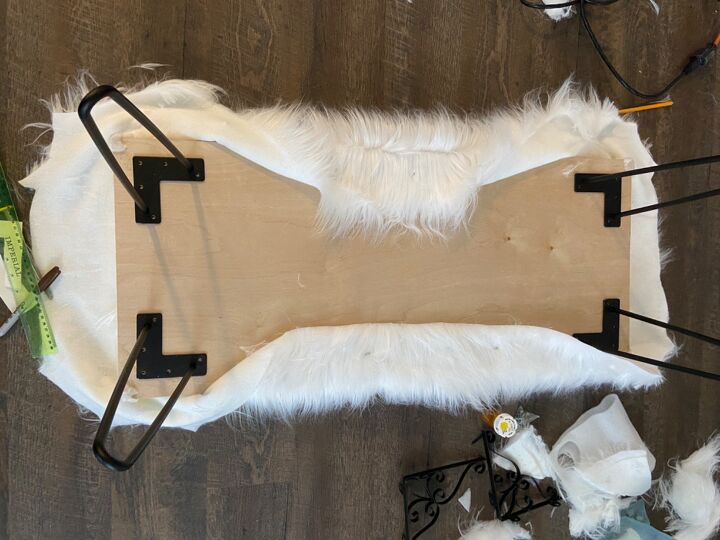
After screwing legs in place, it was now time to trim down the fur to allow room for the legs to not be in the way of staples. I placed a leg over the marked holes and eyeballed the area to cut out the furry material. I repeated this on all 4 corners.
I continued to staple gun around the fabric while pulling it taught.
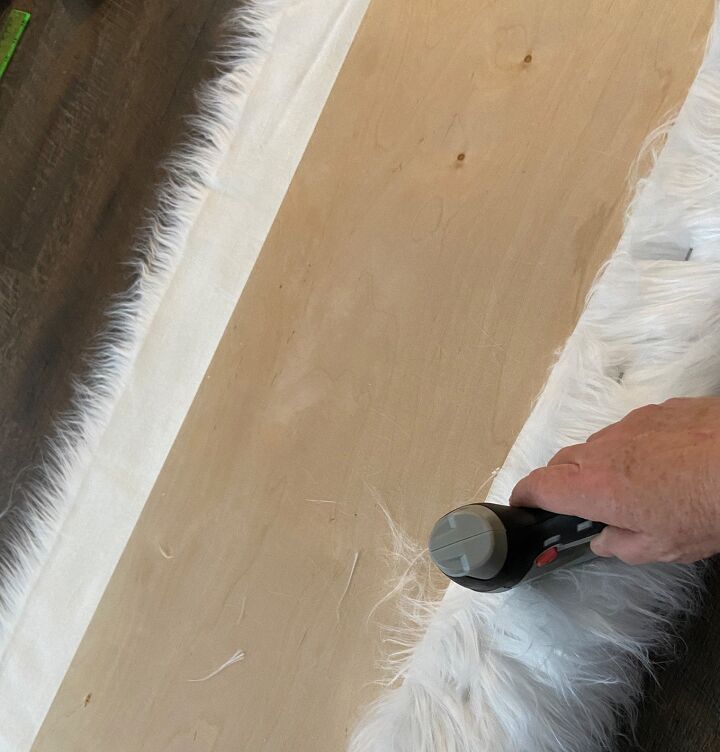
Once everything was cut and stapled down, I flipped the bench over and fluffed out the fabric. It was good to go.
I had some mishaps along the way, but tried to give directions leaving out the “what not to do” steps. The hairpin legs I bought have issues with the rubber feet popping off. Not cool. I wouldn’t buy them off Amazon again. If the bench was going to be placed on carpet, it probably would be fine without the rubber feet things. On hard floors, you need rubber feet.


Frequently asked questions
Have a question about this project?