


How to Build a Wooden Farmhouse Bench DIY
If you’re here, I have a feeling you love entertaining as much as I do. I just can’t help it, I am happiest when I have my house and my dinning table full of good company and good food! It’s because of this that my husband and I decide we needed a table of epic proportions!
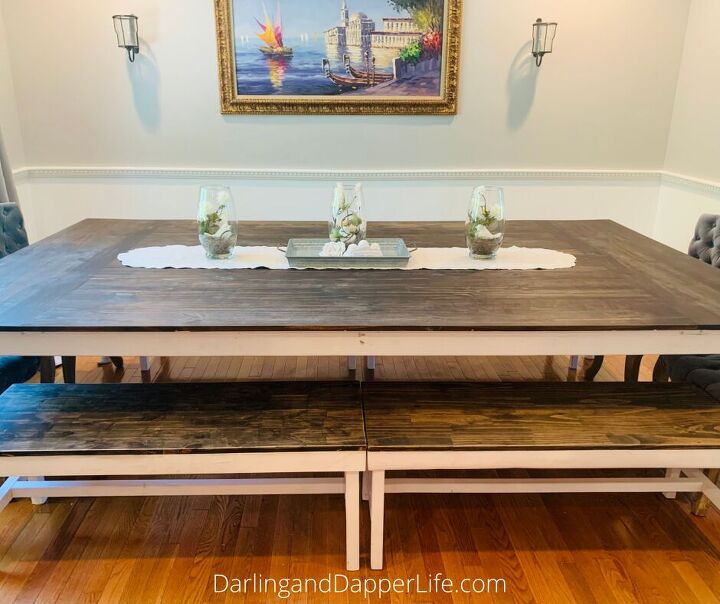
We wanted a table that could easily seat 12 adults and still have room for both a centerpiece, or other decor, and the family style serving dishes of food. We also didn’t want to have to spend a boatload on it and it needed to be light enough to move from time to time. And just like that, our massive farmhouse table was born, and for under $250!! I'm currently working on our matching farmhouse table tutorial now, join our mailing list to be the first to know when it goes live.
The only problem was, now we needed seating for 12 or more people. And with the cost of dinning chairs, we were in for a real wakeup call in the budget department. Luckily, my husband had a brilliant idea for crafting the perfect benches to go with our massive table.
Why choose a DIY bench for your farmhouse table?
Well friends, I am glad you asked, there are so many, many reasons why!
First, benches allow you to fit even more people.
If some of your guests have kids, or you, yourself, have kids, as we do, you can fit even more together on a bench! So far, we have fit 17 at our table (7 adults and 10 kids) and still had some room to spare! Now that was one really great night!!
Second, benches are convenient.
You can tuck benches completely out of the way, under the table’s edge, when not it use. Ahh, just imagine never having to squeeze by a chair back that is in your way, now THAT’S the dream, right?!
Third, these easy DIY benches are stable.
Having a high backed dinning chair always made us so nervous with our kids. If you don’t have small kids, let me just paint you a quick picture…. Every small child starts off sitting in their chair, only to stand (usually the minute you sit down and pick up a fork) and turn around facing the back of the chair. They then proceed to then lean on the back, as if its a jungle gym, minutes later….can you guess what happens next?! Every. Single. Time. My husband and I were both sick of jumping up the minute we sat down, to prevent a catastrophe, and were ready for something different.
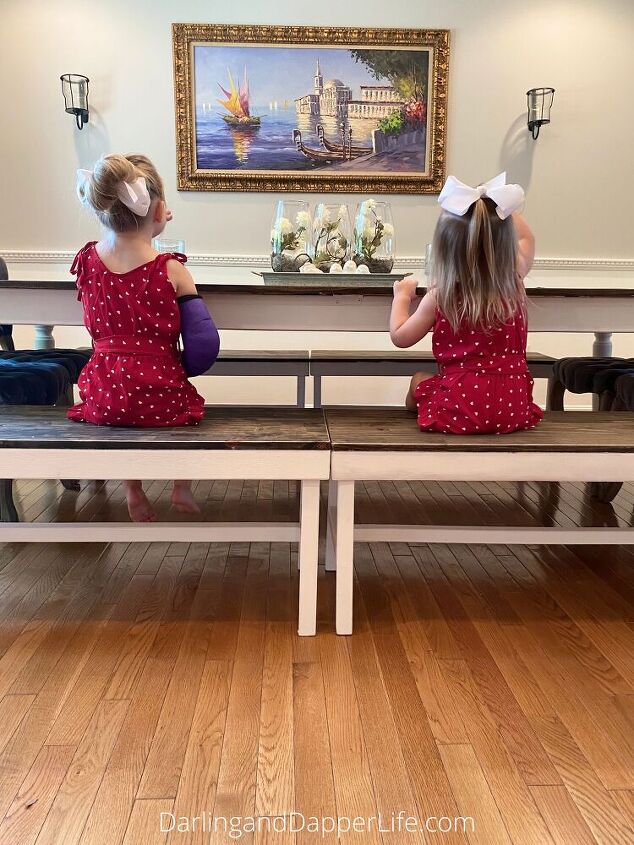
Now, that being said, NEVER walk away from your child standing on a bench, no matter how stable it is! And just in case you’re wondering, no, that is not why my eldest is in a cast…that was due to a slip and fall on the swing set earlier this week. I don’t think I’ll ever forget that sound . But the fact remains that kids can fall and hurt themselves on pretty much anything. So always be present!
Fourth, benches are so versatile.
Now that our girls are getting a little bit older, we actually use our benches for more than just dinning. We sometimes even encourage their standing on them (under adult supervision, of course). For example, when they help us in the kitchen. Our benches slide up next to our island perfectly on either side and offer a great boost height for our kids. We had a play date last week and myself and 5 kiddos made Peanut Butter “Snickers” Bar cookies at the island together, using two of our benches (one of either side), giving all of my mini bakers the perfect height assistance!
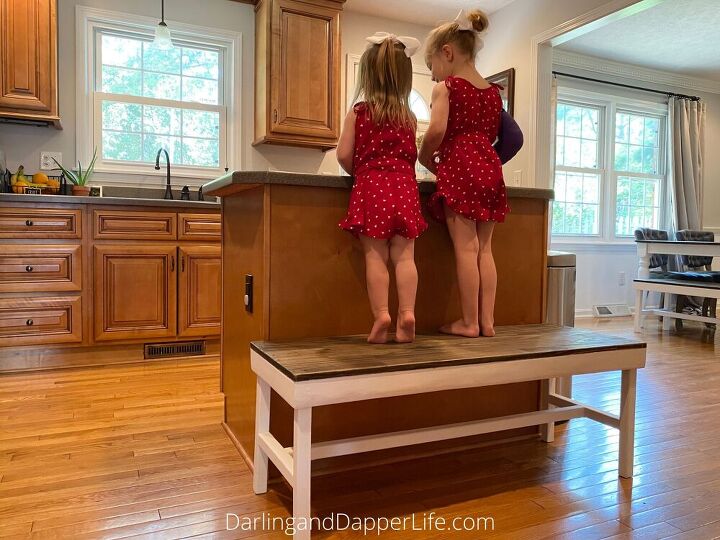
Today, my 4 year old asked if her and her sister could make “fancy drinks”. So I used our soda stream to make a bottle of plain seltzer water and put out some ice cubes and fruit, and just moved the bench on over to the kitchen island for them.
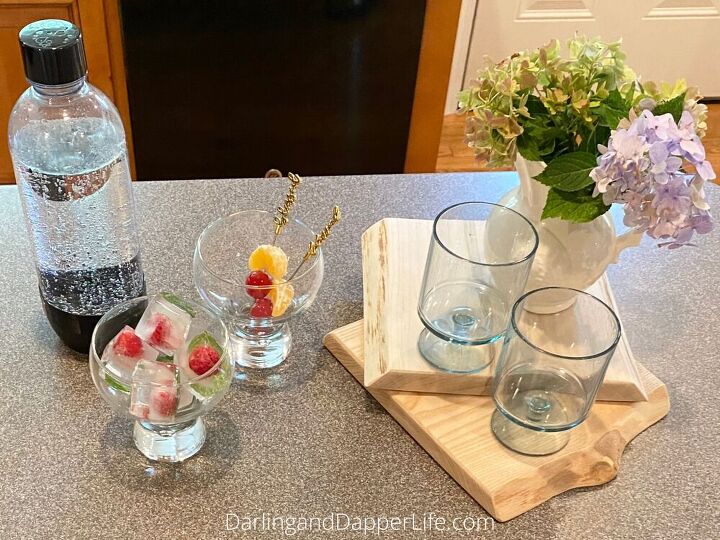
Instant fun! And easily accessible to them thanks to our handy benches!
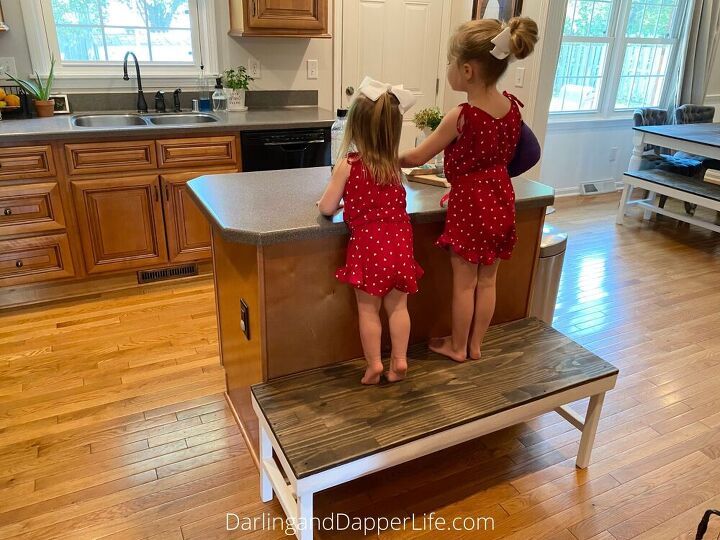
And, yes, I am that mom who matches her girls outfits. It is both wildly convenient and adorable and I won’t stop until one of them asks me to. You can check out where I bought these $10 rompers and all of my other favorite summer wardrobe finds for the girls on my site.
Now, back to our diy farm table bench:
Rustic Bench Plans: here’s how to make the simplest, cheapest, and lightest bench there is!
You are going to LOVE this project! …and your wallet will too!
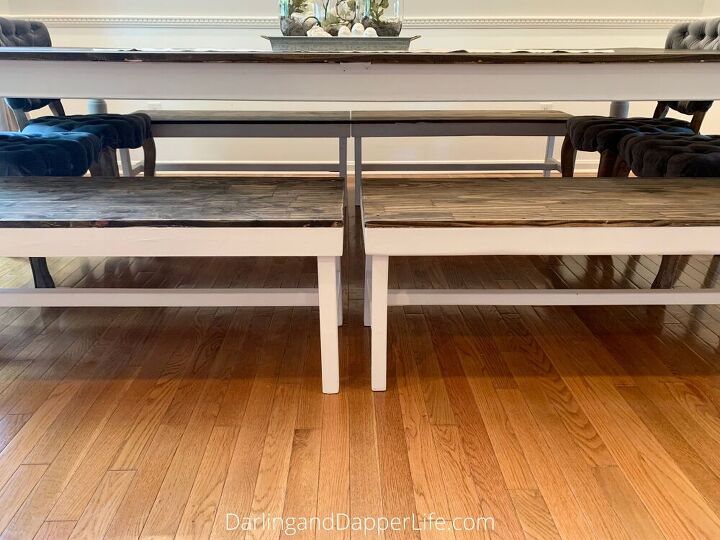
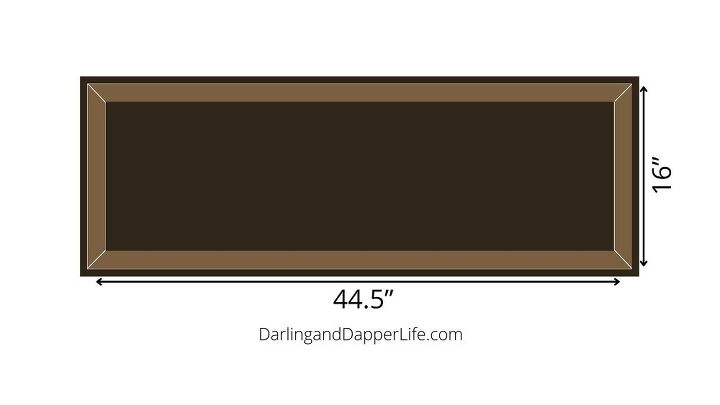
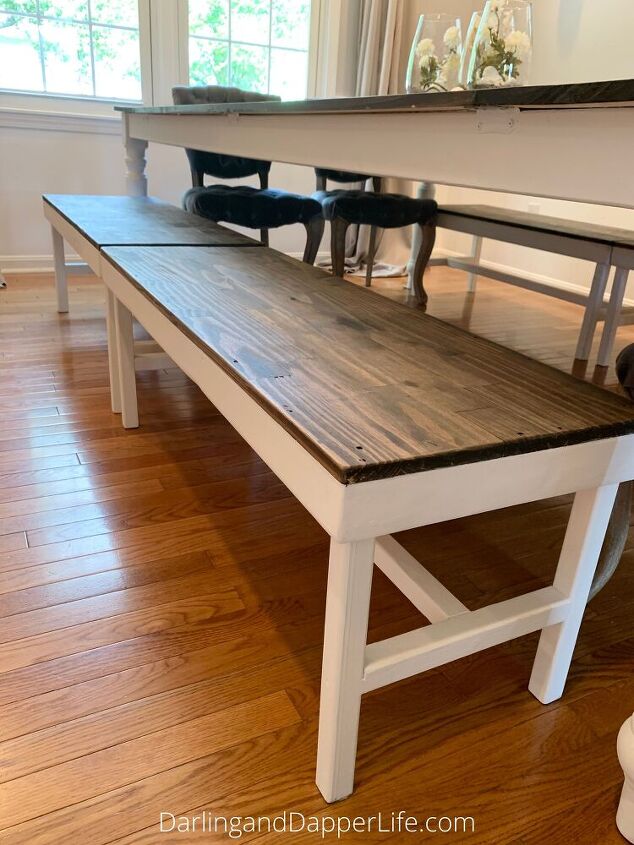
First things first, decide on how long you want your bench to be. Since our fabulous farmhouse table is so massive, we decided it would be somewhat impractical to have one solid bench on either side. We instead opted for two benches on either long side of the table and made them a length where they could be put at the end of a table if we so desired. 44.5″ long was what we ended up with. We’ve been using them for about 9 months now, and I have to say, this size is perfect!
Next,
gather your supplies
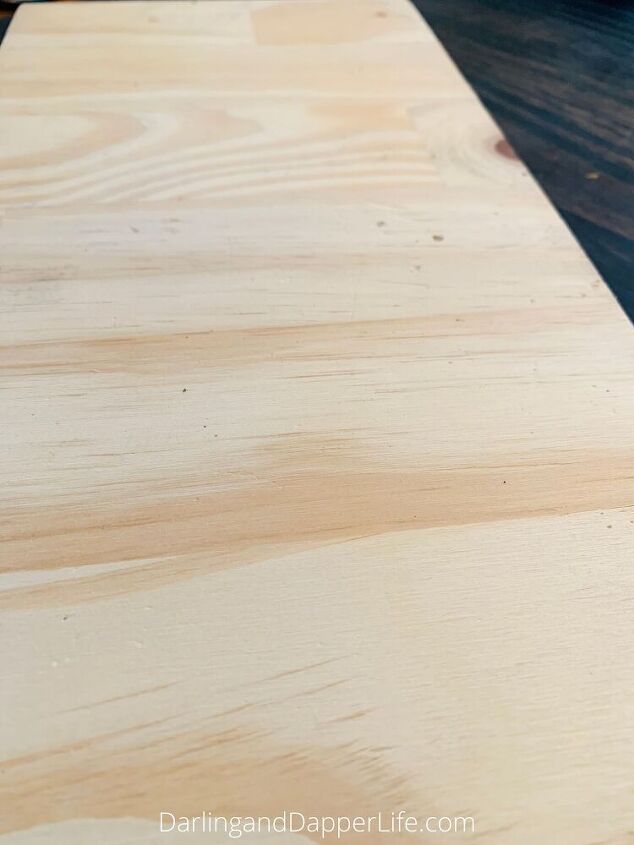
Start with a high quality piece of wood for the top. What makes these benches so pretty and so light, is the board we chose for the top of them. We found the perfect piece to use, it looks like butcher block but is WAY less expensive and WAY thinner and therefore lighter and we spent only $12.00 for a piece large enough to make 2 benches! Check out the full article on my site to see what we used and where you can get some, at the same cost, by you.
While you’re there, also pickup some trim, some 2X2s, wood stain, paint, wood glue, nails, and screws. For the trim, we went with 1/2″X2 1/2″ trim. We needed 2, 8 ft lengths for each of our a 16″ (deep) by 44.5″ (long) benches. We also needed just over one, 8ft length of 2X2. The stain and the paint we already had on hand from our table project and screws and nails are readily available at all times at our house.
Supply List
- wood for the bench top
- 1/2″X2 1/2″ wood trim
- wood 2X2
- wood stain (view the full article, here, to see what stain and paint we used)
- chalk paint
- wood glue
- nail gun
- nails
- drill
- long screws
Next, make your cuts as follows:
- Cut one 16X44.5″ piece from the 3/4″ plank of wood
- Cut four, 16″ pieces, two, 11.75″ pieces, and one, 40.5″ piece of 2×2
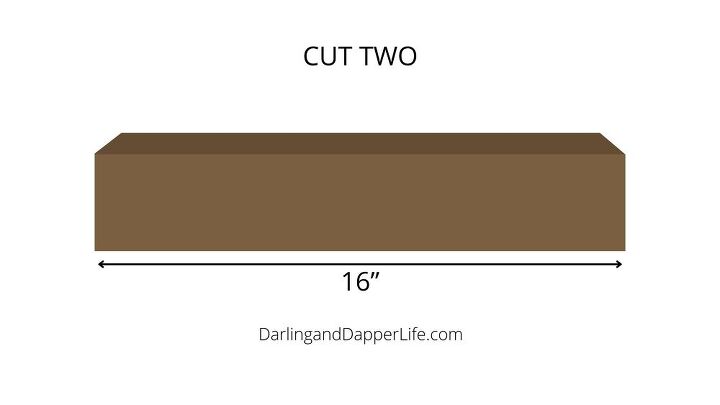
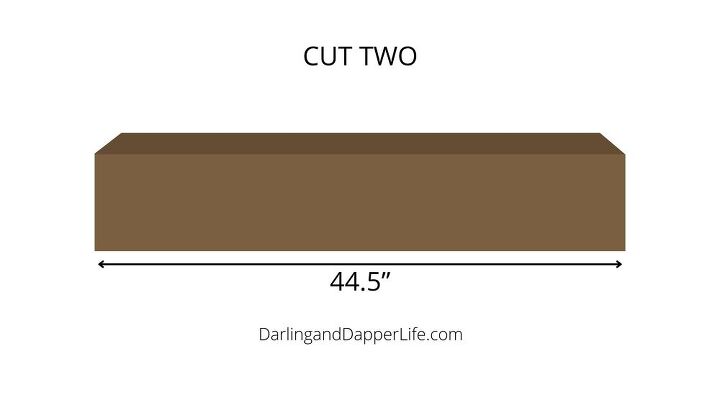
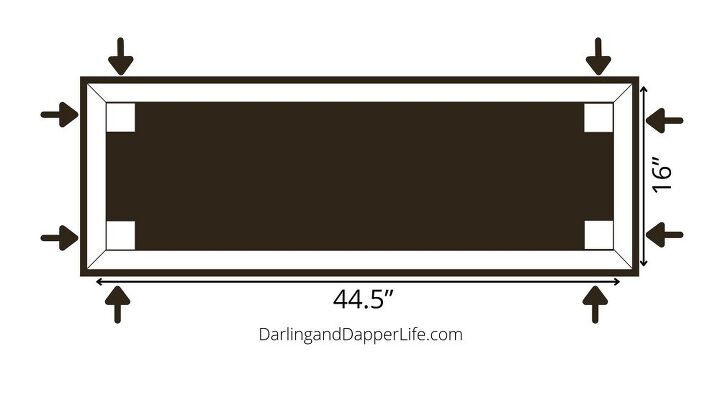
- Cut two, 16″ and two, 44.5″ pieces of the 1/2″X2 1/2″ trim with a 45 degree angle at each end as depicted below:
*Tweaking this design to make your bench longer or shorter in length is easy: If you want to change the bench length, change the cut length for the plank of wood for the top and the length of the coordinating two trim pieces, and the length of the long (40.5″) brace of 2X2.
Now comes the assembly of your wooden benches DIY!
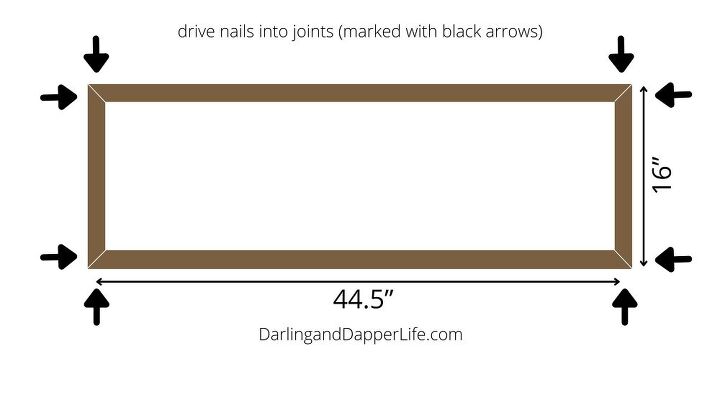
Take your four trim pieces (two, 16″ and two, 44.5″) and create a frame. Use some wood glue between each joint and then use a nail gun as shown a few times on each side.
Then, lay your bench top, good side down, on your work station and use wood glue to attach your frame to the underside of your bench top. Apply several clamps to hold it in place and give it some time to dry, a few hours should do the trick.
Now, attach each of the 4 legs (the four, 16″ lengths of 2X2) using wood glue and at least one nail on either side (you will also screw down into the leg from the top of the bench, at the end of this project, for added durability.
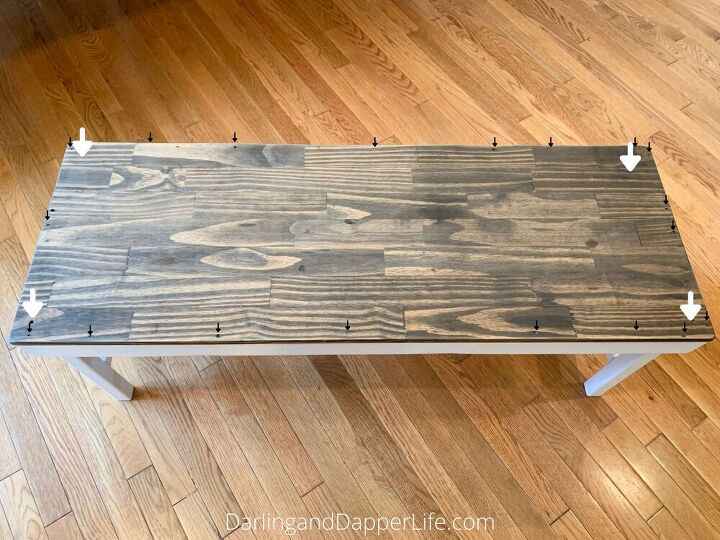
Then attach the two short braces between the legs on either end, using nails and more wood glue. We placed ours about 9 3/4 inches down from the underside of the top of the bench. The arrows indicate where we used nails.
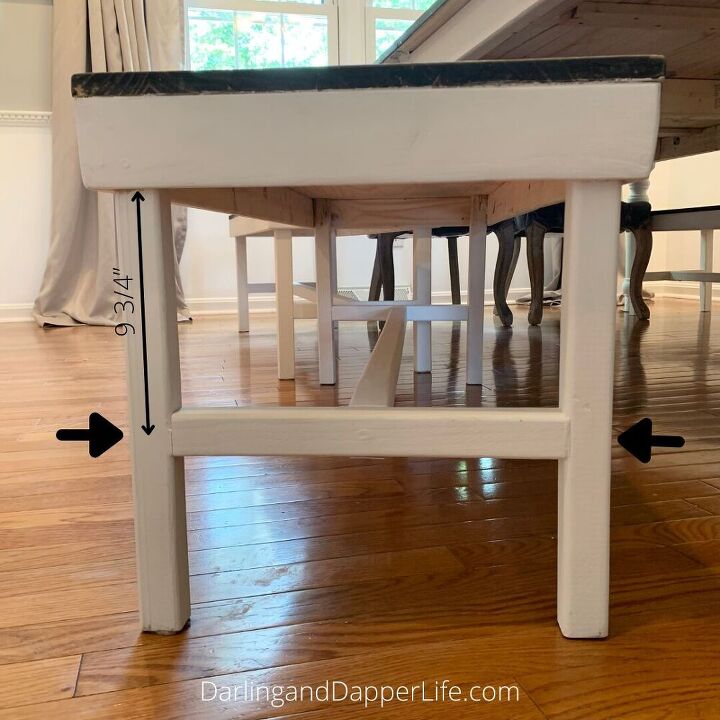
And, finally, attach the long brace between the two short braces with wood glue and nails (see arrows below).
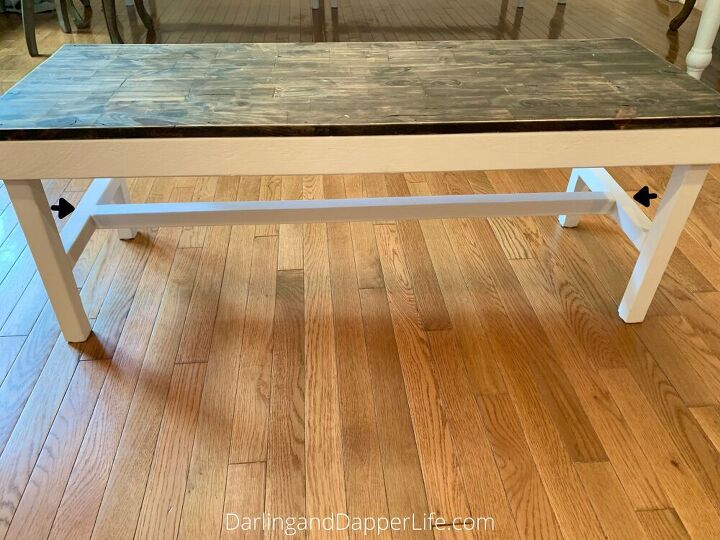
Now, flip your assembled bench over and drive in 4 long screws, one into each of the legs from the top of the bench (marked with white arrows) and some more nails on your trim as you see fit (see black arrows).
Leave it be for a few hours for the wood glue to harden fully and then return to stain and paint. You can do these in either order, but be sure to cut your edges carefully with each, as it’s hard to paint over fresh stain and its not a good idea to try to stain over paint (unless you sand it off first). We used two coats of each and our benches were done! In hindsight, you could stain the top of the bench before you assemble it, but I would still wait to paint the rest of the bench until its fully assembled.
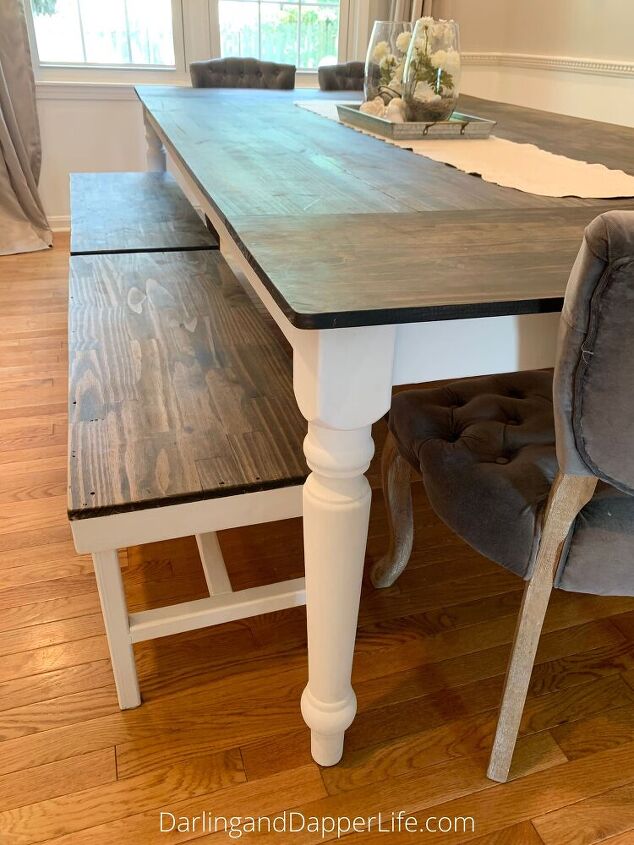
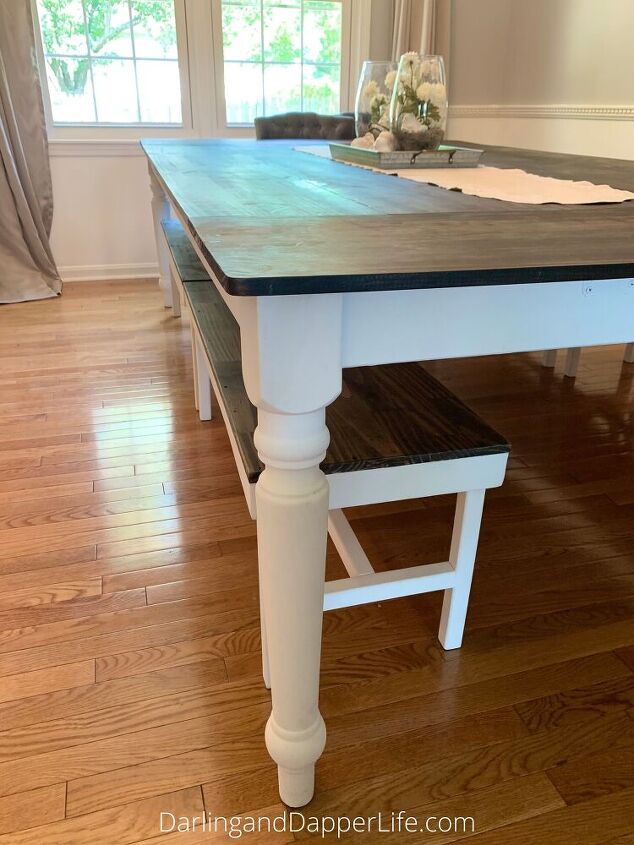
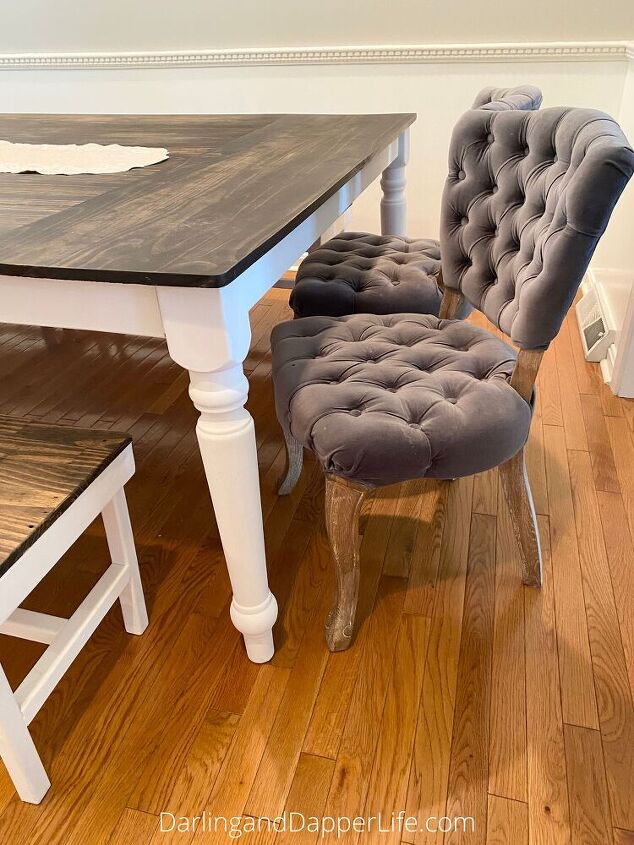
Super easy and totally worth it!! They look so good with the table and they are unbelievably convenient. The fact that we were able to build all four for under $80.00 in lumbar costs was an amazing bonus, to say the least.
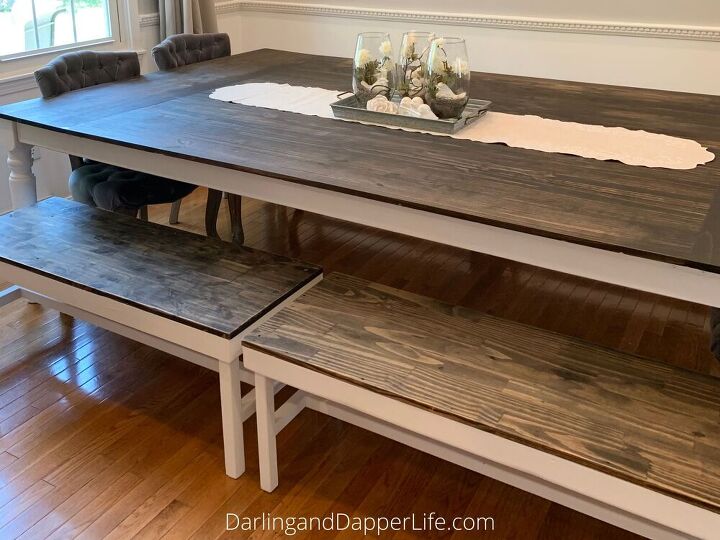
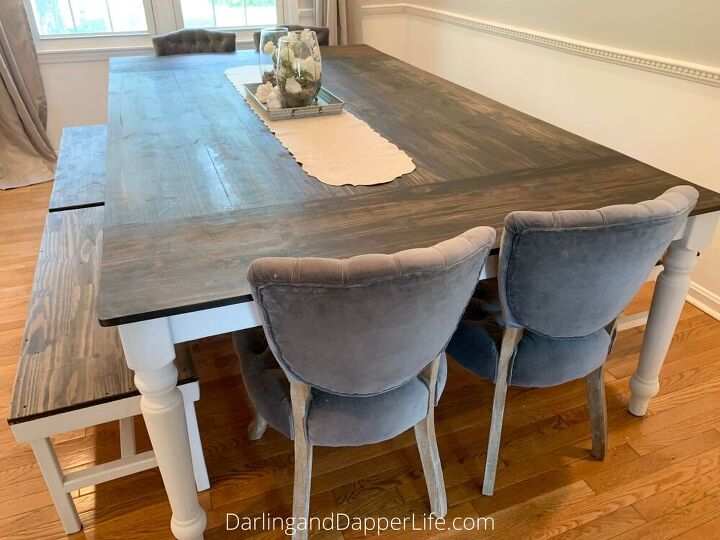
We added in two sets of these upholstered chairs for the end of the table and some decor and our dinning room was ready for company!
Feel free to adapt the length of these benches to suit your needs and be sure to stop back by and let me know how it went for you!

Comments
Join the conversation
-
Amazing! Your table is impressive, your benches very, very nice and functional and your daughters are adorable. Thank you so much for this. It is just what I’ve been looking for. Your dining area is a family-oriented, just in time for dinner, perfect holiday, “let’s celebrate”, “come enjoy food & life here”, entertainer’s dream. Love it!


Frequently asked questions
Have a question about this project?