Part 2-directions for Concrete Bench Base

by
The Garden Frog with C Renee
(IC: blogger)
The base is not your customary 2 blocks under the bench-
I wanted something unique and to push my limits of creating a one of a kind concrete bench. I also thought this could be sturdier than the traditional type benches that can wobble if the ground is not stable. I will be working with other forms soon to create yet another bench base and inspire all of you to create your very own concrete bench.
The base takes a full 80lb bag of concrete mix and I would use the Sakrete 5000 plus or other concrete mix with fibers for durability and strength. I hope the directions are easy to understand and follow-if not please let me know so that I can 'tweak' them.
My hubby helped me with this project because I am a creator and my brain quits at anything remotely technical LOL. My hubby also had to help me stir and pour the 80lbs of concrete (I have some physical limitations now and his help is greatly appreciated). Anyhow, I am in love with my concrete bench and cannot wait until I do the next one a bit different and maybe even paint it! I really want a whimsical and fun one for a remote corner in the back yard. I also have an order for one from a good friend and neighbor who walked by and saw us placing it under the tree. I love that my yard and my creations spark an interest in others to garden and to enjoy the beauty of nature.
There is no exact science in creating and sometimes the 1st idea or project may not turn out the way you want. Do not get discouraged because creating is not about perfection-it is about end result of working with your hands and your mind to create a piece that will be placed in your garden or your home that will remind you of the day you created this wonderful piece.
I hope I inspired you to create and explore the possibilities of building your own bench. Have fun and remember that if at first it does not work, TRY AGAIN!
HAPPY GARDENING AND CREATING EVERYONE.
The materials you will need: drill driver, tape measure, 1 1/2" screws, level, 2x4x8, 80lb bag of concrete mix, tub, spade to stir, palm or other sander,
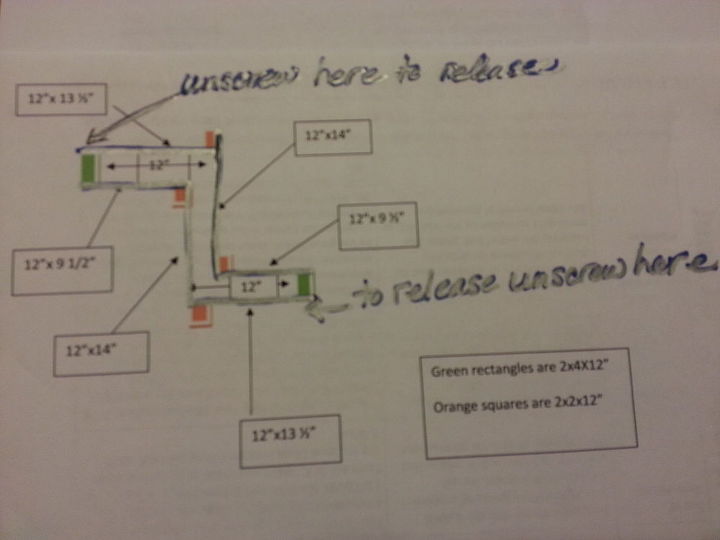
From the sheet of plywood you bought for the base for the concrete base top, you will use the 12" strip that you had them cut down for the sides of the bench. the measurements are as follows for the plywood:
(2) 12"x 9 1/2" (2) 12" x 13 1/2" (2) 12" x 14"
you will need to cut the 2x4 down into (2) 12" pieces and if you are capable cut 2 more 12" pieces down to create the 2x2x12" pieces needed or purchase a 2x2x8 and cut 4 pieces
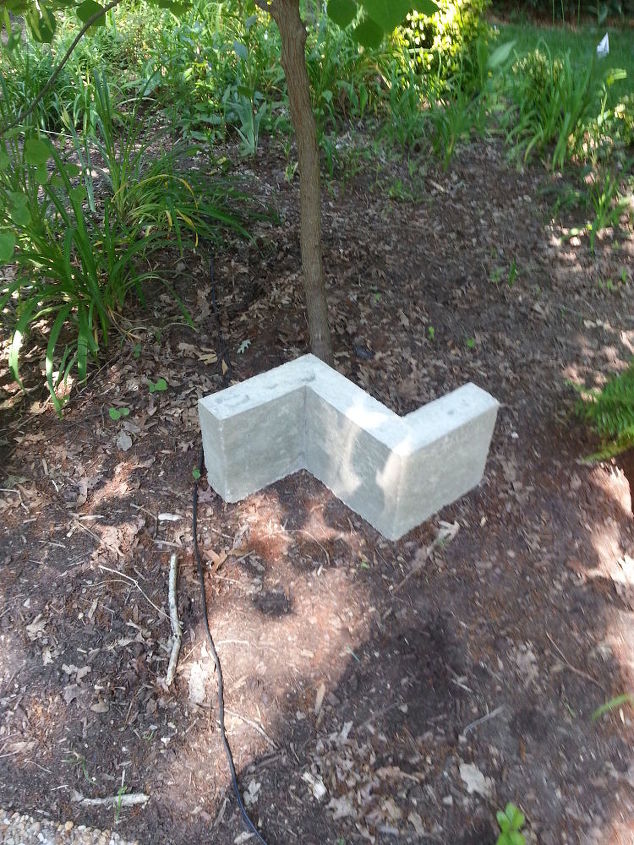
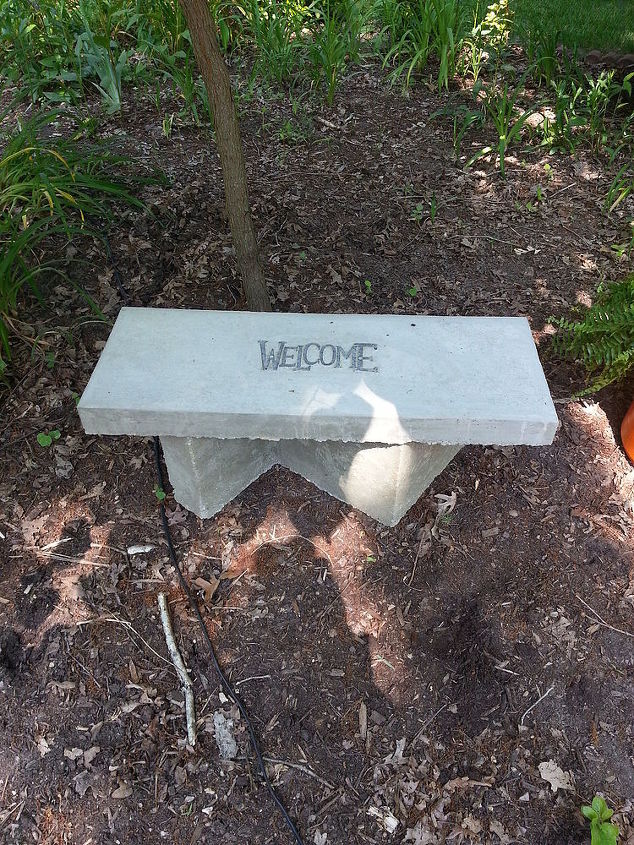
The base sits pretty level under the Redbud tree! Now all we need is the top.
It is important if you buy the OSB to put the smooth side inside where the concrete will touch. OSB is less than $9 so it is a cheap and durable plywood for projects such as this
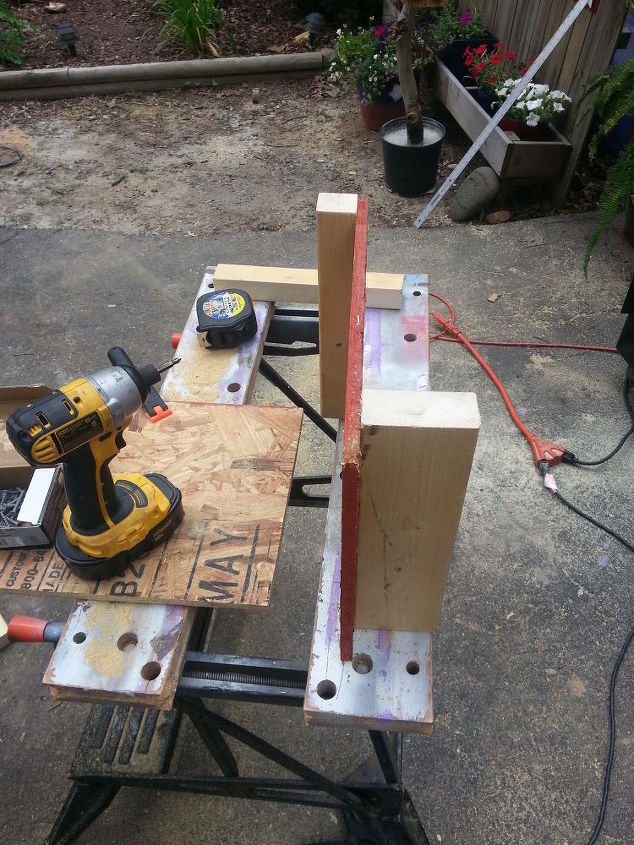
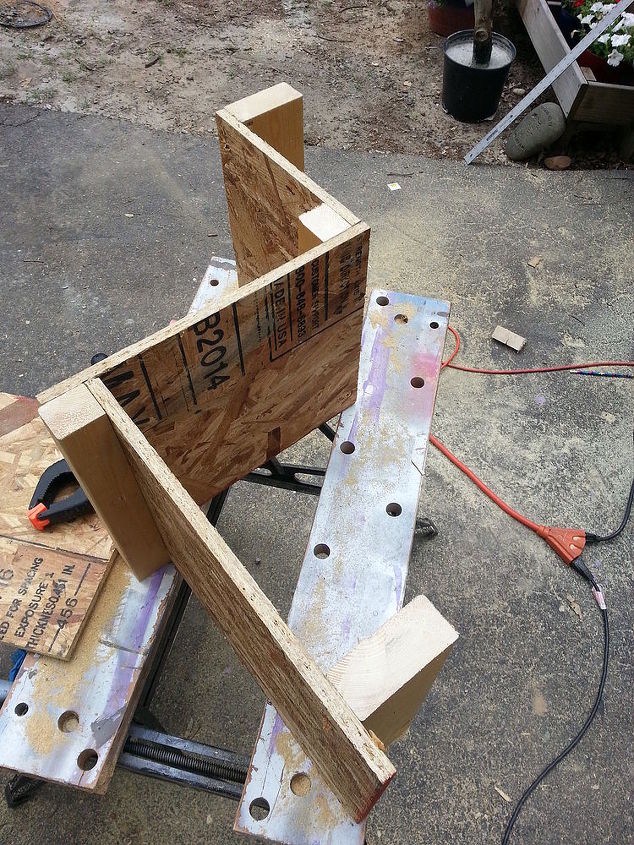
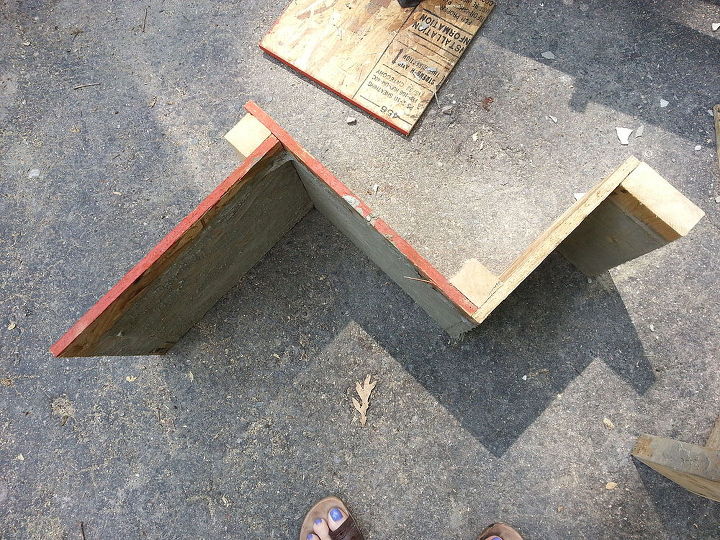
this is the form taking shape. Using 2 screws each corner to hold the boards in place.
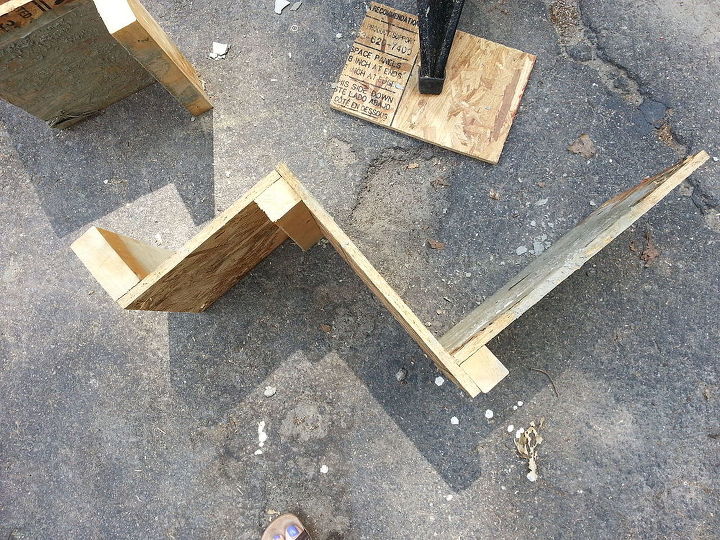
Here is a diagram -I hope you can understand it-I am not a real technical person so I tried to write it so someone like me could understand it
Mirror images
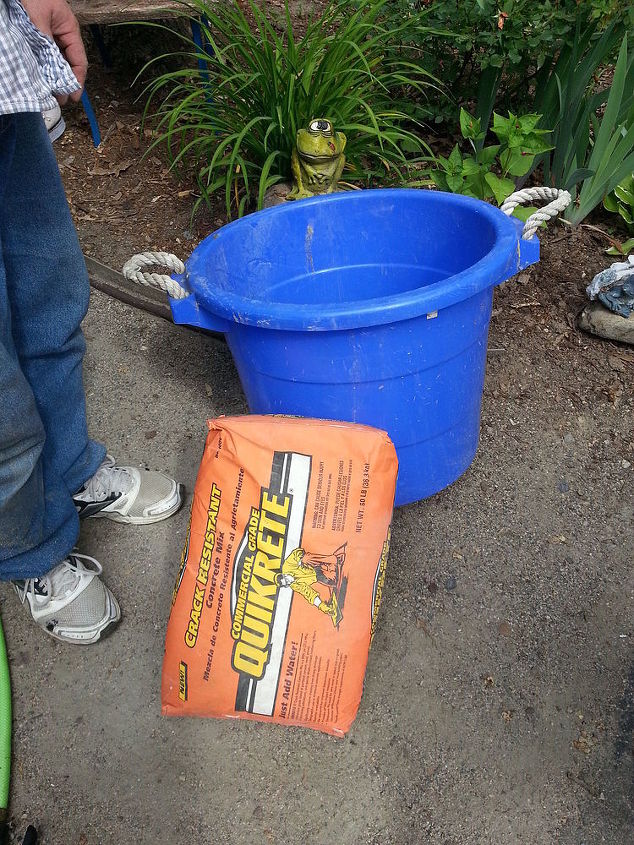
For this experiment we used the crack resistant quikrete-I really liked the Sakrete at Lowe's better than this! Just be careful not use too much water! Wet the top of the dry mix and then mix and add water a little at a time. It sure is nice to have a helper!
The finished mold/frame. Be sure to level this as close to level as you can get. Then spray down with WD40 saturating the base and the frame (even turning the frame over and spraying from that angle. I did not spray it until we mixed the concrete-found out that 85 degree heat and sun dries it up quick
Working on the ground will make it easier to pour it in but my drive is on a slight incline and I prefer to work standing. I think we had to call my son out to help at this point because it was easier to 2 to pour and I scraped out 1/2
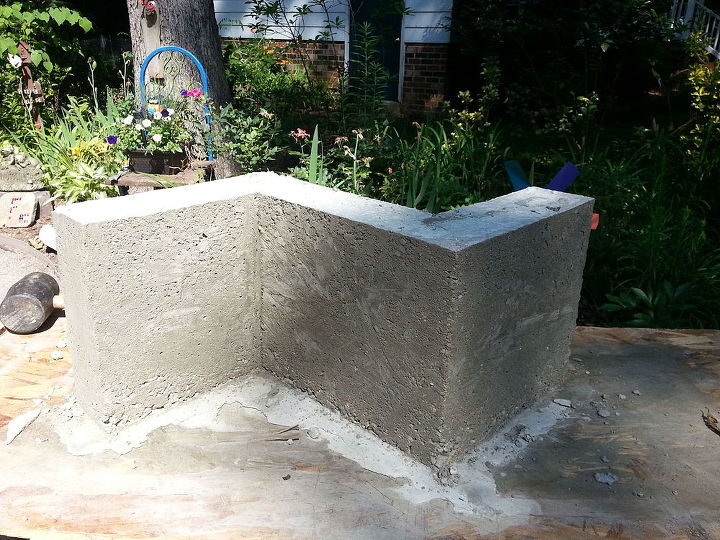
Too much water...so it took way longer to cure but the results are what I had hoped. Remove the screws from one side of each 2x4 as illustrated in the above pic and careful take it off-you may need to lightly tap to remove and we let it an extra day to cure
The 1st but definitely not the last bench I will make!
Enjoyed the project?

Want more details about this and other DIY projects? Check out my blog post!
Published June 12th, 2014 9:28 AM
Comments
Join the conversation
3 of 44 comments
-
Beautiful bench! Wonder if I could make it from hypertufa so it would be lighter weight and use fiberglass or other fibers to increase strength? Where can I get PART 1?
 DORLIS
on Jul 16, 2015
-
-
 JACQUELYN LUNGO
on Mar 14, 2023
Awesome. THANK YOU!!!! I do a lot od
ground concrete work, so if y’all line the bottom with plastic, it won’t dry as fast because it’s not leaking. I mean just a plastic bag. This is seriously awesome. I’m going to do it.
-












Frequently asked questions
Have a question about this project?