


Vanity Repurpose - Part 2

 Welcome to part 2 of the vanity repurpose project.
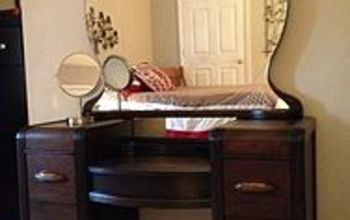
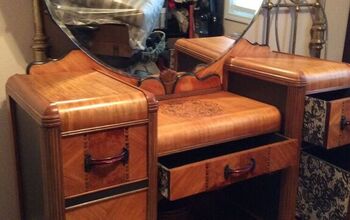
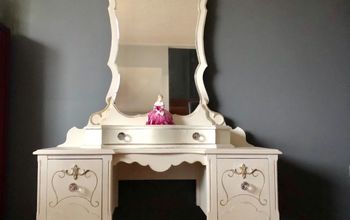
Let's recap: My in-laws had graciously given me this old vanity that was in pretty rough shape.
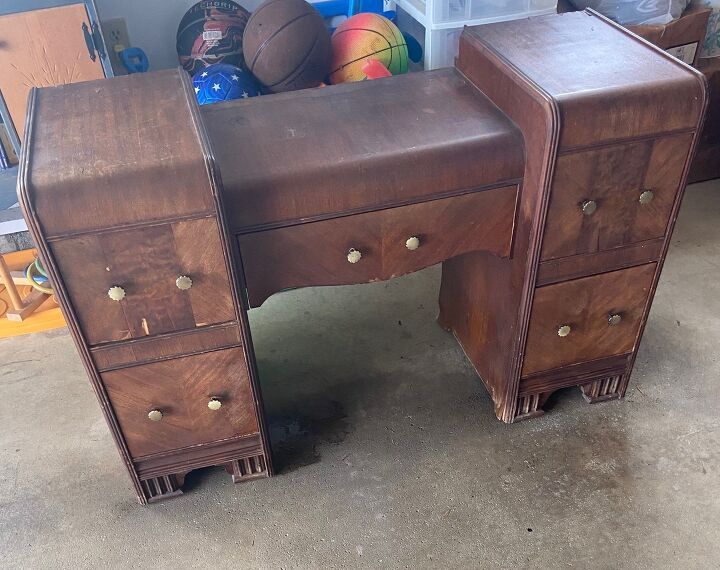
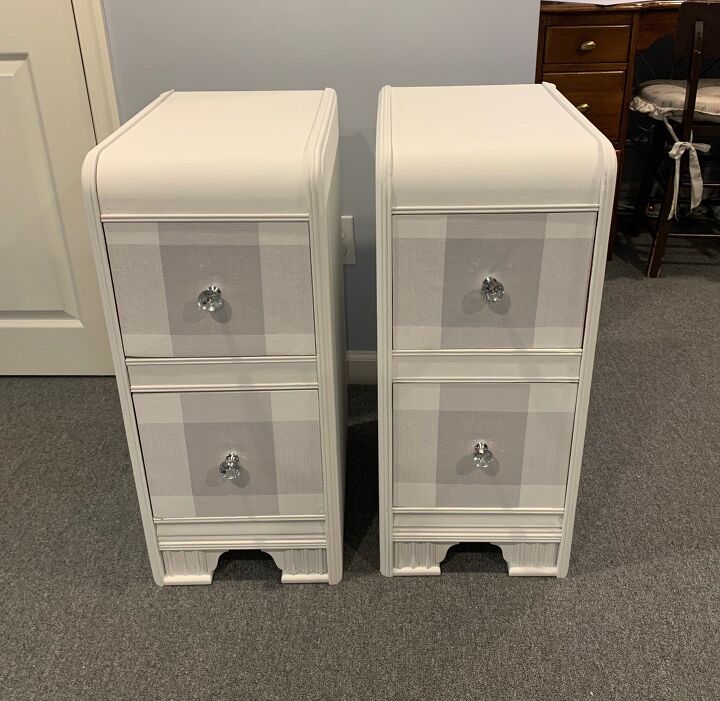
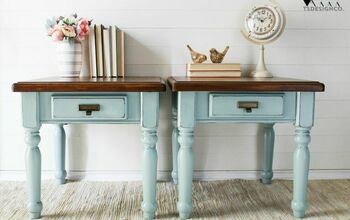
After some deconstruction, A LOT of wood filler and even more sanding, primer, paint, and sealer, I emerged on the other side with 2 nightstands. You can check that out here.
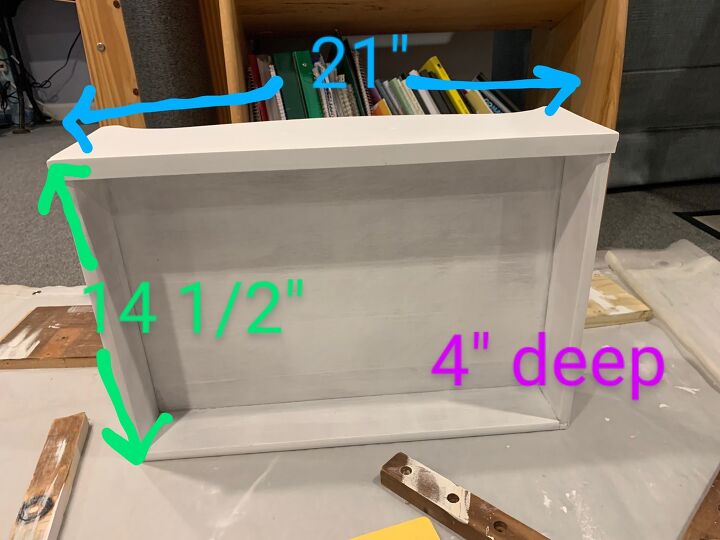
But...there still remained one more piece that I was able to salvage:
The middle drawer...
What would become of this remaining piece?
Could it be saved???????
- cue suspenseful music-

I thought it would be worth a try. I loved the elegant curves of the drawer face. I have read quite a few posts by some really creative people about how to repurpose an old drawer, and I now saw my chance to give it a try.
Since the vanity was given to me by my in-laws, I thought that it would be nice to use the drawer to make something for them. With Mother's Day coming up, I set my sights on completion of this project by that date.
 Now...what exactly to do with it...Considering the size of the drawer, I decided that I wanted to make some sort of side table. It would be a nice accent for their screened-in porch.
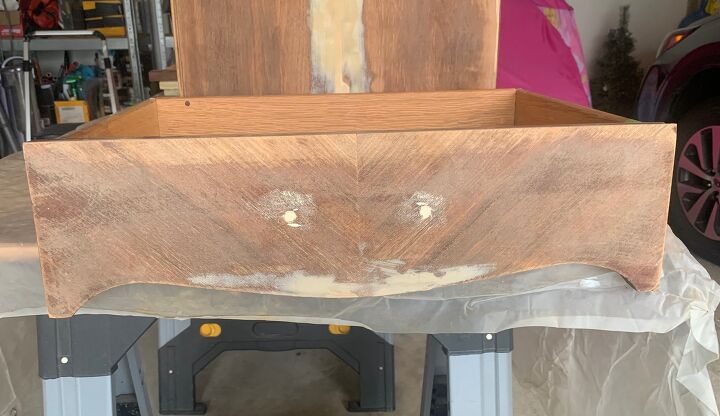
The first step was some repair. I did the following:
- repaired the veneer with Bondo Wood Filler
- filled in the old hardware holes with a small piece of dowel and more wood filler
- applied the wood filler over the dove-tail joints at the corners of the drawer to strengthen them
- applied caulk around the seams
After a good sanding, I applied 2 coats of Kilz 3 Premium Interior/Exterior Primer on all sides.
The next decision was to decide what to do for the base. Because this was to be an outdoor piece, I wanted to find a design idea for the base that would appealingly support the dimensions of the drawer, was sturdy, and could hold up to wind gusts, etc...
I looked on and off for a week or two. I finally found a post with directions for a DIY sidetable that I felt I could adapt to the specifications of this project, although it would require the use of a new tool for me: a Kreg pocket hole jig...another chance to learn something new.
(Thank you for sharing your idea!)
Let's do it.
The underside of the drawer had a recessed bottom. This would ensure that the custom cut base would fit securely.
A piece of 8 foot 2x12 lumber was purchased. It is important to have the board as straight as is possible, with no bowing.
Also purchased was a tool and supplies that would make this project come together:
- Kreg Pocket Hole Jig: We bought the most basic version of this tool as this was new to us. It does come with the proper drill bit and driver for pocket screws.
- 2 1/2" pocket hole screws: It is necessary to have the proper length of pocket screws for the thickness of the wood you are using. Our board was 1 1/2" thick.
Back at home, I decided I wanted the table to be about 24" high. We cut (2) 2 foot pieces from the 8 foot board.
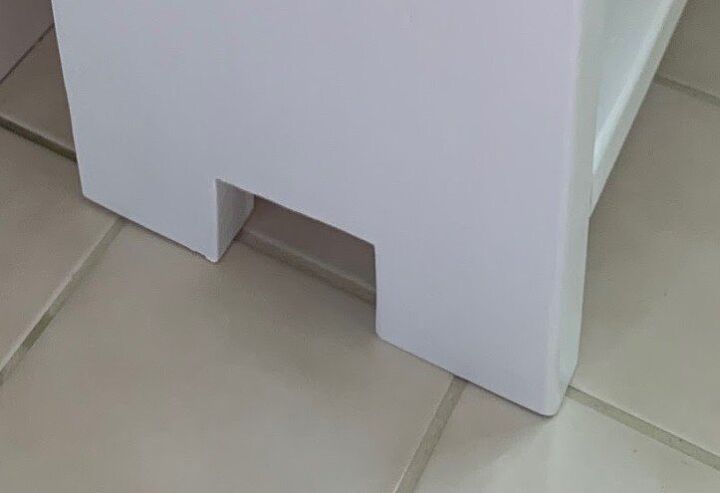
With a jig saw, we made a cut out on each leg. This was only to try to give it a more pleasing look; it had nothing to do with structure.
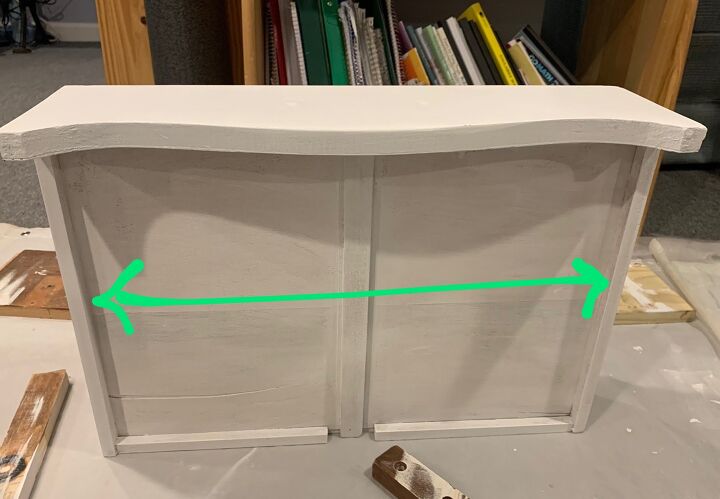
Next, we flipped the drawer over and propped the 24" legs flush against the drawer supports on the short sides of the drawer and took a measurement in between them.
With that measurement, 16 3/4" in this case, 2 middle supports were cut from what remained of the original 8 foot board.
 BONUS: These boards are for support to be sure, but they also function as shelves for display and/or storage.
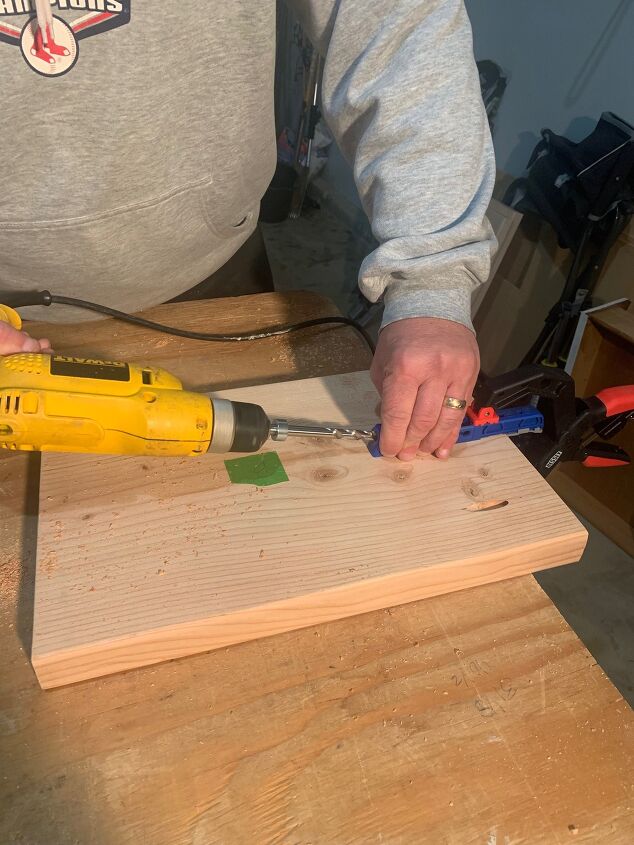
After a few (what seemed like hundred) videos on how to properly use a pocket hole jig and pocket screws, we drilled 3 evenly spaced pocket holes (the proper drill bit was included) on the underside of each short side of the 2 boards that would be serving as the supports (shelves).
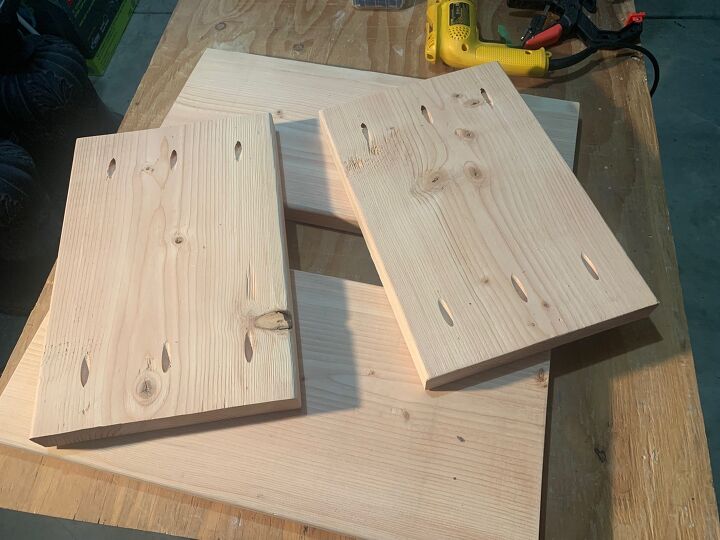
These pieces are ready for assembly.
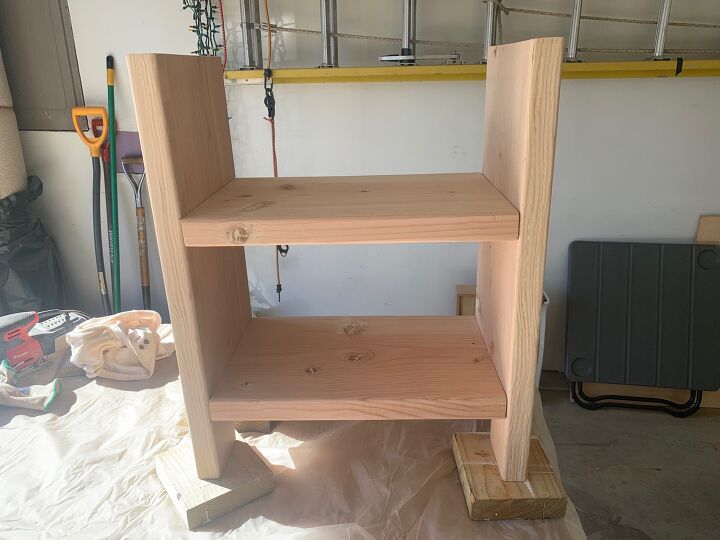
Using 2 1/2" pocket screws and the driver that came with the jig, the supports were put into place. The lower support sits approximately 4" above the ground and the upper support sits approximately 9" above that. This gives the upper shelf more or less 6" of clearance from the overhang of the drawer front.
Using the pocket hole jig, the accompanying drill bit, and driver was really easy; getting those supports to be level was not so much.
But we novice woodworkers muddled through. Check out the finished base above. Time for a few passes with the sander to prepare it for paint. Then, 2 coats of Kilz 3 Premium Interior/Exterior Primer.
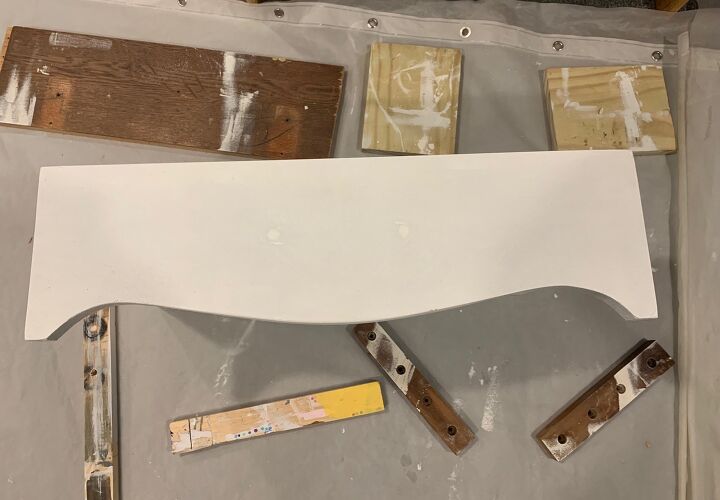
 Now for paint colors: Normally, I would paint the entire piece one color to get the 2 pieces to blend. However, I really liked the curves on the drawer and wanted to highlight them.
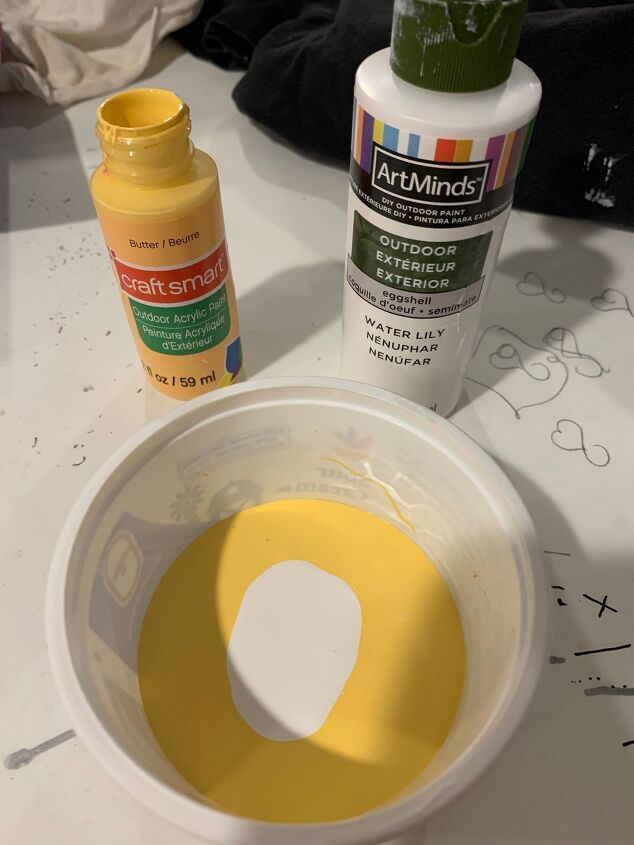
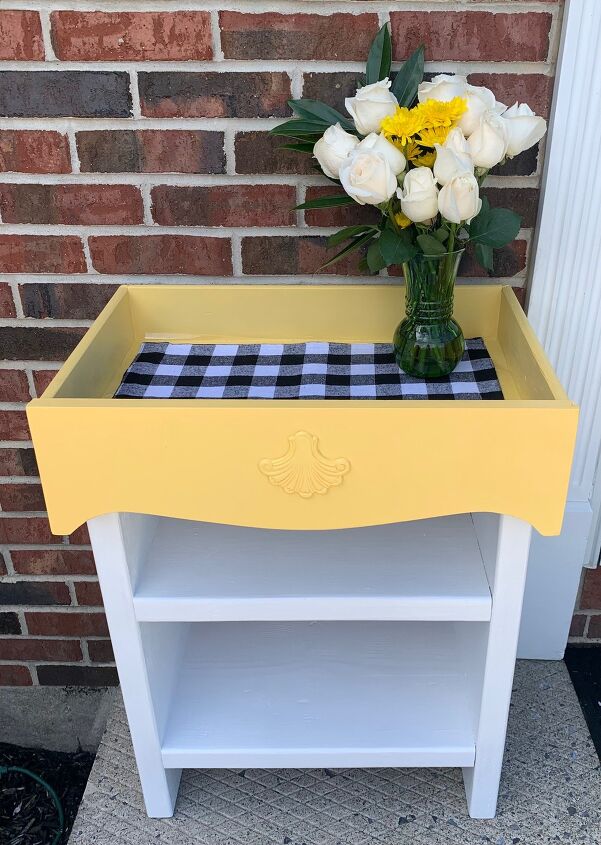
So, after much deliberation, I decided on a nice crisp white (ArtMinds Outdoor Exterior Acrylic in Water Lily) for the base and a pretty, buttery yellow (Craft Smart Outdoor Acrylic in Butter) for the drawer. (I had to mix some white with the yellow to get it to the shade I wanted.)
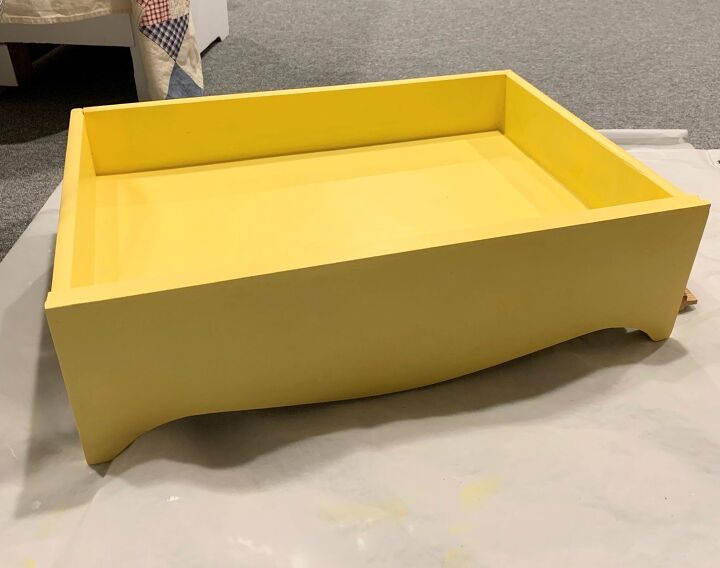
Each piece (base, drawer) received 2-3 coats of paint with proper sanding in between.
Now, the drawer had to be attached to the base. I could have drilled screws through the bottom of the drawer into the vertical supports for the base, but thought better of it considering the age of the drawer. I also wanted to avoid more work filling in those holes.
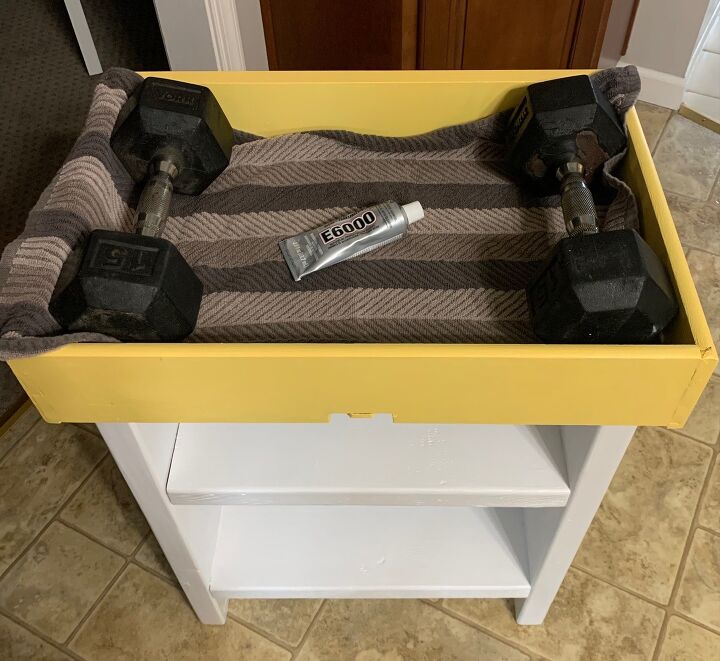
Instead, I applied E6000 to the tops of the legs of the base and placed the drawer on top, making sure the drawer sat solidly and squarely on the base. I let this dry with some weights on top to be sure the drawer bottom was in contact with the base.
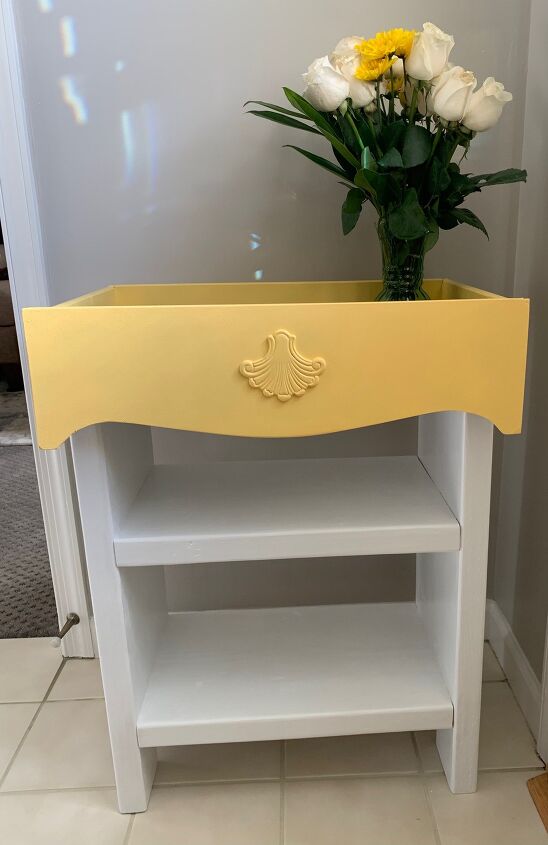
Additionally, I added a wooden scallop to the center of the drawer for some subtle design.
Here's a good look at the front of the assembled piece.
As pretty as white and yellow are, something more was needed. I decided to add an accent color.
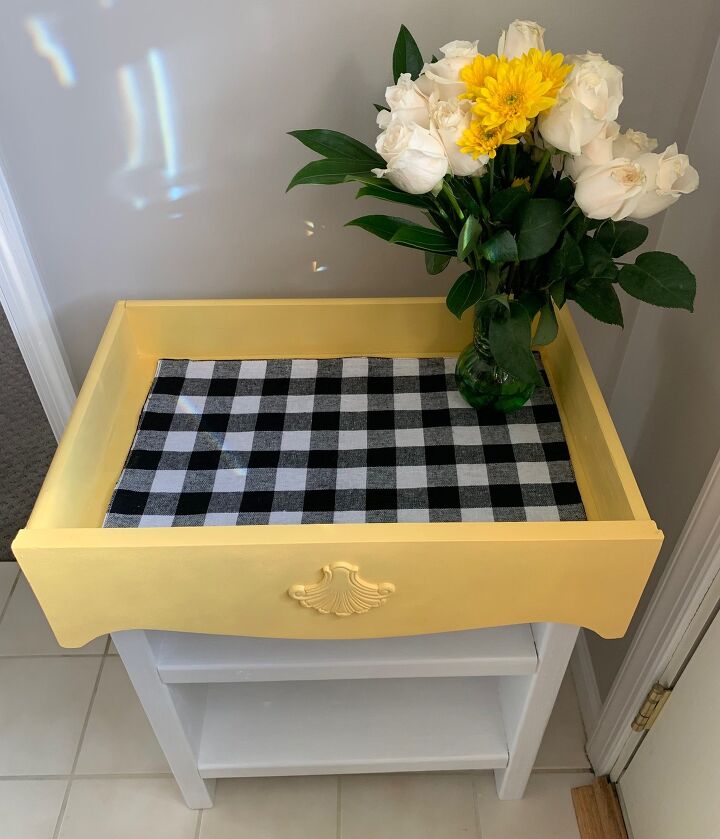
I found a black and white buffalo check place mat that had dimensions very near to the inside of the drawer. I added it and immediately liked the contrast.
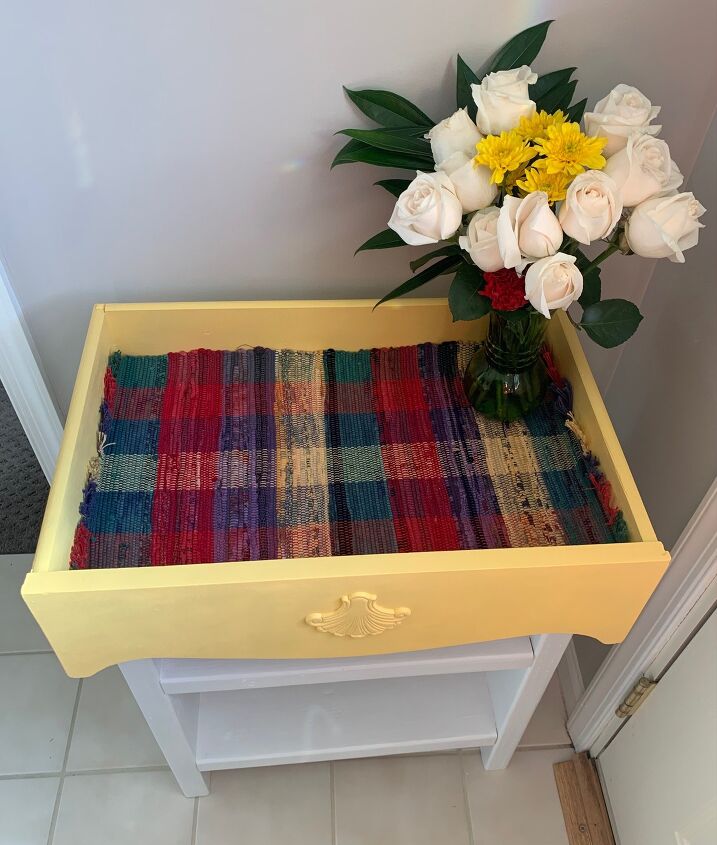
I went with the place mat over other types of decoration like transfers or stencils because it was quite easy but even more so because of the flexibility it allows--now the overall look can be changed with a simple change of the mat.
Like this:
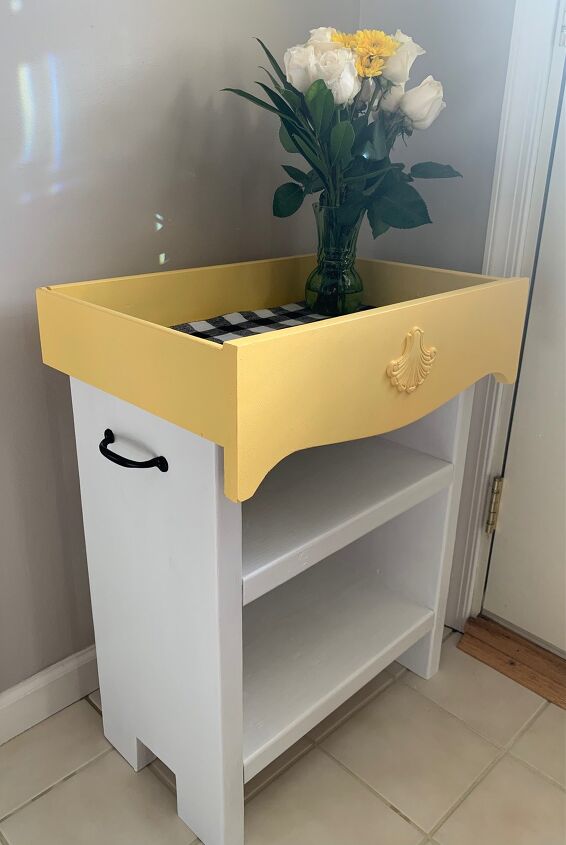
Using 2x12 lumber made this piece sturdy but heavy. I did not want it to be moved by gripping onto the bottom of the drawer, so I purchased 2 outdoor handles and installed them onto the base. The black adds a nice touch.
One old vanity...2 pretty cool projects. My work is done...for now

Resources for this project:
See all materials


Comments
Join the conversation
-
Did they love it? I do!
-
Yes they did. Thank you😊


Frequently asked questions
Have a question about this project?