


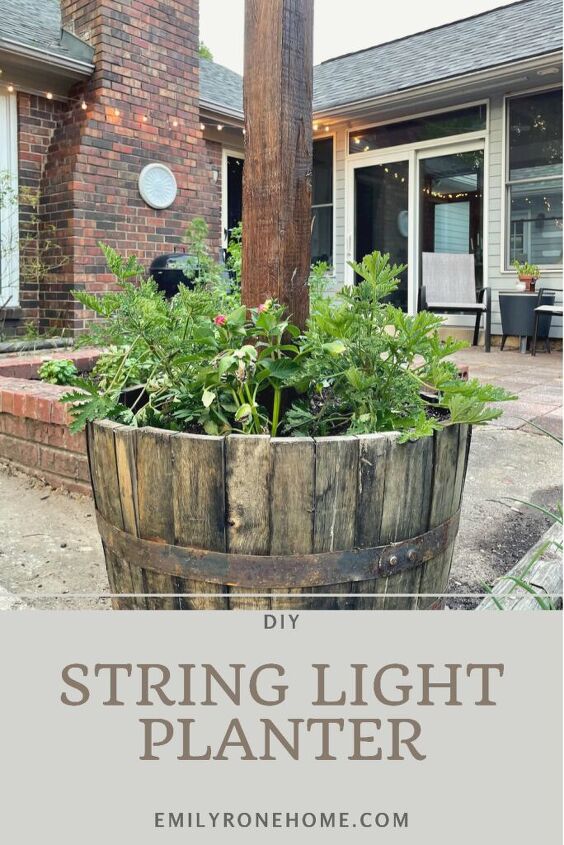
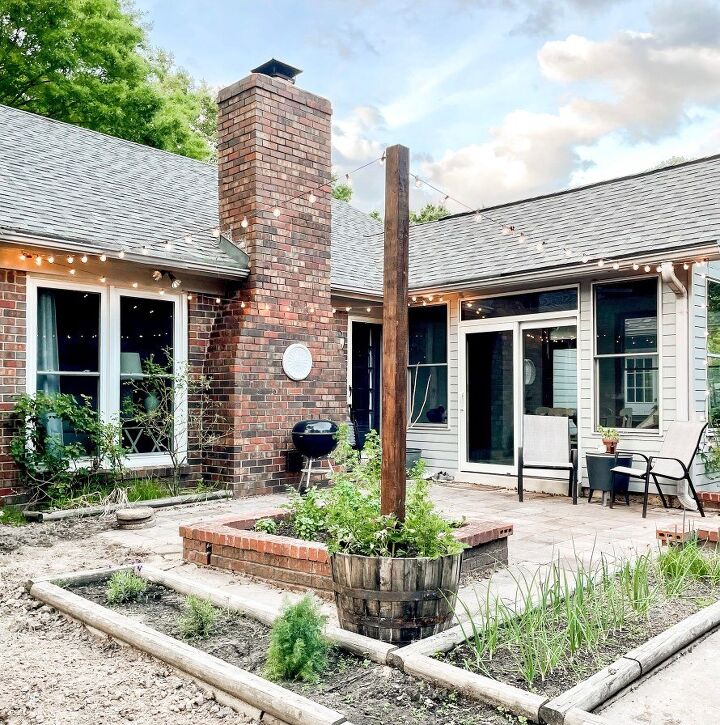
DIY Potted String Light Stand

A step-by-step tutorial on how to DIY a backyard solution to hand string lights using a potted post! Keep reading to see how I added my own twist and built a DIY potted string light stand to hang cafe lights from in the backyard.
Want to save to read later? Pin it!
STEP 1: Gather Supplies & Prepare the Post
For a full supply list complete with direct links to all the exact products I used go to EmilyRoneHome.
Once you have gathered your supplies, it's time to dress up your wooden post. For this project, you could leave the post raw depending on the look you are going for, or use a wood stain. I decided to finish my post with my “wood look” technique I applied to finish my front door, front posts, DIY house numbers, and front porch bench. It’s so simple you’ll love the results.
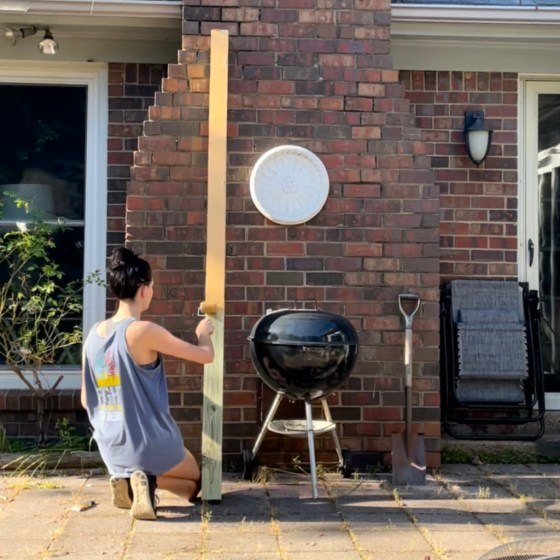
First, you paint the post orange. Sounds crazy, but trust the process! Next, you apply the gel stain, and finally seal with the Spar Urethane. This is the abbreviated tutorial, if you want to find the detailed step by step tutorial from when I re-finished my front door with this “wood look” technique you can find it here.
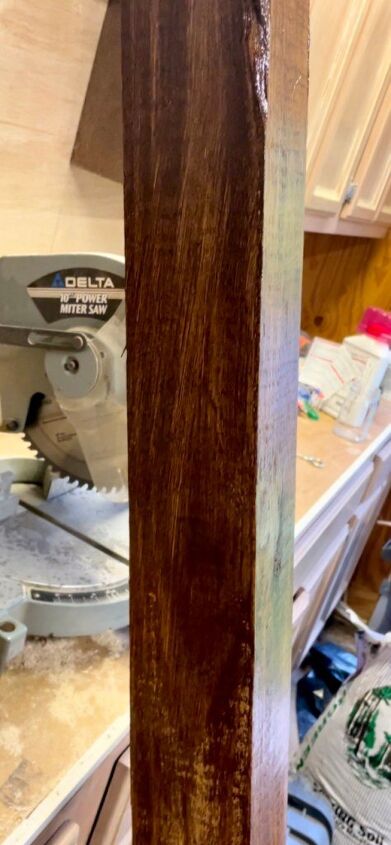
**Note! It has been a year since I used this technique, and forgot how long it takes for the Gel Stain to dry. In the front door post, I recommended a week. With this project, I handled the post and started trying to drill in the corner brackets after a day or two. Don’t do this! The post was still sticky, and some of the gel stain came off. I had to fix small areas. Don’t be me, be patient and let the Gel Stain dry and cure completely.
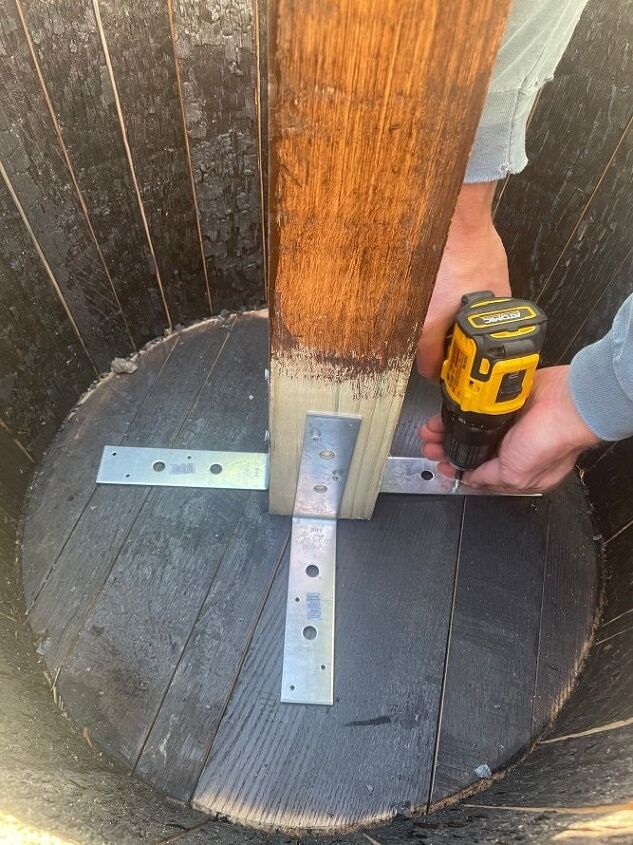
STEP 2: Stabilize Post in Your Planter Using Corner Brackets
To stabilize the post inside the planter I used 4 corner brackets. I screwed the longer screws directly through the bracket into the post before I put the post in the barrel. Next, I moved the post into the barrel to drill in the final 4 screws to attach the post to the bottom of the barrel. The barrel wood is not very thick so I used shorter screws.
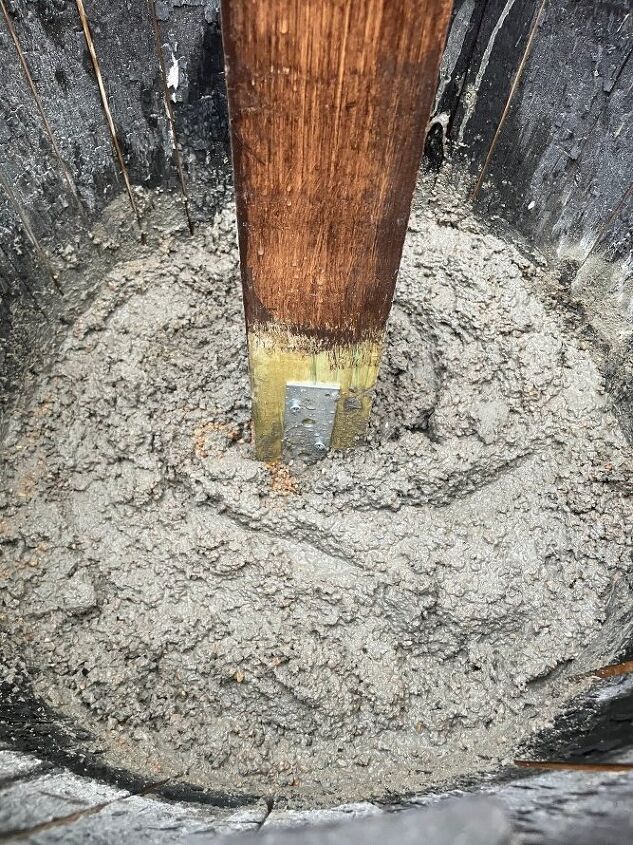
STEP 3: Secure Post in Your Planter Using Concrete
I bought two 50 lb bags of fast setting concrete mix. Here is when the project got complicated- the whiskey barrel is not solid. Each individual board that makes up the barrel has cracks between them. The directions on the concrete mix say to fill your hole/container up 1/3 of the way with water, then add the concrete mix and stir. When I filled the planter up 1/3 of the way with water, the water all leaked out.
To accommodate, I pre-mixed the concrete and water in a 5 gallon bucket in stages. I tried to make the first batch drier so it wouldn’t leak out the sides of the planter. Unfortunately, I still got some leakage. I used old towels to soak it up.
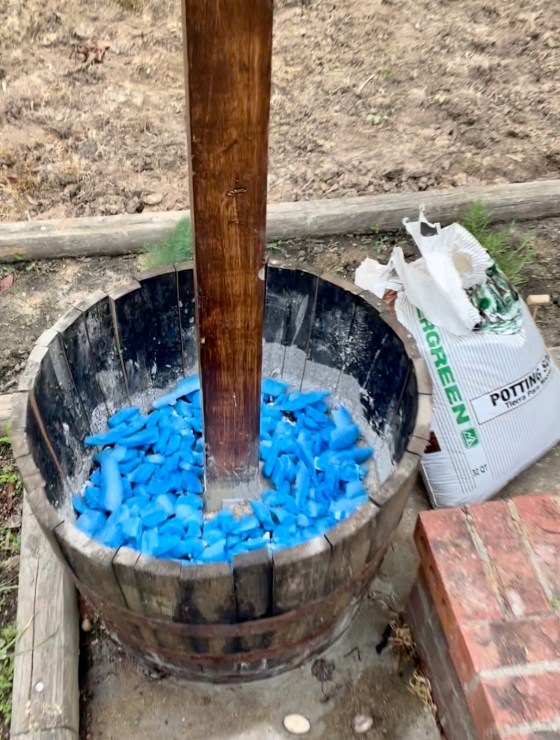
STEP 4: Create Your Planter Layers
I planned on actually using my whiskey barrel as a planter, so I took the necessary steps to make an ideal growing environment. This includes a layer of loose fitting material to help drainage. If you are using a planter with solid sides, I would also drill some holes above the concrete layer to promote drainage. Because of the way the whiskey barrel is built, the cracks between each plank around the sides will provide enough drainage.
I added a layer of foam from a pool noodle on top of the concrete once it dried. I cut and tore the noodle into smaller pieces. This is where you could also use packing peanuts, small rocks, egg cartons, etc. to help fill space and promote drainage.
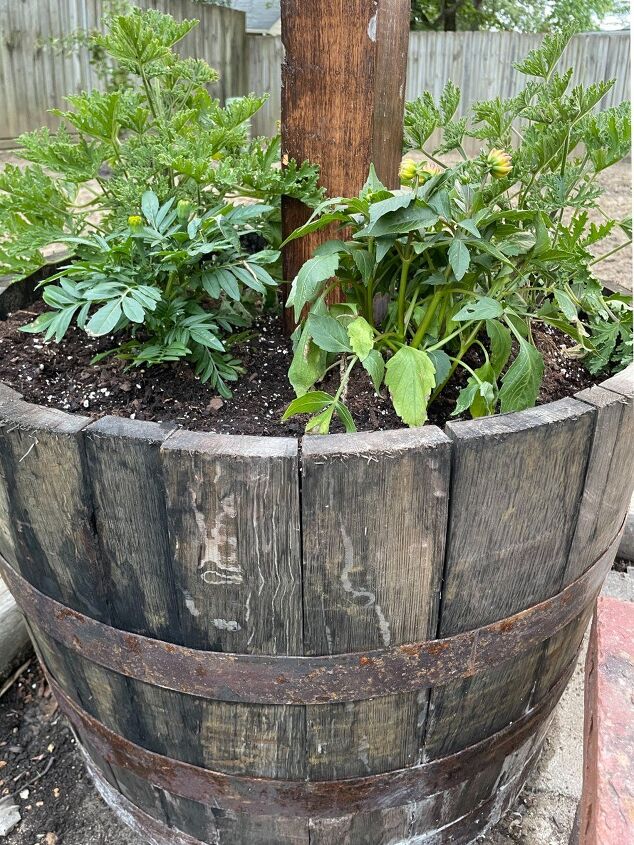
Next, I added a layer of potting solid before planting Citronella, Dahlias and Marigolds. I chose these plants for their bug repellent properties. To learn more about choosing plants, see my gardening for beginners post here.
STEP 5: Install Cup Hooks
I didn’t notice that I already had hooks installed in our patio ceiling. They must have held either planters or string lights for the previous owner. I intended to install 4 hooks, but the existing hooks worked just fine. I only needed to install 1 hook on the new post inside my planter.
To do this, I used a drill bit slightly smaller than the size of the hook. You can then easily screw the hook in by hand.
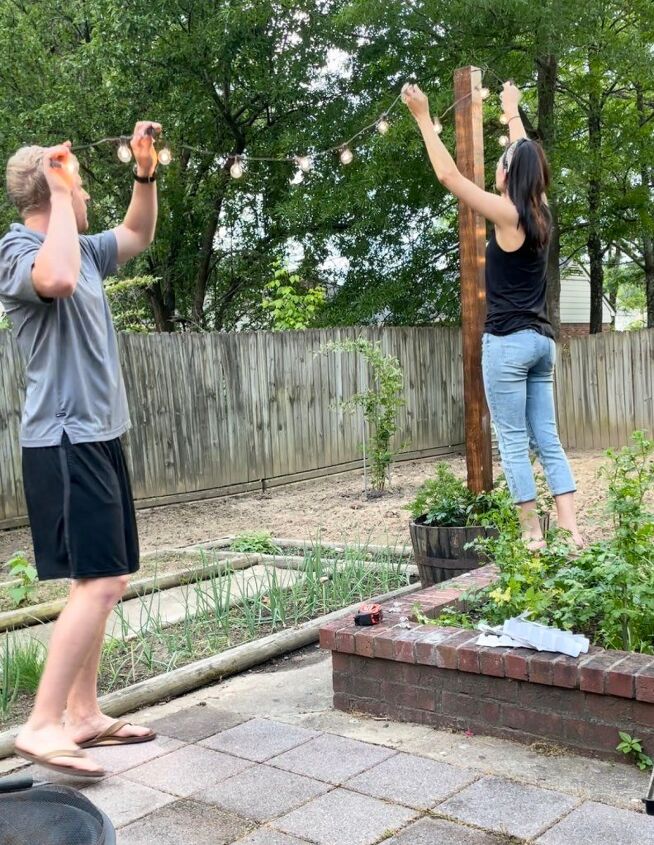
STEP 6: Hang Cafe Lights
I used 3 sets of cafe string lights to outline our patio. Make sure to measure your space so you know how many feet of lighting you will need.
STEP 7: Seal Post
Once the gel stain has had time to dry and cure, I applied my sealing coat to protect the post from the sun and elements. I applied Minwax Water Based Helmsman Spar Urethane with a foam brush. Two coats is preferred, waiting overnight to ensure proper drying.
This is a beginner friendly DIY. I would love to see your project if you give this a shot, don’t forget to share and tag! And as always, pin this tutorial for easy access later.
This project was one of many home DIY's last spring that improved our two patio spaces SO MUCH! If you are interested in some of my other projects to get ready for spring, you can find them here:
- Custom Cornhole Boards
- DIY Outdoor Shoe and Tool Storage
- Re-paint Exterior Siding
- DIY Vertical Living Wall Planter
- DIY checkerboard tabletop
Resources for this project:
See all materials


Comments
Join the conversation
-
The pool tube will help the moisture last in ur pot
-
I make sure I have holes for drainage in the bottom and around the edges. Instead of cement, I use cat litter in the bottom of pots, then add water. The litter will harden. At the cemetery, to hold pots in place, I put a cheap screwdriver through the bottom of the pot. It holds in pots in the ground.
I tried using plastic bottles for drainage. They work their way to the top.


Frequently asked questions
Have a question about this project?
The idea is great! I’m a little confused…with concrete added first and then the shredded pool noodle to create drainage, how exactly would the water drain?
What are cafe lights?
How big are your barrels?